
Success with sun-powered cooking starts with smart weather adaptations. Choose a sheltered spot with maximum sun exposure, and build effective wind barriers on three sides of your cooking area. Track the sun's path throughout the day, adjusting your cooker's position every 30-60 minutes for ideal rays. Monitor temperatures closely using reliable thermometers, and adapt recipes based on weather conditions like humidity and altitude. Select cooking times during peak sunlight hours, typically between 10 AM and 2 PM. Use dark, heat-retaining cookware and create insulated spaces to maximize natural warmth. These fundamental strategies will unleash your solar cooking potential.
Choose Your Cooking Spot Wisely
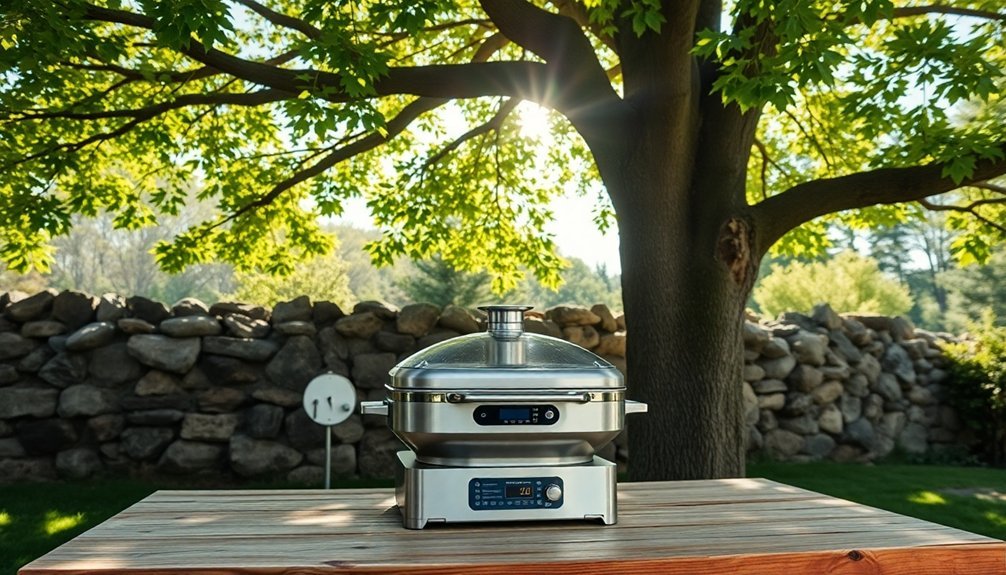
When planning an outdoor kitchen, choosing the right location can make or break your cooking experience. You'll need to assess your local climate patterns, including temperature fluctuations, rainfall frequency, and sun exposure throughout the year. High IP ratings are essential for all electrical appliances to ensure weather resistance and safety.
Consider installing shade structures like pergolas if you're in a sun-intense area, and position your kitchen to maximize natural shade during peak hours.
For wet climates, incorporate proper drainage and moisture-resistant materials like stainless steel or treated wood. Don't forget to add a roof or awning for protection from unexpected rain.
Keep your kitchen's longevity in mind by performing regular maintenance checks. You'll want to inspect for weather damage, clean surfaces thoroughly after use, and protect your equipment with waterproof covers when it's not in use.
Choose materials that can withstand your specific climate challenges.
Build Effective Wind Protection
Beyond choosing the right location, protecting your outdoor cooking space from wind is a major factor in successful grilling. You'll need to shield your grill from gusts that can lower temperatures and cause uneven cooking. Consider both commercial and DIY solutions based on your needs and budget. Select wind blocks made from heat-resistant materials for maximum durability and safety.
| Solution Type | Effectiveness | Setup Time |
|---|---|---|
| Portable Guards | High | 5 minutes |
| Permanent Walls | Excellent | 1-2 days |
| DIY Barriers | Moderate | 30 minutes |
| Natural Blocks | Variable | None |
Position your chosen wind block on three sides of the grill, leaving enough space for ventilation and smoke escape. If you're using a DIY solution, make sure it's secured firmly and tall enough to shield the cooking area. Remember to maintain your wind protection regularly, checking for damage and cleaning off any accumulated grease.
Track The Sun's Daily Path
To maximize your solar cooking success, you'll need to thoughtfully position your cooker by tracking where the sun moves across the sky from sunrise to sunset.
Start by orienting your cooker southward (in the Northern Hemisphere) to capture ideal noon sunlight when solar energy peaks.
You'll want to plan ahead and adjust your cooker's position every 30-60 minutes throughout the day to maintain direct sun exposure as Earth's rotation changes the sun's angle. This tracking approach can yield 10% to 100% more energy from your solar cooker compared to a stationary setup.
Position Cooker For Noon
For successful solar cooking at noon, proper positioning of your cooker is essential to capture maximum sunlight. Orient your cooker's front panel to face east, ensuring the shadow falls directly behind it during mid-morning hours.
You'll need to track the sun's movement between 11:00 AM and 3:00 PM for ideal results. Consider starting your cooking earlier around 10:00 AM in winter for optimal performance.
Place your cooker on a dry, level surface and secure it with clothespins to maintain its structure. If it's windy, use bricks or stones for stability.
Don't forget to create an air gap under your pot using a wire rack. Keep your reflectors clean and properly angled, adjusting them every 20-30 minutes to follow the sun's path.
Use dark cookware for better heat absorption, and center it at the focal point of your reflectors to achieve consistent cooking temperatures.
Dawn To Dusk Planning
Understanding the sun's daily journey helps you plan effective solar cooking sessions throughout the year.
You'll get the best results between 10:00 am and 3:00 pm when UV intensity peaks, making it perfect for baking and complex dishes. During these prime hours, your solar cooker can reach maximum temperatures as the sun's rays hit more directly.
- Start preheating your oven around 10:00 am to guarantee it's ready for peak cooking hours.
- Plan shorter cooking sessions during fall and winter months when daylight hours decrease.
- Position your cooker to catch early morning rays, then adjust it throughout the day to follow the sun's path.
Remember to take into account your local climate, as cloudy regions like Oregon or Minnesota may require more flexible scheduling and backup cooking plans.
Master Temperature Control Methods
Position your grill behind a natural windbreak or set up a temporary barrier to maintain steady cooking temperatures in windy conditions.
You'll want to line your grill with materials like aluminum foil or a heat-diffusing plate to retain warmth and prevent temperature fluctuations during adverse weather.
Keep a close eye on your grill's thermometer and adjust the vents accordingly, as changing weather conditions can quickly impact your cooking temperature.
Wind Protection Placement Strategies
When winds threaten to disrupt your outdoor cooking, smart placement strategies can help you maintain consistent temperatures and achieve better grilling results.
Position your grill perpendicular to the wind direction and take advantage of natural windbreaks like buildings or trees. You'll want to secure your setup on flat, stable ground while keeping the cooking area free from unnecessary obstructions.
- Set up your grill in a protected location, but guarantee proper ventilation for safe operation.
- Install a specialized wind shield or create a temporary barrier using sturdy materials.
- Don't forget to anchor your grill properly using either built-in systems or by securing it to heavy objects.
Remember to check weather conditions before you start and keep the grill covered when it's not in use to protect it from unexpected gusts.
Heat Retention Through Materials
Mastering temperature control begins with choosing the right heat-retaining materials for your grilling setup.
You'll want to incorporate materials with high thermal mass like brick, stone, or ceramic, which absorb and release heat slowly to maintain stable temperatures. Adding a water pan not only provides excellent heat retention but also creates steam for moisture control.
For maximum efficiency, focus on proper insulation.
You can use thermal blankets or double-skinning techniques to prevent heat loss. Keep your grill's lid closed as much as possible, and consider using thick metal plates for better thermal mass.
If you're using a Kamado-style grill, its ceramic shell already provides superior heat retention. For traditional grills, you can improve performance by adding bricks inside or using sand-filled containers as heat sinks.
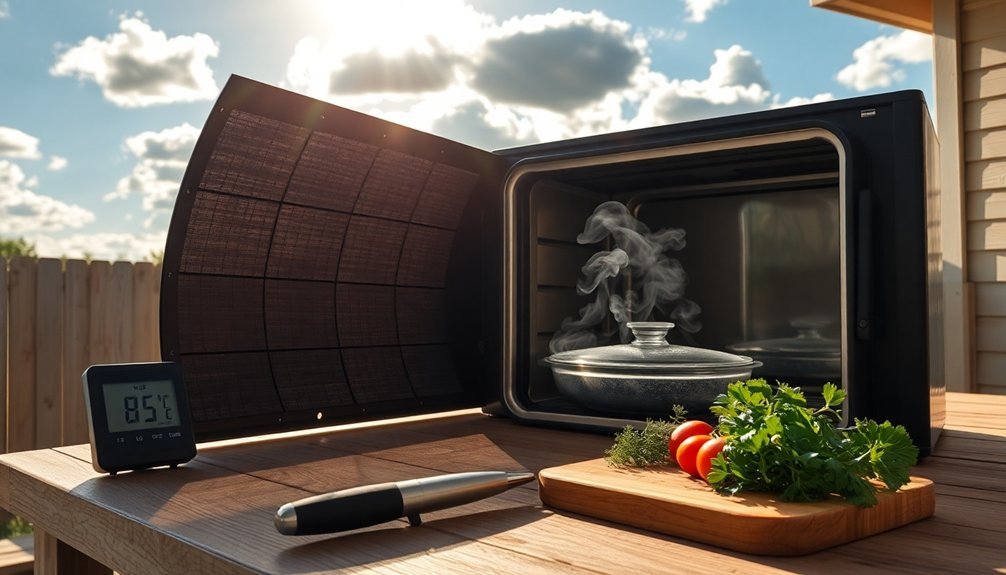
Monitor Temperature During Cooking
To achieve consistently perfect results, monitoring food temperature throughout the cooking process is essential.
You'll want to use a reliable thermometer like the iQ Sense Smart Thermometer, which lets you track multiple dishes simultaneously through your phone. Insert probes into the thickest part of your food, avoiding bones for accurate readings.
- Keep your cooking temperatures within specific ranges: below 200°F for slow cooking, 200-350°F for versatile methods like sautéing, and above 350°F for achieving that perfect sear.
- Master heat control on your stovetop by using low simmer (knob 1-3), high simmer (4-6), and low boil (7-8).
- Leverage the two-zone technique by creating separate temperature areas, especially useful when grilling or managing multiple dishes at once.
Adapt Recipes For Weather Changes
Successfully adapting recipes requires close attention to your local weather conditions and climate.
You'll need to adjust ingredients and techniques based on humidity, altitude, and temperature fluctuations in your area.
In humid conditions, reduce liquid ingredients and increase bake times to prevent spreading. If you're at high altitude, you'll need to decrease leavening agents and increase cooking temperatures since air pressure affects how foods bake.
During warm weather, chill your dough and ingredients to prevent fats from melting too quickly.
Keep track of your recipe modifications for different seasons. Store dry ingredients in the refrigerator when humidity's high, and bring ingredients to room temperature before mixing.
Remember that cold, dry weather may require extra moisture in your recipes, while wet weather needs less liquid for best results.
Select Weather-Appropriate Cooking Times
Weather conditions directly impact your cooking times and food safety practices. You'll need to adjust your timing based on temperature and humidity while ensuring food reaches safe internal temperatures. Remember that different foods require specific minimum cooking temperatures – from 145°F for fresh meats to 165°F for poultry.
- Monitor your food closely during hot weather, as the danger zone (41°F-135°F) becomes more critical. Don't leave food out for more than 2 hours.
- In humid conditions, cooling times may increase. Use shallow containers and ice baths to speed up the process within the 30-minute window.
- When it's cold, your cooking equipment may need extra time to reach proper temperatures. Always use a thermometer to verify internal temperatures rather than relying on standard timing.
Maximize Natural Heat Retention
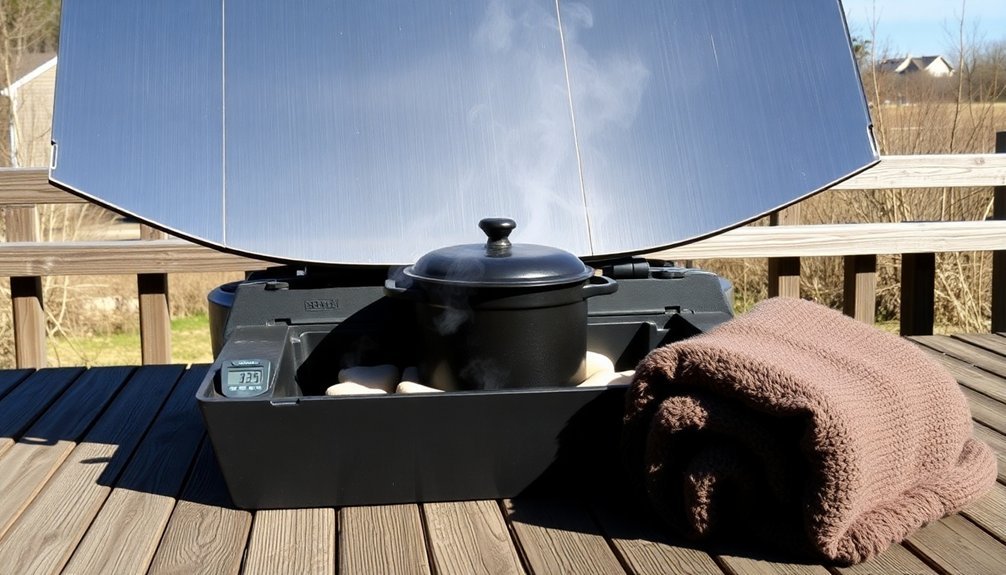
Natural heat retention plays an essential role in efficient cooking and food preservation.
You'll maximize energy efficiency by choosing methods like steaming, stir-frying, and sous vide cooking that lock in nutrients and flavors while using minimal heat input.
Create a stored heat cooker by combining an insulated outer container with a well-sealed inner pot.
You'll need to triple your cooking times but can reduce water by 25% since moisture stays trapped inside. Fill your pot completely to maintain efficient heat storage.
When you're done cooking, cool your food quickly to avoid the temperature danger zone, then store it in thermal-retentive containers.
You'll preserve both heat and freshness by using proper insulation materials and monitoring temperatures carefully with thermometers.
For bulk cooking, utilize cook-chill techniques to maintain food safety and quality.
Frequently Asked Questions
Can Solar Ovens Work Effectively in High-Altitude Locations?
Yes, you'll find solar ovens can work at high altitudes, but you'll need to adjust cooking times, enhance insulation, and maintain proper positioning. Despite longer cooking times, they're still effective with proper modifications.
How Does Humidity Affect the Cooking Temperature in Solar Ovens?
You'll find that high humidity reduces your solar oven's temperature by causing condensation on the glass lid and blocking sunlight. When moisture builds up inside, it'll slow down heating and extend your cooking times.
What's the Minimum Sun Exposure Time Needed for Basic Solar Cooking?
You'll need at least 30-45 minutes of direct sunlight per hour for basic solar cooking. It's best to cook between 10:00 a.m. and 2:00 p.m. when the sun's intensity is highest.
Do Different Colored Cooking Vessels Affect Solar Cooking Efficiency?
Yes, your cooking vessel's color considerably affects efficiency. You'll get better results with dark-colored or black containers since they absorb more solar energy, while light-colored vessels reflect heat and cook more slowly.
Can Solar Ovens Be Used Effectively During Winter Months?
Yes, you can use solar ovens effectively in winter months. You'll need clear sunshine, proper angle adjustments, and more frequent repositioning to follow the sun. Even in cold weather, they'll reach 300-350°F with sufficient sunlight.
In Summary
You'll get the most from your solar cooking by following these weather-smart strategies. Remember to pick protected spots, block those pesky winds, and stay in sync with the sun's movement. Don't forget to adjust your cooking approach based on weather shifts, and always use proper insulation. With these tips in your toolkit, you're ready to harness the sun's power for delicious, eco-friendly meals – rain or shine.
Leave a Reply