
To achieve even heat zones in your solar cooker, you'll need to master strategic positioning and thermal mass placement. Start by positioning your cooker between 11:00 AM and 3:00 PM when sun intensity peaks, adjusting it every 20-30 minutes to track the sun. Use dark-colored cookware and place thermal mass materials like bricks or stones at the bottom and around your pots to stabilize temperatures. Keep reflectors clean and properly angled to maximize sun exposure, and protect against wind with barriers. Regular temperature monitoring with digital thermometers guarantees consistent cooking zones. These fundamentals lay the groundwork for mastering advanced solar cooking techniques.
Understanding Solar Insolation Maps
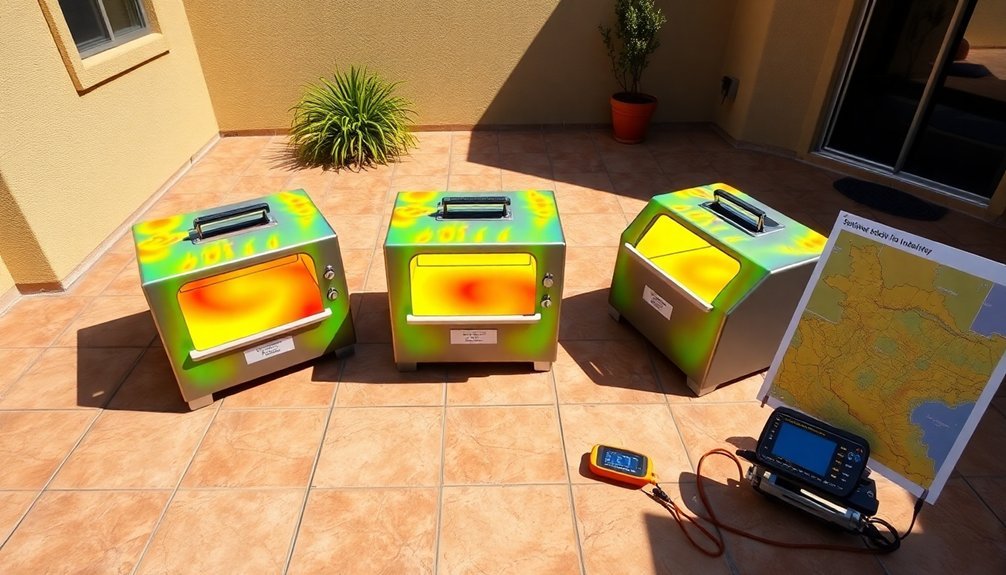
Most solar cooking enthusiasts rely on solar insolation maps to maximize their cooking efficiency. These essential tools show you the average daily hours of solar radiation in your area, measured in kilowatt-hours per square meter.
When you're planning your solar cooking sessions, these maps help you determine the best times and locations for ideal results. Your location typically receives 5 to 6 hours of peak sunlight daily.
You'll want to focus on three key types of insolation maps. Yearly average maps give you a general idea of your location's solar potential throughout the year. Best case maps, typically showing June conditions, help you plan summer cooking activities. Worst case maps, usually depicting December or January, let you know what to expect during winter months.
To get the most from these maps, you'll need to understand that solar radiation varies substantially by season and location. You can improve your cooking efficiency by positioning your solar cooker at an angle equal to your latitude.
While professional solar installations often use tracking mounts to follow the sun, for solar cooking, you'll typically adjust your cooker's position manually throughout the day. Remember that these maps show full sun hours, so you'll need to plan your cooking schedule accordingly.
Positioning for Maximum Sun Exposure
For ideal solar cooking results, proper positioning of your cooker is essential to capturing maximum sunlight throughout the day. You'll want to place your cooker on a dry, level surface between 11:00 am and 3:00 pm when the sun's intensity is at its peak. Cold dry air actually enhances solar cooking effectiveness due to reduced light scattering.
For best performance, orient the shorter front panel eastward for noontime meals or westward for evening cooking.
To maintain consistent heating, check your cooker's position every 20 minutes and adjust it to face the sun directly. You'll know you've achieved proper alignment when the shadow falls directly behind the cooker.
During winter months or shorter sun seasons, you'll need to track the sun more frequently and start cooking earlier, around 10:00 am.
Here's how to guarantee stable positioning in various conditions:
- Use large stones or bricks on windy days to stabilize the cooker's sides
- Create an air gap under your pot using a wire rack or twigs for better heat retention
- Secure the front panel's inserted flaps with clothespins to maintain structure
- Position additional wind barriers around the cooker when needed
Remember to maintain proper temperature monitoring throughout the cooking process, as solar cooking typically requires double the conventional cooking time.
Thermal Mass Placement Strategies
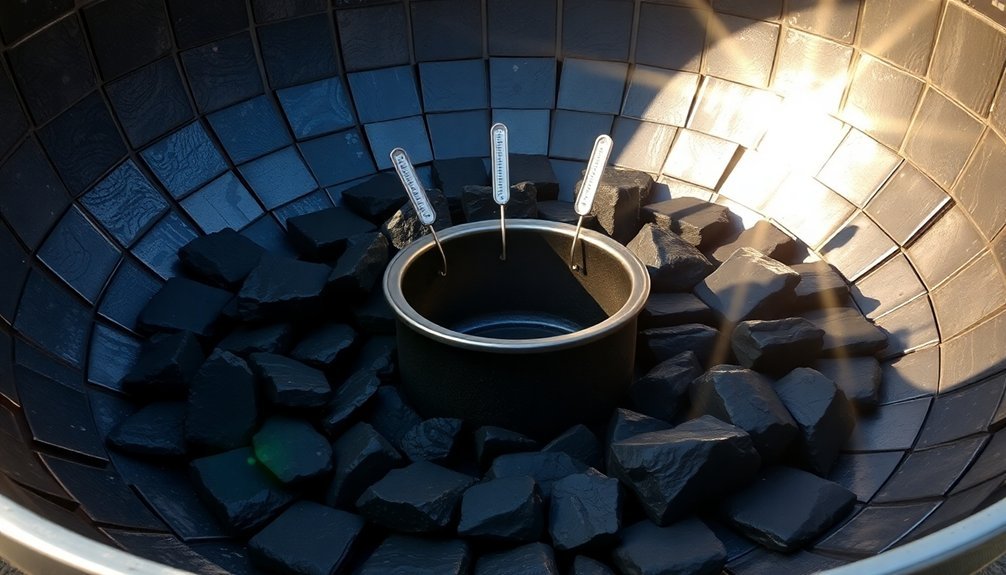
Inside your solar cooker, proper thermal mass placement can dramatically boost cooking efficiency and heat retention. To maximize these benefits, position dark-colored materials like bricks, stones, or gravel in strategic locations throughout your cooker.
Place a layer at the bottom to create a stable heat foundation, and arrange additional pieces around your cookware for uniform heating. Using sensible heat storage materials like black engine oil can help maintain cooking performance during periods of low sunlight.
You'll want to select high-density materials with good thermal conductivity for the best results. Dark-colored granite, bricks, or locally sourced stones work exceptionally well and won't break the bank. These materials should be durable enough to withstand repeated heating cycles while effectively storing and distributing heat throughout your cooker.
For peak performance, integrate your thermal mass with other key components. Combine it with proper insulation to prevent heat loss, and position reflectors to direct maximum sunlight onto your thermal mass materials.
Creating a transparent heat trap around the thermal mass will further enhance its effectiveness. This systematic approach guarantees consistent cooking temperatures and extends your cooking time well after the sun sets, making your solar cooker more versatile and efficient.
Reflector Angle Optimization
You'll need to adjust your solar cooker's reflectors daily to match the sun's path, typically moving them every hour for maximum efficiency.
Your seasonal adjustments should account for the sun's changing elevation throughout the year, which you can calculate using simple online tools or smartphone apps.
When setting up your reflectors, pair proper angling with highly reflective materials like polished aluminum or mirrored surfaces to achieve the best cooking results. The angle of reflection will always match the angle at which sunlight hits your reflector's surface.
Daily Angle Adjustments
The success of solar cooking hinges on three critical daily angle adjustments to your reflector panels. You'll need to monitor and adapt these angles throughout the day to maintain the best solar energy capture as the sun moves across the sky.
Using a protractor or printed template, you can achieve the precise measurements needed for maximum efficiency. Selecting a flat, sunny location will ensure consistent heating throughout the cooking process.
To guarantee your reflectors are properly positioned, follow these essential steps:
- Adjust the top reflector ray to hit the opposite side of your cooking target, creating a concentrated heat zone.
- Check for shadows and reposition panels every 15-30 minutes, maintaining a 15° tolerance for unattended cooking periods.
- Center your cookware at the focal point, considering its size and depth for ideal heat absorption.
- Clean your reflector surfaces regularly to maintain maximum reflection efficiency.
Seasonal Tilt Calculations
Mastering seasonal tilt calculations will dramatically improve your solar cooking results throughout the year. To enhance your reflector angles, you'll need to adjust them based on your latitude and the current season.
For winter cooking, use either the latitude * 0.9 + 29° method or simply add 15° to your latitude for steeper angles that capture the lower winter sun.
During summer, you'll want shallower angles to maximize sunlight capture. You can calculate this by either using latitude * 0.9 – 23.5° or the simpler method of subtracting 15° from your latitude.
For spring and fall, subtract 2.5° from your latitude for the best positioning.
Let's look at practical examples: If you're at 34° latitude, you'll set your winter angle to 49° and summer angle to 19°. At 40° latitude, you'll adjust to 55° for winter and 25° for summer.
Remember that angular tolerance is vital for unattended cooking, especially when positioning your reflector's rim. You'll need to maintain these seasonal adjustments to guarantee consistent cooking power and even heat distribution throughout your solar cooker's cooking chamber.
Reflector Material Selection
Selecting effective reflector materials dramatically impacts your solar cooker's performance and longevity. While you'll find various options available, each material offers distinct advantages and trade-offs that can affect your cooking efficiency.
Vinyl car wrap delivers superior reflectivity compared to aluminum foil tape and comes at a reasonable price point.
If you're looking for maximum heat reflection in minimal time, consider Mylar tape, which outperforms both stainless steel and aluminum foil options. However, durability should factor into your decision, as some materials like aluminized polycarbonate film can scratch easily or degrade over time.
To make the most informed choice for your solar cooker, consider these critical factors:
- Aluminum foil tape provides an excellent balance of cost and effectiveness, boiling water almost twice as fast as radiant barrier.
- Glass mirrors offer high efficiency but come with drawbacks of cost, weight, and breakage risk.
- Mylar tape delivers the fastest heat reflection but requires more research on long-term durability.
- Vinyl car wrap stands out as a cost-effective option with superior reflectivity compared to mirror wall stickers.
Choose your reflector material based on your specific needs, considering both performance and practical constraints.
Heat Distribution Through Dark Surfaces
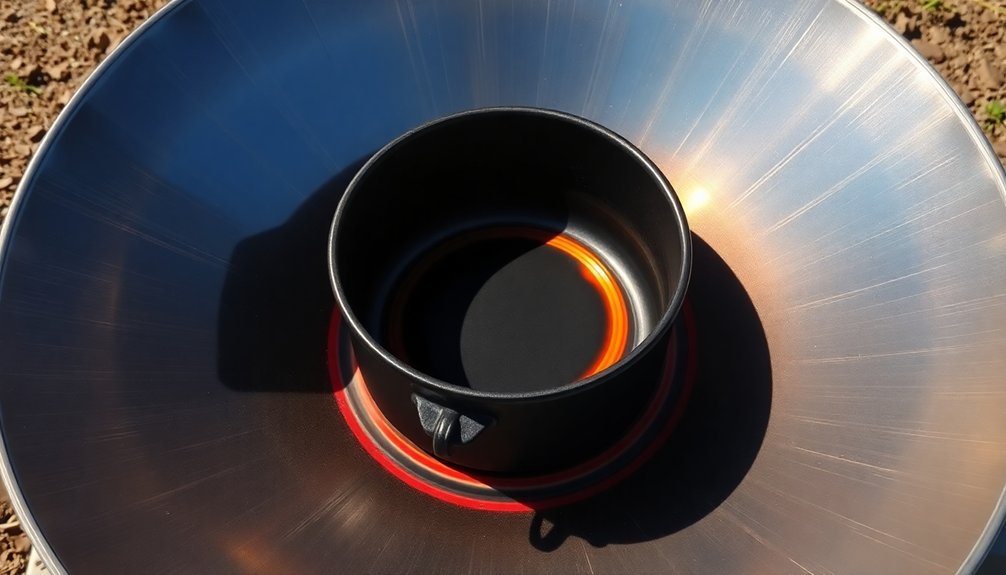
Because dark surfaces excel at absorbing solar radiation, they play a vital role in effective solar cooking. You'll get the best results using thin, dark metal pots with well-fitting lids, as they efficiently convert sunlight into heat energy. When solar rays hit these dark surfaces, they're transformed into infrared radiation, which directly heats your food's molecules.
To maximize your cooking efficiency, make sure your pot has a dark exterior that's either naturally dark or painted with non-toxic paint. You'll want to pair this with a transparent heat trap that allows sunlight to enter while keeping the generated heat inside. This combination creates an ideal environment where heat rays, which have longer wavelengths, can't easily escape from your cooking chamber.
While your solar cooker's interior color matters, it's less essential than your pot's color if the container covers most of the cooking space. You'll find that a design incorporating reflective sides with a black bottom works particularly well.
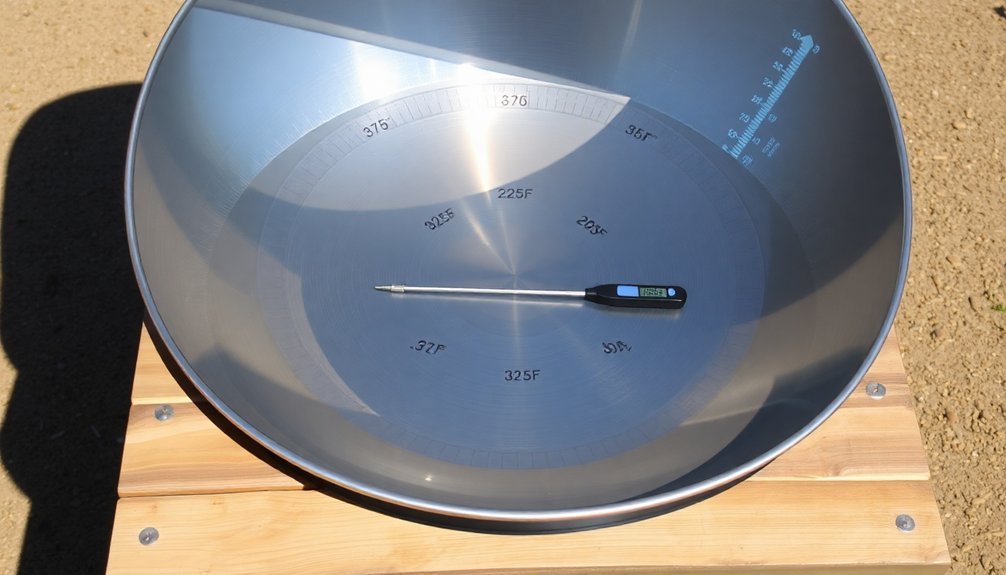
Temperature Monitoring and Adjustment
When cooking with solar power, accurate temperature monitoring becomes crucial for consistent results. You'll need precise thermometers shielded from direct sunlight to prevent false readings, and they should be fitted through sealed holes in your pot lids or walls for the most reliable measurements.
For thorough data collection, consider using digital data loggers or slim temperature sensors that can track heat changes throughout the cooking process.
To maintain ideal cooking temperatures, you'll need to make regular adjustments based on your readings:
- Position your cooker in direct sunlight between 11:00 am and 3:00 pm when solar intensity is strongest
- Adjust reflector angles using rulers or measuring tools to maximize sunlight capture
- Add heat-retention materials like crumpled newspapers and black construction paper to stabilize temperatures
- Cover the cooker opening with clear plastic wrap to prevent heat loss
Remember that cooking times typically double compared to conventional ovens, with most solar cookers operating between 200°F and 300°F. You'll need to monitor both ambient and food temperatures, especially during "hot start" and "cold start" conditions, to guarantee safe and thorough cooking.
In windy conditions, more frequent adjustments may be necessary to maintain consistent temperatures.
Seasonal Tilt Compensation
While monitoring temperatures helps maintain consistent cooking, adjusting your solar cooker's tilt angle throughout the year can maximize its performance. You'll need to compensate for the sun's changing position, particularly during winter months when the sun sits lower in the sky.
The key is to position your cooker at an angle that captures the most direct sunlight possible.
If you're using a box cooker like the Global Sun Oven or SOS Sport oven, you'll find they're already designed with adjustable inclines. For other models, you can use blocks or stones to achieve the proper tilt, but make sure they're stable to prevent tipping.
Parabolic cookers offer the most flexibility since you can continuously adjust them to track the sun's movement.
You can enhance your cooker's performance by adding booster panels, which concentrate more sunlight into the cooking chamber. Remember to position your cooker in a south-facing location with minimal obstructions.
During winter, you'll have shorter cooking windows, so plan accordingly. If you're serious about year-round solar cooking, consider having multiple types of cookers to adapt to different seasonal conditions and maximize your cooking options.
Cooking Chamber Heat Retention
You'll get the best heat retention by surrounding your cooking chamber with effective insulation materials like wool, rockwool, or cellulose on all sides except the glazed surface.
For top performance, guarantee your insulation is evenly distributed and incorporate a moisture barrier to prevent heat loss through dampness.
Your cooking chamber's effectiveness also depends on using dark cookware with tight-fitting lids and positioning the box's longer dimension east-to-west to maintain consistent temperatures throughout the day.
Insulation Materials and Methods
Three key aspects make insulation essential for effective solar cooking: material selection, proper installation, and heat retention strategies. You'll want to choose materials that offer excellent thermal resistance while standing up to moisture and vapor pressure. High-performance options include spun fiberglass, rockwool, and aluminum foil as a radiant reflector, while natural alternatives like down feathers and rice hulls can work effectively too.
To maximize your solar cooker's efficiency, follow these critical installation steps:
- Surround the cooking cavity with insulation on all sides except the glazed portion
- Create a small air gap between the insulation and structural materials
- Verify there's no direct contact between the insulation and cooking vessel
- Apply materials smoothly, avoiding wrinkles and gaps
For maximum heat retention, consider using double glazing to reduce heat loss through the transparent surface. You'll also benefit from incorporating a heat sink like dark-colored rocks and adding a radiant reflector on the inner surface.
When using organic insulators, skip the moisture barrier to allow proper ventilation, but with synthetic materials, protect against moisture to maintain insulation effectiveness.
Optimal Chamber Design Tips
Designing an efficient cooking chamber stands at the heart of successful solar cooking. You'll want to focus on both shape and size to maximize your cooker's performance. If you're looking to cook multiple dishes simultaneously, choose a rectangular box design, but if you need higher temperatures for specific dishes, consider a parabolic shape.
To optimize heat retention, incorporate both internal and external reflectors. You'll achieve better results by positioning internal reflectors to distribute heat evenly throughout the chamber, while external reflectors direct additional sunlight inside.
Use dark-colored cookware to absorb more sunlight, and add thermal mass elements like water pans to stabilize temperatures.
When setting up your chamber, position it facing south and adjust your reflectors regularly to track the sun. You'll need to avoid shaded areas and guarantee your cooker remains stable. Pre-heat your chamber before adding food, and always use lidded containers to maintain consistent temperatures.
Monitor internal temperatures with a thermometer to guarantee food safety, especially when cooking meat. Remember, a larger chamber offers more cooking capacity but may sacrifice heat efficiency, so choose your size based on your typical cooking needs.
Weather Impact on Heat Zones
Weather conditions play a critical role in determining how effectively your solar cooker will perform. You'll achieve the best results between 10:00 a.m. and 2:00 p.m. when the sun's intensity peaks, though this window shortens during fall and winter months due to lower sun angles.
Wind is your biggest challenge when solar cooking, as it can dramatically reduce temperatures and cause rapid cooling of your equipment. You'll want to use windbreaks like recycled glass panels or position your cooker near natural barriers such as buildings to maintain consistent heat zones.
For ideal temperature control in various weather conditions, remember these essential points:
- Dark-colored ovenware absorbs light energy better than light-colored options, helping maintain temperatures between 140°F and 266°F.
- Even partial cloud cover will substantially impact cooking times, so you'll need to adjust accordingly.
- Your solar cooker's performance drops substantially in winds exceeding 30 mph, making wind protection essential.
- Location matters – while you can solar cook in cloudy regions like Oregon or Washington, you'll face more challenges than in sunny areas like Southern Arizona.
To maintain even heat zones, regularly adjust your cooker's position to track the sun's movement, especially during longer cooking sessions.
Elevation Effects on Solar Performance
When cooking at different elevations, you'll notice significant changes in your solar cooker's performance. As you move to higher altitudes, you'll experience increased solar intensity due to a thinner atmosphere, which can actually speed up your cooking times. However, you'll also need to contend with colder temperatures that can affect heat retention.
To optimize your solar cooker's performance at higher elevations, you'll need to make several adjustments. First, enhance your cooker's insulation to combat the colder ambient temperatures.
You'll also want to adjust your reflectors to accommodate different sun angles, which vary with elevation. Consider adding thermal mass to help maintain stable cooking temperatures throughout your cooking session.
Pay attention to your cooker's orientation, as it's vital for maximizing energy capture at different elevations. You'll find that tracking the sun becomes even more important at higher altitudes.
When selecting or modifying your solar cooker, choose materials that can withstand temperature extremes and see to it that your glazing is efficient to minimize heat loss. Remember that cloud cover patterns can change with elevation, so you'll need to monitor weather conditions more closely for consistent results.
Frequently Asked Questions
Can Solar Ovens Be Used to Sterilize Medical Equipment?
Yes, you can use solar ovens to sterilize medical equipment. They'll generate high-temperature steam around 125°C, which meets sterilization standards. You'll find them especially useful in areas without reliable electricity or fuel.
What Materials Should I Avoid Using in Solar Cooker Construction?
You'll want to avoid moisture-sensitive materials like cardboard, conductive metals, non-durable plastics, and porous materials. Also stay away from toxic materials that release fumes when heated and poor insulators like glass.
How Long Can Food Safely Stay Warm in a Solar Oven?
You can safely keep food warm in a well-insulated solar oven for 6-7 hours, provided it stays above 150°F. Just remember to monitor the temperature and reposition your oven every 30 minutes for maximum heat retention.
Are There Special Containers Required for Cooking Different Types of Food?
Yes, you'll need specific containers for different foods. Use dark, shallow metal pots with tight lids for meats, waterless containers for vegetables, and specialized molds for breads. All containers should be heat-resistant.
Can Solar Ovens Be Used Indoors Through Window Glass?
You can use solar ovens through windows, but it's not ideal. Modern windows block UV rays and reduce efficiency substantially. You'll get better results cooking outdoors or on a balcony with direct sunlight.
In Summary
You'll get the best results from your solar cooker by combining these key factors: proper positioning using insolation maps, strategic thermal mass placement, and optimized reflector angles. Don't forget to adjust for seasonal changes and elevation impacts. By mastering these heat zone principles, you're setting yourself up for consistent, even cooking temperatures that'll make your solar meals a reliable success year-round.


Leave a Reply