Setting up a solar rice cooker requires five straightforward steps. First, gather your materials including cardboard boxes, aluminum foil, and transparent coverings like plastic wrap. Next, build your solar oven by creating a double-box design with proper insulation and a reflective flap. Then, position your cooker in direct sunlight with its longer side running east to west for ideal exposure. Fourth, prepare your rice using a 1:1 water ratio in a dark-colored pot that fits well inside. Finally, monitor the cooking temperature to maintain 85-100°C for perfect results. These basic steps open the door to mastering solar cooking techniques.
Gather Essential Cooking Materials

When building a solar rice cooker, you'll need to gather four essential categories of materials: structural components, insulation, transparent coverings, and cooking elements.
For the structural foundation, select either cardboard, wood, plywood, masonite, or bamboo to create your cooker's frame. These materials provide the necessary support and durability for your cooking setup. Adding moisture barriers will help protect your materials from water damage and ensure efficient heat retention.
You'll want to combine them with effective insulation materials like aluminum foil for reflecting heat, down feathers, spun fiberglass, rockwool, or cellulose to maintain consistent cooking temperatures.
Choose your transparent materials carefully – you'll need them to create a greenhouse effect. Options include glass, plastic wrap, acrylic sheets, or overhead transparencies. These materials allow sunlight to enter while trapping heat inside your cooker.
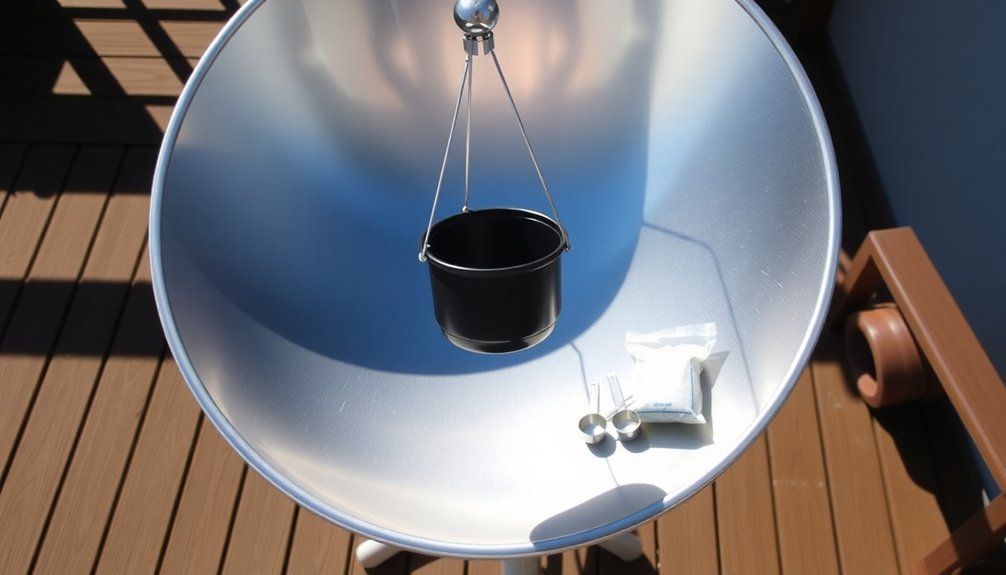
For the cooking components, you'll need a dark absorber plate or black construction paper to convert solar energy into heat.
Select either lightweight black speckleware vessels or standard metal/glass containers for holding your rice. Don't forget to include a thermometer – it's vital for monitoring your cooking temperature and ensuring your rice cooks properly.
Build Your Solar Oven
Successfully building a solar oven requires careful attention to the box-within-a-box construction method.
You'll need two cardboard boxes, with the outer box slightly larger to create a 1-2 inch gap for insulation. Cut a three-sided flap in the outer box's lid, leaving a 1-inch border, and create a hole to nest the inner box.
Line both boxes with aluminum foil, keeping the shiny side out for maximum heat reflection. Fill the space between boxes with crumpled newspaper for insulation, and add black construction paper to the inner box's bottom to absorb heat. Create an airtight window by sealing the opening with two layers of plastic wrap. This method utilizes conduction and radiation principles for efficient cooking.
- Cover the flap's inner side with smooth aluminum foil to reflect sunlight effectively
- Secure all materials with strong tape or glue, ensuring no air gaps
- Position the flap at the ideal angle using a stick or wire hanger
- Test the setup by preheating for 30 minutes before cooking
Remember to monitor the internal temperature during cooking and adjust the reflective flap as needed to maintain consistent heat.
Your solar oven's efficiency depends on proper insulation and the ability to capture and retain solar energy effectively.
Position For Maximum Sunlight

The ideal position of your solar rice cooker directly impacts its cooking efficiency. You'll need to place your cooker in direct sunlight and adjust its angle throughout the day to follow the sun's path. If you're cooking at midday in tropical regions (20°N – 20°S latitude), you won't need frequent adjustments, but in temperate zones, you should reposition your cooker every hour or two.
Make sure you've attached reflectors properly to boost cooking performance. Position them to direct additional sunlight into your cooker, especially during morning and afternoon hours. You'll want to adjust the reflector angles regularly to maximize light capture. Similar to energy-efficient design principles in natural building, proper positioning helps maintain optimal cooking temperatures without artificial heat sources.
Your cooker should be oriented with its longer dimension running east to west, not north to south. This configuration helps you capture more sunlight throughout the day and maintains consistent cooking temperatures.
Remember to preheat your cooker for 15-30 minutes before adding food, and keep the lid closed as much as possible to maintain heat.
Use a dark-colored pot with a lid to absorb and retain heat effectively. You'll get better results by ensuring your cooker remains tightly sealed and well-insulated throughout the cooking process.
Prepare Rice For Cooking
Proper rice preparation lays the foundation for perfectly cooked solar meals. You'll want to start by selecting an appropriate rice variety, such as Japanese round rice, Thai rice, jasmine rice, or basmati rice, guaranteeing it's suitable for absorption cooking methods.
Consider both the grain length and the desired texture when making your choice.
Begin your preparation process with these essential steps:
- Measure your rice and water carefully, using a 1:1 ratio for most solar cookers. You may need to adjust this ratio slightly depending on your specific cooker's characteristics, so it's worth testing with small batches first.
- Rinse your rice thoroughly until the water runs clear, typically requiring 5-6 rinses. Use a fine mesh strainer or cheesecloth for best results, as this removes excess starch and prevents clumping.
- Choose a heat-resistant vessel that fits properly in your solar cooker. Confirm it's completely clean and free of any previous cooking residue.
- Add your measured rice and water to the vessel, following the correct ratios, and cover it properly to retain steam during the cooking process.
Monitor Cooking Temperature

Once your rice and water are in place, monitoring the cooking temperature becomes your next key focus. You'll need to track multiple temperature points using sensors like the DS18B20 to guarantee proper cooking. Connect these sensors to your Arduino controller and set them to collect data every 10 minutes through your Bluetooth module.
Place your temperature sensors at critical points: one in the water with the rice, another in the cooking box, and a third to measure ambient temperature. You'll want to maintain ideal cooking temperature between 85-100°C for the water. Use the real-time data to adjust the cooker's position as the sun moves across the sky.
| Temperature Point | Target Range |
|---|---|
| Water/Rice | 85-100°C |
| Cooking Box | 70-90°C |
| Heat Storage | 60-80°C |
| Ambient Air | Baseline |
Keep monitoring the temperature readings through your data collection system. If you notice temperatures dropping, you'll need to reposition your cooker to maintain maximum solar exposure. Remember, consistent temperature maintenance is essential for properly cooked rice, so check your Bluetooth-connected readings regularly and make necessary adjustments.
Frequently Asked Questions
Can Solar Cookers Work Effectively on Partly Cloudy Days?
Yes, you'll find solar cookers can work on partly cloudy days, reaching temperatures of 200-250°F. They'll just cook slower than on sunny days, and you'll get better results using insulated models with heat retention features.
How Long Can a Homemade Solar Cooker Typically Last Before Needing Replacement?
Your homemade solar cooker can last 6-12 months with proper care, but you'll need to replace materials like cardboard and foil sooner. Regular maintenance and protection from weather will extend its lifespan.
What's the Maximum Cooking Temperature Possible in a Basic Solar Cooker?
You'll find that a basic solar cooker can reach up to 400°F (204°C) under ideal conditions, though typical temperatures range between 150-300°F (66-150°C). These temperatures depend heavily on design and insulation quality.
Are Solar-Cooked Foods as Nutritious as Traditionally Cooked Meals?
Yes, your solar-cooked foods are actually more nutritious than traditionally cooked meals. You'll retain more vitamins and nutrients since you're cooking at moderate temperatures, and there's no nutrient loss through boiling or burning.
Can Solar Cookers Be Safely Used for Cooking Meat Dishes?
Yes, you can safely cook meat in solar cookers if you guarantee internal temperatures reach required minimums: 145°F for whole cuts, 160°F for ground meat, and 165°F for poultry. Always use a calibrated thermometer.
In Summary
You've now learned the key steps for creating and using a solar rice cooker. By following these simple instructions, you'll save energy while preparing perfect rice using just the sun's power. Don't forget to check the weather forecast before planning your solar cooking, and you'll soon be making eco-friendly meals right in your backyard. Start small, and you'll master solar cooking in no time.


Leave a Reply