Building a solar oven today offers you a smart, eco-friendly way to cook while cutting energy costs and reducing your carbon footprint. You'll tap into free, renewable solar power that can reach temperatures up to 300°F – perfect for cooking meals, reheating leftovers, or even baking treats. It's a practical project that teaches valuable lessons about renewable energy and supports energy independence. You can construct one easily using common materials like cardboard boxes and aluminum foil, making it both cost-effective and educational. The journey into solar cooking opens up a world of sustainable culinary possibilities.
Getting Started With Solar Cooking

Three key principles make solar cooking possible: sunlight conversion, heat retention, and proper positioning.
You'll need to understand how sunlight transforms into heat energy that cooks your food efficiently and safely.
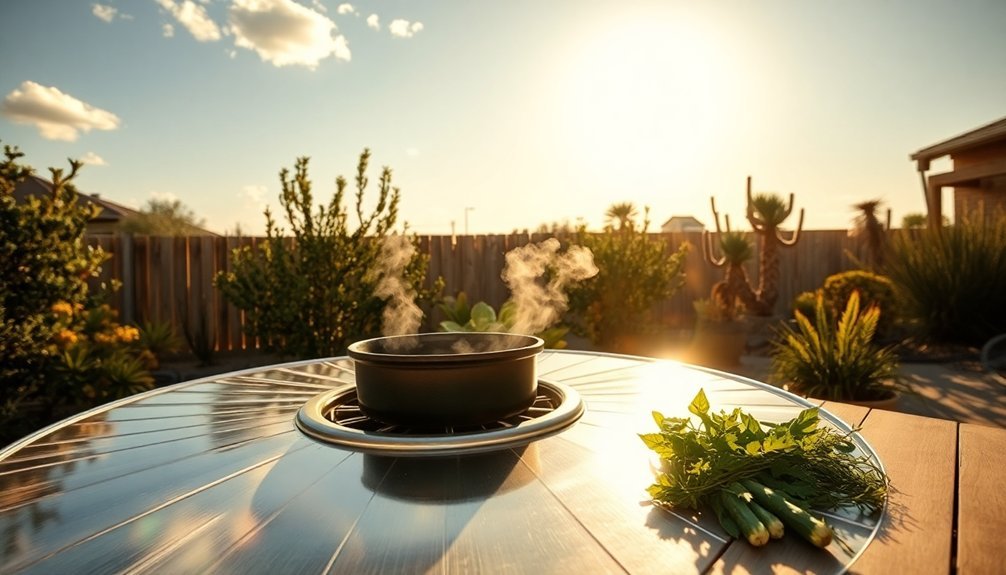
To begin your solar cooking journey, gather materials that maximize these principles. Start with a dark-colored cooking pot that absorbs radiant energy effectively, and avoid light-colored cookware that won't capture heat well. Cookware temperature can reach up to 300 degrees Fahrenheit on sunny days.
You'll also need reflective surfaces like aluminum foil to direct sunlight into your cooking chamber. Add a clear plastic cover to trap heat inside.
Position your solar oven where it'll receive direct sunlight, and remember to adjust the reflectors throughout the day as the sun moves.
Don't forget basic safety: never look directly at reflected sunlight and be careful around hot surfaces.
Essential Equipment and Tools
You'll need several key items to build your solar oven, starting with a pizza box as your main container and materials like aluminum foil, black construction paper, and plastic wrap for heat management.
Basic tools including scissors, tape, and glue will help you properly assemble and secure all components of your solar cooker.
A thermometer and cooking container are also essential for monitoring temperature and holding food while it cooks in your finished oven. Rolled up sheets of newspaper for insulation help maintain consistent cooking temperatures between the box walls.
Basic Construction Materials Needed
Success in building a solar oven begins with gathering the right materials and tools. You'll need cardboard boxes or plywood for the frame, along with newspaper, hay, or sawdust for insulation.
For the reflective surfaces, gather aluminum foil and black construction paper or paint to create heat-absorbing areas.
The transparent cover is essential – you can use plastic wrap, a heavy cooking bag, or glass to trap heat effectively.
Don't forget to get tape for securing everything in place. You'll also want to include a metal coat hanger to prop the lid and a thermometer to monitor cooking temperatures. The oven can reach 200 degrees Fahrenheit on a sunny day with proper setup.
Basic tools like a utility knife, scissors, and measuring tape will help you make precise cuts and achieve proper measurements during construction.
Assembly Tools For Success
Proper assembly tools play an essential role in creating an effective solar oven. You'll need basic items like scissors, tape, glue, and measuring tools to start your project.
For precise cutting and measuring, equip yourself with a utility knife, cutting mat, and a reliable straightedge. Don't forget to wear safety gloves during construction.
When working with insulation and reflective materials, you'll require tools to handle newspaper, hay, or Styrofoam effectively. Using darkened cookware is crucial for optimal heat absorption. A brush for applying black paint, masking tape, and a stapler will help secure these materials.
For the final assembly and testing phase, make certain you have an oven thermometer, cooking equipment, and materials for the cover and reflector. These tools guarantee you'll build a functional solar oven that effectively captures and retains heat for cooking.
Harnessing The Power of Light
To transform sunlight into useful heat for your solar oven, you'll need to understand how light particles interact with reflective surfaces.
Your success depends on using materials that effectively bounce and concentrate these particles into a focused cooking area.
You can maximize light collection by positioning reflectors at ideal angles, allowing more solar energy to convert into the heat needed for cooking.
Light Energy to Heat
Harnessing light energy for heat production relies on sophisticated photothermal conversion mechanisms that transform captured solar radiation into usable thermal energy.
When you're building a solar oven, you'll need dark materials that maximize light absorption while minimizing reflection and transmission. These materials convert incoming photons into heat through specialized processes.
The efficiency of your solar oven depends on several key factors: the amount of photothermal material used, its specific heat capacity, and how well it transfers heat to your cooking space.
You'll want to select materials engineered for broadband light absorption, similar to how advanced solar technologies use materials like black TiO2.
Proper insulation is essential – it prevents heat loss and maintains consistent cooking temperatures.
Think of your solar oven as a contained system that traps and utilizes the sun's energy effectively.
Reflecting Solar Particles
When building a solar oven, reflecting solar particles plays an essential role in maximizing heat collection.
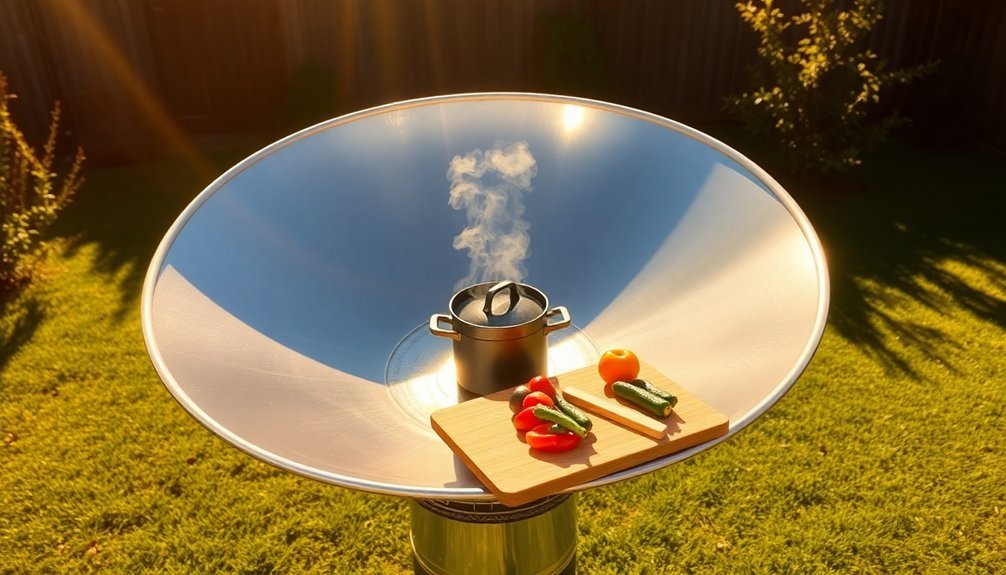
You'll need to understand how sunlight reflection works to create an efficient cooking system. Just like marine cloud brightening uses reflective properties to affect temperature, your solar oven will use reflective surfaces to concentrate sun rays into a cooking chamber.
You can enhance your oven's performance by strategically placing reflective materials to capture and direct more sunlight.
- Shiny aluminum foil angled at 45 degrees to bounce sunlight inward
- Reflective panels that fold out like a flower to catch maximum rays
- Mirrored surfaces positioned to create a focused heating zone
- White reflective backing to prevent heat loss through absorption
- Adjustable reflectors that track the sun's movement throughout the day
Maximum Light Collection
Since maximum light collection determines your solar oven's cooking ability, understanding the science behind it will help you build a more effective system.
You'll want to focus on three key elements: material selection, sun exposure, and heat retention.
Start by using black paper to absorb all visible light wavelengths, converting them into heat. Line your oven's interior with aluminum foil to reflect and retain heat effectively.
Add a clear plastic wrap or Plexiglas cover to create a greenhouse effect that traps heat inside. For best results, position your oven during peak hours between 10 a.m. and 4 p.m., when solar irradiance is highest.
Positioning Your Solar Oven
The success of your solar oven depends heavily on proper positioning and orientation to maximize sun exposure. You'll want to find a sunny, level spot away from shadows and strong winds. As you set up, face the oven directly into the sun and adjust its angle to match the sun's elevation.
For midday cooking, point the shorter front panel eastward; for evening meals, face it westward.
- Reflective panels gleaming in the sunlight, catching every ray
- A sturdy oven perched on bricks, standing firm against the breeze
- Wire rack suspended beneath the pot, creating perfect heat flow
- Aluminum foil props lifting the lid, directing extra sunlight inside
- Clean, polished surfaces mirroring the sun's power into your cooking space
Remember to readjust your oven's position every 30 minutes to track the sun's movement.
Best Times For Cooking
Making the most of your solar oven requires understanding ideal cooking windows throughout the day.
You'll find the most effective cooking time falls between 10 am and 4 pm, with peak sun intensity from 11 am to 3 pm. You can start preheating and browning ingredients as early as 10 am to maximize efficiency.
Your cooking success depends heavily on weather conditions. While sunny days offer excellent results, partly sunny conditions will extend your cooking time.
You won't be able to cook at night or during cloudy weather, though some ovens accept fire pellets as a backup heat source.
To maintain consistent cooking temperatures, you'll need to reposition your oven to track the sun's movement, especially during winter months when daylight hours are shorter.
Using dark-colored pots and adding insulation will help improve your oven's performance.
Simple Recipes For Beginners
Now that you've mastered the timing of solar cooking, you can start with some beginner-friendly recipes that work perfectly in your sun-powered oven.
S'mores, nachos, and English muffin pizzas are excellent first-time projects, requiring minimal preparation and delivering delicious results. On a 95-degree day, you'll need between 20-40 minutes to create these treats, making them perfect for learning solar cooking basics.
- Gooey marshmallows melting into chocolate between crispy graham crackers
- Cheese bubbling over crispy tortilla chips
- Mini pizzas with stretchy mozzarella and pepperoni
- Folded tortillas oozing with melted cheese
- Fresh-baked scones filled with dried fruit and nuts
You can experiment with variations of these recipes once you're comfortable with the basics, adding your favorite toppings or ingredients to make them your own.
Temperature Control Tips

You'll need a reliable thermometer, ideally a Type-K thermocouple, to accurately measure your solar oven's temperature range of 150-225°F.
For stable temperatures, position your oven directly facing the sun and adjust its angle every 30-45 minutes as the sun moves across the sky.
Keep your cooking temperature steady by using dark, lidded cookware and maintaining proper insulation with multiple layers of heat-trapping materials like crumpled newspaper or spun fiberglass.
Measuring Heat Correctly
While building a solar oven can be straightforward, maintaining proper temperature control requires careful measurement and monitoring.
You'll need reliable tools like a pyranometer or calibrated lux meter to measure solar irradiance, and Type-K thermocouples for internal temperature readings.
Position your measuring devices strategically to prevent heat loss, and don't forget to calibrate them according to international standards.
- A pyranometer tracking the sun like a sunflower, constantly adjusting to capture maximum readings
- Thermocouples snaking through the oven cavity like precise digital tentacles
- Layers of insulation hugging the cooking chamber like a thermal blanket
- A laser-pointer thermometer creating a red dot exactly where you need to measure
- Aluminum foil reflecting sunlight like mirrors in a dance of heat and light
Keep Temperature Ranges Stable
Maintaining stable temperatures in a solar oven requires strategic control over multiple variables, from positioning to insulation.
You'll need to track the sun's movement every 30-45 minutes, adjusting your reflective panels accordingly to keep heat levels consistent.
For ideal performance, position your oven in a wind-protected area and line it with multiple layers of insulation, such as crumpled newspapers or fiberglass.
Use dark-colored cookware with tight-fitting lids, and don't forget to preheat for an hour before cooking.
You'll want to aim for temperatures between 300°F to 400°F for most dishes.
Remember to seal all gaps in your oven's construction and use black construction paper on the bottom to enhance heat absorption.
For best results, plan your cooking during peak sunlight hours from 11:00 am to 3:00 pm.
Weather and Solar Cooking
Successful solar cooking depends heavily on weather conditions and timing.
You'll get the best results between 11 am and 3 pm when the sun's directly overhead. While outside temperature doesn't matter much on clear days, cloud cover can greatly impact your cooking time. You can even cook in snowy conditions if the sky's clear.
- Picture rays of sunshine beaming through a crystal-clear sky onto your solar oven's reflective surface
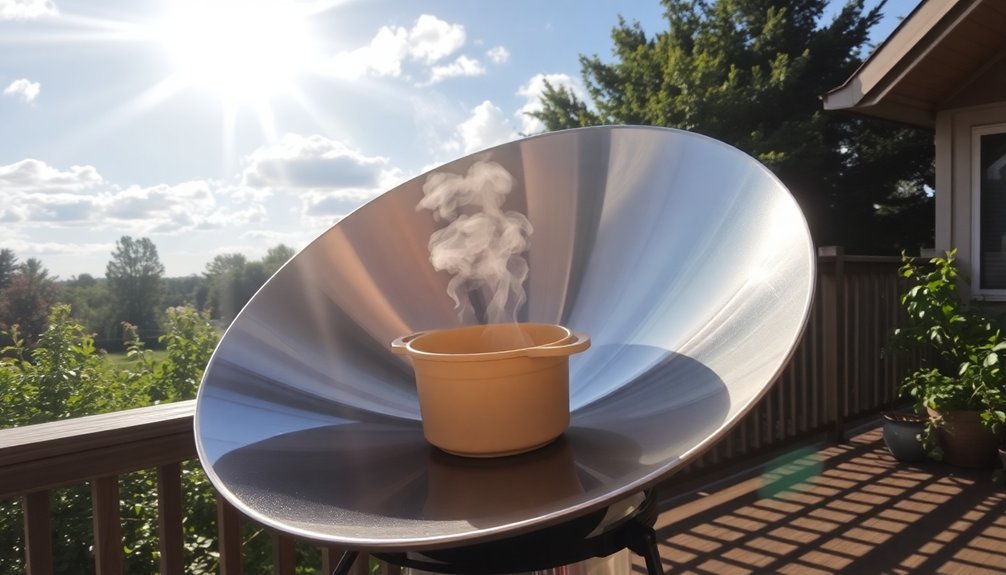
- Imagine steam rising from a dark pot as it absorbs the sun's energy at high noon
- Visualize adjusting your oven to track the sun's path like a sunflower
- See your stew bubbling slowly in the gentle heat of a winter afternoon
- Envision checking your bread as it bakes golden brown in the peak summer sun
Food Safety Guidelines
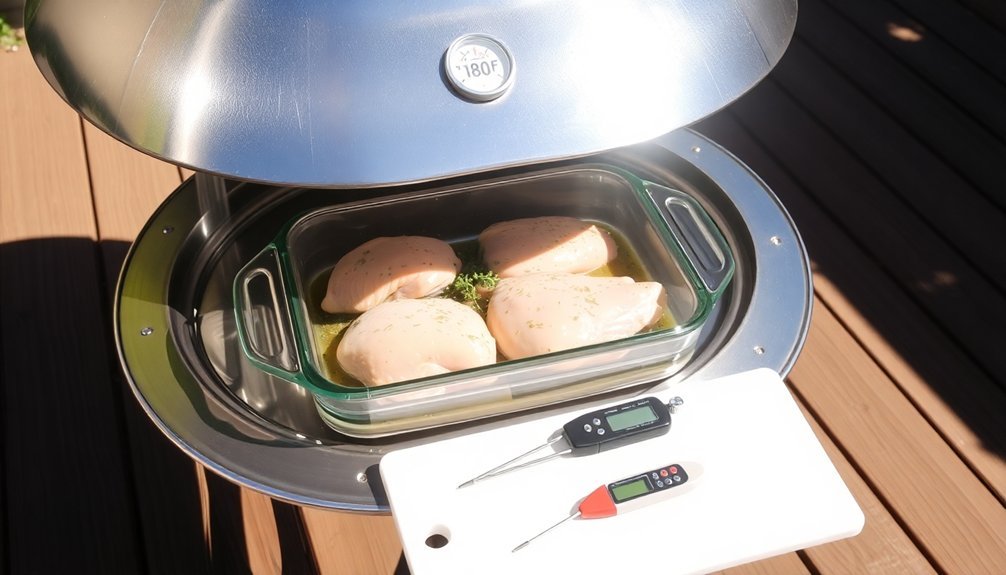
Safe solar cooking requires four essential temperature checkpoints to prevent foodborne illness. You'll need to preheat your solar oven to at least 140°F, guarantee cooking temperatures stay between 200-300°F, verify meats reach 165°F internally, and keep reheated foods above 145°F until serving.
| Food Type | Cooking Time | Internal Temp |
|---|---|---|
| Eggs & Desserts | Under 1 hour | 165°F |
| Cut Meats & Veggies | 2-2.5 hours | 165°F |
| Whole Chickens | 3-3.5 hours | 165°F |
To maintain food safety, you'll want to stir liquids and rotate solid foods every 10-15 minutes. Don't leave food at room temperature for more than 3-4 hours, and always use dark-colored cookware for better heat absorption. Remember to handle raw and cooked foods separately to prevent cross-contamination.
Common Mistakes To Avoid
When building a solar oven, even small oversights can greatly impact its performance. You'll want to avoid common pitfalls like poor insulation, incorrect alignment with the sun's rays, and ineffective material choices.
Remember, it's essential to test your oven under different conditions and make adjustments based on your findings. Don't forget to seal all gaps, secure the plastic wrap tightly, and use black surfaces to maximize heat absorption.
- Gaps in the insulation letting precious heat escape like steam from a kettle
- Misaligned reflectors causing sunlight to scatter instead of focusing on your food
- Crumpled or cloudy plastic wrap blocking the sun's energy
- Reflective surfaces positioned at incorrect angles like broken mirrors
- Shade creeping across your oven as the sun moves through the sky
Maintenance and Storage
Now that you've mastered building your solar oven, maintaining it properly will extend its lifespan and preserve its cooking efficiency. Protect your investment by applying natural varnish or hardening oil to exterior wood and regularly inspecting for damage. Clean the interior after each use with a soft sponge and mild cleaning agents, avoiding abrasive materials.
| Maintenance Task | Frequency |
|---|---|
| Clean interior/exterior | After each use |
| Inspect components | Monthly |
| Repaint tank | Every few years |
When it comes to storage, you'll want to keep your solar oven in a dry, protected location. Use a barbecue cover to seal out moisture and dust, and store it away from direct sunlight when not in use. Before using it again, always inspect all components and test with a small item to verify everything's working properly.
Taking Your Skills Further
Building a basic solar oven is just the beginning of your sustainable cooking journey. You'll find endless opportunities to enhance your design, measure performance, and expand its applications.
Whether you're testing different materials, adjusting angles for ideal sunlight capture, or monitoring temperatures, each improvement brings you closer to mastering solar cooking technology. You can transform your project into a valuable tool for off-grid living, emergency preparedness, or community education.
- A sleek black oven with adjustable reflective panels gleaming in the sunlight
- A digital thermometer displaying rising temperatures as steam escapes
- Recycled materials cleverly repurposed into a custom-designed cooking station
- Students gathering around to learn about renewable energy principles
- Communities sharing sustainable cooking techniques and recipes at local workshops
Frequently Asked Questions
Can Solar Ovens Be Used to Purify Contaminated Water?
Yes, you can use solar ovens to purify contaminated water effectively. They'll heat water above 159°F for pasteurization, killing harmful pathogens through thermal and UV radiation, making your water safe to drink.
How Many Years Does a Typical Solar Oven Last?
You'll get about 15-20 years from a typical solar oven if you maintain it properly. Your oven's lifespan depends on how well you protect it from weather and keep up with regular cleaning and maintenance.
Are There Communities or Groups Dedicated to Solar Cooking Worldwide?
Yes, you'll find numerous dedicated groups worldwide, including Solar Cookers International. They're actively promoting solar cooking across communities in India, China, and Africa, while supporting millions of users through training and resources.
Can Solar Ovens Work Effectively in Snowy Winter Conditions?
Yes, you'll find solar ovens work well in winter if there's bright sunshine. Snow can actually boost efficiency by reflecting more sunlight, though you'll need to adjust the cooker more frequently for the low-angle winter sun.
Do Solar Ovens Require Special Cookware Different From Conventional Kitchen Pots?
You'll need specific cookware for your solar oven – ideally thin, black or darkened pots with tight-fitting lids. While you can use regular pots, they should be matte black to efficiently convert sunlight into heat.
In Summary
You'll find solar cooking is more than just a sustainable hobby – it's a practical skill that can serve you well in various situations. Whether you're aiming to reduce your carbon footprint, preparing for emergencies, or simply enjoying outdoor cooking, your solar oven offers a reliable, cost-effective solution. Start small, follow the safety guidelines, and you'll soon master this ancient yet innovative cooking method.


Leave a Reply