
At high altitudes, you'll need to substantially increase cooking times for legumes since water boils at lower temperatures. For every 1,000 feet above sea level, add about 5% to your cooking time. While beans might take 80 minutes at sea level, they could require 4-5 hours at higher elevations. You can reduce these times by pre-soaking beans for 12 hours and using a pressure cooker, though you'll still need to adjust for altitude. Adding more liquid is essential – use 10% more at 2,000-4,000 feet, increasing up to 25% above 8,000 feet. Understanding these altitude adjustments will help you master perfect beans every time.
Understanding Altitude Effects on Legumes
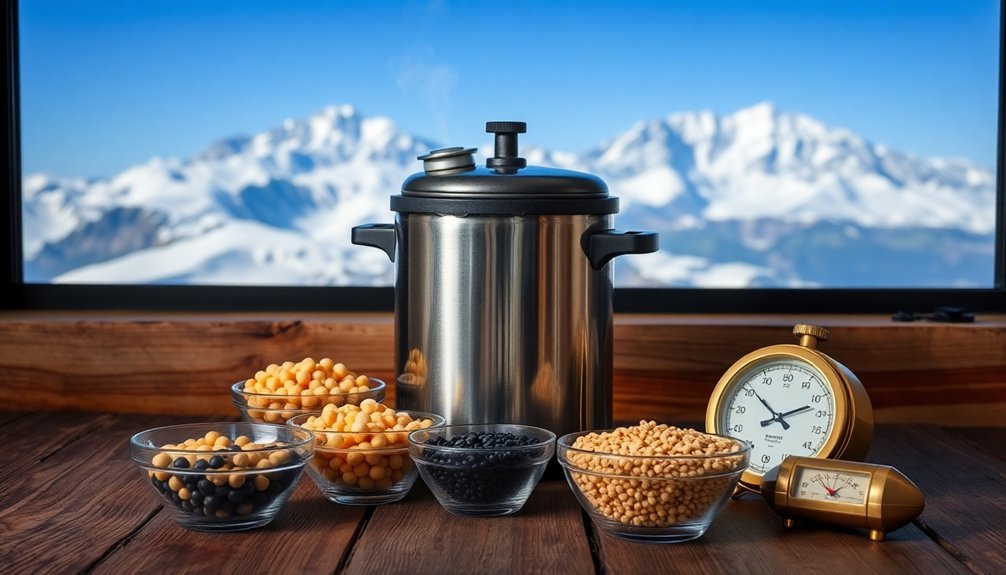
Picture a pot of beans simmering on a stove in Denver versus one at sea level – they'll have drastically different cooking times. When you're cooking at higher elevations, you'll need to adjust your expectations and methods substantially.
At sea level, your beans might cook in about 80 minutes, but at elevations like Guatemala (2,256 meters) or Leadville, Colorado (over 3,000 meters), you're looking at cooking times that can stretch beyond 4 or 5 hours.
The science behind this is straightforward: water boils at lower temperatures as you climb higher. You'll need to simmer your beans at lower temperatures (165-180°F) at high elevations compared to sea level (180-200°F) to prevent them from falling apart.
For every 1,000 feet of elevation gain, you'll need to add approximately one-fourth more cooking time to your legumes. A pressure cooker setup can dramatically reduce these extended cooking times to just 20-30 minutes for most bean varieties.
To combat these extended cooking times, you can use strategic methods like soaking your beans beforehand. Adding salt or baking soda to the soaking water will further reduce cooking time.
While altitude affects cooking duration, you'll be glad to know it doesn't substantially impact the nutritional value of your beans, except for a slight decrease in protein digestibility.
Bean Selection for High Elevation
Most successful high-altitude cooking starts with selecting the right beans for your elevation. You'll want to pay attention to bean density and variety, as these factors markedly impact cooking times and results at higher altitudes.
Denser beans, similar to those classified as Strictly Hard Bean (SHB), typically require longer cooking times but maintain their shape better during the cooking process. Beans from higher elevations develop harder cell structures during their growth.
When choosing beans for high-elevation cooking, consider these key characteristics:
- Denser beans hold up better under extended cooking times needed at altitude
- High-quality Arabica varieties tend to have better texture and cooking consistency
- Single-origin beans often provide more predictable cooking results than blends
- Beans grown at higher elevations are naturally denser and more suitable for altitude cooking
The combination of altitude and bean density plays a vital role in your cooking success. While you might be tempted to use any beans available, selecting those specifically suited for high-altitude cooking will save you time and frustration in the long run.
Remember that beans grown at higher elevations naturally develop characteristics that make them more suitable for cooking in similar conditions.
Solar Cooking Temperature Adjustments
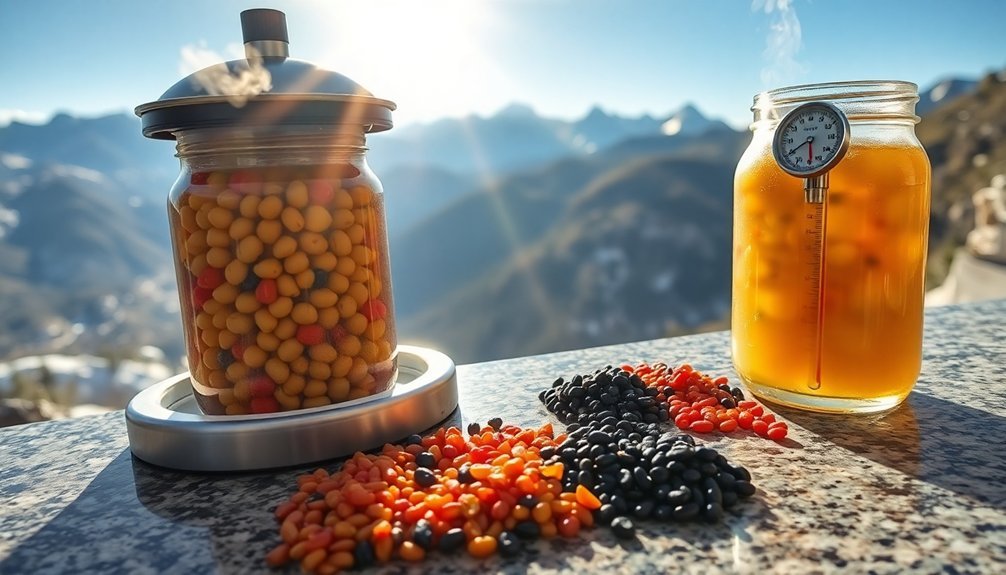
Once you've selected your ideal beans for high-altitude cooking, adapting your solar cooking temperatures becomes your next challenge. At higher elevations, you'll need to account for both the increased UV intensity and lower air pressure that affect your cooking process.
You'll find that your solar cooker can reach temperatures between 200°F and 300°F, but you'll need to make frequent adjustments to maintain ideal heat. While you might benefit from stronger UV rays at altitude, you'll typically need longer cooking times – often double what you'd expect at sea level. Using multiple types of cookers like box and parabolic designs can help optimize your cooking results across different seasons.
To maximize efficiency, position your cooker between 10:00 am and 3:00 pm, with the most effective cooking window between 11:00 am and 2:00 pm.
To maintain consistent temperatures, you'll need to regularly reorient your cooker to follow the sun's path. Consider tilting your cooker to compensate for the sun's angle, and adjust your reflectors as needed. While the ambient temperature won't impact your cooking results substantially, you'll want to focus on maximizing solar intensity through proper positioning.
For legumes specifically, plan for 2-3 hours of cooking time, and consider reducing the size of your ingredients to speed up the process.
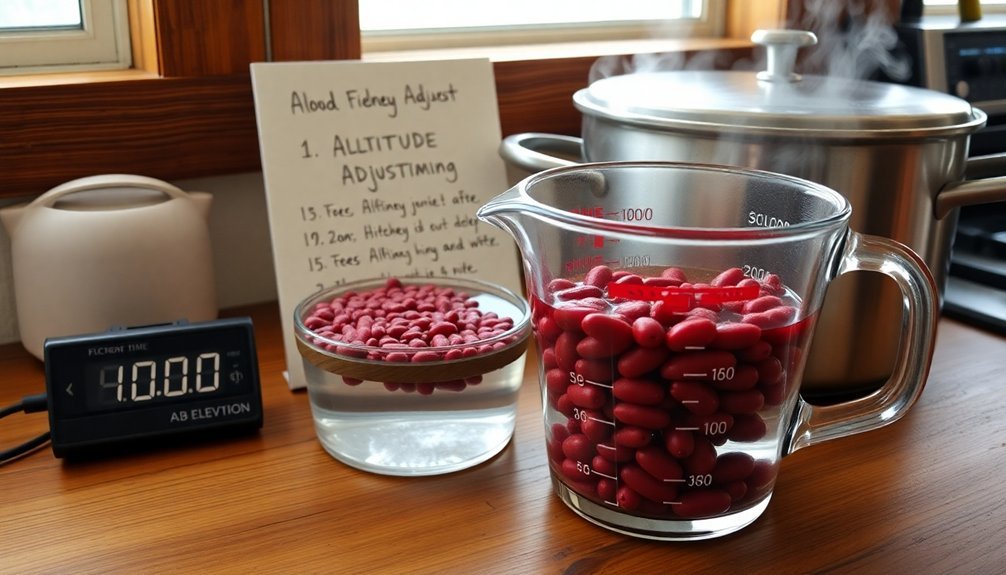
Pre-Soaking at Higher Elevations
A bowl of dried beans at high altitude requires special pre-soaking attention to guarantee successful cooking. At higher elevations, you'll find that proper pre-soaking becomes critical, as it can reduce your cooking time by 25% or more.
Without pre-soaking, you're looking at cooking times that are over 200% longer than at lower elevations, making meal preparation unnecessarily time-consuming.
To effectively pre-soak your beans at high altitude, you've got several proven methods:
- Soak beans overnight or for 12 hours to substantially reduce cooking time
- Blanch beans for 1½ minutes, followed by a 1-3 hour soak
- Add sodium bicarbonate to your soaking water for better time reduction than salt
- Pre-soak older beans longer, as their water uptake decreases with age
The hydration of seed coats during pre-soaking is particularly important at altitude, where water boils at lower temperatures. Using distilled or purified water can help beans soften properly, especially in areas with hard water. You'll need to adjust your cooking strategy since elevation affects cooking times linearly – for every 4,000 feet above sea level, expect to add an hour to your cooking time on low settings.
Remember that proper pre-soaking isn't just helpful – it's essential for high-altitude success with legumes.
Toxin Removal Safety Guidelines
You'll need to boil your beans for at least 10 minutes to destroy natural toxins, even if you're planning to use a slow cooker later.
At high altitudes, where water boils at lower temperatures, you must extend the boiling time to guarantee complete toxin removal. Since water boils at 203 degrees F at 5,000 feet elevation, you'll need even more time to effectively neutralize toxins.
Your beans should always be pre-soaked for 12 hours and thoroughly boiled before proceeding with any cooking method, as these steps are essential for food safety.
Boiling Requirements For Safety
Proper boiling techniques for legumes play a critical safety role in removing harmful toxins, particularly phytohaemagglutinin. You'll need to boil your legumes for at least 10 minutes at sea level using fresh water. However, don't rely on slow cookers, as they won't reach high enough temperatures to destroy the toxins effectively.
Before boiling, you should soak your legumes for at least 12 hours. This preparation step is essential for proper cooking.
If you're cooking at higher altitudes, you'll need to adjust your boiling times substantially – add an hour of cooking time for every 4,000 feet of elevation.
Here are the key safety requirements you must follow:
- Use fresh water for both soaking and boiling
- Maintain a full rolling boil throughout the cooking process
- Don't attempt to cook legumes at low temperatures
- Guarantee thorough cooking – never consume raw or undercooked legumes
For guaranteed safety at high altitudes, consider using a pressure cooker. It'll help maintain the necessary temperature for toxin removal, which can be challenging at elevations where water boils at lower temperatures.
Natural Toxin Removal Process
While boiling removes harmful compounds from legumes during cooking, your body has its own natural mechanisms for handling toxins. Your liver leads this process through biotransformation, converting fat-soluble toxins into water-soluble forms that you can easily excrete through urine, stool, and breath.
You can support your body's natural detoxification process by incorporating specific foods into your diet. Include fiber-rich legumes to bind toxins and promote healthy elimination. Add sulfur-containing foods like garlic and onions, which help your body produce chemical detoxifiers.
Cruciferous vegetables contain glucosinolates that assist your liver in eliminating unwanted compounds.
Don't rely on supplements for detoxification, as they lack scientific evidence and can be harmful. Instead, focus on maintaining a balanced diet rich in natural detoxifying foods. You'll want to stay well-hydrated and avoid extreme dietary restrictions, which can interfere with your body's natural processes.
If you're concerned about toxin removal, consult a healthcare professional for personalized guidance rather than attempting severe cleansing regimens that could compromise your health.
Proper Water Ratios Above Sea
Successfully cooking legumes at high altitudes demands specific water-to-bean ratios for ideal results. You'll need to maintain at least 2 inches of water above your beans when using a crockpot, with a general ratio of 2 cups beans to 8 cups water.
For soaking, use 3 cups of cold water for each cup of beans and let them rest overnight.
Water quality plays a vital role in your success – hard water can prevent proper softening, so opt for fresh water whenever possible. At high altitudes, you'll need to adjust your cooking approach since water boils at a lower temperature. For instance, at 10,000 feet, water only reaches 194°F instead of the sea-level 212°F.
Here are key water ratio guidelines to follow:
- Pre-soak beans using the 1:3 ratio (beans to water) for 6-8 hours
- Maintain 2 inches of water above beans throughout cooking
- Use enough water to allow for extended cooking times at altitude
- Add fresh water during cooking if levels drop too low
Remember to monitor your cooking time and water levels carefully, as altitude substantially impacts both the cooking duration and water absorption rate.
Essential Solar Cooking Equipment
To build an effective solar cooker, you'll need basic components including reflective surfaces like aluminum foil, insulation materials such as rigid foam or newspaper, and dark-colored cooking containers.
Your solar cooker's heat collection depends on properly positioning reflective panels to direct sunlight into the cooking chamber while using black absorptive surfaces inside to capture and retain heat.
You'll achieve maximum heat storage by sealing all cracks with insulation, using a clear glass or plastic cover to trap heat, and positioning the cooker for maximum sun exposure between 11am and 3pm.
Solar Cooker Basic Components
Inside every solar cooker, five essential components work together to transform sunlight into cooking power. You'll find a black target surface that absorbs sunlight and converts it into heat energy, while reflectors redirect additional sunlight onto this target to increase the overall temperature.
A glass sheet acts as a transparent lid, trapping heat inside the cooking chamber while allowing sunlight to pass through. The insulation, which surrounds the cooking chamber, prevents heat from escaping and maintains consistent cooking temperatures.
To guarantee maximum heat distribution, you'll need these key structural elements:
- A well-insulated box made from wood or metal with four walls
- Reflective surfaces using materials like aluminum foil or glass mirrors
- A black-painted interior to maximize heat absorption
- A trivet to elevate your cooking pot and reduce heat loss
The efficiency of your solar cooker depends on how well these components work together. You can adjust the reflecting mirrors to focus maximum sunlight onto your cooking vessel, and the insulation's effectiveness will determine how long your cooker maintains its temperature.
Whether you're using a box cooker, panel cooker, or professional model, these basic components remain essential for successful solar cooking.
Heat Collection And Storage
Effective heat collection and storage systems form the backbone of reliable solar cooking equipment. You'll find several collector options, including flat plate collectors for direct heat and evacuated tube collectors that work with storage units.
For focused cooking power, you can use parabolic cookers that concentrate sunlight into a small area, while box cookers and panel cookers offer more portable solutions.
To maintain cooking temperatures when sunlight isn't available, you'll need efficient heat storage materials. Phase Change Materials (PCMs) like erythritol and magnesium nitrate hexahydrate store heat effectively, while rock beds and thermal oil provide sensible heat storage alternatives. Solar salt serves as another PCM option for your storage units.
You'll achieve the best results by using heat exchangers to regulate flow between storage and cooking vessels. Natural circulation or pumps can transfer heat effectively, and temperature control guarantees proper system function.
For ideal cooking, you'll want to use your solar cooker between 11:00 am and 3:00 pm when sunlight is strongest. Your system can reach 200-300°F, but you'll need good insulation to maintain these temperatures. Consider using a single-tank system to minimize heat loss and simplify your setup.
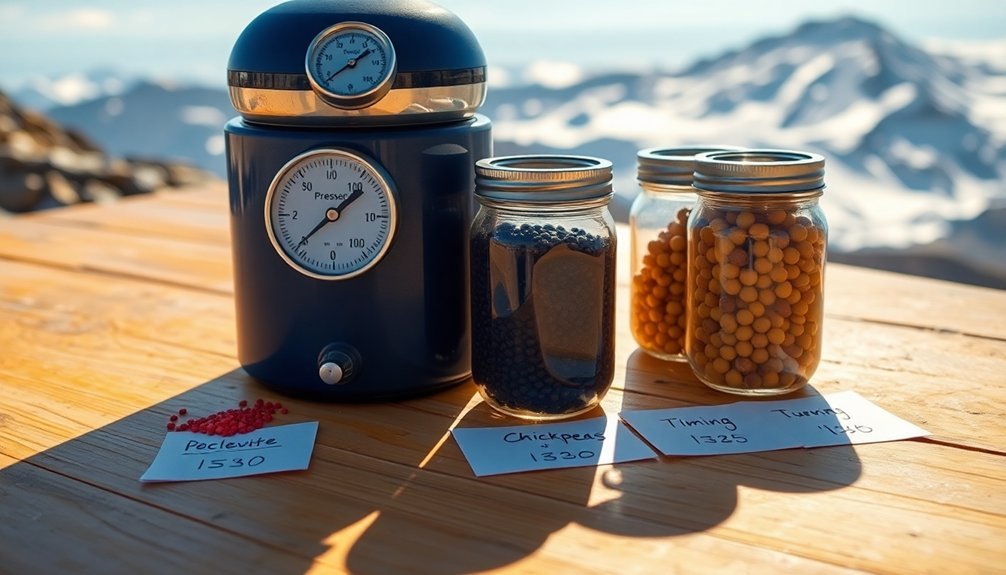
High Altitude Cooking Time Charts
Accurate cooking time charts serve as essential tools when preparing legumes at high altitudes. Since water boils at lower temperatures in elevated locations, you'll need to adjust your cooking times accordingly.
For every 1,000 feet above sea level, you'll want to increase your cooking time by approximately 25% when simmering or braising legumes.
When using cooking time charts for legumes at high altitudes, remember these key points:
- At 5,000 feet elevation, beans and legumes typically require 25% longer cooking times compared to sea level recipes
- Lentils and split peas don't need pre-soaking, but they'll still need extended cooking times at altitude
- Pressure cookers require a 5% time increase for every 1,000 feet above 2,000 feet elevation
- Standard slow cooker times won't be sufficient at high elevations
To use these charts effectively, you'll need to know your specific elevation and adjust accordingly. Keep in mind that humidity levels at higher altitudes can affect moisture retention, so you should always cover your legumes while cooking.
Start with the recommended times on your chart, but be prepared to extend cooking until your legumes reach the desired tenderness.
Monitoring Bean Doneness Tests
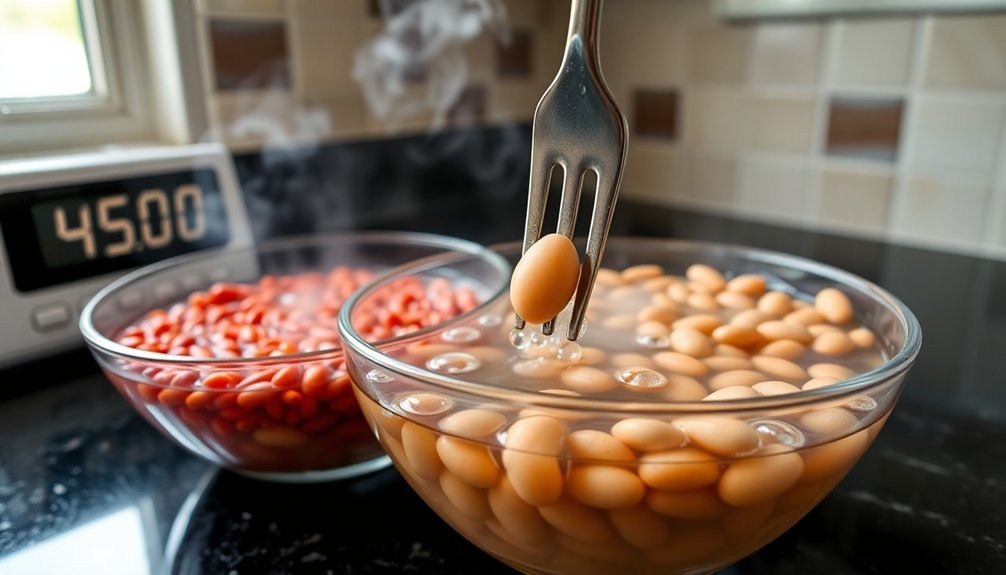
You'll want to test your beans' doneness by gently pressing them with a fork to check their firmness and overall texture throughout the cooking process.
While the split-skin method can offer clues about doneness, it's not always reliable at high altitudes where beans may cook unevenly.
Your most accurate test is tasting a few beans from different areas of the pot, making sure they're uniformly tender but still hold their shape.
Firmness and Texture Tests
Throughout the cooking process, testing beans for proper firmness and texture becomes essential for achieving the perfect doneness, especially at higher altitudes where cooking times vary substantially.
You'll need to monitor cooking times carefully, adding an extra hour for every 4,000 feet of elevation. At higher altitudes, where water's boiling point decreases, cooking times can increase dramatically – sometimes up to 200% longer than at sea level.
To properly test your beans' doneness, use both visual and tactile methods. Don't rely solely on timing, as factors like bean age, storage conditions, and water hardness can affect cooking duration. Remember to avoid adding salt until the end to prevent tough beans.
Here are key texture testing methods you should use:
- Press a bean against the pot's side with a fork – it should crush easily
- Taste test several beans from different areas of the pot
- Check that the beans are uniformly tender throughout
- Verify the bean's center isn't chalky or hard
If you're cooking at high elevations, consider soaking your beans beforehand to reduce cooking time and improve texture. Continue simmering if the beans haven't reached your desired tenderness, checking regularly to prevent overcooking.
Bean Split Method Reliability
Building on these texture testing methods, the bean split method offers a systematic approach to monitoring doneness that's especially valuable at high altitudes.
You'll need to split your batch testing into two distinct phases to maintain consistent results, much like the split-half reliability tests used in behavioral studies.
When you're cooking at elevation, where water boils at lower temperatures, reliability becomes even more critical. At 10,000 feet, you'll need to increase cooking times by approximately 40%, even in pressure cookers.
To maintain consistent results, you should test beans from both halves of your batch regularly during cooking.
You can improve your testing reliability by controlling several variables. Use distilled or purified water, as hard water can prevent proper softening.
Additionally, you'll want to take into account the age of your beans, as older ones require longer cooking times.
Pre-soaking is essential – whether you choose quick soak or hot soak methods – and adding salt to the cooking water can help reduce overall cooking time.
Moisture Control During Cooking
When cooking legumes at high altitude, proper moisture control becomes critical due to faster evaporation rates and lower boiling temperatures. You'll need to make specific adjustments to guarantee your legumes cook properly and maintain their texture.
Always keep your cooking vessel covered to prevent excessive moisture loss, and maintain the temperature between 165-180°F (74-80°C) for ideal results.
To manage moisture effectively while cooking legumes at altitude, you'll want to monitor your liquid levels carefully and make adjustments as needed. Don't add salt until the end of cooking, as it can slow down the cooking process and affect moisture absorption. If you're using hard water, switch to distilled water to help your legumes soften properly.
- Keep legumes covered with 2 inches of water during the entire cooking process
- Check liquid levels every 30 minutes and add hot water as needed
- Use a slow cooker with adjustable temperature controls to maintain consistent moisture
- Consider using a pressure cooker to reduce cooking time by 70% while retaining moisture
When adding acidic ingredients like lemon juice or vinegar, wait until the legumes are tender to prevent them from becoming tough and extending cooking times unnecessarily.
Optimal Bean Storage Methods
Proper storage of dried beans can substantially extend their shelf life and maintain their nutritional value. You'll get the best results by keeping your beans at or below 70 degrees Fahrenheit in a dark location, using food-grade containers that are completely airtight to prevent moisture and insect infiltration.
Your storage method will directly impact how long your beans remain viable. If you're storing beans in regular food-grade bags, plan to use them within a year.
For longer storage, transfer them to airtight containers or mason jars, which can preserve beans for up to three years. You can extend storage life to ten years or more by using Mylar bags with oxygen absorbers.
For indefinite storage, keep your beans in the freezer.
While proteins and minerals remain stable regardless of storage time, you'll notice that vitamins begin to deteriorate after two years.
Label your containers with storage dates and monitor them regularly for moisture or pests. If your beans become too dry over time, you can still use them as flour, or add baking soda during cooking to help soften them.
Season and Weather Considerations
Weather's impact on high-altitude cooking extends beyond just seasonal changes. While you might expect substantial seasonal variations in cooking times for legumes at altitude, the primary factors actually remain consistent year-round.
The main challenge you'll face is the consistently lower atmospheric pressure and humidity levels that affect how your legumes cook.
To maintain proper moisture levels in your legumes while cooking at altitude, you'll need to focus on specific techniques:
- Keep your cooking vessels tightly covered to prevent excessive moisture loss
- Use simmering (180-200°F) instead of boiling to prevent bean disintegration
- Add seasonings near the end of cooking to avoid toughening the bean skins
- Consider blanching beans for 1½ minutes before soaking to reduce cooking time
You'll find that weather conditions like wind and low humidity can impact your cooking times through increased moisture evaporation. To compensate, you'll need to extend cooking times by approximately one hour for every 4,000 feet of elevation. While seasonal changes don't substantially affect cooking times, maintaining consistent moisture levels remains vital for properly cooked legumes at any time of year.
Recipe Modifications for Elevation
Successfully adapting recipes for high-altitude cooking requires specific modifications to accommodate the lower atmospheric pressure and faster evaporation rates. When cooking legumes at high elevations, you'll need to increase both cooking times and liquid amounts to achieve the desired tenderness.
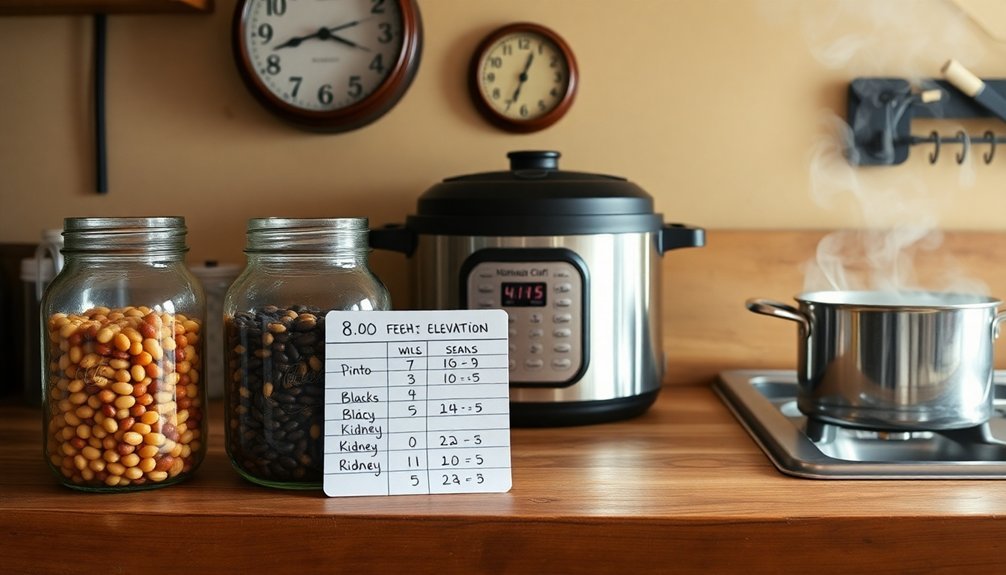
To properly cook dried beans at altitude, you'll want to soak them overnight and adjust your cooking time by 5% for every 1,000 feet above 2,000 feet in electric pressure cookers. If you're using a slow cooker at 8,000 feet, plan for 4-5 hours on HIGH setting for pre-soaked beans.
| Elevation (ft) | Water Adjustment | Cooking Time Adjustment |
|---|---|---|
| 2,000-4,000 | +10% liquid | +5% per 1,000 ft |
| 4,000-6,000 | +15% liquid | +20% total time |
| 6,000-8,000 | +20% liquid | +25% total time |
| Above 8,000 | +25% liquid | +30% total time |
Remember to keep food covered during cooking to prevent excessive moisture loss, and you'll need to decrease leavening agents in baked goods while increasing liquid ingredients. For ideal results, consider using altitude-specific cooking apps or websites that automatically adjust recipes for your elevation.
Frequently Asked Questions
Can I Cook Different Types of Legumes Together at High Altitude?
You can cook different legumes together at high altitude, but you'll need to add quicker-cooking varieties later in the process. Start with larger beans first, then add lentils or split peas near the end.
Do Clay Pots Affect Cooking Times of Legumes at Higher Elevations?
No, clay pots won't specifically change your legumes' cooking time at high elevations. While they distribute heat evenly, you'll still need to follow standard altitude adjustments for cooking times regardless of pot material.
Should I Add Baking Soda When Cooking Beans at Altitude?
Yes, you'll benefit from adding baking soda when cooking beans at altitude. It helps soften beans faster, improves texture, and offsets the longer cooking times you'll experience at higher elevations where water boils slower.
How Does Freezing Pre-Cooked Legumes Affect Their Texture at High Elevation?
When you freeze pre-cooked legumes at high elevation, you'll notice they maintain their texture well if you've properly cooled and stored them. Flash freezing helps prevent ice crystals from damaging their structure.
Can I Use a Pressure Cooker Lid on Normal Pots for Altitude Cooking?
No, you can't use a pressure cooker lid on normal pots – it's dangerous and won't work. The lids are specifically designed for their matching cookers and won't create proper seals on regular pots.
In Summary
You'll need to extend cooking times by 15-25% for every 3,000 feet above sea level when preparing legumes. Remember to pre-soak your beans longer at altitude and keep them well-covered with liquid during cooking. Watch for signs of doneness rather than relying solely on timing. Test a few beans by mashing them against the side of the pot to verify they're tender throughout.


Leave a Reply