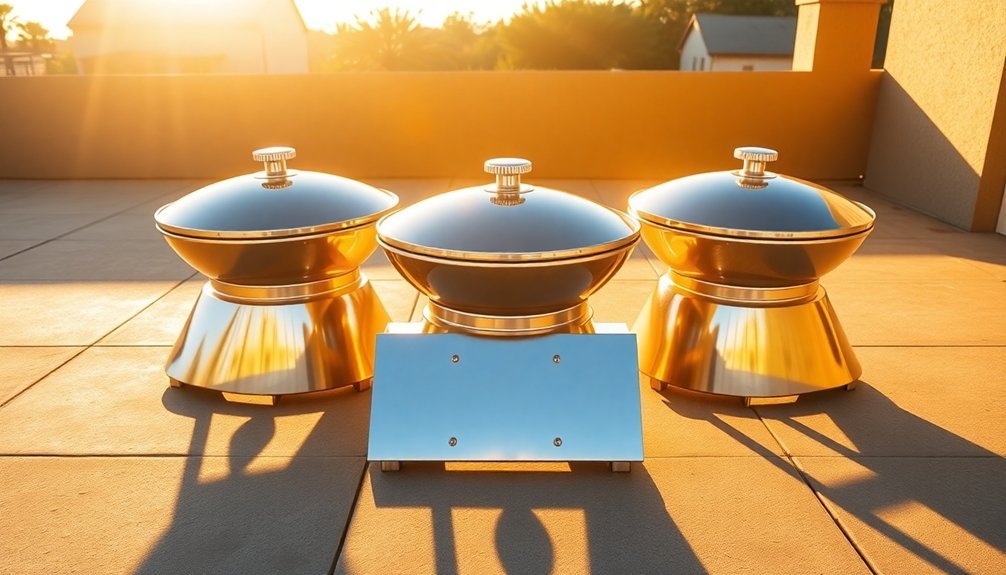
Position your solar cooker facing south for ideal sun exposure throughout the day. You'll want to align it directly with the midday sun and adjust every 30 minutes to maintain peak temperature. Track shadows by facing east at 9 AM, then make key adjustments at 11 AM and 1 PM. Set your cooker at a 30-degree angle on a flat, clear surface, modifying the angle based on seasons – steeper in summer, flatter in winter. Add reflective materials and guarantee wind protection with natural barriers or screens. Keep the path between your cooker and the sun unobstructed. Understanding these positioning secrets can transform your solar cooking results.
Direct South Facing Placement
While many homeowners assume a south-facing kitchen layout works well, Vastu principles actually advise against placing your cooker in direct southern alignment. This positioning can lead to financial difficulties according to ancient wisdom.
You'll want to evaluate more auspicious directions for your cooking space. The southeast corner is your best option, particularly if you have an east-facing house. If that's not possible, you can opt for a northwest placement as your second-best choice. These positions promote better energy flow and natural brightness in your kitchen. The ideal arrangement involves cooking while facing east for optimal energy harmonization.
If you're working with a west-facing house, both southeast and northwest orientations remain favorable choices.
Should neither option be available, you can utilize the southwest direction, but you'll need to position your gas stove in the southeast zone of that space.
Midday Sun Sweet Spot
Maximizing your solar cooker's efficiency begins with finding the perfect midday sun position. You'll want to face your cooker directly toward the sun when it's highest in the sky, using shadows as your alignment guide. Make sure they're even on both sides of the oven.
To maintain peak temperature, you'll need to refocus your cooker every 30 minutes. Use the alignment legs to adjust the height and angle, keeping the unit stable with wire stakes if it's windy.
Don't forget to check for potential obstructions like trees or buildings that might cast shadows later.
For safety and best performance, wear sunglasses when handling parabolic cookers, keep your reflectors clean, and use oven mitts.
Set up on level ground and utilize a leveling rack for consistent heat distribution. Using a dark-colored cast iron pot with a lid will significantly improve heat absorption and cooking efficiency.
Morning Shadow Tracking Method
For early morning solar cooking, mastering the shadow tracking method builds on your midday positioning skills. You'll want to face your cooker's front panel eastward and find a level, sunny spot by 9:00 AM. Watch the front flap's shadow – it shouldn't exceed half the flap's width underneath. These simple, step-by-step procedures help streamline the setup process for optimal results.
| Time | Shadow Check | Action Required |
|---|---|---|
| 9 AM | Long shadow | Set flap lower |
| 11 AM | Medium shadow | Adjust angle up |
| 1 PM | Short shadow | Raise flap high |
Position your dark pot in a heat trap and adjust the flap's angle as the sun climbs higher. When the shadow falls directly behind the cooker, you've found the sweet spot. Remember to reorient your cooker every couple hours to track the sun's 150° east-to-west movement for ideal cooking results.
Seasonal Angle Adjustments
You'll need to adjust your solar cooker considerably throughout the year, with summer requiring near-vertical positioning for peak sun angles above 70 degrees, while winter demands a much flatter orientation to catch the low-angled rays.
During winter months, you'll want to position the cooker at roughly 30-40 degrees and make more frequent adjustments to track the sun's faster apparent movement across the horizon.
At spring and fall equinoxes, you can follow a middle-ground approach by setting your cooker between 40-50 degrees and adjusting twice daily—once in the morning and once in the afternoon.
Summer Peak Sun Angles
While summer's longer days provide extended cooking opportunities, understanding peak sun angles is essential for ideal solar cooker performance. You'll get the best results by positioning your cooker between 11:00 AM and 3:00 PM when the sun's intensity reaches its peak.
Set your cooker's angle equal to your location's latitude for maximum sunlight exposure. During these peak hours, you'll need to adjust the position every 20-30 minutes to track the sun's movement.
Check that the shadow falls directly behind the cooker at noon to confirm proper alignment. For evening meals, orient the front panel westward; for noontime cooking, face it eastward.
Don't forget to use thermal mass materials and dark cookware to maintain consistent temperatures throughout the cooking process.
Winter Positioning Strategy
Adapting your solar cooker's position for winter months requires significant angle adjustments to compensate for the sun's lower path across the sky.
You'll need to calculate your ideal angle by multiplying your latitude by 0.9 and adding 29 degrees, or simply add 15 degrees to your latitude for a quick estimate.
Start cooking earlier, around 10 AM, since winter days offer shorter sunlight hours.
You'll want to check and adjust your cooker's position every 20 minutes using the shadow method for precise alignment.
Stabilize your setup against winter winds using heavy stones or bricks, and consider adding wind barriers.
For best results, use a cooker with adjustable inclines, like the Global Sun Oven or All Season Solar Cooker, which can better track the sun's lower winter trajectory.
Equinox Adjustment Guidelines
Seasonal sun changes demand regular adjustments to your solar cooker's position throughout the year.
You'll need to make these adjustments four times annually to maintain peak performance as the sun's elevation shifts between seasons.
During spring, you'll want to raise your cooker's angle to about 30 degrees, matching the sun's increasing height.
Use tools like the Sun Seeker App or a magnetic angle finder to achieve precise positioning.
As summer approaches, lower the angle to 10-20 degrees to align with the sun's highest path.
When fall arrives, begin tilting your cooker upward again to compensate for the sun's decreasing elevation.
After each adjustment, double-check that your cooker is firmly secured.
Regular monitoring with solar angle measurement tools will help guarantee you're capturing maximum sunlight year-round.
Clear Path Surface Setup
To maximize your solar cooker's efficiency, selecting the right setup location is essential. Choose a flat, level surface away from any shadows or obstacles that could block sunlight.
You'll want to position your cooker at roughly a 30-degree angle, adjusting throughout the day to track the sun's movement.
Add reflective materials like aluminum foil or mylar to boost sunlight concentration. Make sure these surfaces are smooth and securely fastened to prevent shifting.
For peak performance, you'll need proper insulation using materials like polystyrene on the bottom and sides. Don't forget to check that all seals are airtight to maintain consistent cooking temperatures.
Remember to select a stable surface that won't move during cooking, such as a sturdy table or clear pavement free of debris.
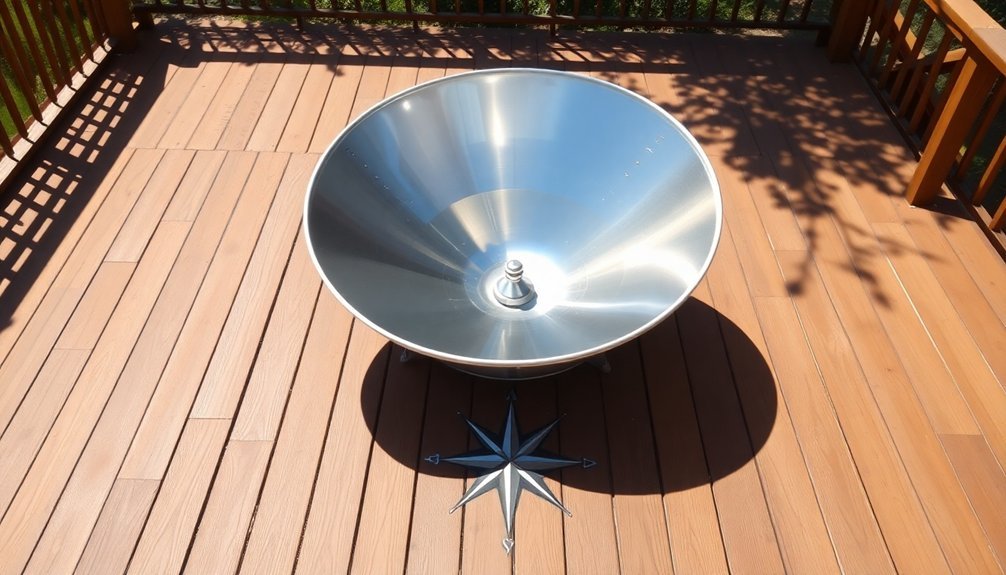
Focal Point Distance Check
Precise focal point measurement forms the foundation of an effective solar cooker setup.
You'll need to calculate your focal point using the x²/4a formula, where x is half your parabola's diameter and a is the depth at its vertex. For ideal performance, position your focal point at one-fourth of your aperture length.
- Measure your parabola's longest rim diameter and divide by two to find the radius.
- Square your radius measurement and divide by four times the depth.
- Keep your focal point inside the reflector cup for safety and efficiency.
Wind Protection Position
You'll get the best results from your solar cooker by positioning it near natural barriers like walls, fences, or buildings that block prevailing winds while still allowing full sun exposure.
Strategic placement in a sheltered corner can provide dual-direction wind protection, helping maintain stable temperatures for faster cooking times.
When natural barriers aren't available, you can set up portable windscreens using recycled materials like glass panels, ensuring they don't cast shadows on your cooker's reflective surfaces.
Natural Barriers Matter Most
While setting up your solar cooker for peak performance, natural barriers play an essential role in protecting against disruptive winds.
You'll want to position your cooker where trees, buildings, or hills can naturally shield it from strong gusts while maintaining proper airflow for optimal cooking conditions.
- Position barriers close enough to block wind but far enough to avoid restricting necessary airflow
- Consider prevailing wind patterns when selecting your cooking location
- Use existing structures strategically to create a wind-protected cooking zone
Strategic Corner Placement
Selecting a strategic corner position for your solar cooker can greatly boost its performance by maximizing wind protection.
You'll want to place your cooker with its back facing the prevailing wind direction, using large stones or bricks to secure the sides on gusty days.
Create an air gap beneath your pot using a wire rack, and don't forget to secure the front panel's flaps with clothespins to maintain structural integrity.
When positioning your cooker, face it directly toward the sun, checking every 20-30 minutes for ideal alignment. You can verify proper placement by ensuring the shadow falls directly behind the unit.
For consistent heating, maintain clean reflector surfaces and adjust them hourly to match the sun's path.
Use additional wind barriers if needed, but remember to include ventilation holes for proper airflow.
Portable Screen Setup
To maximize your solar cooker's efficiency, a portable wind screen setup serves as an essential defensive barrier against gusty conditions.
You'll want a lightweight, foldable design that's easy to transport and set up wherever you're cooking.
- Choose aluminum or wood panels that you can quickly assemble into a three-sided or V-shaped configuration, making certain they're taller than your cooker.
- Secure the screen firmly to the ground using anchors or weights to prevent it from toppling in strong winds.
- Include bottom flaps or openings beneath your cooker to guarantee proper airflow for combustion.
For added versatility, opt for hinged panels that fold flat for storage.
If you're working with plywood, seal the joints with HVAC foil tape and adhesive for durability.
Remember to maintain adequate clearance when using wooden screens to prevent fire risks.
Frequently Asked Questions
How Do Thunderstorms Affect the Recalibration Time of Solar Cookers?
After a thunderstorm, you'll need extra time to reorient your solar cooker, clean debris, check for damage, and realign with the sun. This recalibration process can take anywhere from 15-30 minutes.
Can Multiple Solar Cookers Interfere With Each Other's Efficiency When Placed Nearby?
Yes, your solar cookers can interfere with each other if they're placed too close. You'll face issues with shadowing, reflected radiation overlapping, and potential heat interference. Proper spacing and positioning are essential.
Does Cooking Time Vary Based on Different Pot Materials and Colors?
Yes, your cooking time will vary considerably. Dark-colored metal pots heat faster than light ones, and copper or aluminum pots cook food more quickly than glass or ceramic due to better heat conductivity.
How Does High Altitude Impact the Optimal Positioning Angle?
At high altitudes, you'll need to adjust your cooker's angle more frequently due to thinner air. You'll get stronger direct radiation, but you must tilt your cooker more precisely to compensate for reduced atmospheric diffusion.
What's the Maximum Safe Distance for Remote Temperature Monitoring of Solar Cookers?
You'll want to keep your remote temperature monitoring equipment within 15-20 feet of your solar cooker to maintain accurate readings while staying safe from intense heat and reflected sunlight, especially for parabolic models.
In Summary
You'll get the most from your solar cooker by combining these key positioning strategies. Track the sun's path, adjust seasonally, and maintain proper focal distances while keeping wind protection in mind. Remember, direct southern exposure during peak hours maximizes efficiency. Monitor shadows and keep surfaces clear for peak performance. With these placement techniques, you're ready to harness the sun's power for efficient, eco-friendly cooking.


Leave a Reply