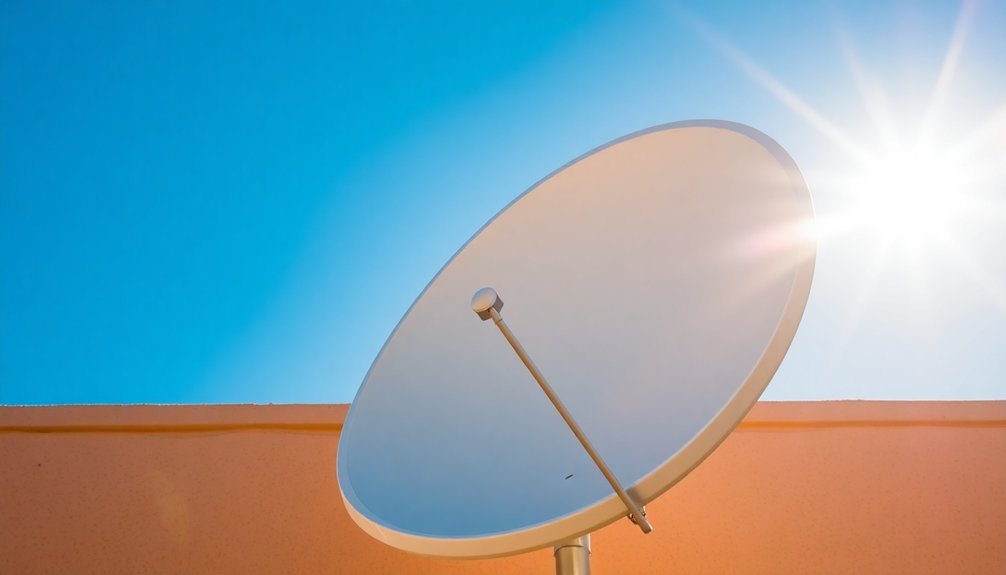
To maximize your solar dish's sun absorption, position it with precision: face south in the Northern Hemisphere or north in the Southern Hemisphere. You'll want to set your dish angle equal to your latitude, then adjust by ±15° seasonally – steeper in winter, shallower in summer. Mount your dish on the ground for better airflow and angle flexibility, using multiple reflectors at varying angles for ideal heat concentration. Schedule your main cooking during peak sun hours (10am-2pm), and verify you've got a shadow-free spot. Master these fundamentals, and you'll access even greater solar cooking potential.
Understanding Solar Angles For Cooking
When setting up a solar cooker, understanding the relationship between reflector angles and sunlight is essential for achieving ideal cooking temperatures.
You'll need to position your reflector so the sun's top rays bounce toward the opposite side of your target cooking surface.
Use a protractor to measure precise angles, ensuring your reflector faces the sun directly. You'll want to account for the sun's movement by incorporating a ±15° angular tolerance, which allows for two hours of unattended cooking. This tolerance is particularly important at the reflector's rim.
Deeper parabolas offer superior cooking performance compared to shallower reflector designs.
For peak performance when the sun is low, configure multiple reflectors at varying angles. Set top reflectors at steeper angles and bottom ones more shallowly.
This arrangement prevents cooking pot instability while maintaining consistent heat concentration throughout your cooking session.
Best Angles By Global Location
Solar angles for ideal cooking vary considerably based on your global location. For best sun absorption, you'll need to adjust your dish differently whether you're in the Northern or Southern Hemisphere, and according to your latitude.
If you're positioning your solar cooker, follow these key guidelines:
- Northern locations should face dishes south, while Southern Hemisphere users need to point them north.
- Near the equator, you can use a shallower angle year-round, roughly equal to your latitude.
- Above 40° latitude (north or south), you'll need steeper angles and seasonal adjustments – more vertical in winter, flatter in summer.
At higher altitudes, you'll benefit from clearer skies and stronger solar radiation, but remember to account for potential snow and ice accumulation by increasing the angle slightly. Using modern technology like those implemented in Switzerland, dishes can be equipped with flexible alignment systems to automatically track and optimize sun exposure throughout the day.
Seasonal Adjustments For Solar Dishes
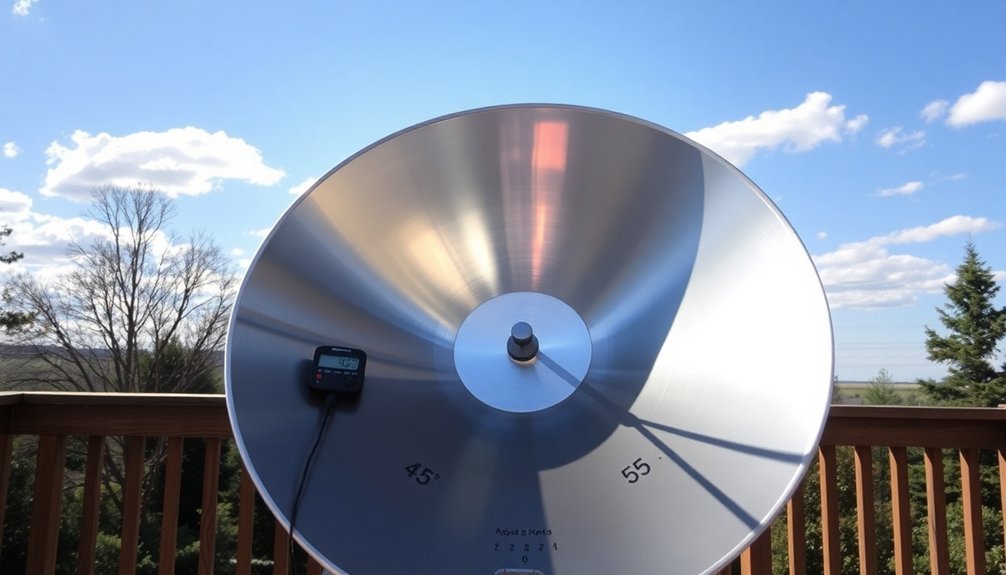
You'll need to increase your solar dish's tilt angle by 15 degrees during winter months to optimize sunlight absorption and counteract the sun's lower position.
Your summer setup requires reducing the tilt by 15 degrees from your latitude to capture maximum sunlight during longer days.
For optimal energy generation, ensure your solar dish is facing due south when installing in the Northern Hemisphere.
For the most precise adjustments, consider using tools like the Sun Seeker App to fine-tune your dish's positioning throughout the changing seasons.
Winter Tilt Increases Output
As winter brings shorter days and lower sun angles, adjusting your solar dish's tilt can greatly boost its energy output.
You'll want to increase your dish's tilt angle by adding 10-15 degrees to your location's latitude, helping you capture more sunlight during these challenging months.
Here's what you'll gain from proper winter adjustments:
- Up to 25% more energy production compared to fixed installations
- Natural snow shedding capabilities, maintaining performance during winter weather
- Enhanced sunlight exposure when the sun sits lower in the sky
You can make these adjustments manually or invest in an automatic tracking system.
If you're handling it yourself, plan to adjust your dish a few times throughout the year.
Summer Angle Adjustment Tips
Ready to enhance your solar dish for peak summer performance? To maximize energy production during the longer summer days, you'll need to adjust your panel's tilt angle.
Calculate your summer angle by subtracting 15 degrees from your latitude, or use the more precise method: multiply your latitude by 0.9 and subtract 23.5 degrees.
If you're in the Northern Hemisphere, verify your panels face true south, not magnetic south. Mark your calendar for April 18 to switch to your summer angle setting.
You can use manual adjustments or automatic tracking systems to maintain ideal positioning. While summer offers peak sunlight hours, keep in mind that excessive heat can reduce panel efficiency.
For latitudes between 25° and 50°, set your panels about 12 degrees flatter than standard recommendations.
Maximizing Morning Sun Exposure
Making the most of morning sunlight exposure requires strategic timing and consistent habits. You'll want to get outside within the first 30 minutes of waking up, though any exposure in the first two hours offers significant benefits. Aim for 20-30 minutes of exposure daily to boost vitamin D production and regulate your circadian rhythm.
To maximize your morning sun exposure:
- Prepare everything the night before, making it easier to step outside immediately after waking.
- Combine sunlight with daily tasks like enjoying your morning tea, stretching, or reading.
- Position yourself outdoors where you can directly absorb sunlight while doing these activities.
This routine won't just improve your mood and sleep quality – it'll also support weight management and gut health through better hormonal balance and vitamin D production.
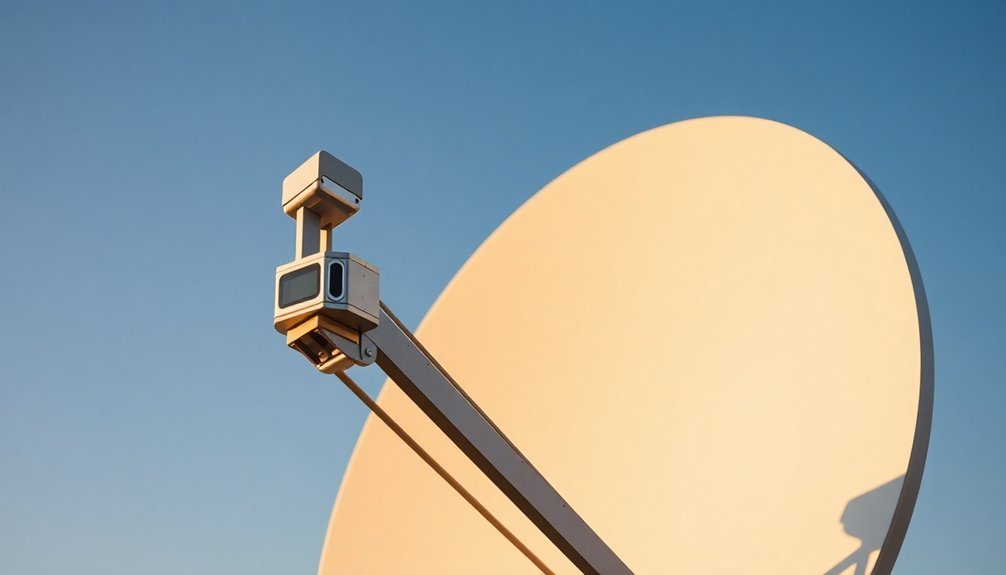
Tracking The Sun's Path
Understanding how the sun moves across your sky helps you maximize solar energy collection through both daily and seasonal patterns.
You'll notice the sun's arc shifts lower in winter and higher in summer, while following a predictable east-to-west path each day.
To optimize your solar setup's performance, you can use either active or passive tracking systems that automatically adjust panel positions to follow these natural movements.
Daily Movement Patterns
Since the sun follows a predictable path across the sky each day, tracking its movement becomes essential for maximizing solar panel efficiency.
You'll notice peak performance during midday and early afternoon when the sun reaches its highest point, delivering the most intense radiation. During sunrise and sunset, your panels will generate less power due to the sun's lower angle and reduced intensity.
To optimize your solar panel's daily performance:
- Position panels to face north if you're prioritizing peak daytime energy production
- Consider east-west orientation if you need consistent power throughout the day
- Install tracking systems to automatically adjust panel angles, which can boost energy production by up to 40% with dual-axis tracking
Seasonal Position Changes
To harness maximum solar energy throughout the year, you'll need to adjust your panels' tilt angles to match the sun's seasonal position changes.
Using your latitude as a baseline, subtract 15° during summer and add 15° during winter. In spring and fall, set the angle equal to your latitude.
These seasonal adjustments can boost your energy output by 10-25% annually. For example, in Phoenix, homeowners saw a 14% increase in energy production after implementing proper tilt changes.
You'll want to make these adjustments at the start of each season using digital angle finders or smartphone apps for accuracy.
While fixed-tilt systems remain stationary, adjustable systems give you the flexibility to optimize your panels' position year-round.
Don't forget to use proper safety equipment when making adjustments, or consider professional help if needed.
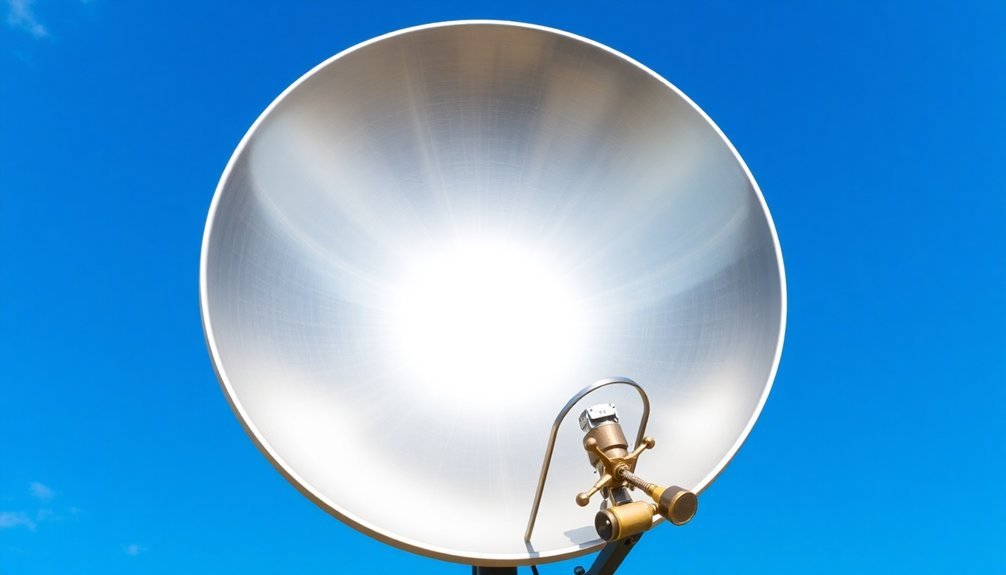
Reflector Positioning Tips
The proper positioning of solar reflectors can greatly boost your system's energy absorption when implemented correctly. For peak performance, you'll want to tilt your reflector at 15.5 degrees, which can improve radiation gains by up to 21.1% at higher angles.
Remember to adjust this tilt based on seasonal changes to prevent unwanted shading of your PV panels.
Key steps for precise positioning:
- Use laser levels to simulate sun rays and adjust your reflective strips until both beams hit the target with one bounce.
- Attach your reflective strips to a central point using a pin, maintaining proper alignment.
- Monitor your reflector's angle to guarantee it stays below the meridian transit altitude, preventing any blockage of direct sunlight.
Consider using LDRs with Arduino-controlled DC motors for automated positioning throughout the day.
Ground Versus Table Setup
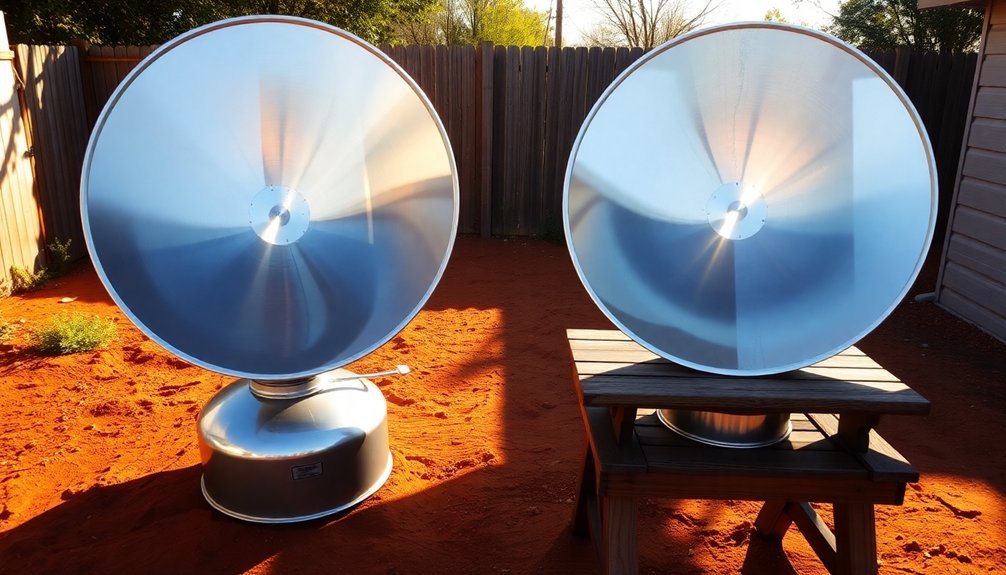
Choosing between ground and table setups presents two distinct approaches to solar panel installation, each with unique advantages for maximizing sun absorption.
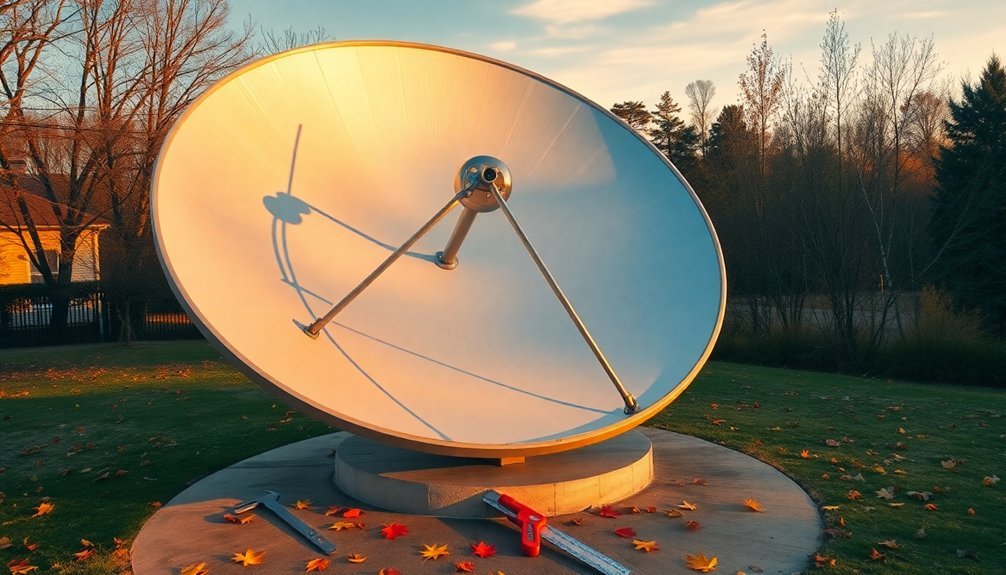
Ground mounts offer superior flexibility, allowing you to position your panels at ideal angles and adjust them seasonally for peak performance. You'll benefit from better airflow and cooling, which enhances energy production and system longevity.
While table setups are more limited in orientation and space, they're ideal if you're working with smaller systems or need portability. You can quickly set them up without extensive groundwork, making them perfect for demonstrations or urban environments.
However, you'll sacrifice the ability to achieve ideal tilt angles and may face challenges with shading and obstructions. Consider your specific needs and available space when deciding between these options.
Shadow Avoidance Techniques
Successfully avoiding shadows requires a thorough approach to solar panel placement and configuration. Understanding how shadows move throughout the day and across seasons will help you enhance your setup's performance.
You'll need to measure existing shadows and consider future obstructions like growing trees or new buildings.
To maximize your system's efficiency, follow these key strategies:
- Install micro inverters or power optimizers to minimize the impact of partial shading on your entire system's output.
- Space your panel rows properly to prevent self-shading, while using bypass diodes to maintain performance when shadows are unavoidable.
- Face panels south (in the northern hemisphere) and tilt them at your latitude plus 15 degrees for ideal sun exposure.
Regular monitoring and adjustment of these elements will guarantee your solar panels capture maximum sunlight throughout the year.
Perfect Positioning By Time
When planning your solar panel installation's daily performance, understanding the timing of peak sun exposure becomes critical for maximizing energy production.
You'll get the highest efficiency during midday and early afternoon when the sun reaches its highest point in the sky.
To optimize your setup, you'll want to face your panels south if you're in the Northern Hemisphere, or north if you're in the Southern Hemisphere.
You should also adjust your panels' tilt angle based on your latitude – steeper angles work better farther from the equator, while flatter angles are ideal near the equator.
Consider making seasonal adjustments too: increase the tilt in winter for better exposure during shorter days, and decrease it in summer when the sun's higher in the sky.
Frequently Asked Questions
Can Rain or Snow Damage My Solar Dish if Left Outside?
Your solar dish won't be damaged by rain or snow alone, as it's designed for outdoor use. However, you'll need to avoid using harsh tools for snow removal to prevent scratches and damage.
How Often Should I Clean My Solar Dish for Optimal Performance?
You'll need to clean your solar dish every 2-4 months, depending on your location. Clean monthly in dusty or coastal areas, twice yearly in urban areas, and annually in rural regions with regular rainfall.
What Materials Reflect Sunlight Best for Homemade Solar Dish Reflectors?
For your homemade solar dish, you'll get the best reflection using aluminized Mylar (90-95% reflectivity) or Orca Film. If you're on a budget, anodized aluminum (80-85%) is a reliable alternative.
Does Cooking Time Increase Significantly on Cloudy or Overcast Days?
Yes, you'll experience considerably longer cooking times on cloudy days, often 2-5 times longer than on sunny days. You'll need to adjust your cooking schedule and monitor food more carefully during overcast conditions.
Can Wind Affect My Solar Dish's Stability and Cooking Efficiency?
Yes, wind can greatly affect your dish's performance. You'll notice reduced cooking efficiency due to vibrations and misalignment, and strong gusts can destabilize your setup. It's important to secure your dish properly.
In Summary
You'll get the most from your solar cooker by mastering the art of positioning. Keep tracking the sun's path, adjust your angles seasonally, and don't forget to account for your global location. Whether you're using a ground or table setup, proper alignment makes all the difference. With these positioning techniques under your belt, you'll achieve ideal sun absorption and better cooking results every time.


Leave a Reply