
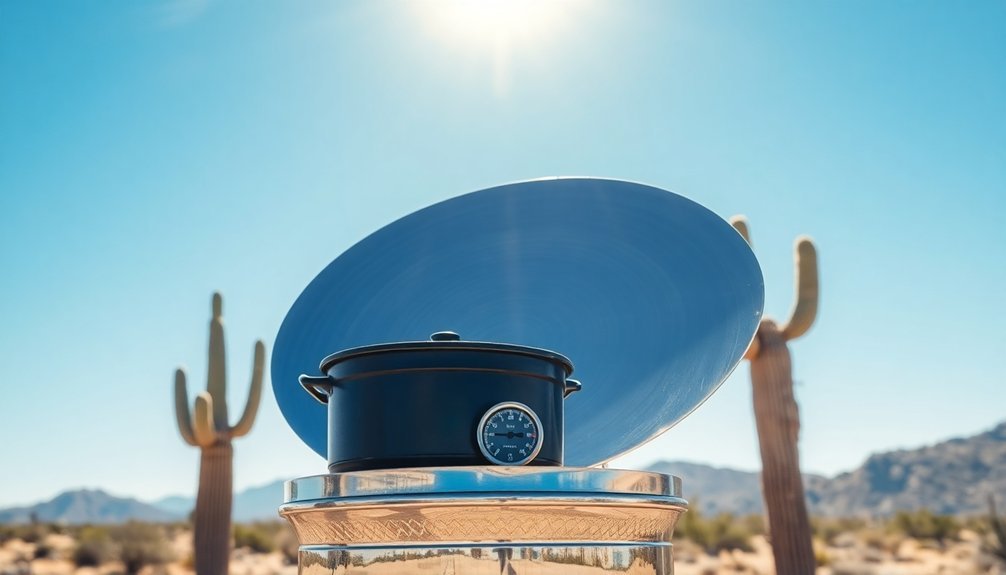
You'll get the best results from solar cooking on clear, sunny days between 11:00 am and 3:00 pm when the sun's rays are strongest. Low humidity and minimal wind create ideal conditions, helping your solar oven maintain temperatures between 300°F to 400°F. While you can cook year-round, summer offers the longest cooking windows and most intense sunlight. Spring and fall require earlier starts around 10:00 am for pre-heating, and even winter can work well thanks to snow reflection enhancing solar power. With the right weather knowledge and cooking techniques, you'll discover how to harness the sun's energy in any season.
Perfect Weather for Solar Cooking
While solar cooking can be done in various conditions, achieving excellent results requires the perfect combination of weather elements.
You'll get the best results on clear, sunny days between 11:00 am and 3:00 pm when UV rays are strongest. Look for days with minimal cloud cover and low humidity, as these conditions maximize solar irradiation reaching your cooker.
You'll want to choose a spot protected from wind to maintain stable cooking temperatures between 300°F to 400°F. A properly insulated solar oven can maintain food warmth for 2-3 hours after sunset.
If you're cooking in colder weather, don't worry – a well-insulated solar oven can still perform effectively, especially since colder air typically has lower humidity.
For peak performance, position your cooker to catch direct sunlight, adjusting its angle throughout the day to match the sun's movement.
Seasonal Solar Cooking Patterns
Solar cooking effectiveness changes dramatically throughout the year, following distinct seasonal patterns.
You'll find summer offers ideal conditions with intense sunlight and long cooking windows between 11:00 am and 3:00 pm, reaching temperatures up to 300°F.
Spring and fall require more planning, as you'll need to start earlier around 10:00 am to pre-heat your solar oven. You'll also need to adjust your cooker more frequently due to shorter windows of intense sunlight. This method of cooking is particularly appealing because it uses free solar energy instead of costly traditional fuel sources.
During winter, don't let cold temperatures discourage you – clear skies and snow reflection can actually enhance cooking effectiveness. However, you'll need to track the sun more closely and expect cooking times to increase by about 15 minutes due to additional preheating needs.
Wind Protection Strategies
When cooking with sunlight, protecting your equipment from wind is essential for maintaining consistent temperatures and preventing damage.
You'll need to secure your solar oven using bricks, cinder blocks, or logs on all sides, including the back leg. For additional stability, attach bungee cords to anchor points or drill holes in the wood collar.
You can protect reflectors and panels by using clips, weights, or rocks along the edges. If you're using a panel cooker like the Cookit, place rocks both inside and on the edges. Strong microbursts can still tip over secured cookers, so remain vigilant during cooking.
For maximum wind resistance, choose box ovens or models like the Copenhagen Lite or Hot Pot, which feature rigid materials and aerodynamic designs.
Position your cooker in a sheltered spot with minimal wind exposure, and use a heavy pot inside to increase stability.
Temperature and Humidity Impact
Your solar oven's peak performance falls within 300°F to 400°F, which you'll achieve during the ideal hours of 11:00 am to 3:00 pm.
While high temperatures are essential for safe cooking (at least 180°F), you'll need to account for humidity levels, as they can affect your oven's efficiency and drying rates.
You can offset humidity's impact by using proper insulation and positioning your oven to maximize sun exposure during peak hours. Box-style solar ovens are particularly effective at maintaining consistent temperatures due to their insulated design and heat retention capabilities.
Temperature Range and Cooking
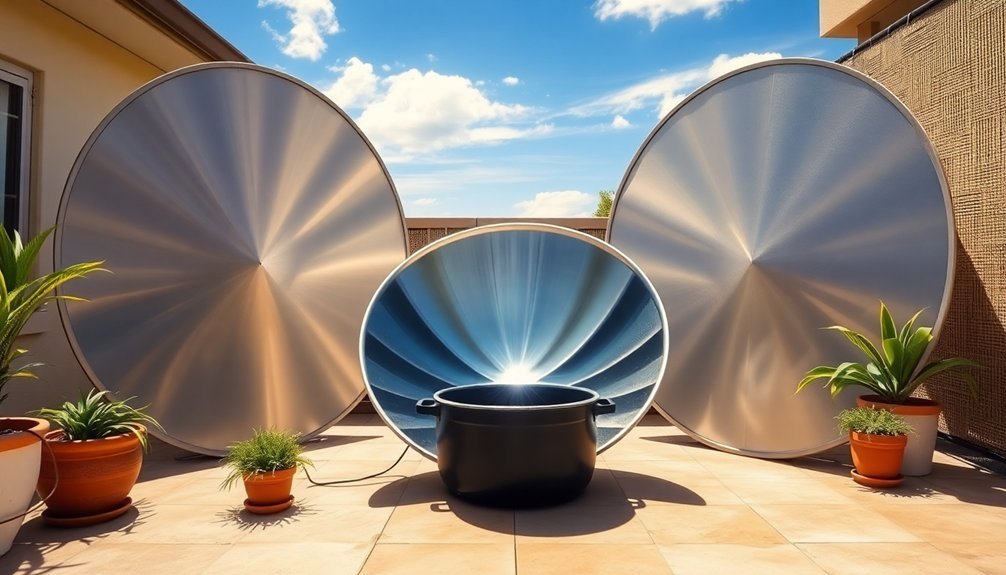
Successful solar cooking depends heavily on achieving and maintaining proper temperature ranges for different cooking methods. You'll need temperatures between 300°F to 400°F for most dishes, though different solar cooker types offer varying ranges. Parabolic cookers reach the highest temperatures, while panel cookers operate at lower ranges.
| Cooker Type | Temperature Range | Best Used For |
|---|---|---|
| Parabolic | 300-800°F | Quick frying, grilling |
| Box Oven | 160-400°F | Baking, roasting |
| Panel | 200-300°F | Slow cooking, stews |
| Hybrid | 250-500°F | Multiple cooking methods |
| Evacuated Tube | 200-550°F | Water heating, steaming |
To maintain these temperatures effectively, use dark cookware and proper insulation. You'll achieve the best results between 11:00 am and 3:00 pm when sunlight is most direct. Remember to preheat your solar cooker for an hour before cooking to reach ideal temperatures.
Effects of Humidity Levels
Beyond maintaining ideal temperatures, humidity plays a significant role in solar cooking performance. When you're cooking in high humidity, you'll notice condensation forming on your oven's glass lid, which blocks sunlight and reduces heating efficiency. Each time you open the lid to wipe away moisture, you'll lose up to 25° of heat.
You'll need to make strategic adjustments based on humidity levels. In high humidity, your food might cook faster due to retained surface heat, but you'll risk overcooking if you're not careful.
In low humidity, moisture evaporates more quickly, which can slow down cooking times. To optimize your solar cooking, use high-quality seals and moisture barriers, and consider installing double glazing to reduce heat loss.
Monitor weather conditions and adjust cooking times accordingly.
Cloudy Day Cooking Methods
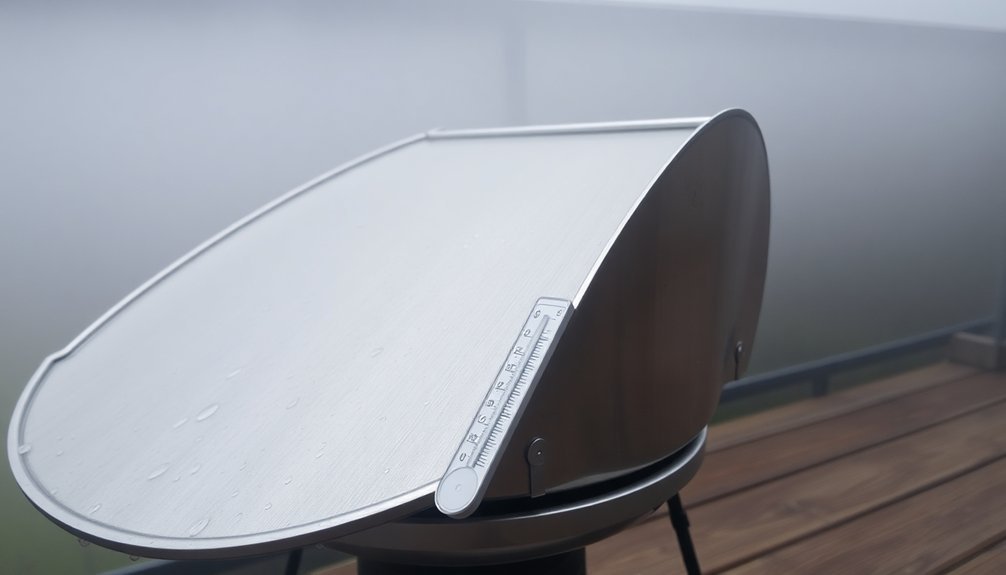
You'll need to adapt your solar cooking strategy on cloudy days by using heat-retaining materials like bricks and black pots to maximize the limited sunlight available.
To make the most of variable conditions, frequently adjust your oven's position to track the sun and use reflective surfaces like aluminum foil to capture scattered light.
Keep your cooking success high by choosing slow-cooking dishes and using insulated oven bags that help maintain steady temperatures despite cloud coverage.
Alternative Heat Retention Techniques
When clouds roll in, having alternative heat retention techniques can mean the difference between a successful solar-cooked meal and an undercooked disappointment.
You'll want to maximize every bit of available sunlight by combining several effective methods.
Start by placing thermal mass like a large rock or brick in your cooker – it'll store heat and release it slowly during cloudy periods.
Line your outer box with crumpled newspapers and add insulation materials like sawdust or fiberglass batting between the boxes.
Cover your reflectors with aluminum foil or Mylar tape, and adjust them throughout cooking to capture maximum sunlight.
For your cookware, choose dark, thin metal pots with tight lids, or cover light-colored pots with a dark towel.
These methods work together to maintain cooking temperatures even when sun exposure is limited.
Maximize Limited Solar Exposure
Making the most of limited sunlight requires understanding ideal cooking windows and strategic timing. You'll get best results between 11:00 am and 3:00 pm when the sun's UV rays are most intense. If you're dealing with shorter daylight hours or cloudy conditions, start cooking at 10:00 am and extend until 4:00 pm for pre-heating and warming phases.
| Time Window | Cooking Stage | Best Practices |
|---|---|---|
| 10:00-11:00 | Pre-heating | Position cooker, prep food |
| 11:00-3:00 | Peak cooking | Adjust cooker every 30 min |
| 3:00-4:00 | Heat retention | Use insulated containers |
For cloudy days, opt for a box solar cooker over parabolic designs, as they retain heat better. You can also combine methods by starting meals early and using fireless cookers to maintain temperature. When sunshine is limited, consider pre-cooking portions and finishing them the next day.
Cloudy Weather Cooking Tips
Even on overcast days, successful solar cooking remains possible with the right adaptations and backup methods. You'll need to extend cooking times and maximize any available sunlight by pre-heating your solar oven and using black cooking pots that absorb heat efficiently.
When clouds prevent effective solar cooking, you can switch to reliable alternatives like liquid fuel or canister stoves. Protect your cooking area by setting up a tarp or windscreen, and consider using pre-cooked meals that require less heating time.
For cloudy conditions, try cooking techniques like steaming or en papillote that don't depend on direct sunlight.
To maintain safety and efficiency, avoid cooking in poorly ventilated spaces, keep your supplies organized, and monitor weather conditions closely.
Regular stirring and rotating of food will guarantee even cooking despite limited sunlight.
Peak Sunlight Hours
The most productive hours for solar cooking fall between 11:00 am and 3:00 pm, when the sun reaches its highest position in the sky. During this window, you'll benefit from maximum UV rays and heat intensity, making it suitable for all types of solar cooking, including baking bread and cakes.
You'll need to adapt your cooking schedule based on seasonal changes. Winter months offer shorter peak hours and require more frequent adjustments to your cooker's position.
If you're cooking during fall or spring, expect longer cooking times due to the sun's lower position. For the best results, track the sun's movement and adjust your cooker every 1-2 hours to maintain ideal heat capture.
Remember that cooking times typically double compared to conventional ovens, so plan accordingly.
Weather Monitoring Tools
Successful solar cooking relies on precise weather monitoring tools that help you track essential conditions throughout your cooking sessions.
You'll need automated weather stations that measure wind, rain, humidity, and pressure through integrated sensor packages. Solar radiation sensors with pyranometers and pyrheliometers provide critical irradiance data every 5-15 minutes, helping you optimize your cooker's placement.
To monitor cooking temperatures, you'll want thermocouples and data loggers that can track heat between 50°C and 300°C. Most cooking begins at 80°C to 90°C, so accurate temperature readings are essential.
You can connect these tools to mobile apps and cloud platforms for real-time monitoring and analysis. Modern systems even alert you when temperatures drift outside your target range or when weather conditions might affect your cooking performance.
Winter Solar Cooking Tips
While weather monitoring tools provide valuable data, winter solar cooking demands specific adaptations to overcome seasonal challenges. You'll need to position your cooker at steeper angles and track the sun more frequently as it moves lower across the horizon. For ideal results, cook between 11:00 am and 3:00 pm when sunlight is most intense.
- Maximize insulation by adding multiple layers of cardboard and aluminum foil, and use covered containers to trap heat effectively.
- Take advantage of winter's unique benefits – snow reflection can boost cooking power, and clearer skies often mean more direct sunlight.
- Protect your cooker from wind, and store it indoors when not in use to reduce preheating time.
Don't let cold weather discourage you – with proper adjustments, you can successfully cook year-round using solar power.
Heat Retention During Bad Weather
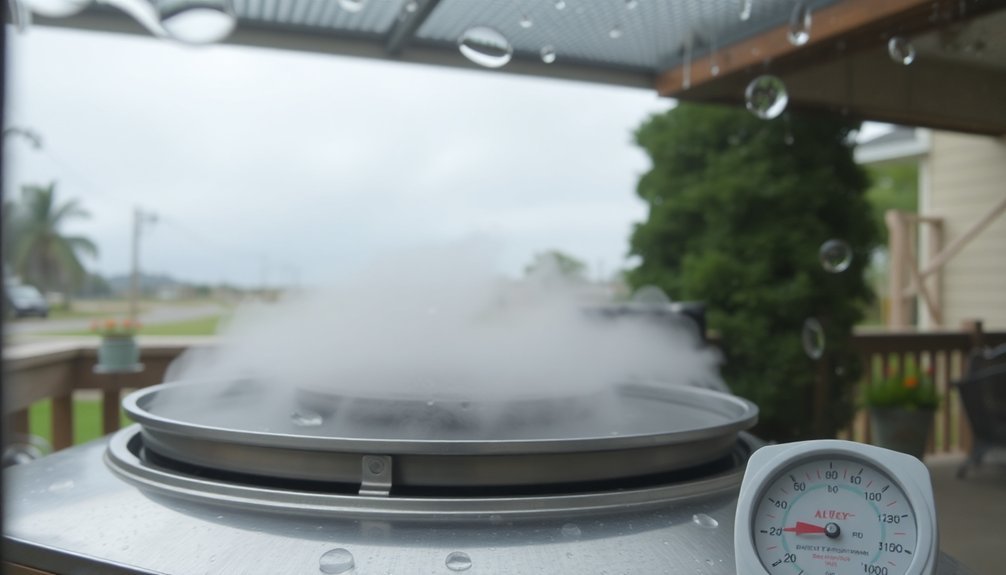
Despite challenging weather conditions, maintaining heat in your solar cooker requires strategic adaptations and proper equipment.
During cloudy periods, you'll want to maximize insulation and use heat-retained baskets to continue cooking when the sun's obscured. Don't forget to adjust your cooker's position and utilize reflectors to capture available sunlight.
For windy days, you'll need effective windbreaks like recycled glass panels or strategic placement behind buildings. Keep your cooker well-insulated and monitor temperatures with a thermal gun to adjust your cooking approach.
If it's raining or dark, you can transfer food to heat-retained baskets or try placing your cooker near sunny windows. Remember to use dark-colored ovenware, maintain tight seals, and cover your cookware with lids or plastic wrap to prevent heat loss through condensation.
Frequently Asked Questions
Can Solar Ovens Work Effectively at High Altitudes?
Yes, you'll find solar ovens work at high altitudes, but expect longer cooking times due to water's lower boiling point. You'll need frequent sun tracking and proper insulation to maintain effectiveness in these conditions.
How Does Air Pollution Affect Solar Cooking Performance?
Air pollution can greatly reduce your solar cooker's performance by blocking sunlight. You'll notice lower cooking temperatures when there's heavy smog or haze, as pollutants scatter and absorb the sun's energy.
Does Cooking Near Large Reflective Surfaces Improve Solar Oven Efficiency?
Yes, you'll get better cooking results near reflective surfaces like walls or windows. They'll bounce additional sunlight into your solar oven, effectively increasing the amount of solar energy reaching your food.
Can Solar Ovens Function Properly in Coastal Areas With Sea Spray?
You'll face challenges using solar ovens in coastal areas due to sea spray affecting transparency and efficiency. However, they can still function if you use corrosion-resistant materials and maintain regular cleaning of reflective surfaces.
Do Atmospheric Pressure Changes Impact Solar Cooking Temperatures?
You won't notice significant temperature changes in your solar cooker due to atmospheric pressure alone. What matters most is having clear skies, direct sunlight, and minimal wind for effective solar cooking.
In Summary
You'll get the best results from solar cooking on clear, sunny days with minimal cloud cover and low humidity. Plan your cooking around peak sunlight hours, typically between 10 AM and 2 PM. Don't let cold temperatures discourage you – winter cooking is possible with proper wind protection and heat retention strategies. Remember to check weather forecasts and UV indexes to maximize your sun-powered cooking success.


Leave a Reply