
Control your outdoor cooking temperature by setting up distinct heat zones on your grill – a hot side for searing and a cooler side for slower cooking. Manage airflow through your vents: open them for higher heat, close them for lower temperatures. Shield your cooking area from direct sunlight and wind using UV-resistant covers or windscreens. Position reflective materials strategically to direct heat where needed. Keep your lid at proper heights: closed for low-and-slow, open for high-heat grilling. Monitor temperatures with a reliable thermometer, rotate food regularly, and maintain clean burners. These fundamental techniques are just the beginning of mastering outdoor heat control.
Set Up Temperature Zones
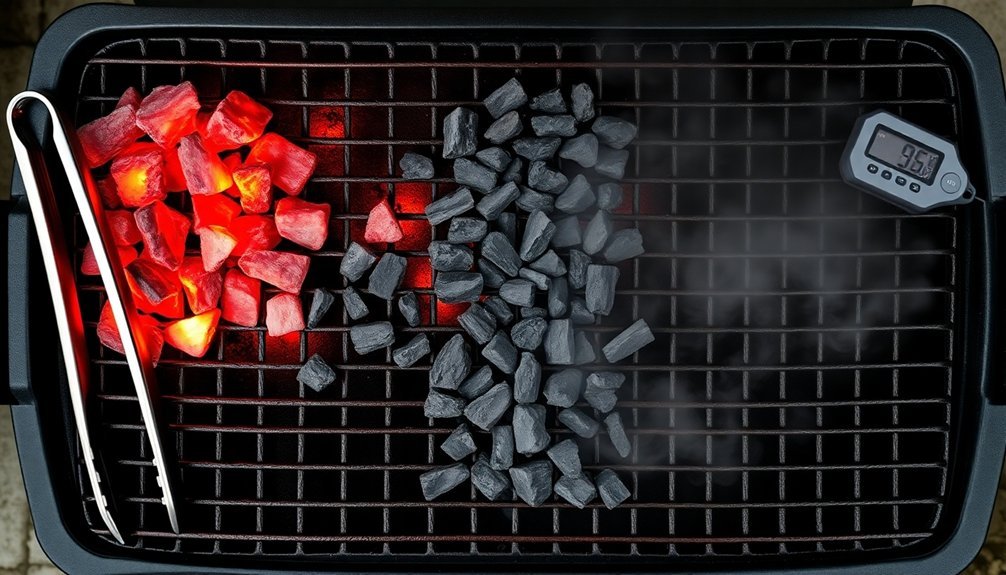
According to professional grill masters, setting up temperature zones is essential for successful outdoor cooking. You'll need to create two distinct zones: a direct heat zone for searing and quick cooking, and an indirect heat zone for slower, more gentle cooking.
On a gas grill, you can achieve this by turning on one or two burners while leaving the others off. For charcoal grills, arrange your coals accordingly. This 2-zone grilling method gives you greater flexibility to cook multiple foods at once.
Your direct heat zone is perfect for foods that need quick cooking, like burgers, thin steaks, and fish fillets. You'll use the indirect zone for items requiring longer cooking times, such as roasts and whole poultry.
To maintain proper control, you'll want to monitor temperatures using reliable thermometers and adjust your burner settings or coal layout as needed.
Don't forget to take into account external factors like weather conditions, which can affect your temperature control. You can add a water pan in the indirect zone to help maintain consistent temperatures and humidity.
As you become familiar with your grill's behavior, you'll learn how to make precise adjustments to achieve ideal cooking conditions. Remember to keep food safety in mind by ensuring proper internal temperatures.
Manage Airflow Through Vents
Airflow management stands at the heart of successful outdoor cooking. You'll need to master your vent control to regulate temperature, distribute smoke, and guarantee proper combustion. By strategically adjusting your dampers, you can create the perfect cooking environment for your outdoor meals.
Start by understanding your setup's ventilation requirements. You'll want to position your vents to effectively clear smoke and hot air while maintaining consistent temperatures. Aim to achieve proper air balance between your exhaust and intake vents for optimal performance.
If you're using a covered outdoor kitchen, proper ventilation becomes even more critical. Keep an eye on weather conditions, as wind, humidity, and ambient temperature will affect how you'll need to adjust your dampers.
Don't forget to maintain your vents through regular cleaning and inspection. For gas setups, guarantee you've installed proper vent panels and insulated jackets for safety.
If you're working with a BBQ island, make sure you've incorporated adequate venting to allow hot air to escape. You can supplement your ventilation with ceiling fans, though they shouldn't replace proper vent hoods.
Remember to adjust your airflow based on your fuel type, cooking setup size, and the positioning of your meat and wood chips.
Monitor Direct Sunlight Exposure
When cooking outdoors, direct sunlight plays a crucial role in temperature control. You'll need to monitor and manage sun exposure carefully, as it can cause uneven heating and make temperature regulation challenging. Direct sunlight can substantially increase your cooking temperature, making it harder to maintain consistent heat levels.
To effectively manage sunlight exposure, you'll want to time your cooking sessions strategically. Avoid peak sun hours between 11 AM and 3 PM when possible, and opt for morning or late afternoon cooking instead. Just as studies show that bacterial counts decline more effectively in cooler conditions when exposed to sunlight, managing your cooking temperature is easier during non-peak hours.
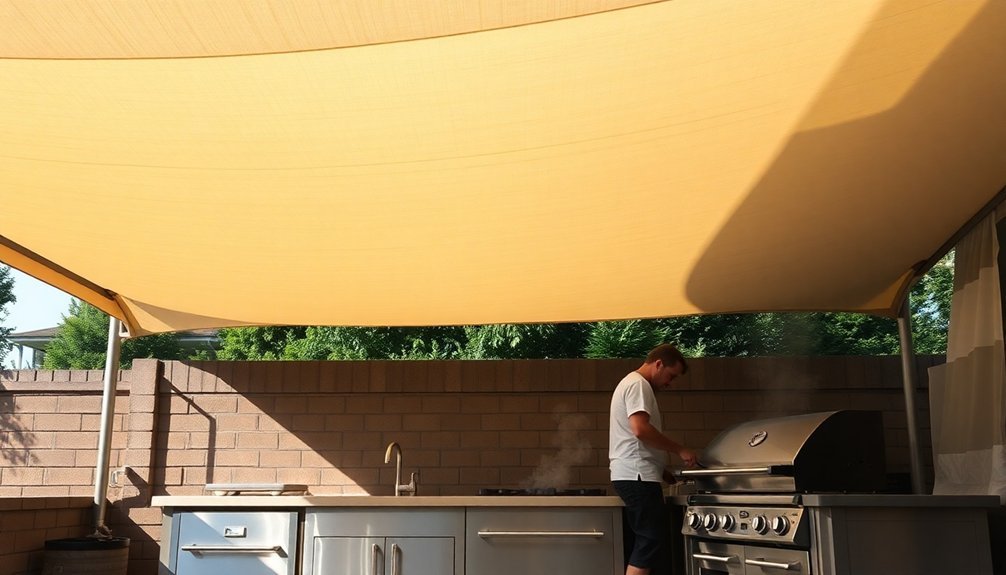
If you must cook during peak hours, create shade using protective barriers like UV-resistant covers or lightweight canopies.
You can enhance your control over cooking temperatures by implementing several protective measures. Install solar screens or reflective surfaces to redirect sunlight away from your cooking area.
Use UV-resistant materials for your cooking surfaces and apply reflective coatings where appropriate. Consider setting up a permanent overhang or temporary canopy to provide consistent shade.
Remember to monitor the sun's movement throughout your cooking session and adjust your setup accordingly to maintain even heat distribution and prevent overheating of your cooking surfaces.
Position Your Cooking Surface
Properly setting up your cooking surface ranks among the most critical steps for maintaining consistent outdoor cooking temperatures. You'll need to strategically position your grill to create distinct heat zones and manage temperature effectively. A parallel configuration setup works especially well for smoking meats with indirect heat.
By utilizing both direct and indirect grilling methods, you can control how quickly your food cooks and achieve optimal results for different types of dishes.
- Create a two-zone fire setup by dividing your grill into hot and cool sections, giving you the flexibility to move food away from intense heat when needed.
- Control oxygen flow by adjusting your grill's vents – close them to reduce temperature or open them to increase heat.
- Use a chimney starter to measure the right amount of charcoal, guaranteeing consistent heat levels throughout your cooking session.
Managing your heat source's intensity requires constant attention to vent settings and charcoal quantity. You'll want to monitor your grill's temperature regularly and adjust accordingly.
For low and slow cooking, keep the lid on and vents partially closed to maintain steady heat. When you need high heat for searing, open the vents fully and position food directly over the hot coals.
Use Reflective Materials Effectively
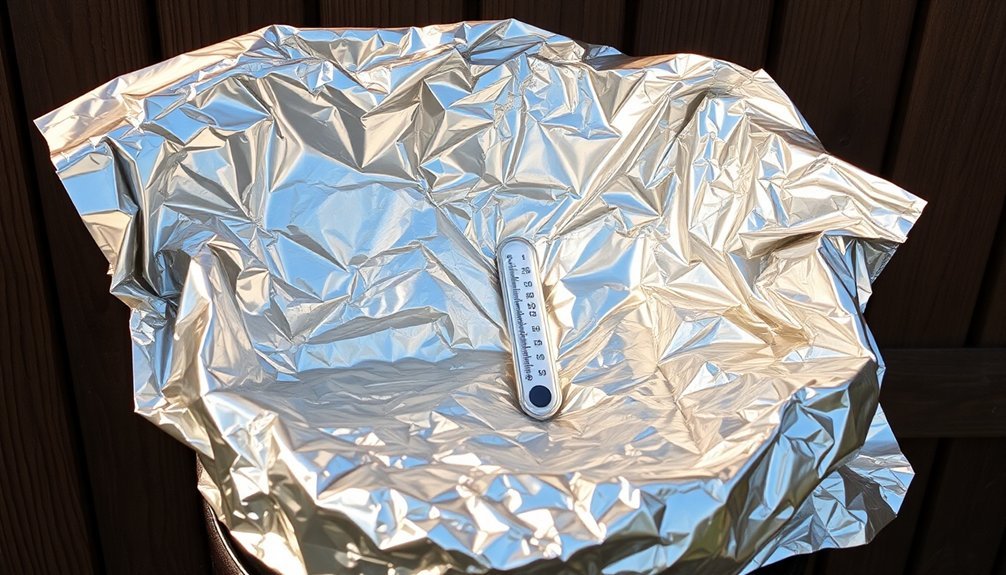
Strategically placing aluminum foil around your cooking area can dramatically improve heat control and cooking efficiency.
You'll want to position reflective materials at angles that direct heat toward your food, creating zones of concentrated thermal energy.
For the best results, use aluminum sheets as heat shields between your fire and cooking surface, angling them to reflect heat upward while protecting food from direct flames. Since aluminum foil has up to 97% reflectivity, it's exceptionally effective at redirecting and maximizing the heat from your cooking fire.
Position Aluminum Strategically
Understanding aluminum's reflective properties can revolutionize your outdoor cooking experience. When you're positioning aluminum for outdoor cooking, remember that the polished side reflects up to 88% of radiant heat, making it substantially more effective than the matte surface. You'll want to place the shiny side facing your food to maximize heat reflection and guarantee even cooking temperatures.
- Place thick aluminum pans directly on your cooking surface for ideal heat distribution and minimal hot spots.
- Keep foil-wrapped foods away from direct sunlight to prevent the radiant barrier effect from slowing down cooking.
- Position your reflective surfaces at strategic angles in setups like the Sproul Baker reflector oven for maximum heat capture.
For the best results, avoid using creased or wrinkled foil, as this can reduce reflectivity and create uneven heating. If you're using composite materials that combine aluminum with fiberglass or Kevlar, you'll get additional durability while maintaining effective heat reflection.
When setting up your cooking station, consider how the aluminum's placement will affect heat distribution. The right positioning guarantees your food cooks evenly and efficiently, making the most of your outdoor cooking setup.
Heat Shield Placement Tips
Building on the principles of aluminum placement, effective heat shield positioning takes outdoor cooking control to the next level. You'll want to start by centering the "V" shape of your heat shield directly over the firepot. This fundamental alignment creates the foundation for precise temperature management.
When you notice temperature variations, make calculated adjustments to your heat shield. If your grill's running hotter than the display shows, shift the shield right. For cooler temperatures, move it left. Remember the half-inch rule: adjust the shield approximately half an inch for every 50-degree difference you're experiencing.
| Shield Position | Temperature Effect | Required Action |
|---|---|---|
| Centered | Balanced Heat | Monitor cooking |
| Right Side | Reduces Heat | Move left if too cool |
| Left Side | Increases Heat | Move right if too hot |
| Off-Center | Uneven Cooking | Recenter and adjust |
For ideal results, combine heat shield positioning with proper ventilation. Keep the grease tray holes closed for temperatures under 350 degrees when using indirect heat. When you're ready to sear, open these holes to allow direct heat contact with your food.
Time Your Cooking Sessions
Successful outdoor cooking requires careful timing to make certain everything comes together seamlessly. You'll need to plan your cooking sessions meticulously, accounting for preparation, cooking, and cleanup phases. Creating a detailed schedule helps you manage multiple dishes and guarantees food is ready when needed.
- Pre-cut ingredients and prep condiments before starting to reduce on-site cooking time
- Use timers and temperature controls to prevent over or undercooking
- Implement slow-cooking methods for certain dishes while you work on other tasks
When you're timing your outdoor cooking sessions, factor in extra minutes for unexpected delays and participant-related activities like hand washing and instruction time.
You can streamline the process by pre-cooking certain ingredients and using Dutch ovens for slow-cooking items. This approach lets you focus on other dishes while maintaining cooking efficiency.
Consider serving food as it's ready rather than waiting for everything to finish at once. You'll want to communicate clearly with your participants about cooking times and expectations.
Remember to synchronize your cooking activities to avoid bottlenecks and maintain a smooth flow from preparation to serving.
Adjust Lid Height
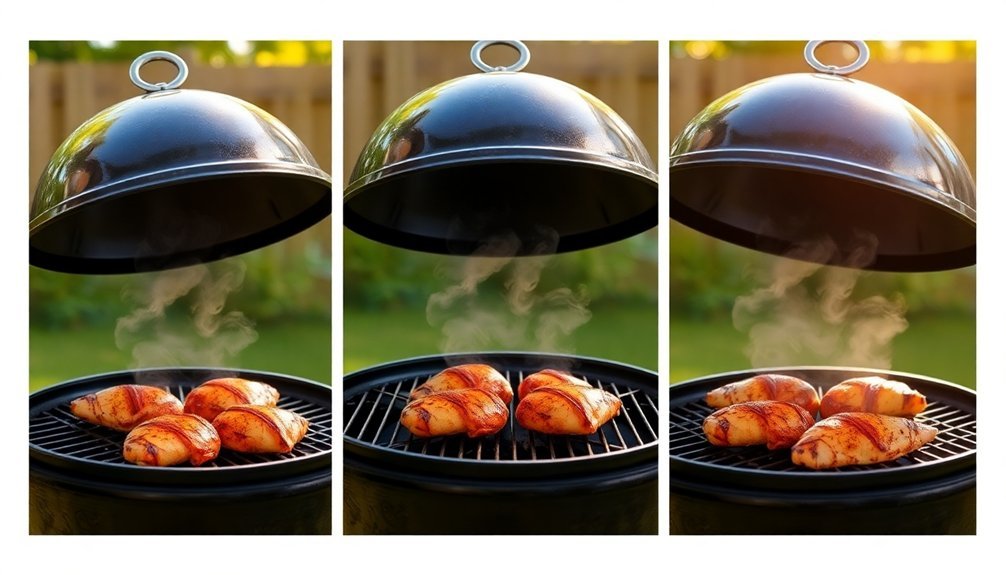
Managing your grill's lid height serves as a crucial technique for controlling temperature and heat distribution during outdoor cooking. By understanding how lid positioning affects airflow and heat retention, you'll gain better control over your cooking environment.
When you're cooking low and slow, keep the lid lower to trap heat and maintain consistent temperatures. This technique works particularly well for braising and smoking, where you'll want to create an even, controlled cooking environment.
For high-heat cooking like searing or direct grilling, you'll need to raise the lid or keep it fully open to prevent excessive heat buildup.
You can also use partial lid openings to fine-tune your cooking temperature. Position the lid at different angles to direct heat where you need it most, and remember to monitor your temperature gauges consistently to understand how your adjustments affect the cooking environment.
For best results, maintain your lid's air hinge system and guarantee proper alignment. You'll find that combining lid height adjustments with proper ventilation control gives you precise command over your cooking conditions, leading to more consistent and successful outdoor cooking results.
Control Moisture Levels
Position drip pans strategically beneath your food to catch excess moisture and prevent flare-ups while outdoor grilling.
You'll want to use marinades sparingly and drain off excess liquid before placing food on the grill to maintain consistent cooking temperatures.
When you need to retain moisture in certain foods, wrap them loosely in foil, creating a packet that allows steam to circulate while keeping the juices contained.
Drip Pan Placement Tips
A well-placed drip pan serves as your secret weapon for moisture control when cooking outdoors.
Position it directly below your meat to catch drippings and prevent flare-ups while helping distribute heat evenly throughout your cooking chamber.
When using an offset smoker, you'll want to place the pan above the heat source to guarantee ideal heat distribution and maintain consistent cooking temperatures.
Key benefits of proper drip pan placement:
- Maintains even moisture distribution during long smoking sessions
- Reduces unwanted flare-ups that can char your food
- Creates a more controlled cooking environment by regulating humidity levels
Your smoker's design will influence the ideal placement of your drip pan, so always consult your product manual for specific guidance.
Center the pan in the cooking chamber to guarantee moisture spreads evenly across your food.
You'll need to adjust your cooking times based on humidity levels – higher humidity typically results in faster cooking, while lower humidity extends cooking duration.
Remember that weather conditions can markedly impact your outdoor cooking, so you'll want to monitor both temperature and moisture levels throughout the process.
Marinades Without Excess Liquid
Building on proper drip pan placement, effective marinade control plays an equally important role in moisture management. You'll want to minimize excess liquid in your marinades to guarantee proper browning and avoid steaming your meat. Start with a balanced mixture of oil, acid, and seasonings, but don't overdo the liquid components.
For best results, use these ratios and techniques to create your marinades:
| Component | Amount | Purpose |
|---|---|---|
| Neutral Oil | 2-3 tbsp per lb | Surface coating |
| Acid (vinegar/juice) | 1-2 tbsp per lb | Tenderizing |
| Salt | 1 tsp per lb | Protein breakdown |
| Herbs/Spices | To taste | Flavor enhancement |
| Thickener | 1 tbsp per lb | Better adhesion |
You'll achieve better results by using a food-safe bag rather than a container, as this allows you to coat the meat with less liquid. Turn the meat periodically during marination, and don't exceed 2 hours for tender cuts. Remember to pat the surface dry before grilling to promote better browning. For added flavor without excess moisture, try brushing on reserved marinade after cooking.
Foil Wrapping For Moisture
Mastering foil wrapping techniques helps you control moisture levels during outdoor cooking, ensuring perfectly tender results. When you wrap your food in foil, you're creating a controlled thermal environment where heat distributes evenly and moisture stays locked in.
You'll want to leave a small air gap between the foil and your meat, as this restricts cooling water vapor and helps fats maintain higher temperatures.
- You don't need excessive liquid – add just enough to increase thermal mass, not to create steam
- Keep your wrapping tight but not compressed, allowing for even heat distribution
- Consider using parchment paper as a safer alternative if you're concerned about aluminum leaching
When you wrap properly, the temperature inside your foil packet will stabilize just above the boiling point, which speeds up cooking time and maintains consistency. The sealed environment also preserves essential flavors in your braising liquid.
If you're monitoring temperature, avoid opening the foil frequently, as this creates gaps where hot vapor can escape, causing temperature drops through evaporative cooling. For outdoor cooking, you'll find this method particularly effective as it protects your food from direct heat fluctuations while maintaining ideal moisture levels.
Shield From Wind Elements
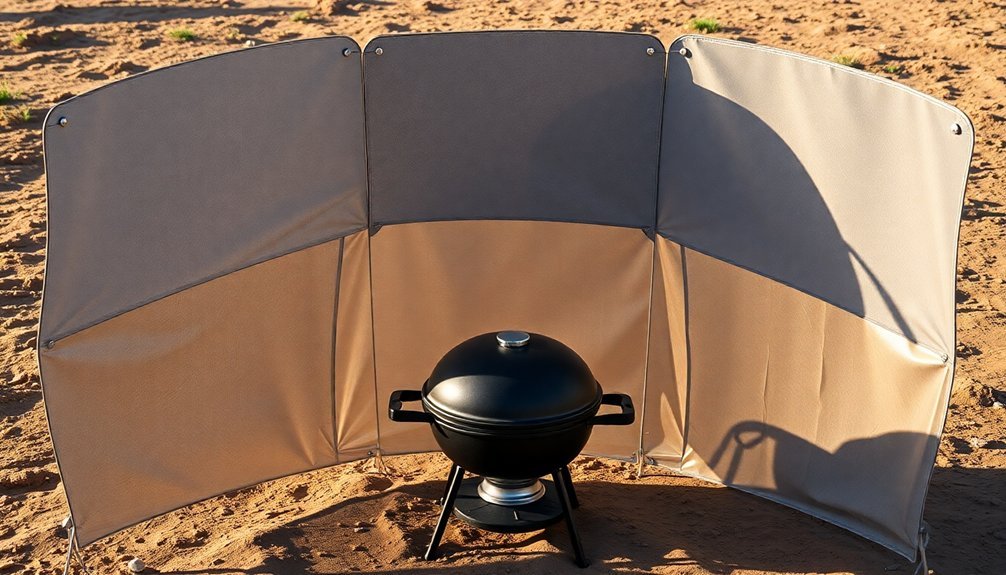
Powerful gusts of wind can quickly sabotage your outdoor cooking experience, making temperature control nearly impossible. You'll need to create an effective barrier using a wind shield to maintain consistent cooking temperatures and prevent heat loss.
You can construct your wind shield using various materials like plywood, aluminum, or insulating sheathing. Make sure it's taller than your cooker and either heavy enough or properly anchored to stay in place.
You'll want to choose a design that suits your needs – whether it's a two-sided, three-sided, or V-shaped configuration. Remember to maintain adequate clearance between the shield and your cooking setup to prevent fire hazards.
For added convenience, consider incorporating hinges or Velcro strips to make your wind shield foldable and portable. If you're in a pinch, you can use makeshift solutions like a patio umbrella laid on its side.
Whatever option you choose, you'll notice significant improvements in cooking efficiency and temperature control. Your stove will perform better, burning more efficiently without spluttering or blowing out. Just guarantee you're using fire-resistant materials and maintaining proper ventilation for safety.
Rotate Food During Cooking
You'll achieve perfectly even cooking by rotating your food in a grid pattern with an empty spot, allowing each piece to experience the grill's average heat distribution.
Moving your food every 60 seconds before flipping helps manage hot spots and prevents any single area from burning or becoming undercooked.
After flipping once, continue rotating the food every 30-60 seconds to maintain consistent heat exposure and guarantee tender, juicy results.
Even Cooking Through Movement
The secret to perfectly cooked outdoor meals lies in constant, deliberate movement of your food. When you're cooking outdoors, you'll want to use different movement techniques to guarantee even heat distribution and prevent burning.
Rotisserie cooking is particularly effective, as it continuously rotates food, creating uniform browning and maintaining moisture throughout large cuts of meat.
- Rotate your skewered foods every few minutes to expose all sides to heat evenly
- Move items between direct and indirect heat zones to control cooking speed
- Use a rotisserie attachment for whole chickens and large roasts to achieve perfect results
You'll find that moving food strategically across your grill's surface helps you leverage different temperature zones effectively. If you're using a two-zone grill, you can shift items between hot and cool areas to manage cooking rates.
For kebabs and smaller items, regular rotation of skewers guarantees consistent cooking on all sides. When you're handling larger cuts of meat, a rotisserie attachment becomes your best friend, as it automates the rotation process and delivers evenly browned, succulent results.
Remember that different grill designs offer various options for movement and heat control, so choose your technique based on your equipment and what you're cooking.
Hot Spot Management Tips
Beyond mastering food movement techniques, understanding and managing hot spots on your grill will take your outdoor cooking to the next level.
You can identify these areas using the bread method – lay slices across your grill grates, cook for a minute, and flip them to reveal where the heat concentrates most intensely through darker grill marks.
Once you've mapped your hot spots, you'll want to use them strategically. Position thicker cuts of meat in hotter zones for proper searing, while keeping delicate items like fish and vegetables in cooler areas.
You can also create deliberate temperature zones by adjusting your burner output on gas grills or arranging charcoal strategically.
To maintain consistent cooking, rotate your food regularly and adjust the grill grid position as needed. Keep your burners clean and properly aligned to prevent uneven heating issues.
If you're dealing with persistent hot spots, consider using heat plates or adjusting air shutters to better distribute the heat. Always preheat your grill thoroughly to stabilize temperatures before cooking, and don't hesitate to move food between hot and cool zones as needed for ideal results.
Frequently Asked Questions
How Do Seasonal Temperature Changes Affect Outdoor Cooking Temperatures?
You'll notice that seasonal temperatures directly impact your outdoor cooking. In hot weather, your grill heats faster and cooks quicker, while cold weather requires longer cooking times and more fuel to maintain temperatures.
Can Different Types of Charcoal Affect Heat Regulation Differently?
Yes, you'll find lump charcoal burns hotter and faster, while briquettes provide steadier, longer-lasting heat. Your choice between them affects temperature control, with briquettes offering more predictable heat regulation during cooking.
What Emergency Heat Control Methods Work When Equipment Malfunctions?
You can rely on tea light slow cookers, hay box ovens, and canned heat for emergency cooking. If your HVAC system fails, don't forget you've got emergency heat settings that'll provide backup warmth.
How Does Altitude Impact Outdoor Cooking Temperatures and Heat Control?
At higher altitudes, you'll experience lower boiling points and faster evaporation. You'll need to increase cooking times by 25%, add more liquid to recipes, and carefully manage your heat sources for consistent results.
Which Materials Make the Best DIY Heat Deflectors for Outdoor Cooking?
You'll get the best results using aluminum sheet metal or ceramic materials for DIY heat deflectors. They're durable, heat-resistant, and effective. Mount them with proper spacers to maintain safe distance from heat sources.
In Summary
You've now mastered the essential techniques for managing heat while cooking outdoors. Remember, you're in control of your cooking environment when you understand how to adjust temperatures, protect from elements, and position your equipment properly. Whether you're grilling, smoking, or using an outdoor stove, you'll get consistent results by applying these temperature regulation methods. Don't let weather conditions stop you from cooking outside.


Leave a Reply