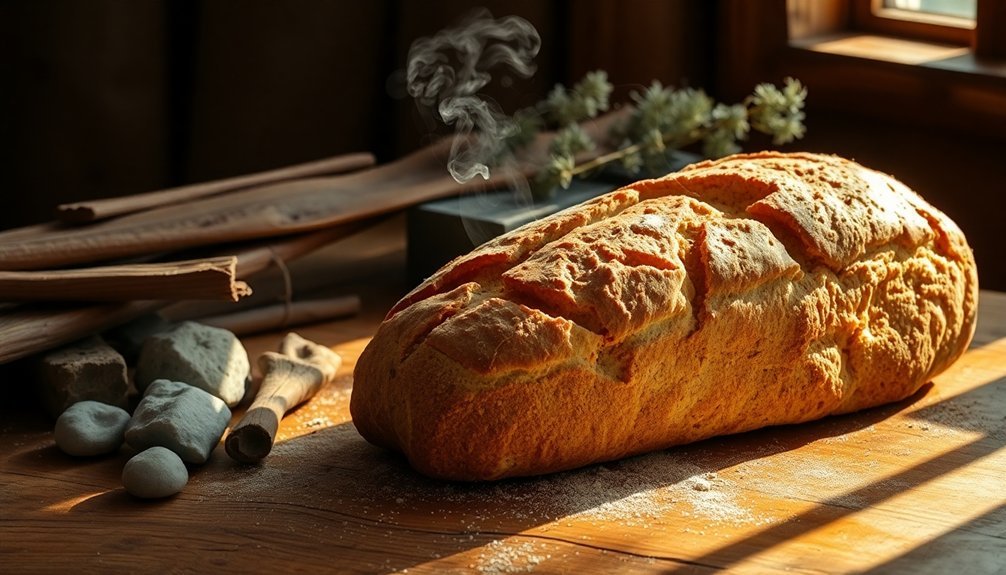
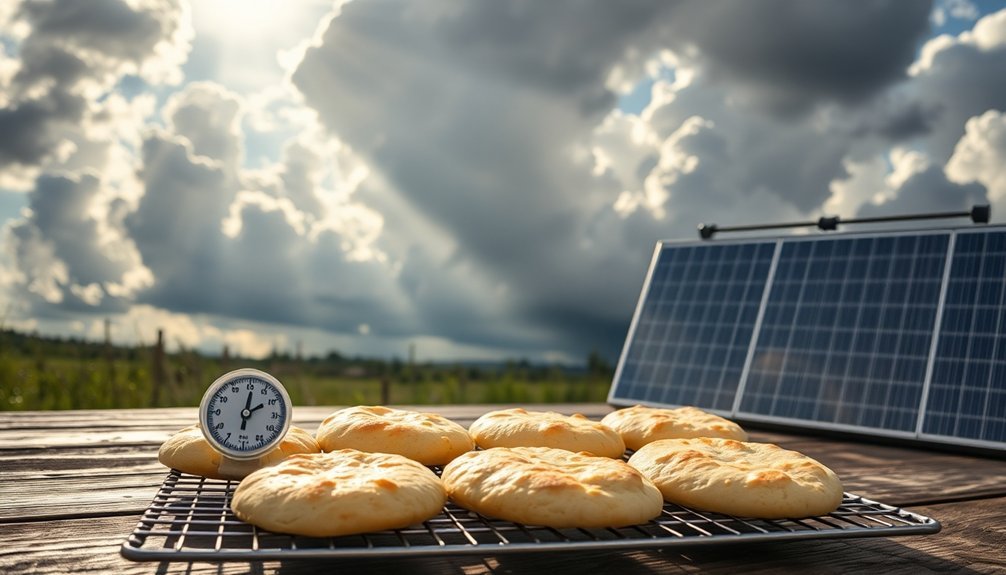
You can bake emergency bread without fuel using a solar oven, which harnesses the sun's energy to cook food sustainably and cost-effectively. By constructing a simple box with reflective surfaces and proper insulation, you'll create temperatures up to 300°F (148°C) – perfect for baking bread without electricity, gas, or wood. This method proves invaluable during power outages, emergencies, or when traditional fuel sources aren't available. You'll only need basic ingredients like flour, water, and leavening agents, making it an accessible survival skill. The key to success lies in understanding the right setup and techniques for solar baking.
Emergency Bread Basics
When you need to make bread without traditional cooking methods, understanding emergency bread basics can help you create a simple yet satisfying loaf.
You'll want to start with either self-rising flour or plain flour mixed with baking powder for leavening. For best results, using sparkling apple juice can create an appealing light brown crust. Add a liquid like water, milk, or sparkling juice for hydration, and include some fat (oil or margarine) for better texture.
You won't need to spend time kneading or waiting for the dough to rise, as emergency bread typically comes together in a single mixing step. The consistency should be manageable enough to shape quickly.
While you're preparing the dough, you can add salt for flavor and even incorporate dried herbs or cheese for extra taste. This versatile bread works well for sandwiches, as a side for stews, or on its own.
Solar Oven Design Principles
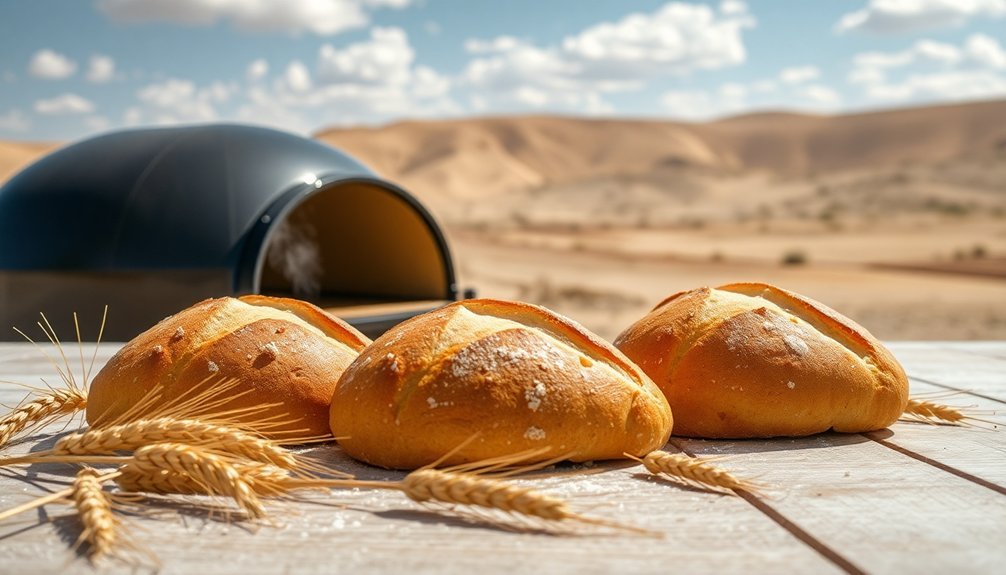
Building a solar oven offers a fuel-free alternative for baking emergency bread and other foods. You'll need a sturdy box with a three-sided flap lid that acts as a reflector. Cover the interior with aluminum foil for maximum light reflection and line the bottom with black construction paper to absorb heat.
To maintain temperature, you'll want to insulate the walls using newspaper, hay, or sawdust. Create a transparent window using plastic wrap to let sunlight in while trapping heat. Natural building principles emphasize using local recycled materials whenever possible.
The oven's depth should be minimal to reduce heat loss. Under ideal conditions, your solar oven can reach 300°F (148°C), though cooking times will vary based on sunlight intensity and design efficiency.
Position the reflective flap to direct maximum sunlight into your oven, and you're ready to bake without traditional fuel.
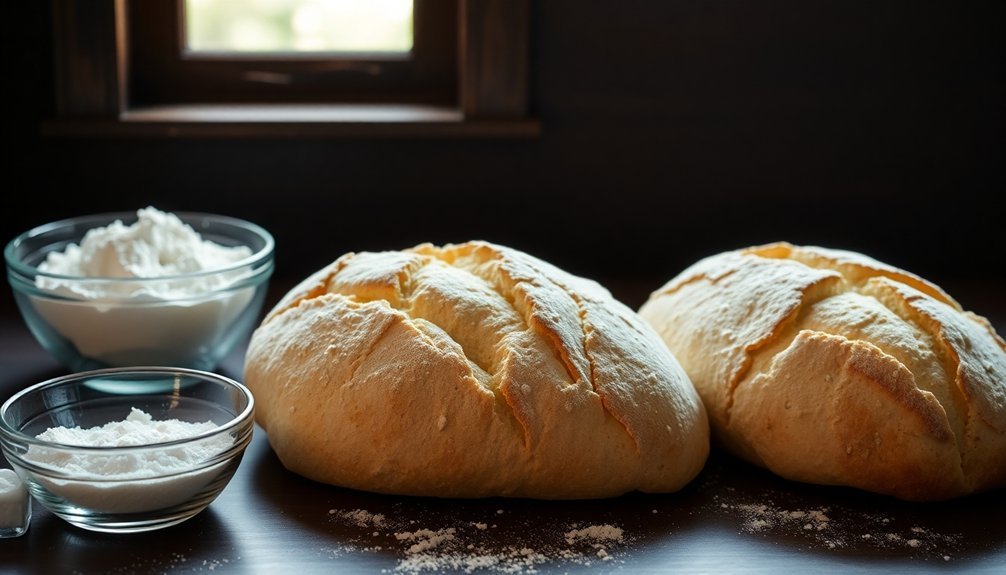
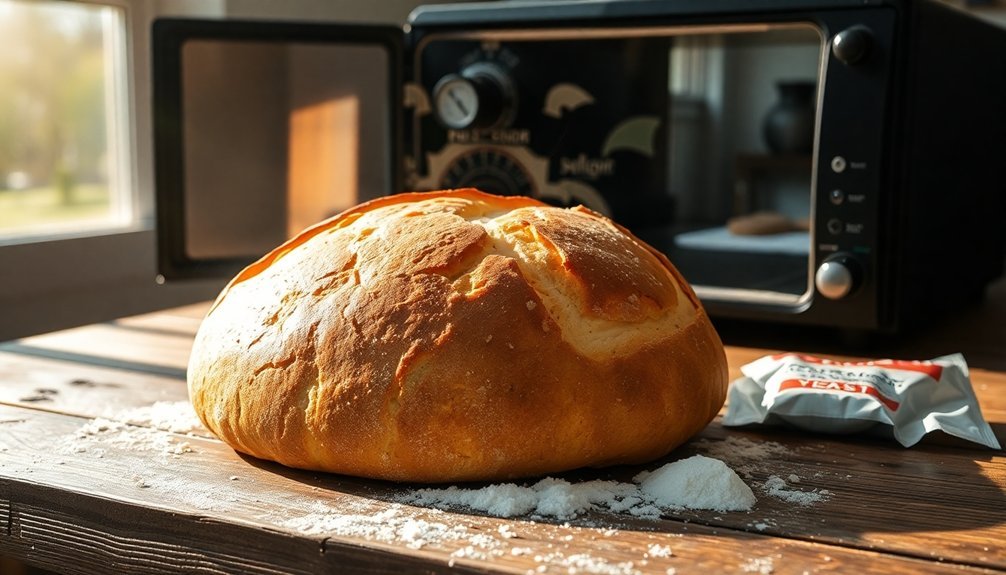
Essential Ingredients For Solar Bread
Whether you're making yeast-based or no-yeast solar bread, gathering the right ingredients guarantees successful baking without conventional fuel.
For yeast-based bread, you'll need water, flour (white, whole wheat, or multigrain), yeast, salt, sugar, and optional milk or milk powder.
No-yeast bread requires plain flour, baking powder, milk (or alternatives), salt, and optional oil or butter.
If you're exploring sourdough options, you'll need a starter (regular or whole wheat), raw sugar, and wheat bran.
Don't worry if you're missing certain ingredients – there's flexibility in substitutions. You can replace milk with water and oil, use powdered milk instead of liquid, or mix yogurt with water. The Global Sun Oven provides consistent baking results regardless of ingredient variations.
For emergency situations, you can even make two-ingredient bread using self-rising flour with soda or sparkling juice.
Preparing Your Solar Workspace
Once you've gathered your ingredients, setting up the right solar workspace will determine your bread-making success.
You'll need to find a sunny, south-facing location that receives consistent sunlight throughout the baking process.
Evaluate your outdoor space carefully, checking for any trees, buildings, or structures that might cast shadows during peak sunlight hours. Just as with solar panel installations, you'll want to maximize sun exposure for peak energy capture.
Position your solar oven where it's protected from strong winds but can still maintain steady temperatures.
If you're using a permanent outdoor setup, consider installing a dedicated workspace that includes proper drainage and a stable, level surface.
You'll also want to verify you're complying with any local regulations regarding outdoor cooking stations while maintaining easy access to your kitchen.
Creating The Perfect Dough
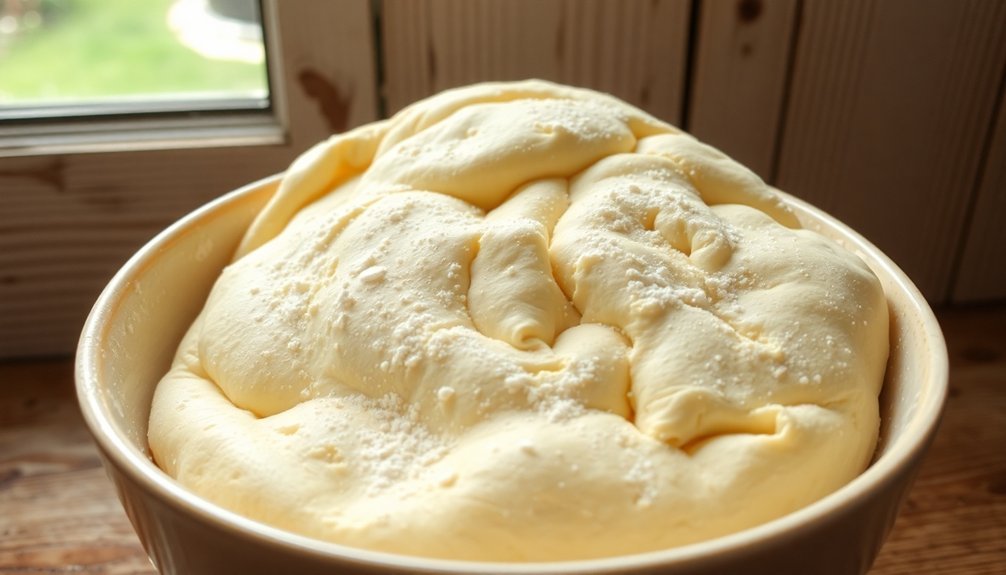
To create emergency bread dough successfully, you'll need just a few basic ingredients and proper mixing techniques. Start with 2 cups of flour and gradually add water until your dough becomes thick and clumpy. You'll only need about 1/4 the amount of water compared to flour. While salt is optional, it can enhance flavor.
Knead your dough for 5 minutes until it's cohesive, then let it rest for 25 minutes.
During shaping, you'll want to sprinkle flour on your work surface to prevent sticking. Form the dough into thin circles if you're making flat bread, or shape it into a round loaf for other variations.
Since this is emergency bread, you won't need yeast or rising time, making it perfect for quick preparation.
Solar Temperature Control Methods
You'll need to position your solar reflectors at a 45-degree angle to maximize heat concentration while maintaining consistent temperatures for bread baking.
To manage temperature swings, you can use simple passive cooling methods like elevated mounting and natural airflow, which help regulate heat during peak sun hours.
When the heat becomes too intense, try implementing a basic water spraying system to cool your setup and maintain ideal baking temperatures between 350-450°F.
Positioning Solar Heat Reflectors
Proper positioning of your solar heat reflectors plays an essential role in achieving ideal cooking temperatures.
You'll need to angle your reflectors to minimize shadows on the oven's surface, guaranteeing even distribution on all sides. For best results, adjust your reflector's position every 30-60 minutes as the sun moves.
Set up your solar oven by 10 am to maximize cooking efficiency, aiming it directly at the sun. Additional reflector panels can boost temperatures, especially on cloudy days, though they're not always necessary in very sunny conditions.
When using a homemade solar oven, whether it's made from pizza boxes or windshield shades, confirm your reflective materials are positioned to direct maximum sunlight onto the cooking surface. The clear front of your oven should cast minimal to no shadow.
Managing Temperature Fluctuations
While positioning reflectors helps maximize sunlight capture, maintaining consistent temperatures in your solar oven requires active management throughout the cooking process.
You'll need to monitor and adjust your setup between 10 a.m. and 4 p.m. when solar radiation is strongest. For ideal bread baking at 210°C, track the UV index – you'll want it at 7 or higher.
Use phase-changing materials like paraffin to stabilize temperatures and prevent fluctuations. If you have access to automated tracking systems, they'll help maintain the best angle for solar radiation.
Otherwise, you'll need to make manual adjustments as the sun moves. Keep in mind that weather conditions impact performance – clear, sunny days with temperatures between 31-38°C work best, while cloudy or windy conditions reduce efficiency.
Baking Times And Weather Conditions
Successful bread baking requires careful attention to both time and environmental conditions.
You'll need to adjust your baking approach based on humidity levels and altitude, as these factors greatly impact how your bread turns out. In high-humidity conditions, you might need to reduce the liquid content in your dough or extend the baking duration.
Keep in mind that your room's temperature affects dough rising time, though it won't directly change how long you'll need to bake.
If you're baking at high altitudes, you'll typically need different temperature settings and timing due to lower air pressure.
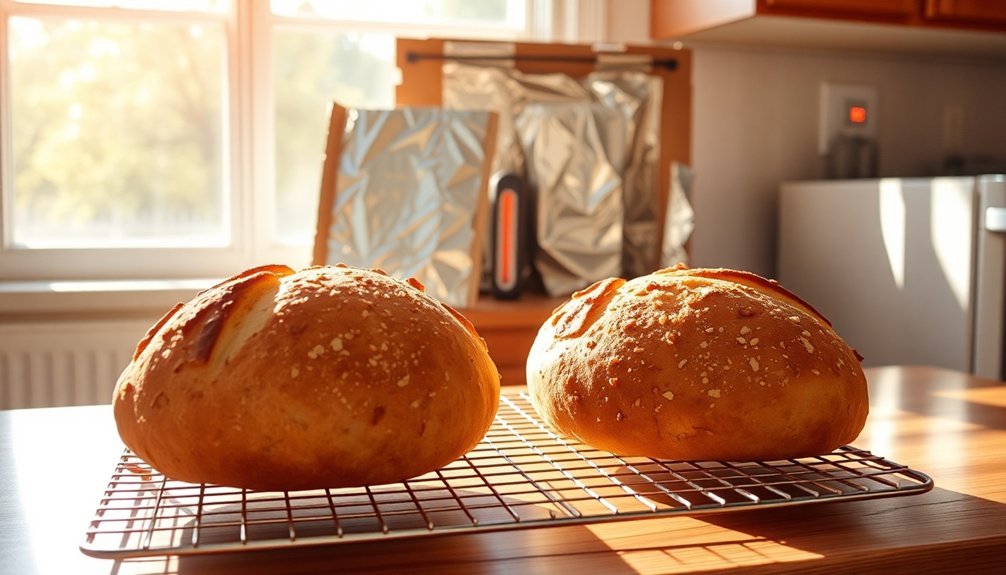
For best results, guarantee good air circulation in your baking area and monitor the internal temperature of your bread – it's done when it reaches 200°F (93°C).
Storage And Shelf Life
You'll want to maximize your emergency bread's shelf life by storing it in airtight containers and keeping it in the freezer, which can extend its viability for several months.
For long-term storage needs, consider making pilot bread or matzo bread variants, which can last between 10-30 years when properly stored in cool, dry conditions.
If freezer space isn't available, you can extend room-temperature storage by storing bread crumb-side down and using sourdough recipes, which naturally resist mold growth due to their higher acidity levels.
Long-Term Storage Solutions
When preparing emergency bread supplies, proper storage methods can mean the difference between having edible sustenance for years or losing your stockpile to spoilage within days.
You'll want to store your bread in cool, dry places between 50°F and 70°F, away from direct sunlight.
For maximum shelf life, you've got several effective options. Use food-grade plastic buckets, glass jars with tight-fitting lids, or Mylar bags with oxygen absorbers. Vacuum-sealing is another excellent choice to extend preservation.
While refrigeration isn't recommended due to moisture concerns, freezing remains viable though it may affect texture.
Consider stocking pilot bread, which can last up to 30 years when stored properly, or canned bread with its 10-year shelf life.
Remember to check packaging integrity regularly and rotate your stock to maintain quality.
Best Preservation Techniques
Three key preservation techniques can maximize your emergency bread's shelf life: room temperature storage, refrigeration, and freezing.
Each method offers different advantages and storage durations, so you'll need to choose based on your specific needs.
For short-term storage, follow these proven preservation tips:
- Store your bread at room temperature in a bread box or dry pantry for up to 2 days, avoiding plastic wraps that can cause sogginess.
- Use the refrigerator for yeast bread storage up to 5 days, though it may dry out slightly.
- Freeze pre-sliced bread wrapped in plastic and foil for up to 8 weeks to maintain quality.
- For sourdough bread, use a cloth bag or kitchen towel at room temperature, and avoid refrigeration completely.
The best method depends on your bread type and how long you'll need to store it.
Troubleshooting Common Solar Baking Issues
Successfully baking with a solar oven requires understanding and addressing common issues that may arise during the cooking process. You'll need to monitor and adjust several key factors to guarantee peak performance.
| Issue | Cause | Solution |
|---|---|---|
| Low Heat | Dirty panels/Poor positioning | Clean reflectors and adjust angle |
| Excess Moisture | Steam buildup | Vent lid briefly or use spacer |
| Unstable Setup | Uneven ground/Loose parts | Level surface and tighten bolts |
| Heat Loss | Frequent lid opening | Minimize opening time (2-3 seconds) |
| Safety Hazards | Improper focus/Setup | Clear area and adjust dish position |
Keep your solar oven's reflective surfaces clean and properly aligned with the sun when it's highest. If you notice condensation, quickly wipe the glass lid and consider venting. For stability issues, verify you're on level ground and all components are securely fastened with a 14mm socket wrench.
Alternative Solar Baking Containers
Solar baking offers flexibility in container choices beyond traditional ovens and pots.
You'll find innovative options that make emergency bread baking possible even without conventional fuel sources. From collapsible silicone containers to vacuum-insulated tubes, you can choose what works best for your situation.
- You can use durable plastic containers like those in the Haines Solar Cooker, which are lightweight and perfect for emergency situations.
- Insulating vacuum tubes maximize heat retention, making them ideal for efficient bread baking.
- Portable designs with tripod legs offer stability and full rotation for maximum sun exposure.
- Recycled materials like potato chip canisters work well for DIY solar baking containers.
These alternatives are particularly valuable in remote areas or during emergencies when traditional fuel sources aren't available, ensuring you can still bake bread when needed.
Recipe Variations For Solar Bread
When you're ready to start solar baking bread, you'll find several adaptable recipes ranging from basic yeast dough to quick-rise emergency options.
You can experiment with multi-grain flour for added nutrition or stick with self-rising flour for simplified two-ingredient solutions.
Whether you prefer traditional kneading methods or need a rapid emergency bread, solar cooking accommodates various rising times and flour combinations to match your specific situation.
Basic Solar Bread Method
Making bread in a solar oven offers remarkable flexibility with recipes, ranging from simple no-knead loaves to enriched artisanal creations.
You'll need basic ingredients like flour, water, salt, and either yeast or sourdough starter to get started.
- Preheat your solar oven while you're mixing the dry ingredients with liquids – this guarantees you'll have ideal baking temperature when your dough is ready.
- Place your dough on parchment paper or in an oiled pan to prevent sticking.
- Monitor the oven's temperature using a thermometer, aiming for around 200°F at the core.
- Expect baking times between 30 minutes to 2.5 hours, depending on your solar oven type and recipe.
You can adapt most traditional bread recipes for solar baking, whether you're making basic white bread or experimenting with enriched doughs containing eggs, yogurt, or butter.
Alternative Flour Solar Recipes
The versatility of solar bread baking extends beyond traditional wheat flour recipes. You'll find success with almond and coconut flour combinations for gluten-free options, especially when you add flaxseed and psyllium husk for fiber. These alternatives need warm water, olive oil, and apple cider vinegar for proper moisture.
If you're interested in heartier bread, try organic multigrain flour in your solar oven. You'll need to knead it for 5 minutes and let it rise for 2 hours before a 2.5-hour bake in a parabolic oven.
For gluten-free baking, Tom Sawyer Gluten Free Flour works well in buttermilk batter bread, requiring just 45 minutes at 330°F.
Don't feel limited to specialty flours – you can make excellent no-knead bread using basic all-purpose flour, letting it rise overnight before solar baking.
Quick-Rise Solar Solutions
Solar bread preparation can be greatly expedited through quick-rise techniques that work effectively with solar ovens.
You'll find that using rapid-rise yeast and creating ideal rising conditions can considerably reduce your waiting time when making emergency bread.
- Warm your dry ingredients before mixing and use a bread machine's dough cycle to handle the initial preparation.
- Create a humid environment by placing the dough in a microwave with boiling water or using a warm oven with the light on.
- Position your solar oven in direct sunlight while the dough rises, ensuring it's preheated and ready.
- Monitor your bread's progress using visual cues rather than strict timing, as solar baking requires flexibility.
You can adapt most standard bread recipes using these quick-rise methods, making solar baking a practical emergency solution.
Frequently Asked Questions
Can Emergency Bread Be Baked at Night Using Stored Solar Heat?
Yes, you can bake bread at night using stored solar heat. You'll need a well-insulated solar oven with thermal mass materials like bricks or stones that collect daytime heat and release it slowly during evening baking.
What Backup Methods Exist if Clouds Suddenly Appear During Baking?
If clouds interrupt your solar baking, you can switch to a rocket stove, reflector oven, or grill. You'll need minimal fuel like twigs. Indoor options include Coleman ovens or Dutch ovens as backup.
How Does Altitude Affect Solar Bread Baking Times and Temperatures?
You'll need longer baking times at higher altitudes since solar ovens heat more slowly there. Watch your bread's core temperature rather than timing – it should reach 200°F regardless of altitude for proper doneness.
Is Emergency Bread Safe for People With Gluten Sensitivities?
If you have celiac disease or gluten sensitivities, emergency bread isn't safe unless it's made with certified gluten-free flour. Don't risk your health – stick to gluten-free ingredients even in emergency situations.
Can Solar-Baked Bread Be Made in Extreme Cold Weather Conditions?
You can bake bread using solar ovens in extreme cold, but it's challenging. You'll face reduced efficiency, longer baking times, and unreliable results. Consider using enhanced insulation and choosing the sunniest periods for better success.
In Summary
You've learned how to harness the sun's power to bake bread when conventional fuel isn't available. Whether you're preparing for emergencies or simply exploring sustainable baking methods, solar bread offers a reliable solution. By following proper techniques and using the right ingredients, you'll create nutritious, fresh bread without fuel costs. Keep practicing these methods, and you'll always have a way to feed your family, even during tough times.


Leave a Reply