
Success with solar dessert baking comes down to mastering a few key techniques. You'll want to choose quick-baking recipes with minimal ingredients and use dark-colored pans for better heat absorption. Position your solar oven between 11 AM and 3 PM, adjusting it every 20-30 minutes to track the sun. Keep the oven door closed to maintain heat, and monitor internal temperatures closely with a thermometer. Layer ingredients strategically, starting with solid bases like ladyfingers or shortcake. Test for doneness using visual cues and the toothpick method. With temperatures around 200°F, expect 3-4 hours of cooking time. These fundamentals will set you up to explore even more sun-powered baking possibilities.
Choose Quick-Baking Dessert Recipes
When planning to bake with solar power, selecting recipes that cook quickly will maximize your chances of success.
Look for desserts with simple ingredients that you can mix easily in one bowl without complex measurements. The best recipes need minimal preparation time, usually under 20 minutes, and don't require preheating.
Choose desserts that bake in 30-45 minutes, as they're ideal for solar cooking conditions. You'll want recipes that can adapt to varying temperatures since solar ovens depend on weather and sunlight intensity.
Select versatile options that you can scale up or down and that allow ingredient substitutions. The most practical recipes include instructions for both solar and conventional ovens, making them perfect for various outdoor activities like camping or picnics. A simple bar cookie recipe with just four main ingredients is an excellent choice for solar baking success.
Position Your Solar Oven Correctly
You'll need to carefully observe and mark the sun's path throughout your intended cooking hours to select the ideal spot for your solar oven.
Choose a location that remains completely unshaded during your cooking time, ensuring no trees, buildings, or other structures will cast shadows on your setup.
Use your aluminum foil flap to direct sunlight into the cooking area for optimal heating performance. Keep adjusting your oven's position every 30 minutes to maintain peak sun exposure, using the sixty-degree mirror angle for maximum sunlight collection.
Track Sun's Daily Path
Successfully baking sun-powered desserts requires precise solar oven positioning throughout the day.
You'll need to place your oven between 11:00 AM and 3:00 PM when sunlight is strongest, though you should start earlier around 10:00 AM during winter months. To maintain ideal heat, adjust your oven's position every 20-30 minutes to follow the sun's path.
Keep the oven facing directly into the sun with no shadows cast on the cooking area.
Consider using dark-colored materials like stones or bricks inside your oven to improve heat retention and cooking performance.
You'll want to use your location's latitude to set the proper angle, and adjust the reflector panels hourly as the sun moves. For precise alignment, use shadow indicators or alignment tools.
Remember, cold, dry conditions actually improve your solar cooking results since there's less light scattering.
Don't forget to check and reposition reflector panels frequently to maintain concentrated heat zones.
Find Unshaded Cooking Spot
Selecting the perfect spot for your solar oven can make or break your sun-powered dessert. You'll need to find a location that gets direct sunlight throughout your cooking time, away from any trees, buildings, or objects that could cast shadows.
Place your oven on a flat, stable surface to guarantee even heat distribution. If you're baking on a windy day, secure the oven with heavy stones or bricks to prevent it from tipping over.
Look for a spot that's naturally sheltered from strong gusts, as wind can disrupt your oven's alignment and cooking efficiency.
Remember to position your oven so it faces directly into the sun, and adjust the reflectors to capture maximum sunlight. You'll need to rotate the oven every couple of hours to follow the sun's movement for ideal baking results.
Black Cookware Matters
Dark-colored baking pans are your best choice for solar cooking since they absorb and distribute heat more effectively than light-colored alternatives.
You'll get better results using black or dark metal cookware because these surfaces quickly reach higher temperatures when exposed to sunlight.
The enhanced heat absorption properties of dark pans help maintain consistent temperatures throughout the baking process, which is essential for successful sun-powered desserts.
Maximizing Heat Absorption Properties
To achieve ideal results in your solar oven, the properties of your cookware play a vital role in heat absorption. You'll want to choose dark-colored pots and pans since they absorb heat more efficiently than light or shiny ones. Shiny surfaces reflect heat away, which can greatly slow down your baking time.
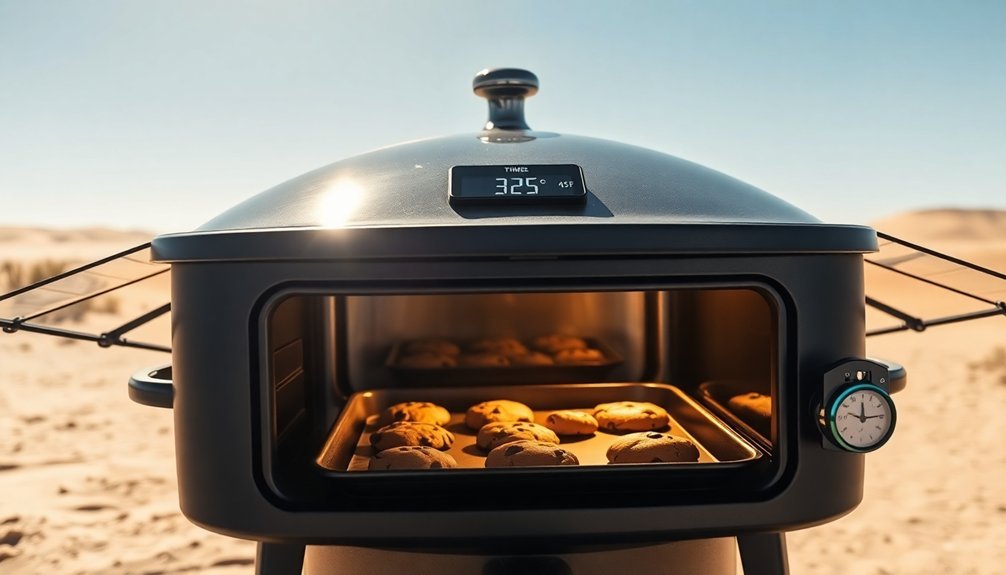
Your solar oven relies primarily on radiation for heat transfer, so maximizing absorption is essential. On sunny days, you can reach temperatures between 300-350°F, similar to conventional ovens, but only with proper equipment and positioning.
Keep your oven aligned with the sun's rays, and you'll maintain ideal temperatures for baking desserts. Don't forget to use an oven thermometer to monitor the heat, ensuring your treats bake at the right temperature consistently.
Selecting Better Baking Pans
While heat absorption is important for solar baking, your choice of baking pans deserves special attention. Dark pans conduct heat more efficiently but require careful monitoring to prevent over-browning and uneven baking. You'll need to adjust your baking temperature and timing when using dark cookware.
| Pan Type | Advantages | Adjustments Needed |
|---|---|---|
| Dark/Black | Maximum heat absorption | Lower temp by 25°, reduce time 5-10 min |
| Dark Gray | Moderate heat absorption | Minor temp reduction |
| Light Metal | Even baking, forgiving | Standard recipe settings |
To optimize your results with dark pans, you can line them with parchment paper or wrap the exterior with aluminum foil. Remember, quality matters – avoid thin, flimsy pans that won't distribute heat evenly. Choose metal pans over other materials for their superior heat conduction properties in solar baking.
Dark Surface Temperature Benefits
Selecting black cookware for solar baking can dramatically boost your dessert's success rate through superior heat absorption and distribution. Your dark pans will capture and spread heat more efficiently than light-colored alternatives, reducing overall baking time.
You'll need to adjust your approach when using dark cookware. Lower your temperature by 25 degrees and start checking for doneness 5-10 minutes earlier than usual. For instance, if your recipe calls for 50 minutes at 350°F, aim for 45 minutes at 325°F instead.
Watch out for excessive browning, as dark pans can create thicker, harder crusts through faster caramelization.
While parchment paper won't prevent this intense heat transfer, it'll keep your desserts from sticking. Stay vigilant and check your bakes frequently to achieve perfectly tender results.
Layer Your Ingredients Strategically
Creating stunning sun-powered desserts requires strategic layering that captivates both eyes and taste buds. Start with a solid base layer of ladyfingers or shortcake in your clear glass bowl to establish a strong foundation.
Next, add your vanilla pudding mixture, ensuring even distribution for consistent flavor in every bite.
You'll want to incorporate both creamy and crunchy textures as you build upward. Layer fresh strawberries and blueberries strategically, not only for their contrasting flavors but also for their visual appeal.
Top everything with a generous layer of whipped cream. Remember to chill your ingredients beforehand and refrigerate the completed dessert for at least an hour – this helps the flavors meld together perfectly while maintaining distinct layers.
The result? A visually striking dessert that's as delicious as it's beautiful.
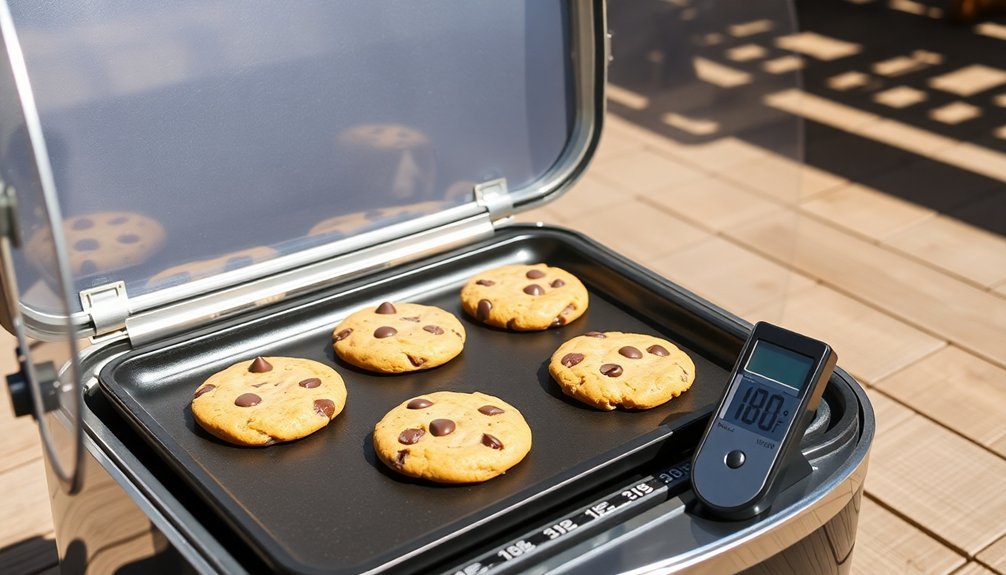
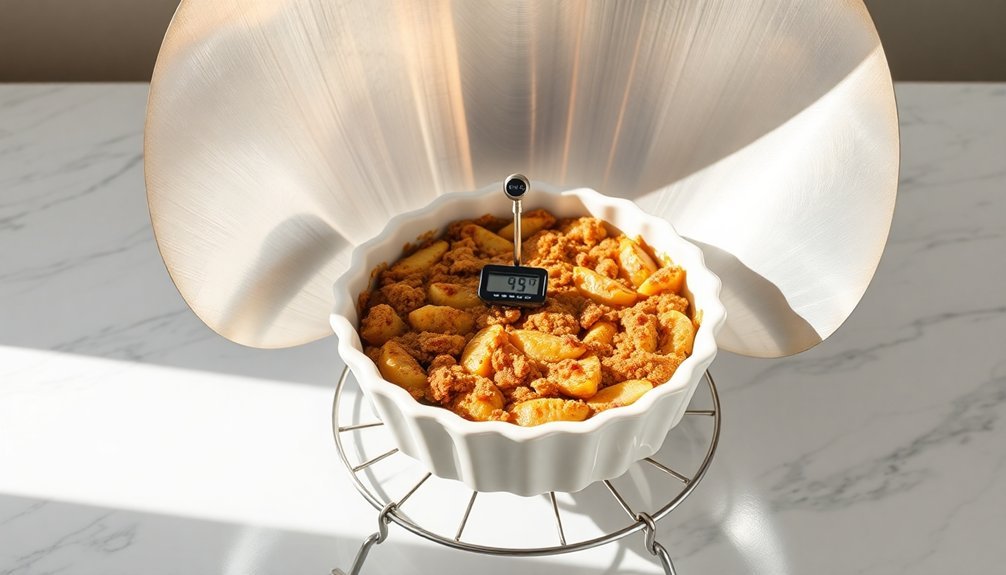
Monitor Internal Temperature
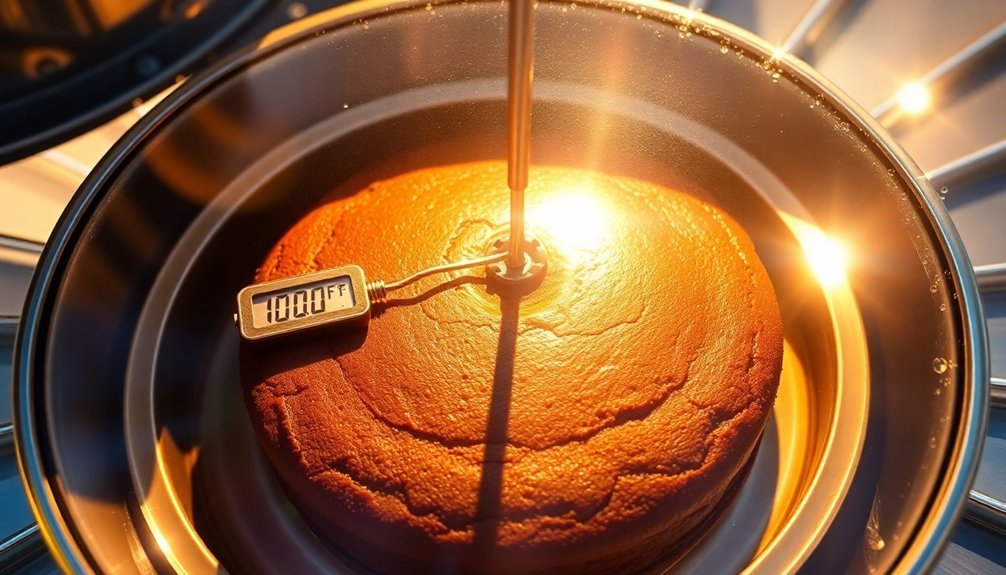
To guarantee your sun-baked desserts turn out perfectly, you'll need to monitor their internal temperature with precision. Insert your thermometer from the side of your dessert, and if you're using a loaf pan, angle it downward just above the pan's edge. Make sure the probe doesn't touch any metal surfaces for accurate readings.
For quick breads and muffins, aim for an internal temperature of 200°F (93°C). If you're making yeast-based desserts, you'll want to reach between 200-210°F (93-99°C), while softer treats should hit 180-190°F (82-88°C).
Consider using a Thermapen Classic for quick checks or a USB probe for continuous monitoring. A temperature data logger can help you track both real-time and historical temperature data throughout your solar baking process.
Timing Is Everything
When baking with solar power, precise timing becomes your most essential element for success. You'll need to double conventional cooking times and stay flexible since sunlight intensity greatly affects baking duration.
Watch your treats closely, especially as they near completion. On clear days with temperatures between 80-90°F, expect 3-4 hours of cooking time. You can optimize this by rotating your solar oven every 30 minutes to follow the sun's path.
If needed, don't hesitate to continue baking the next day – just bring your pans inside overnight. For best results, use dark-colored, shallow pans and position them centrally in your solar oven.
Keep an eye out for visual cues like golden-brown crusts or set centers. Test cakes and brownies with a toothpick – it should come out clean when done.
Protect Against Heat Loss
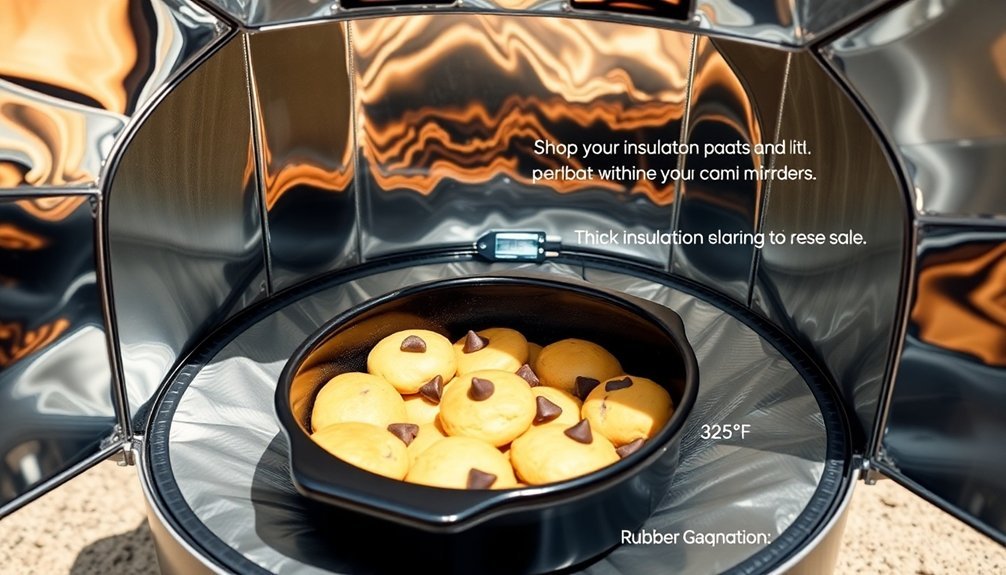
Since solar ovens rely entirely on the sun's energy, maintaining consistent heat becomes essential for successful baking. You'll need to minimize heat loss by keeping your solar oven's door closed as much as possible during the baking process.
When you're loading or unloading desserts, work quickly to prevent excessive heat escape. To maximize efficiency, bake full batches rather than single items, and use the oven's convection features if available, as they allow for lower temperature settings while maintaining even heat distribution.
Consider upgrading your solar oven with double-glazed panels or solid doors for better insulation. If you need to adjust the temperature, do it gradually to maintain stable heat levels.
Position your desserts strategically, accounting for any hot spots in your solar oven to guarantee uniform baking results.
Watch Weather Conditions
The success of your solar desserts depends heavily on weather conditions. You'll get the best results on sunny days when temperatures exceed 85°F. Clear skies provide maximum sunlight exposure, which is essential for effective solar baking. Remember that cloudy conditions will extend cooking times or may prevent proper baking altogether.
Watch out for these key weather factors:
- Wind can destabilize your oven and affect temperature – position it strategically
- Cloud cover greatly reduces cooking effectiveness, so plan accordingly
- Shading from buildings or trees will limit your oven's sunlight exposure
Monitor the temperature throughout the baking process, especially on extremely hot days, to prevent burning.
If you're dealing with less-than-ideal conditions, you may need to adjust cooking times or postpone your solar baking project for a better day.
Perfect Your Reflector Angles
Achieving ideal heat collection in your solar oven depends heavily on proper reflector positioning. For best results, set your reflector angles between 45 and 90 degrees. Don't exceed 90 degrees, as this will shade your oven window, and avoid angles below 45 degrees since they'll reflect sunlight back toward the sun.
| Angle Range | Benefits | Considerations |
|---|---|---|
| 45-60° | Best for shorter reflectors | Uses less material |
| 60-75° | Common in most designs | Good balance of efficiency |
| 75-90° | Most effective for tall reflectors | Requires more material |
If you're using a standard model like the Heaven's Flame, stick to 45 degrees, while Global Sun Oven users should aim for 60 degrees. Remember, longer reflectors work better with more acute angles, while shorter ones perform well with shallower angles.
Test For Doneness
Determining whether your solar-baked desserts are done requires careful attention to multiple indicators.
You'll need to rely on visual cues, temperature readings, and texture tests to guarantee perfect results. Look for golden-brown crusts and set surfaces while monitoring internal temperatures with an oven thermometer placed in the center.
Key tests for doneness include:
- Insert a toothpick into cakes and brownies – it should come out clean
- Check that edges are firm and lightly browned for cookies
- Verify fruit fillings are tender and bubbly in pies
Remember that solar baking takes about twice as long as conventional methods, so you'll want to rotate your oven every 30 minutes to follow the sun.
Don't rush the process – patience is essential for achieving perfectly baked solar desserts.
Frequently Asked Questions
Can I Use Aluminum Foil Instead of Black Cookware?
You can use aluminum foil instead of black cookware, but you'll get lighter-colored results and possibly uneven heating. For better outcomes, you'll need to adjust baking times and monitor food more carefully.
How Do I Prevent Condensation From Dripping Onto My Desserts?
You'll prevent drips by wrapping your desserts in multiple layers of plastic wrap, chilling them slowly, and avoiding sudden temperature changes. Use fans to dry condensation and let items adjust gradually to room temperature.
What's the Maximum Temperature a Solar Oven Typically Reaches?
You'll find that parabolic solar ovens reach the highest temperatures, up to 700°F (371°C). However, most standard solar ovens, like box cookers, typically operate between 250°F-400°F (121°C-204°C) in ideal conditions.
Should I Grease the Cookware Before Adding Dessert Ingredients?
You'll need to grease your pans for fat-based cakes but skip it for foam-based ones. For most desserts, use butter, cooking spray, or shortening to prevent sticking, just like in conventional baking.
Can I Stack Multiple Desserts in the Solar Oven Simultaneously?
Yes, you can stack multiple desserts in your solar oven, but you'll need to guarantee proper spacing between containers, maintain consistent temperature, and allow enough air circulation for even baking results.
In Summary
You'll find solar baking becomes second nature once you've mastered these essential tips. Remember to start with simple recipes and gradually work your way up to more complex desserts. Don't let cloudy days discourage you – just adjust your timing and techniques accordingly. With practice, you'll be amazed at how your sun-powered treats turn out just as delicious as conventional oven-baked desserts.


Leave a Reply