Start with fresh, strongly-flavored herbs like thyme, sage, and oregano harvested on sunny mornings after the dew evaporates. You'll want to create small bundles no thicker than an inch, securing them with natural twine before hanging them upside down in a well-ventilated area away from direct sunlight. Position your drying setup to catch breezes and use screens to protect from pests. Keep humidity between 30-60% and maintain temperatures below 100°F for ideal results. Store your dried herbs in airtight glass containers in a cool, dark place. These foundational tips will set you up for countless aromatic creations.
Choose Fresh Herbs Wisely
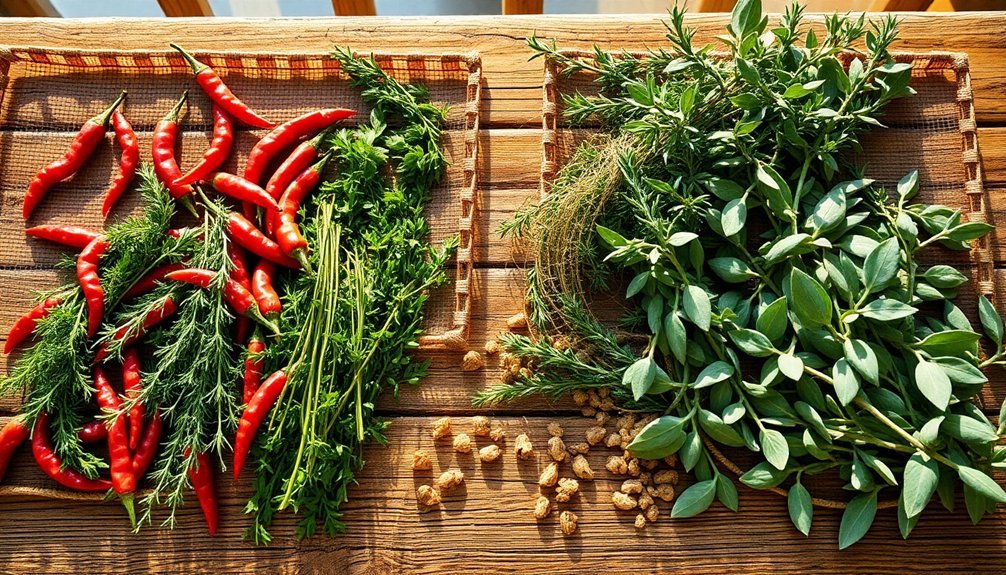
When starting your herb-drying journey, selecting the right herbs makes all the difference in your final product. You'll want to focus on strongly flavored varieties like thyme, sage, and oregano, which retain their taste well during the drying process. These herbs naturally have lower moisture content, making them ideal candidates for dehydration.
To maintain optimal flavor and potency, harvest and dry immediately during the same day for the best results. While most herbs dry successfully, you'll need to handle some differently. Basil requires low heat to prevent blackening, and cilantro's best preserved fresh or frozen since it loses flavor when dried.
For best results, harvest your herbs just before their flowers open, when flavor is most concentrated. Choose new leaves from the tips of plants, and harvest on sunny days after morning dew has evaporated.
Remember to avoid gathering herbs during their flowering stage, as they'll taste bitter and produce fewer leaves.
Prepare Your Drying Space
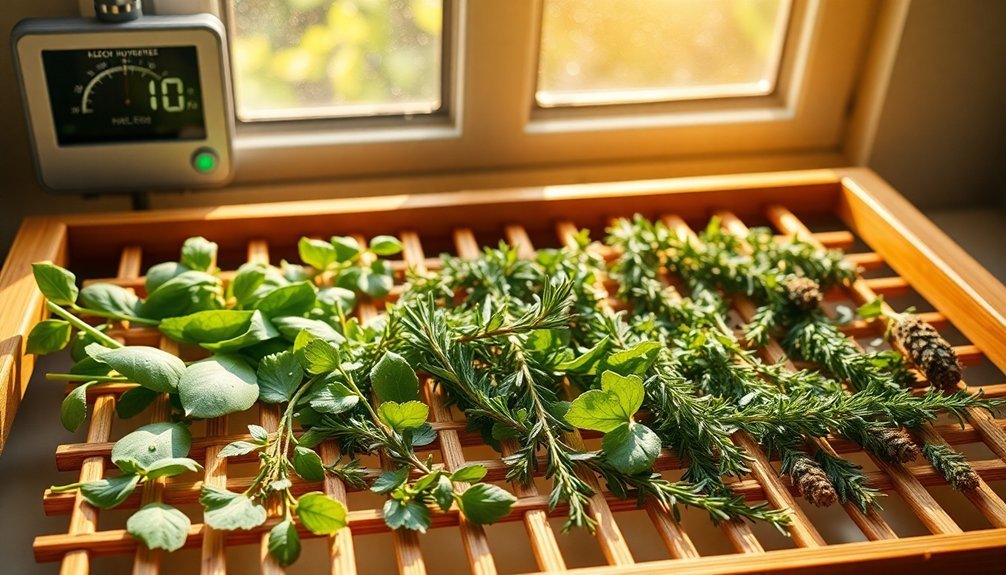
Before diving into the dehydration process, you'll need to set up a proper drying workspace that promotes ideal results. Choose a well-ventilated area away from direct sunlight, preferably near a gentle heat source like a wood stove.
You'll want to maximize airflow by using screens or drying racks positioned strategically in the space. Keep your workspace clean and sterile to prevent contamination. The process requires careful attention since dried herbs are delicate and require gentle handling. Wear gloves when handling herbs and maintain strict hygiene standards throughout the process.
If you're using a dehydrator, set it up on a level surface and guarantee all trays are clean. Consider using silicone mats on the racks to prevent smaller ingredients from falling through.
For natural drying, you can repurpose old window screens or invest in specialized herb drying screens. Just remember to position them where humidity won't accumulate.
Bundle Herbs for Maximum Airflow

Proper bundling techniques make all the difference in successfully drying herbs.
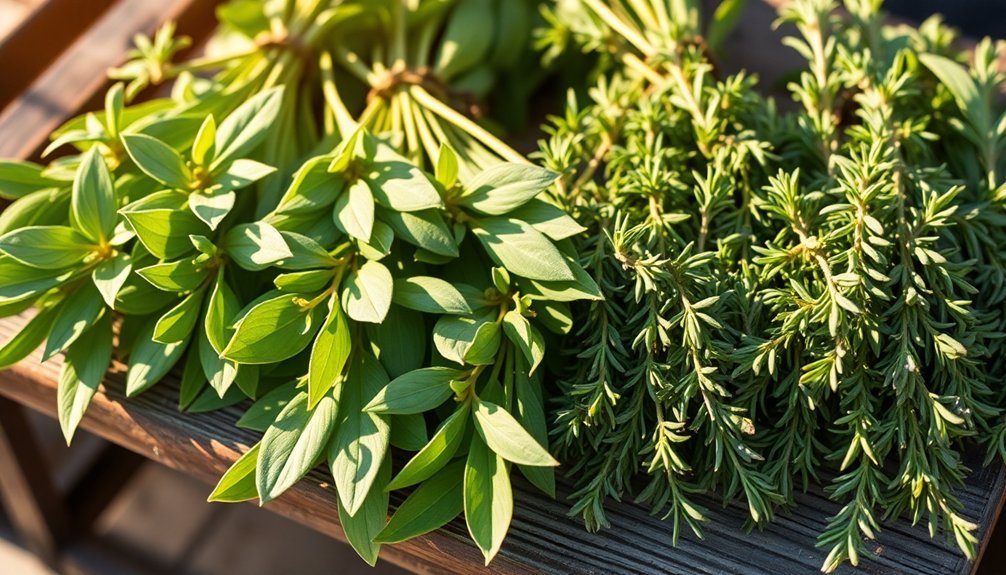
Start by selecting less tender varieties like sage and thyme for your first attempts, as they're easier to dry than moisture-rich herbs like basil and mint.
Create small bundles no thicker than one inch to prevent mildew.
You'll want to gather your herbs early in the morning after the dew has dried, then gently wash and shake off excess moisture.
Remove any damaged leaves before bundling.
Secure the stems with natural twine or rubber bands, making sure they're tight enough to hold but not crush the stems.
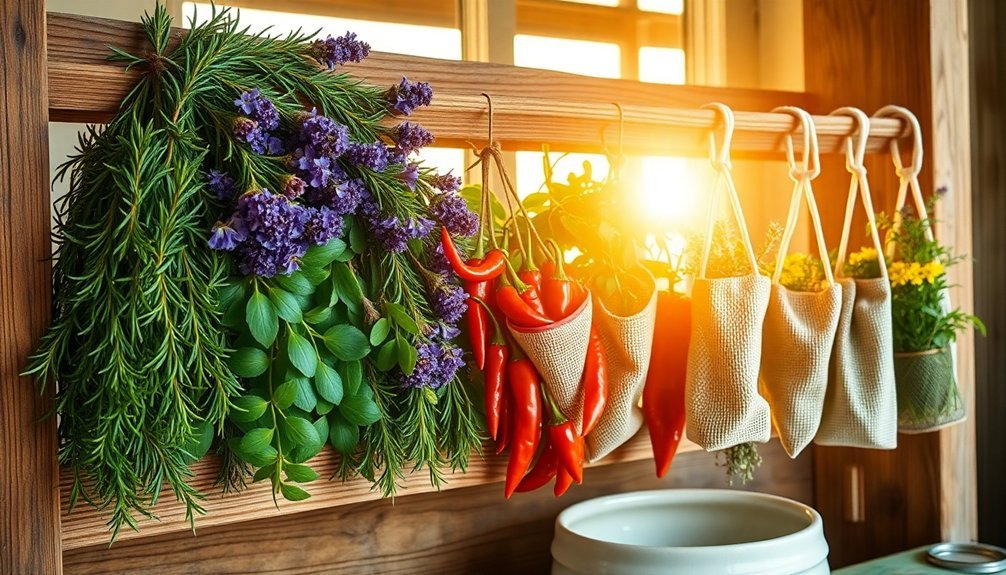
Hang your bundles upside down in a dry, well-ventilated area away from direct sunlight.
You can cover them with perforated paper bags to catch falling leaves and speed up the process with a gentle fan.
The drying temperature should stay between 95 and 110°F for optimal results.
Protect From Environmental Elements
Protecting your seasonings from environmental elements is essential for achieving high-quality dried herbs and spices. Cover your drying racks with fine-mesh screens to keep insects, dust, and debris away from your precious herbs.
You'll want to guarantee the mesh is small enough to block even tiny pests while still allowing proper airflow. Position your drying setup to catch natural breezes, but shield it from harsh direct sunlight using shade cloth or cheesecloth during peak hours.
Don't forget to rotate your herbs periodically for even drying. If you're in a humid area, use fans to enhance air circulation and prevent moisture buildup.
Always maintain a clean environment by sanitizing your equipment and washing your hands before handling herbs. Store your finished dried seasonings in clean, airtight containers to preserve their freshness and flavor.
Monitor Temperature and Humidity
During summer months, you'll want to keep a close eye on your dehydrator's temperature, ensuring it stays between 85-100°F to prevent over-drying your seasonings.
You can protect against excess moisture on rainy days by maintaining humidity levels between 30-60% using a hygrometer. If you notice humidity climbing above these levels, consider moving your drying operation indoors or using a dehumidifier to maintain ideal conditions.
Heat Control During Summer
Maintaining consistent temperature and humidity levels becomes especially critical when dehydrating seasonings in summer's intense heat.
During peak sun hours between 9 AM and 3 PM, you'll need to monitor your drying setup closely to prevent overheating.
If you're using a solar dryer, verify it has proper ventilation and a glass top to control heat distribution.
Keep humidity below 60% by providing adequate air circulation, and bring your seasonings indoors at night to protect them from moisture.
For delicate herbs, avoid direct sunlight exposure to prevent color loss and flavor degradation.
During heat waves, you might need to adjust your drying schedule by taking advantage of cooler morning hours.
Remember to harvest herbs early in the day before flowers bloom for best results, and always keep your seasonings protected from excessive temperatures above 150°F.
Rainy Day Moisture Prevention
When rainy weather strikes, monitoring your dehydrator's temperature and humidity becomes essential for success. You'll need to keep the relative humidity below 60% to guarantee proper moisture evaporation and prevent excessive sweating of your seasonings. Maintain temperatures 10-20°F below the process air temperature to avoid cooking or stewing your ingredients.
| Condition | Action Required |
|---|---|
| High Humidity | Increase air circulation and reduce ambient moisture |
| Temperature Control | Keep heat consistent to prevent case hardening |
| Air Flow | Maintain continuous movement to prevent moisture trapping |
Check your dehydrator's humidity levels regularly, aiming for 12-18% at the hot end and no more than 35-50% at the cooler end. Use sensors to track these levels continuously, and adjust your settings as needed to combat the rainy conditions. This attention to detail will help you achieve perfectly dried seasonings.
Test for Complete Dryness
Testing your dried herbs for complete dehydration is vital for successful preservation and storage. You'll know your herbs are properly dried when they crumble easily between your fingers and the stems snap cleanly when bent. The leaves should readily fall from the stems, and you shouldn't notice any flexibility when handling them.
Perform a visual inspection to guarantee your herbs have a uniform, brittle appearance without any signs of moisture or mold. While the color may change slightly during drying, they shouldn't look damp or show uneven patches.
To verify thorough drying, crush a small sample – it should crumble effortlessly. If you notice any softness or flexibility, continue the drying process. Remember, complete dryness is essential, as any remaining moisture can lead to spoilage during storage.
Create Custom Spice Blends
When you're ready to make your own spice blends, start by combining seasonings that naturally work together, such as cumin with coriander or thyme with rosemary.
You'll want to mix small test batches first, adjusting the ratios until you've achieved your desired flavor profile.
Always store your finished blends in airtight containers with clear labels showing the blend name and date, which will help you track freshness and identify your creations later.
Mix Compatible Flavors Together
Creating custom spice blends begins with understanding how different flavors work together. You'll want to start with a strong base spice like cumin, paprika, or oregano, then build complementary layers around it. Consider the final goal of your blend – whether you're aiming for something spicy, smoky, or aromatic.
| Base Spice | Compatible Partners |
|---|---|
| Cumin | Turmeric, Coriander, Paprika |
| Rosemary | Thyme, Garlic, Parsley |
| Paprika | Garlic, Chili, Oregano |
| Basil | Anise, Cardamom, Oregano |
| Thyme | Rosemary, Oregano, Sage |
When mixing your blends, adjust the proportions carefully. Start with small batches and test as you go. Remember that stronger spices need less quantity, while milder herbs might require more to achieve the right balance. Grind your spices just before mixing to preserve their aromatic qualities.
Test Small Batches First
The journey to perfect spice blends begins with small experimental batches that minimize waste and maximize learning opportunities.
Start by selecting herbs and spices at similar maturity levels, cutting them into uniform sizes to guarantee even drying times.
You'll want to maintain consistency by using identical dehydration methods for each batch.
Monitor temperature settings carefully and remove any damaged parts or debris before processing.
Test different ratios and combinations, starting with a basic recipe you can adjust as needed.
Before storing your blends, verify that ingredients are thoroughly dehydrated by checking for moisture content.
Store them in airtight containers, and consider adding silica packets to control humidity.
Don't forget to test rehydration methods and follow USDA guidelines for food safety.
Monitor your blends regularly to guarantee they maintain their quality and flavor over time.
Label Storage Containers Properly
Professional labeling transforms your custom spice blends from mysterious mixtures into organized, accessible seasonings.
You'll want to select water-resistant labels that can withstand kitchen humidity and occasional spills while staying firmly in place. These labels can be wiped clean with soap and water when needed.
When labeling your dehydrated seasonings, choose customizable labels that fit your containers' shape and size. Apply them to clean, flat, or cylindrical surfaces for best results.
Include the blend name, key ingredients, and "all natural" designation if applicable. You can design labels that match your kitchen's aesthetic, whether you prefer minimalist text or decorative patterns.
For unique blends, take advantage of blank labels where you can write specialized information. Your labeled containers will make cooking more efficient and help you track your dried seasoning inventory.
Proper Storage Methods
Proper storage methods play an essential role in maintaining your dehydrated seasonings' flavor, potency, and shelf life.
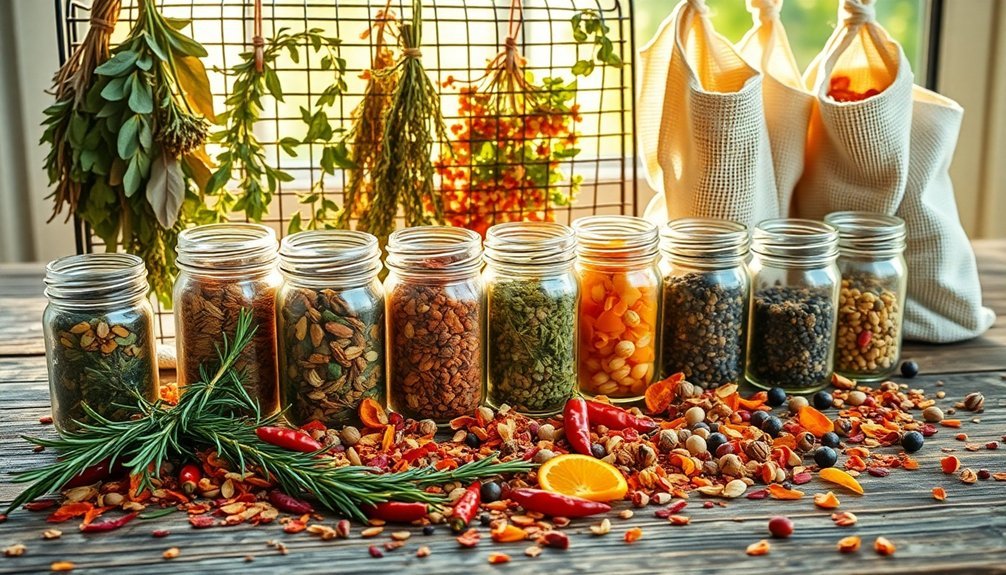
You'll want to store your seasonings in airtight glass or ceramic containers in a cool, dark pantry away from heat sources and direct sunlight.
Keep your seasonings away from moisture-prone areas and never store them above appliances that generate heat.
Don't sprinkle spices directly over steaming pots, and always use dry utensils when measuring.
Make sure you're storing different spices separately to prevent flavor transfer, especially for strong-smelling varieties.
For bulk storage, keep excess seasonings in their own containers in a cool, dark place.
Refill smaller containers as needed, and remember to rotate your stock so you're using older seasonings first.
Extend Shelf Life
You'll need to control moisture levels through proper packaging and airtight containers to prevent your seasonings from clumping or becoming compromised.
Keep your dehydrated seasonings in temperature-controlled areas below 70°F (21°C), away from heat sources like stoves or direct sunlight.
Using vacuum-sealed bags or containers with moisture-absorbing packets will help maintain the seasonings' quality and extend their usable life up to their maximum shelf life potential.
Moisture Control Basics
Maintaining ideal moisture levels stands as the cornerstone of effective food dehydration and long-term storage success. You'll want to keep humidity between 30-60% and temperatures between 85°F to 100°F, using hygrometers and thermometers to monitor conditions.
| Condition | What to Check | Action Required |
|---|---|---|
| Humidity | 30-60% range | Adjust ventilation |
| Temperature | 85-100°F | Monitor heat exposure |
| Air Flow | Circulation | Position for breezes |
For best results, select fresh produce without blemishes and cut them uniformly. Spread items in single layers on elevated racks, protecting them with screens from insects and debris. You'll know your seasonings are properly dried when vegetables and herbs feel brittle at 10% moisture. Remember to cool items completely before storage and use vapor-resistant containers with tight seals.
Temperature-Safe Storage Areas
After mastering moisture control, selecting the right storage location becomes your next priority for preserving dehydrated seasonings.
You'll want to find a spot that maintains consistent temperatures below 70°F while protecting your herbs and spices from light exposure and heat sources.
- Create a dedicated "spice sanctuary" away from your stove, oven, and dishwasher to shield your precious seasonings from damaging heat.
- Transform a cool, dark cabinet into your flavor vault by keeping it far from heating vents and direct sunlight.
- Set up your storage area away from refrigerators and freezers to prevent moisture-causing condensation.
- Choose a temperature-stable location that won't expose your seasonings to daily fluctuations, which can greatly reduce their shelf life.
Consider using amber glass jars or vacuum-sealed containers in your chosen spot for maximum protection.
Seasonal Timing Matters
The ideal timing of herb dehydration changes dramatically with each season's unique conditions.
In spring, you'll want to harvest and dry herbs like parsley and basil before they flower, taking advantage of their peak freshness.
Summer requires careful timing – collect herbs like mint and dill in the morning after the dew evaporates to preserve their essential oils.
Autumn offers perfect drying conditions with its cooler temperatures. You'll find September particularly effective for preserving herbs like rosemary and marjoram before winter.
During winter months, focus on proper storage of your previously dried herbs in glass containers away from light and moisture.
If you're looking ahead, you can freeze herbs in ice cubes for future use when fresh varieties aren't available.
Frequently Asked Questions
Can Dried Herbs Be Rehydrated for Cooking, and How?
Yes, you can rehydrate dried herbs by soaking them in warm water for 10 minutes. You'll want to cover them completely, then strain. You can also add them directly to soups and stews while cooking.
What Causes Dried Herbs to Turn Brown or Lose Color?
Your dried herbs turn brown when exposed to high heat, direct sunlight, excessive moisture, or improper handling. You'll notice color loss due to ruptured trichomes, free radical formation, and poor air circulation during drying.
How Do Different Drying Methods Affect the Medicinal Properties of Herbs?
You'll preserve more medicinal properties using low-temperature dehydration or freeze-drying. High heat can destroy antioxidants and crucial compounds, while vacuum drying helps retain essential oils and active ingredients in your herbs.
Are Some Herbs Unsuitable or Dangerous for Sun Drying?
Yes, you shouldn't sun-dry herbs with high moisture content like basil, oregano, and mint, as they're prone to mold. You'll also lose flavor and medicinal properties when sun-drying delicate herbs.
Can Herbs Be Dried Together, or Should They Always Dry Separately?
You can dry herbs together if they have similar moisture content and thickness. However, it's best to dry them separately to preserve unique flavors, prevent cross-contamination, and guarantee proper drying times for each herb.
In Summary
You'll find sun-drying your own seasonings rewarding and cost-effective once you've mastered these simple techniques. By choosing the right herbs, creating ideal drying conditions, and storing properly, you're ensuring maximum flavor retention. Start with small batches, experiment with different herb combinations, and don't forget to label everything clearly. With practice, you'll have a pantry full of vibrant, homemade seasonings ready to enhance any dish.


Leave a Reply