
When clouds block sunlight, you'll need to adapt your solar cooking approach for success. Double or triple your standard cooking times and use dark, lidded cookware to maximize heat absorption. Add extra insulation around your cookware and employ reflective panels to capture scattered light. Position your cooker between 11:00 am and 3:00 pm for best results, and adjust its angle frequently to track available sunlight. You can enhance performance with vacuum tube cookers or compound parabolic reflectors, which work better in overcast conditions. With proper temperature monitoring every 20-45 minutes and strategic equipment placement, you'll discover multiple ways to maintain effective solar cooking even on cloudy days.
Understanding Cloud Impact on Cooking
When cooking with solar energy, understanding how clouds affect your cooking process is essential for success. Different cloud types impact your solar cooking in distinct ways.
Low clouds pose the biggest challenge as they block significant sunlight and heat, severely limiting your cooking capability. High clouds, while less problematic, still reflect some sunlight but can trap heat, which might work in your favor under certain conditions. Long, slow cooking works best during these cloudy conditions.
You'll notice that thin, high-altitude clouds can create a cloud lensing effect, where ice crystals actually focus sunlight, sometimes increasing the light reaching your cooker.
While you can still cook on cloudy days, you'll need to adapt your approach. High, thin clouds will slow your cooking but won't stop it completely, while low, thick clouds require substantial adjustments to your cooking strategy.
Proper Temperature Control Methods
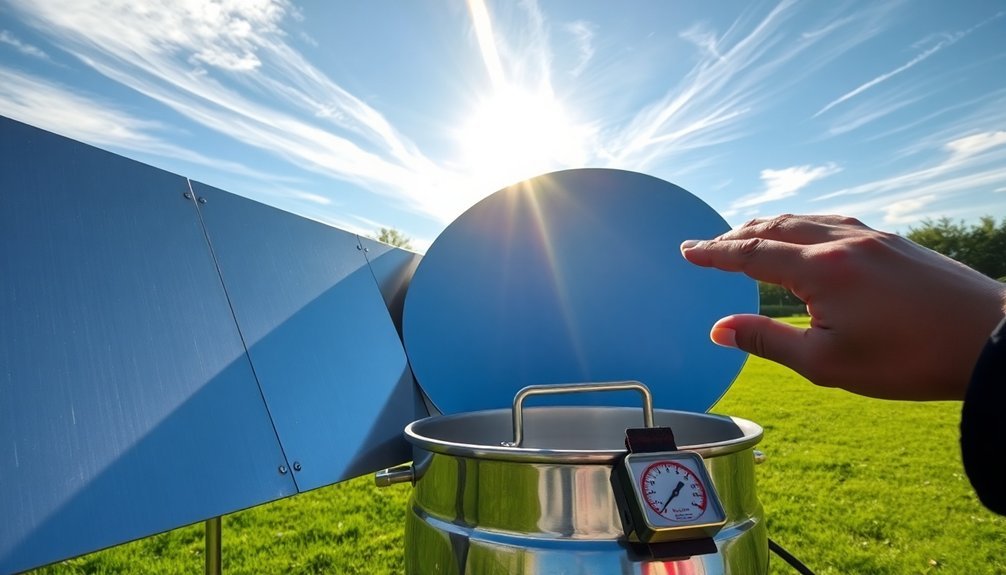
You'll need to keep a close eye on your solar cooker's temperature by placing a thermometer in the center of the cooking chamber, aiming for temperatures between 150-225°F.
To maintain consistent heat levels, make sure you've properly sealed all edges with insulation and positioned dark-colored cookware to absorb maximum solar energy. Using Type-K thermocouples provides the most precise temperature readings during the cooking process.
For the most accurate readings, position your thermometer away from direct sunlight and close to your food container while ensuring the sensor isn't touching the bottom or sides of the cooking chamber.
Monitor Temperature Throughout Cooking
Three essential tools guarantee proper temperature control when solar cooking: thermometers, regular monitoring, and accurate placement.
You'll need to use Type-K thermocouples or digital thermometers for precise readings, ensuring they're correctly positioned within your cooking cavity. Keep temperatures between 150°F and 400°F, with a minimum of 180°F for food safety. Dark cookware helps maintain these temperatures through better heat absorption. Proper insulation with cotton helps minimize unwanted heat loss during cloudy conditions.
Monitor your solar oven's temperature every 20-45 minutes as you reposition it to track the sun. You'll get the best results during peak hours from 11:00 am to 3:00 pm. If clouds appear, you may need to double your cooking time and adjust more frequently.
Using a Lazy Susan can make repositioning easier while maintaining consistent temperatures. Remember to minimize opening the oven to prevent heat loss.
Maximize Heat Retention Features
Maintaining ideal temperatures in your solar cooker requires a thorough approach to heat retention through multiple insulation layers and strategic design elements.
Start by creating a box-within-box structure, lining it with crumpled newspaper, dry leaves, or spun fiberglass. Cover the bottom with black construction paper and add a foil-covered shelf for maximum heat absorption.
You'll want to secure your glazing material tightly and incorporate reflective panels to direct additional sunlight. Adjust the reflective flap's angle using a ruler as a prop.
When cooking, use dark-colored, lidded cookware that absorbs heat effectively. If clouds appear, quickly close the reflective lid and push your pots together.
Add insulating pads or cushions around the cookware to maintain temperature. These features will help your solar cooker perform at its best even in less-than-ideal conditions.
Optimal Thermometer Placement Tips
Proper thermometer placement serves as a cornerstone for successful solar cooking. You'll need to position your thermometer in a shaded area, 4-6 feet above ground, while ensuring adequate airflow for accurate readings. Don't place it near heat sources like grills or vents, and avoid direct sunlight that can skew your measurements.
| Location Do's | Location Don'ts |
|---|---|
| Under eaves | Near grills/vents |
| Covered porches | On concrete/asphalt |
| Sheltered areas | Direct sunlight |
| White wooden shelters | House walls |
| 4-6 feet elevation | Ground level |
For ideal results, mount your thermometer in a white wooden shelter or under your porch's eaves. These locations shield it from weather elements while maintaining proper airflow. Remember to keep it away from heat-retaining surfaces that could affect your solar cooking temperature readings.
Extended Cooking Time Guidelines
When cooking with a solar oven, you'll need to double your standard recipe times and add an extra 30 minutes to account for variable sun conditions.
Keep a close eye on your food's internal temperature using a reliable thermometer, especially during the first few solar cooking attempts.
You can track your cooking progress by noting temperature changes every 30 minutes, which will help you develop more accurate timing estimates for future meals.
Doubling Time Based Recipes
Since solar cooking relies heavily on weather conditions, understanding how to adjust conventional recipe times is essential for successful outdoor cooking.
You'll need to double or even triple standard cooking times when using a solar cooker, especially on cloudy days.
For most recipes, plan to multiply conventional cooking times by 1.5 to 3, depending on cloud cover and sun intensity. Your grains and cut-up meats will typically need 2 to 2.5 hours, while whole vegetables and soups require 3 to 3.5 hours.
Larger cuts of meat, like whole turkeys or briskets, can take 4 to 7 hours to cook completely.
To maximize efficiency, start cooking between 11:00 am and 3:00 pm when the sun's intensity is strongest. On cloudy days, begin earlier and expect cooking times to increase by at least 50%.
Tracking Temperature Progress
Tracking temperatures accurately throughout the solar cooking process helps guarantee food safety and ideal results.
You'll need to use a meat thermometer to check if your food reaches safe cooking temperatures between 50°C and 300°C, with most dishes starting to cook between 80°C to 90°C.
On partly cloudy days, when your solar oven temperature drops to 200°F-250°F, you'll want to monitor more frequently and adjust cooking times accordingly.
You can use mobile apps to track real-time temperature data and set alerts when temperatures fall below target ranges. Modern tracking apps integrate with solar position algorithms to help you optimize your oven's placement throughout the day.
Remember to log environmental factors like cloud cover and wind, as they'll affect your cooking progress considerably.
Heat Retention Strategies
To maximize your solar cooking efficiency, mastering heat retention strategies proves essential for maintaining consistent temperatures and achieving reliable results.
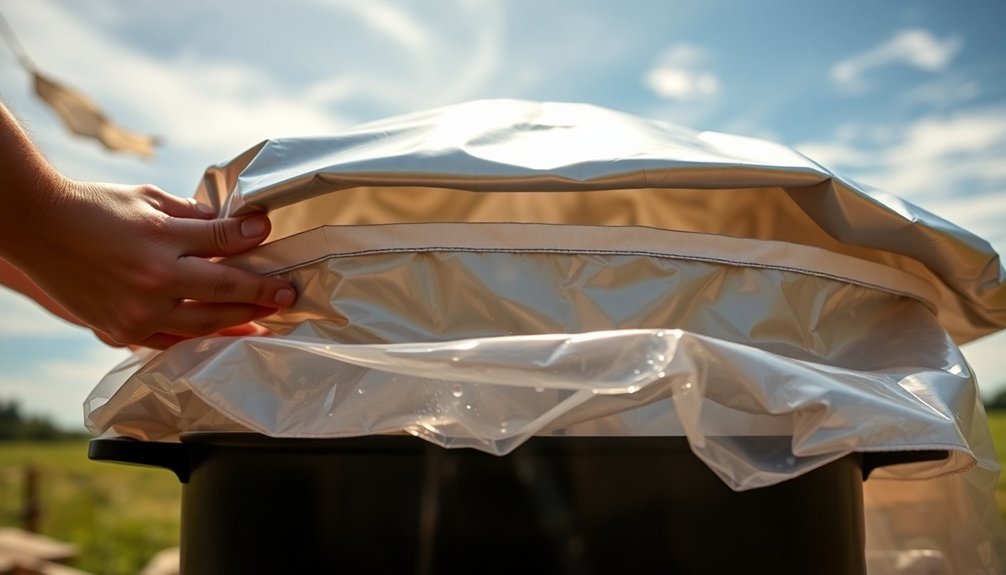
You'll need to utilize double-glazed panels or heavy-duty plastic with precise air spacing between layers. Seal all edges with high-temperature silicone caulk or tape to prevent heat escape.
Use dark-colored pots and cooking utensils, as they absorb up to 95% of solar radiation. Cover your cookware with lids or tightly sealed plastic wrap to prevent condensation on the oven glass.
For enhanced performance, line your oven's interior with black paint or dark clay, and position reflective aluminum panels strategically.
Don't forget to protect your setup from wind interference by choosing a sheltered location, and you'll want to adjust the oven's position every 30-45 minutes for maximum sun exposure.
Effective Insulation Techniques
You'll find that selecting the right insulating materials, such as feathers, cotton, or specialized options like Firwin Plus, makes a significant difference in your solar cooker's performance.
Creating a double-layer system by combining materials like foam board with radiant barriers like aluminum foil helps trap heat more effectively.
If you need a quick fix, common household items like crumpled newspaper or styrofoam can provide decent insulation when packed tightly against your cooker's walls.
Heat-Trapping Material Choices
Selecting effective heat-trapping materials plays an essential role in maximizing your solar oven's efficiency.
You'll want to incorporate synthetic quartz components when possible, as they can maintain temperatures above 1,000°C even with reduced sunlight exposure. This material excels at trapping and transferring solar energy efficiently.
Line your oven's bottom with black surfaces, such as black paper or paint, to absorb all wavelengths of visible light and convert them to heat.
Add reflective materials like aluminum foil to the inside walls and lid to concentrate and distribute sunlight evenly throughout the cooking chamber.
You can enhance this setup by creating an airtight seal with plastic wrap, which traps both heat and moisture inside.
This combination of materials guarantees your solar oven maintains consistent cooking temperatures even when clouds partially block the sun.
Double-Layer Protection Methods
When building an effective solar cooker, double-layer protection serves as your primary defense against heat loss. You'll want to create a smaller box within a larger one, filling the space between them with insulating materials like fiberglass, rockwool, or cellulose.
| Protection Layer | Purpose | Implementation |
|---|---|---|
| Inner Layer | Heat Retention | Cover with aluminum foil |
| Middle Layer | Insulation | Pack with wool or straw |
| Outer Layer | Weather Shield | Seal with moisture barrier |
For maximum efficiency, you'll need to seal all gaps while maintaining easy access to your cooking area. Add a double-glazed top using glass or high-temperature plastic, and don't forget to cover the insulation with foil strips to keep it separate from your cooking chamber. This multi-layered approach helps maintain consistent cooking temperatures even when clouds appear.
Emergency Heat Retention Fixes
During unexpected weather changes or equipment failures, simple emergency fixes can maintain your solar cooker's effectiveness.
You'll need to quickly adapt using readily available materials. Wrap your cooking pot in hay, straw, or shredded paper, then place it in a cardboard box or wooden container lined with reflective material.
Create a snug-fitting temporary insulator by digging a shallow pit and lining it with pre-heated rocks. Cover your pot with earth or leaves to trap existing heat.
If you're cooking indoors, use old blankets, wool, or rags to wrap the pot, ensuring there are no air gaps. Don't let steam escape when moving the pot to its insulated location.
For maximum heat retention, close all lids tightly and position your setup in a shaded area away from wind.
Weather Monitoring for Solar Cooking
Successful solar cooking requires careful attention to weather patterns and environmental conditions that can affect your cooking results.
You'll need to monitor several key factors using specific tools and technologies. Use a pyranometer to measure solar irradiance and an anemometer to track wind speeds that impact heat retention. Install thermocouples to record precise temperature readings, and don't forget to add humidity sensors since moisture affects cooking times.
You'll want to track barometric pressure to anticipate weather changes.
For cloud cover adjustments, increase your cooking time by 25-40% during partially cloudy conditions. Keep an eye on your solar tracking app, which updates every 5-15 minutes, and be ready to reposition your oven or modify reflector angles when clouds interfere with direct sunlight.
Optimal Cooker Positioning
To maximize your solar cooking results, proper positioning of your cooker plays an essential role. Orient your cooker's shorter front panel eastward for lunch preparation or westward for dinner meals. For all-day cooking, position it where the sun will be at noon or early afternoon.
You'll want to place your cooker on a dry, level surface in direct sunlight, ensuring there's no shadow except directly behind it. Use reflectors to boost sunlight capture, adjusting them periodically to track the sun's movement.
For winter cooking or higher latitudes, tilt your cooker to compensate for lower sun angles, but be careful not to overdo it with panel cookers to prevent spills. Remember to maintain a consistent orientation during cooking time to minimize the need for frequent adjustments.
Smart Food Selection
Beyond proper positioning, your food choices can make or break your solar cooking experience. You'll find vegetables and fruits are ideal choices as they cook well without added water, preserving their nutrients.
For meats and heartier dishes, cut ingredients into smaller pieces to speed up cooking time during cloudy conditions.
Choose recipes that can handle longer cooking times, like stews or soups, but make sure to use sealed containers to prevent moisture from condensing on the glass cover.
While high-temperature cooking methods like frying aren't practical on cloudy days, you can still achieve great results with moist cooking methods.
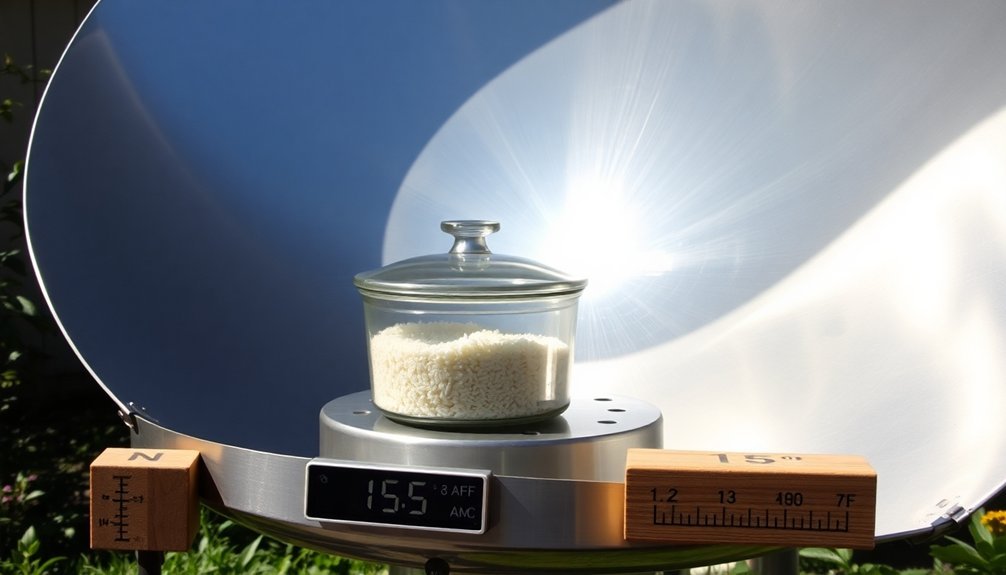
When preparing grains and legumes, you'll need to use the same amount of water as traditional cooking, but plan for extended cooking times and start earlier in the day.
Equipment Adaptations for Clouds
When clouds roll in, different types of solar cookers perform vastly differently.
Your vacuum tube cooker will be your best bet, as it can capture both UV and visible light, maintaining effectiveness even in overcast conditions. Its vacuum insulation helps retain heat for hours after sunset.
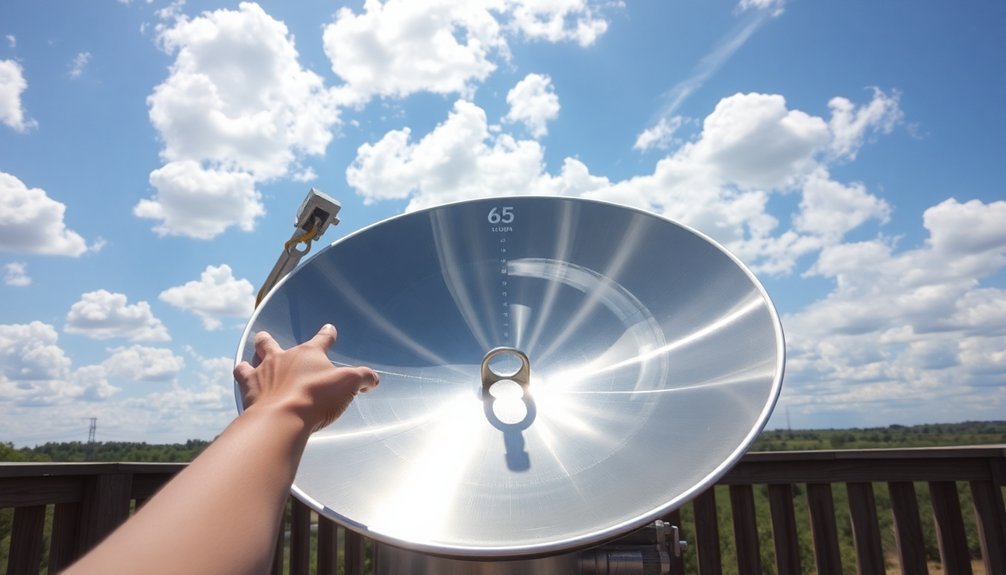
If you're using a parabolic cooker, you'll need to make more frequent adjustments to maximize the available sunlight.
Add reflective surfaces to enhance light capture, and position your cooker carefully to optimize performance.
For box cookers, you can improve cloudy-day cooking by adding extra insulation and reflective materials.
Consider installing compound parabolic reflectors to your setup, as they'll help capture light from multiple angles.
You'll also want to avoid preheating an empty vacuum tube cooker or leaving any solar cooker unattended in variable conditions.
Essential Safety Precautions
Safe solar cooking requires careful attention to food temperatures and handling procedures. You'll need to maintain cooking temperatures between 200-300°F and use a thermometer to verify that meats reach at least 167°F internally.
Don't let food remain in the danger zone (40-140°F) for more than 2-4 hours.
When handling ingredients, store raw foods below cooked items and use separate utensils to prevent cross-contamination. You'll want to use a dark pot with a tight-fitting lid to minimize heat loss.
Keep children at a safe distance from the cooker, and always wear sun protection, including sunglasses, when working with reflective surfaces. Use pot holders to handle hot containers and avoid steam burns.
Before cooking, verify your solar oven is preheated above 140°F and positioned for maximum sunlight exposure.
Alternative Cooking Methods

Although solar cooking offers an eco-friendly way to prepare meals, you'll need reliable backup options for days when sunlight isn't ideal.
Consider incorporating a direct solar electric cooking system that uses DC power from solar panels, eliminating the need for complex battery systems.
You can pair your solar cooker with a rocket stove, which efficiently uses small wood pieces when clouds interfere with solar cooking.
For extended periods of overcast weather, hybrid systems that combine solar cooking with biofuels or electric ovens provide dependable alternatives.
If you're using a multi-voltage DC oven, you'll have the flexibility to switch between solar power and battery backup as needed.
Remember to maintain all your cooking equipment regularly, ensuring your backup systems are ready whenever clouds disrupt your solar cooking plans.
Seasonal Solar Cooking Tips
Successful solar cooking requires adapting your approach throughout the year's changing seasons.
During summer, you'll enjoy ideal conditions with minimal sun tracking needed, while dark cookware helps maximize heat absorption in your flat, sunny location.
Spring and autumn demand more attention, as you'll need to adjust your cooker's position more frequently.
You can offset lower sun intensity by using thermal storage methods and maintaining a sun-facing position.
In winter, you'll need to compensate for the low sun angle by turning your cooker more often.
Take advantage of dry winter air and use snow as a reflector to boost cooking efficiency.
For partly cloudy days, rely on insulated cookers and heat-retained baskets to maintain cooking temperatures, treating your solar cooker like a slow cooker.
Frequently Asked Questions
Can Solar Cooking Affect the Nutritional Value of Food Differently Than Conventional Cooking?
Yes, you'll find that solar cooking preserves more nutrients due to lower temperatures, though it might reduce vitamin C more than microwaving. You'll retain more vitamins in cereals and legumes compared to conventional methods.
What Happens if Birds or Insects Land on the Solar Cooker?
When birds or insects land on your solar cooker, they'll block sunlight and reduce efficiency. You'll need longer cooking times, and their droppings can contaminate surfaces. Clean the cooker regularly and consider installing deterrents.
Does Altitude Affect Solar Cooking Performance on Cloudy Days?
Yes, altitude still affects your solar cooking, but it's less significant on cloudy days since you're already dealing with scattered light. You'll notice reduced performance regardless of altitude due to cloud diffusion.
Can Solar Cookers Be Used Effectively Near Large Buildings or Trees?
You'll face significant challenges using solar cookers near large buildings or trees. They'll block essential direct sunlight, reducing cooking efficiency. It's best to find an open space with unobstructed sun exposure for effective cooking.
How Does Air Pollution Impact Solar Cooking Efficiency Compared to Clouds?
While you'll notice minimal impact from air pollution on your solar cooking, clouds pose a much bigger challenge. Clouds can completely block sunlight and stop your cooking, but air pollution only slightly reduces efficiency.
In Summary
You'll find solar cooking during cloudy conditions requires flexibility and preparation. When clouds interfere, use additional insulation, extend cooking times, and monitor temperatures closely. Don't forget to have backup cooking methods ready. With proper adjustments and safety measures, you can still achieve successful results. Remember, practice and patience will help you master the art of solar cooking in less-than-ideal conditions.


Leave a Reply