For reliable solar cooking, you'll want a digital thermometer that measures between -50°C to 300°C with ±1°C accuracy. Choose models with stainless steel construction, quick readings within seconds, and smart temperature alerts to notify you of cooking conditions. Look for features like dual °C/°F displays, timers, and cloud connectivity for data logging. Position your thermometer near food level, away from direct sunlight and metal surfaces for accurate readings. Monitor internal temperatures closely: 145°F for whole cuts, 160°F for ground meats, and 165°F for poultry. Mastering temperature control will transform your solar cooking experience.
Essential Temperature Monitoring Tools

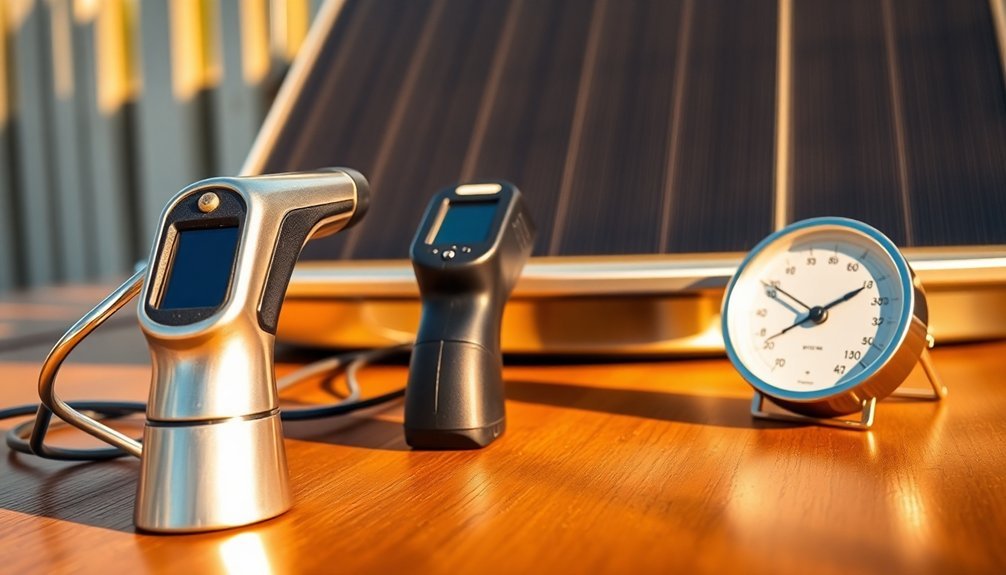
When monitoring temperatures in solar cooking, you'll need reliable tools that can handle a wide range of heat conditions. The most essential tool is a precision thermometer that can measure from -50°C to 300°C with an accuracy of ±1°C.
Look for thermometers made from stainless steel that come with versatile mounting options like magnets, brackets, and suspensions. Many solar cooking systems now include smart temperature alerts to provide instant notifications about cooking conditions.
To track your cooking progress effectively, you'll want to use modern monitoring systems with thermocouples and data loggers. These systems can collect temperature readings at set intervals and store them in cloud-based platforms.
You can view real-time data and historical graphs through specialized apps, making it easier to perfect your solar cooking techniques. Don't forget to note environmental factors like wind and cloud cover that may affect your results.
Digital Vs Analog Thermometers
While both digital and analog thermometers serve essential roles in solar cooking, they differ significantly in their functionality and benefits.
Digital thermometers offer quick, precise readings within seconds and often display temperatures to a tenth of a degree. You'll appreciate their versatility with features like timers, alarms, and dual °C/°F displays. The latest models like the Typhur InstaProbe provide response times of 0.5 seconds.
Analog thermometers, though slower and less precise, don't rely on batteries and generally last longer. They're simple to use but require regular calibration to maintain accuracy. While they're more durable, their mercury content demands careful handling.
For solar cooking, you'll find digital thermometers particularly advantageous due to their quick response times and precise readings.
They're also easier to maintain, though you'll need to take into account battery life and potential electronic failures in outdoor settings.
Smart Temperature Tracking Apps

Modern smart temperature tracking apps take solar cooking technology to the next level, building upon traditional thermometer capabilities with advanced digital features. You'll find real-time monitoring, customizable alerts, and recipe management features in popular apps like GoSun and CookSolar. The ability to use a 5W solar panel to power tracking systems makes these solutions highly energy efficient.
| Feature | Benefit | Key App |
|---|---|---|
| Real-time Monitoring | Instant temperature feedback | GoSun App |
| Weather Integration | Ideal timing & positioning | Solar Cooker Pro |
| Historical Analysis | Performance optimization | SolarChef |
| Automatic Tracking | Hands-free operation | SunTracker |
These apps integrate with motor-powered trackers and thermostat controls for precise temperature management. You'll appreciate features like dual-axis positioning guidance and heat distribution maps, which guarantee even cooking. The apps also factor in environmental conditions, using advanced algorithms to track solar position and adjust for weather variables like wind and cloud cover.
Proper Thermometer Placement Techniques
You'll get the most reliable solar cooking results by testing both hot and cold spots in your cooker with strategic thermometer placement.
Place your primary thermometer near food level to monitor the main cooking zone, while using a secondary thermometer in other areas to identify temperature variations.
Testing multiple zones helps you understand your cooker's heat distribution and lets you adjust food placement for best cooking results.
Monitor Hot and Cold
Proper thermometer placement is essential for successful solar cooking. You'll need to position your digital thermometers near your food while ensuring they don't block incoming sunlight. Place them away from metal surfaces and direct sun exposure to get accurate readings of your cooking environment.
| Temperature Zone | What to Monitor | Best Tool |
|---|---|---|
| Cooking Chamber | Internal temp | Oven thermometer |
| Food Surface | External temp | Infrared thermometer |
| Food Core | Internal temp | Digital probe |
Track both hot and cold spots by using thermal mass materials like dark-colored bricks or stones to stabilize temperatures. Position these materials strategically around your pots to maintain consistent heat. When it's windy, you'll want to protect your setup with barriers while keeping your thermometers secure. Remember to check readings regularly and adjust your cooker's position to maintain ideal cooking conditions.
Master Temperature Zone Testing
Strategic temperature zone testing involves three critical areas in your solar cooker: the cooking chamber, food surfaces, and core temperatures.
Position your thermometer in the center of the cooking vessel, keeping it slightly elevated from food surfaces to get accurate chamber readings. You'll want to shield the thermometer from direct sunlight and place it away from reflective surfaces to prevent false readings. For best results, use a calibrated digital thermometer that can handle temperatures up to 300°F.
Monitor multiple zones by using meat thermometers for internal food temperatures while maintaining an oven thermometer at the bottom of your cooker. Track readings during peak sun hours (11 AM – 3 PM) to understand temperature patterns.
Don't forget to adjust your cooker's position every 20-30 minutes to maintain ideal sun exposure and stable temperatures.
Temperature Ranges for Solar Cooking

Understanding temperature ranges is essential for successful solar cooking, as different types of solar ovens operate within distinct heat zones. You'll find that most solar cookers function between 150°F and 400°F, though parabolic models can reach up to 800°F. For food safety, you'll need at least 180°F to cook effectively.
| Cooker Type | Temperature Range |
|---|---|
| Box Oven | 160-400°F |
| Parabolic | 300-800°F |
| Panel | 200-300°F |
| Standard | 150-400°F |
| Minimum Safe | 180°F+ |
To maintain these temperatures, you'll need proper insulation and reflective surfaces. Dark cookware enhances heat absorption, while positioning your cooker to face the sun directly maximizes efficiency. Remember to adjust your cooker every 30-45 minutes to track the sun's movement and maintain ideal cooking temperatures.
Automated Temperature Control Systems
Modern automated temperature control systems take solar cooking to the next level, building upon basic temperature monitoring methods. You'll find these systems integrate seamlessly with external digital thermometers and probes to provide real-time readings and instant notifications when temperatures drift outside your target range.
Arduino UNO-based microcontrollers serve as the brain of your automated setup, managing cooling fans and monitoring temperatures through LM35 sensors. You can track data through LCD displays and receive updates every 5-15 minutes about ideal solar positioning.
Advanced algorithms and satellite-based systems help you maintain precise angles, while services like Solcast provide near-real-time solar condition updates. When combined with cloud-based platforms, you'll have thorough temperature tracking and historical data at your fingertips, ensuring consistent cooking results every time.
Weather Impact on Readings

Because weather conditions greatly influence solar cooking performance, accurate temperature readings require careful consideration of multiple environmental factors.
You'll need to monitor cloud cover closely, as it affects the intensity of sunlight reaching your oven and impacts temperature measurements. Even light cloud coverage can lead to fluctuating readings and slower cooking times.
Wind poses another challenge for reliable temperature monitoring. You'll want to position your oven in a sheltered spot since air movement can quickly strip away heat and cause inconsistent readings.
Time of day also matters – you'll get your most accurate measurements between 11 AM and 3 PM when sun intensity peaks.
Remember that seasonal and geographic factors affect your readings too. Winter months and locations farther from the Equator will show lower temperature measurements due to reduced solar radiation.
Data Logging Best Practices
To maximize the value of your solar cooking temperature data, proper logging practices are essential. Set your logging intervals to capture detailed temperature changes without overwhelming storage capacity.
Make certain to position your logger away from direct sunlight and heat sources that could skew readings.
You'll want to regularly download and back up your data to prevent loss, and use software tools that let you visualize and analyze temperature trends. Set up real-time alerts for when temperatures fall outside your target range.
Don't forget to follow the manufacturer's calibration schedule and maintenance guidelines to guarantee accuracy.
Keep your logger protected from environmental hazards, and check battery levels regularly. If you're working in harsh conditions, choose a logger with a robust design that can handle the elements.
Calibrating Your Temperature Tools

You'll need to calibrate your temperature tools regularly to guarantee accurate solar cooker measurements.
For quick initial checks, start with an electronics simulator calibration, but you should progress to using a dry-well with a reference thermometer for the highest precision in critical testing.
To maintain measurement quality, it's crucial to employ proper calibration methods while accounting for environmental variations like cloud cover, sun angle, and lid sealing.
Essential Testing Methods
Before diving into specific testing methods for solar cooking, proper calibration of your temperature tools is essential for accurate measurements and reliable results.
You'll need to perform several key tests to evaluate your solar cooker's performance effectively. Start with stagnation temperature tests to determine your cooker's maximum heat capacity using water or oil.
Then conduct heat loss tests to measure temperature decline over time, which will help you assess the insulation efficiency. Follow up with cooking time and load tests to evaluate how quickly your cooker can bring water to a boil and handle different food quantities.
Always test in a controlled environment, accounting for variables like sunlight intensity and wind speed.
Keep detailed temperature logs using calibrated tools like digital probe thermometers, infrared thermometers, and pyranometers for consistent measurements.
Quick Calibration Steps
Proper calibration of your temperature tools involves four essential steps that guarantee accurate measurements for solar cooking.
First, gather your calibration equipment, including a temperature bath or dry-block calibrator and a reference thermometer that's more accurate than the tool you're calibrating.
Next, identify key calibration points across your tool's range, focusing on vital temperatures like 0°C (ice water) and 100°C (boiling water).
Then, place your probe alongside the reference thermometer in the calibration medium. Wait for both readings to stabilize at each point, and record the measurements. You'll need to repeat this process for all calibration points.
Finally, calculate any deviations between your tool and the reference thermometer. Make necessary adjustments following the manufacturer's guidelines, and verify the accuracy by rechecking all calibration points.
Safety Temperature Checkpoints
Three critical temperature checkpoints confirm safe solar cooking for all food types.
You'll need to verify your solar oven preheats above 140°F before adding any food. Then, monitor internal temperatures until they reach proper minimums: 145°F for whole cuts, 160°F for ground meats, and 165°F for poultry.
During cooking, you must keep food out of the danger zone (between 50°F and 125°F) by maintaining temperatures between 180°F and 250°F.
Use your calibrated digital probe thermometer to check food temperatures regularly, especially during peak hours between 11 AM and 3 PM.
Don't forget to reposition your oven every 1-2 hours to follow the sun's path, and if you're reheating leftovers, they must reach 165°F for safety.
Remote Monitoring Solutions

Modern remote monitoring solutions transform solar cooking by giving you real-time control and tracking through a centralized dashboard system.
You'll get instant access to critical data via desktop or mobile apps, allowing you to monitor your solar oven from anywhere.
The system's RTU connects all components through GSM technology, providing live updates on temperature gradients, solar irradiance, and heat retention rates.
You'll receive automated alerts for any performance issues, while built-in data logging captures precise temperature readings throughout your cooking process.
Through the user-friendly interface, you can create custom dashboards to visualize key metrics and analyze historical data patterns.
The system also integrates weather conditions and solar positioning, helping you optimize cooking times and maintain consistent results regardless of environmental changes.
Frequently Asked Questions
How Does Altitude Affect Solar Oven Temperature Readings and Cooking Times?
At higher altitudes, you'll get hotter temperatures in your solar oven due to stronger solar radiation. You'll notice faster cooking times since there's less atmospheric interference blocking the sun's energy reaching your cooker.
Can Temperature Monitoring Tools Withstand Extreme Heat in Parabolic Solar Cookers?
Yes, you'll find that quality digital probes and stainless steel thermometers can handle temperatures up to 300°C in parabolic cookers. Just guarantee you're using heat-resistant models specifically designed for high-temperature cooking.
Do Magnetic Thermometers Interfere With Solar Cooking Effectiveness?
You don't need to worry about magnetic thermometers interfering with solar cooking – they're not typically used in solar cookers. Your cooking effectiveness depends on solar radiation and insulation, not magnetic fields.
What Backup Temperature Monitoring Methods Work During Cloudy Conditions?
You'll get reliable readings during cloudy conditions using digital probe thermometers and data loggers. Don't forget to use meat thermometers for internal food temperatures and double your expected cooking times when it's overcast.
How Often Should Temperature Monitoring Tools Be Replaced for Accurate Readings?
You'll need to replace your temperature monitoring tools every 1-3 years, depending on usage and environmental exposure. Replace them sooner if you notice significant drift or inaccurate readings during calibration checks.
In Summary
You'll find solar cooking success relies heavily on accurate temperature monitoring. Choose quality tools, calibrate them regularly, and follow proper placement techniques to achieve consistent results. Whether you opt for digital thermometers, smart apps, or remote monitoring systems, maintaining proper temperature ranges is essential for food safety and ideal cooking. Keep detailed logs of your cooking data to refine your solar cooking expertise over time.


Leave a Reply