Get the most from your solar cooking this spring with these seven essential tips. Start your food prep between 10 a.m. and 4 p.m. to maximize sunlight, and position your cooker facing directly at the sun, adjusting every 20 minutes. Choose quick-cooking spring ingredients like asparagus, peas, and quinoa for faster results. Monitor the weather forecast for clear, bright days with strong UV rays. Prep multiple meals with similar ingredients for efficiency. Keep your cooker's temperature steady by minimizing lid openings. Adjust your cooker's tilt angle based on your latitude – there's a specific sweet spot that'll transform your sun-powered meals.
Start Early for Maximum Sunlight

Since successful solar cooking depends on maximizing sun exposure, starting your food preparation between 10 a.m. and 4 p.m. is vital. During these peak hours, the sun's position in the sky provides ideal conditions for efficient cooking, allowing you to prepare multiple dishes throughout the day.
You'll want to preheat your solar cooker for 15-30 minutes before adding any food. This important step guarantees even cooking and helps maintain consistent temperatures throughout the process. Keep in mind that frequent lid openings should be avoided to maintain optimal cooking temperatures.
Check the UV Index before you begin – you'll get the best results when it's 7 or higher. On partly cloudy days, you can still cook effectively by adjusting your cooker's position or using additional reflectors.
If the temperature drops below 150 degrees, you might need to extend cooking times or choose foods that require less intense heat.
Position Your Cooker Strategically
Proper positioning of your solar cooker can make the difference between a perfectly cooked meal and undercooked food. Face your cooker directly toward the sun and adjust its tilt to match the sun's angle throughout the year. You'll need to realign it every 20 minutes to follow the sun's path across the sky. Easy to use solar ovens are perfect for outdoor cooking locations.
Set up your cooker on stable ground and use stands or tripods to maintain the ideal angle. For enhanced efficiency, keep these key elements in mind:
- Dark, non-reflective pots positioned at the focal point
- Clear, shadow-free space around the cooker
- Reflective materials like mylar to boost sunlight capture
- A Lazy Susan base for easy rotation
- An oven thermometer to monitor temperatures up to 375 degrees
On cloudy days, double your cooking time or wait for clearer weather.
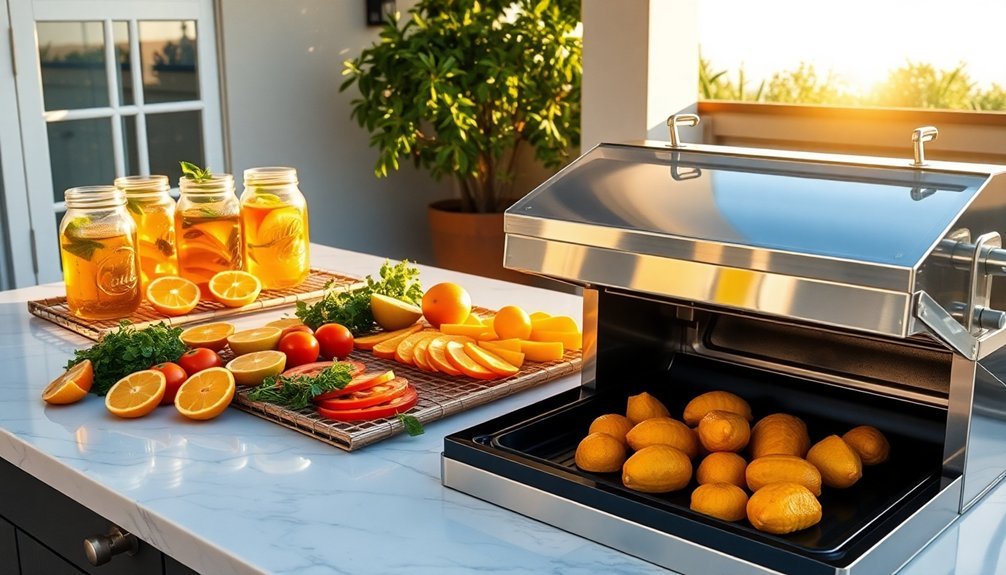
Choose Quick-Cooking Spring Ingredients

With your solar cooker properly positioned, turn your attention to selecting ingredients that work best in this sustainable cooking method.
Focus on spring vegetables like asparagus, peas, and artichokes that don't require lengthy cooking times. You'll find these seasonal picks are ideal for solar preparation. These ingredients are perfect for SNAP benefits recipients looking to maximize their food budget while eating healthy.
Pair your veggies with quick-cooking proteins such as shrimp, tofu, or thinly sliced chicken that respond well to solar heat.
Add fresh herbs like basil, dill, and thyme to enhance flavors naturally, and don't forget a splash of lemon juice to brighten your dishes.
For heartier meals, incorporate fast-cooking grains such as quinoa or quick-cooking brown rice.
These ingredients not only reduce your cooking time but also maintain their nutrients and flavors when prepared in your solar cooker.
Monitor Weather Before Cooking
You'll want to scan the weekly forecast before planning any sun-powered cooking sessions to avoid wasting time on overcast days.
Keep an eye on cloud cover patterns throughout the day, as even partial cloud coverage can greatly impact cooking temperatures and times.
Tracking weather patterns helps you choose the best cooking windows when sustained direct sunlight will be available for your solar cooking projects.
Check Weekly Forecast First
Before starting any solar cooking project, checking the weekly weather forecast is essential for success.
You'll want to look for days with clear skies and minimal wind during prime cooking hours between 11:00 am and 3:00 pm.
Spring weather can be unpredictable, so monitoring temperature fluctuations and potential precipitation will help you plan effectively.
- Bright, cloudless days when UV rays are strongest
- Light breeze conditions that won't disturb your cooker's stability
- Daytime temperatures warm enough for efficient cooking
- Extended periods of direct sunlight for thorough cooking
- Days without rain or snow in the forecast
If the forecast shows challenging conditions, you'll need a backup plan.
Remember that spring temperatures can vary considerably between day and night, and even partial cloud cover can impact your cooking time and effectiveness.
Track Cloud Cover Patterns
Since cloud cover dramatically affects solar cooking temperatures, monitoring the sky's conditions throughout your cooking session is essential.
Pay close attention between 11:00 am and 3:00 pm, when the sun's intensity is strongest for ideal cooking results.
You'll want to check real-time satellite imagery to track approaching cloud formations and adjust your cooking schedule accordingly.
If clouds are forecast during peak hours, start cooking earlier or plan to finish later.
During partially cloudy conditions, you'll need to move your solar cooker more frequently to maintain maximum sun exposure.
Consider breaking down meal preparation into steps over multiple days when cloud cover is inconsistent.
For reliable results, aim to cook on clear-sky days when temperatures can reach their highest potential, rather than during overcast conditions that limit your cooker's effectiveness.
Prep Multiple Meals Together
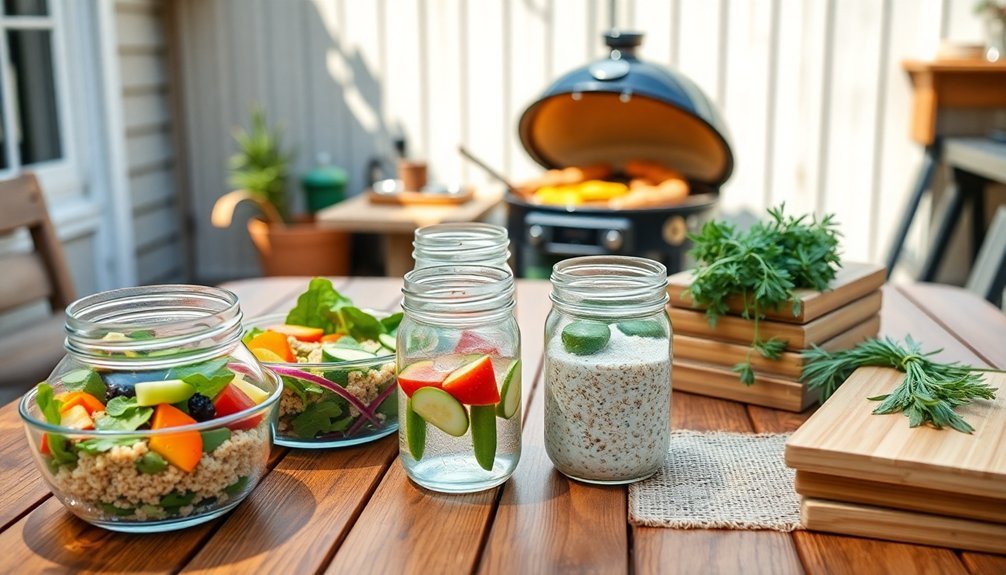
Preparing multiple meals together is one of the smartest ways to maximize your solar cooking efficiency. You'll save time and energy by grouping recipes with similar ingredients and cooking techniques. Plan your solar cooking sessions by selecting dishes that share common components, then batch cook them simultaneously.
- Sheet pans loaded with colorful vegetables and proteins cooking side-by-side in your solar oven
- Large batches of quinoa and rice steaming together, ready to be seasoned differently
- Multiple containers of pre-portioned proteins awaiting various marinades
- Roasted cauliflower divided between tacos and grain bowls
- Fresh-cooked lentils and beans cooling before freezing in meal-sized portions
Remember to consult roasting charts to guarantee everything cooks properly at the same temperature. Store your prepped ingredients separately to maintain freshness and create diverse meals throughout the week.
Maintain Proper Cooking Temperature
Successful solar cooking relies heavily on maintaining the right temperature throughout your cooking session. Your choice of solar cooker directly impacts the temperatures you'll achieve – from basic homemade ovens reaching 90°C to powerful parabolic models exceeding 290°C. To enhance temperature control, use matte black cookware and guarantee proper insulation with clear lids or plastic wrap.
| Cooker Type | Temperature Range | Best Uses | Cook Time |
|---|---|---|---|
| Parabolic | Up to 290°C+ | Grilling, Stir-frying | Minutes |
| Vacuum Tube | 200-250°C | Roasting, Steaming | 1-2 hours |
| Solar Box | Up to 165°C | Baking, Water Sterilizing | Several hours |
| Homemade | Up to 90°C | Melting cheese, Reheating | 2-4 hours |
Monitor your cooker's temperature using built-in thermometers when available, and adjust positioning throughout the day to maintain ideal sun exposure.
Adjust for Spring Sun Angles

Your successful spring solar cooking starts with tracking the sun's higher path across the sky.
You'll need to readjust your cooker's angle more frequently between 11:00 am and 3:00 pm to match the sun's steeper seasonal position.
Keep your cooker's reflective surfaces aligned with direct sunlight by repositioning every 10-20 minutes, ensuring maximum heat concentration at the focal point.
Track Sun Path Changes
As spring brings longer days and warmer temperatures, tracking the sun's changing path becomes essential for effective solar cooking.
You'll notice the sun climbing higher in the sky each day after the spring equinox, offering more opportunities for solar food preparation. Understanding these seasonal changes helps you position your solar cooker for maximum efficiency.
- Watch how shadows shorten as the sun rises higher in the sky
- Notice the sun's path shifting northward from east to west
- Observe how the sun's noon position reaches greater heights
- Track where sunlight hits your cooking area throughout the day
- Document which spots receive full sun versus partial shade
Seasonal Angle Adjustments
Making proper seasonal adjustments to your solar cooker's tilt angle guarantees excellent performance during spring's changing conditions. You'll need less frequent adjustments compared to winter, as spring's sun path remains more stable. Aim to modify your cooker's position every few weeks to match the sun's gradually changing trajectory.
| Location Type | Morning Tilt | Midday Tilt | Afternoon Tilt |
|---|---|---|---|
| High Latitude | 65° | 55° | 65° |
| Mid Latitude | 55° | 45° | 55° |
| Low Latitude | 45° | 35° | 45° |
| Equatorial | 35° | 25° | 35° |
For best results, focus on the peak cooking hours between 11:00 am and 3:00 pm when solar radiation is strongest. If you're in a higher latitude location like Boston, you'll need steeper angles than locations closer to the equator, like Miami.
Frequently Asked Questions
Can I Use Solar Cooking Methods on Cloudy or Partly Sunny Days?
Yes, you can solar cook on cloudy or partly sunny days. If you're able to see your shadow, it'll work – just plan for longer cooking times and choose forgiving foods like beans, potatoes, and roasts.
What Types of Containers Work Best for Solar Cooking Besides Black Pots?
You'll get great results using dark-colored ceramic, cast iron, or enamelware containers. Dark-coated stainless steel and aluminum pots work well too. Just guarantee they've got tight-fitting lids for heat retention.
How Do Different Altitudes Affect Solar Cooking Times and Temperatures?
You'll find faster cooking times at higher altitudes due to increased solar intensity and less atmospheric interference. Your food will cook more efficiently, but you'll need to add extra liquid to prevent drying out.
Is It Safe to Leave Solar-Cooked Food Warm in the Cooker Overnight?
No, you shouldn't leave food in a solar cooker overnight. It's dangerous since temperatures can drop into the bacterial growth zone. Either cool food below 50°F quickly or maintain it above 125°F for safety.
Can Solar Cookers Effectively Sterilize Water for Drinking Purposes?
Yes, you can safely sterilize drinking water using solar cookers. They'll kill harmful bacteria and parasites when water reaches 165°F or maintains 145°F for 20 minutes. Use clear containers for best results.
In Summary
You'll find solar cooking in spring both rewarding and eco-friendly when you follow these essential tips. By starting early, positioning your cooker correctly, and selecting seasonal ingredients, you're setting yourself up for success. Don't forget to check the weather forecast and maximize your cooking time by preparing multiple dishes. With proper temperature control and the right sun angle adjustments, you'll master springtime solar cooking.


Leave a Reply