
For open-air cooking, you'll find seven reliable methods to thicken your sauces perfectly. Natural reduction concentrates flavors through simmering, while a cornstarch slurry offers quick results when whisked into hot sauce. Arrowroot powder works at lower temperatures and won't break down during reheating. A butter-based roux creates rich, stable sauces, and cold beurre manie can be added directly to simmering liquids. Pureed vegetables add body and nutrients naturally, while tempered eggs create luxuriously smooth sauces. Each technique has its own nuances and secrets that can transform your outdoor cooking experience into something extraordinary.
Natural Reduction Method

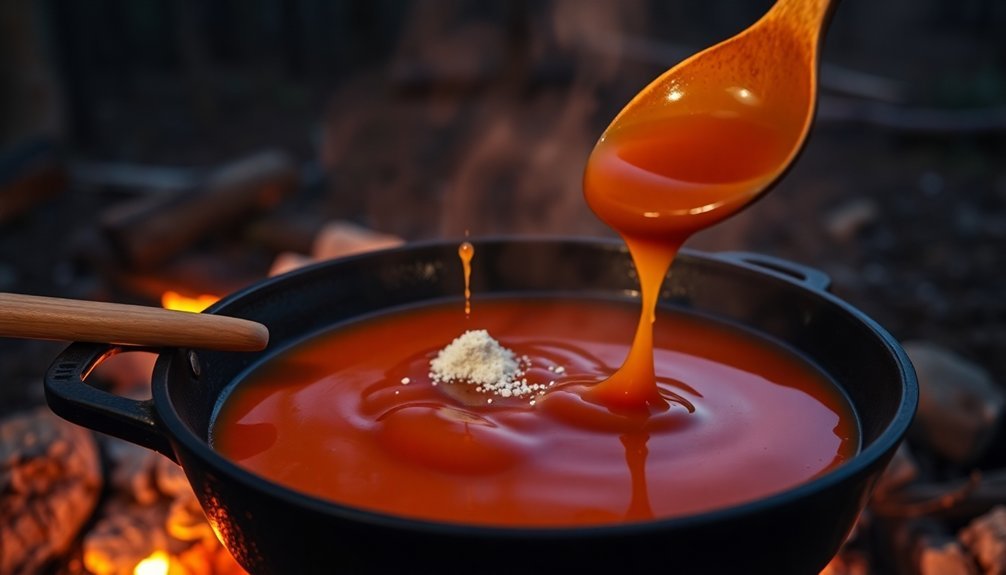
When it comes to thickening sauces outdoors, natural reduction stands as one of the most straightforward and flavor-enhancing methods you can use.
You'll find it particularly effective with tomato and fruit sauces that already have natural body.
To reduce your sauce, bring it to a steady simmer and maintain small bubbles on the surface. This technique works especially well when you need to concentrate the flavors significantly.
Keep the pot uncovered to let steam escape, and stir occasionally to prevent scorching.
If you're short on time, try using a wider pan to increase the surface area for faster evaporation.
Remember that reduction concentrates all flavors, including salt, so you'll want to season carefully at the beginning.
Don't let your sauce boil too vigorously, and keep a close eye on its consistency as it thickens to achieve your desired results.
Cornstarch Slurry Magic
A cornstarch slurry provides one of the quickest and most reliable ways to thicken sauces while cooking outdoors. You'll want to mix one tablespoon of cornstarch with 1-2 tablespoons of cold water until smooth, then gradually whisk it into your simmering sauce. Stir fry recipes are perfect for practicing your slurry technique.
| Step | What to Do | Why It Matters |
|---|---|---|
| 1 | Use cold liquid | Prevents lumps |
| 2 | Whisk thoroughly | Guarantees smoothness |
| 3 | Add gradually | Controls thickness |
| 4 | Maintain heat | Activates starch |
| 5 | Stir constantly | Prevents clumping |
When cooking outdoors, you'll need to maintain your sauce at about 203°F for the cornstarch to properly gelatinize. Don't overcook the sauce after adding the slurry, as this can break down the starch and thin out your sauce again. For best results, use your slurry immediately after mixing.
Arrowroot Powder Alternative
You'll find arrowroot powder to be a powerful thickening alternative to cornstarch, requiring only half the amount for the same effect while producing crystal-clear sauces.
Creating the perfect arrowroot slurry is straightforward – just mix the powder with cold liquid until smooth, then add it to your sauce when it's below boiling temperature (ideally between 140-160°F).
While arrowroot powder has a longer shelf life than cornstarch, you'll want to store it in an airtight container in a cool, dry place and avoid reheating sauces thickened with it, as this can break down its binding properties. The neutral flavor profile of arrowroot makes it an excellent choice for both sweet and savory dishes.
Mixing Perfect Arrowroot Slurries
Though arrowroot powder excels at thickening sauces, several alternatives can deliver similar results with the right ratios and techniques.
You'll find xanthan gum particularly effective, using just 1 teaspoon for every tablespoon of arrowroot powder. Cornstarch works as a straightforward 1:1 substitute, while flour requires double the amount – use 2 tablespoons for every 1 tablespoon of arrowroot.
When seeking gluten-free options, try tapioca starch, which mimics arrowroot's properties closely. Sweet rice flour and potato starch also serve as reliable alternatives.
For specialized dietary needs, guar gum offers another viable solution.
Remember that each substitute may slightly alter your sauce's texture and cooking process, so you'll want to adjust your technique accordingly when switching between thickeners.
Benefits Over Cornstarch
Building on our knowledge of thickening agents, arrowroot powder stands out with distinct advantages over cornstarch, particularly in acidic and temperature-sensitive recipes.
You'll find it creates crystal-clear, glossy sauces without the cloudy appearance that cornstarch can leave behind. It's also more stable in acidic mixtures, preventing unwanted breakdown and ensuring your sauces maintain their desired consistency.
- Your sauces will freeze and thaw beautifully, maintaining their smooth texture without becoming spongy or separated.
- You're getting a truly natural, GMO-free option that's extracted without harsh chemicals or pesticides.
- Your delicate flavors will shine through, thanks to arrowroot's completely neutral taste profile.
When cooking outdoors, you'll appreciate how arrowroot doesn't clump in acidic ingredients and maintains its thickening power across various temperatures.
Storage and Shelf Life
When storing arrowroot powder for your outdoor cooking adventures, proper storage conditions make all the difference in maintaining its effectiveness.
Keep it in an airtight container at 60-70°F, away from direct sunlight and heat sources. Your pantry or kitchen cabinet provides an ideal storage spot.
You'll get the best thickening power if you use your arrowroot powder within two years, though it can last up to four years when stored correctly.
Label your container with the storage date to track freshness. Watch for signs that it's time to replace your powder, such as clumping, off odors, or reduced thickening ability.
If you notice any softening or discoloration, it's likely been exposed to moisture and should be discarded.
Proper storage helps guarantee your sauce thickening success every time you cook outdoors.
Outdoor Butter Roux Basics
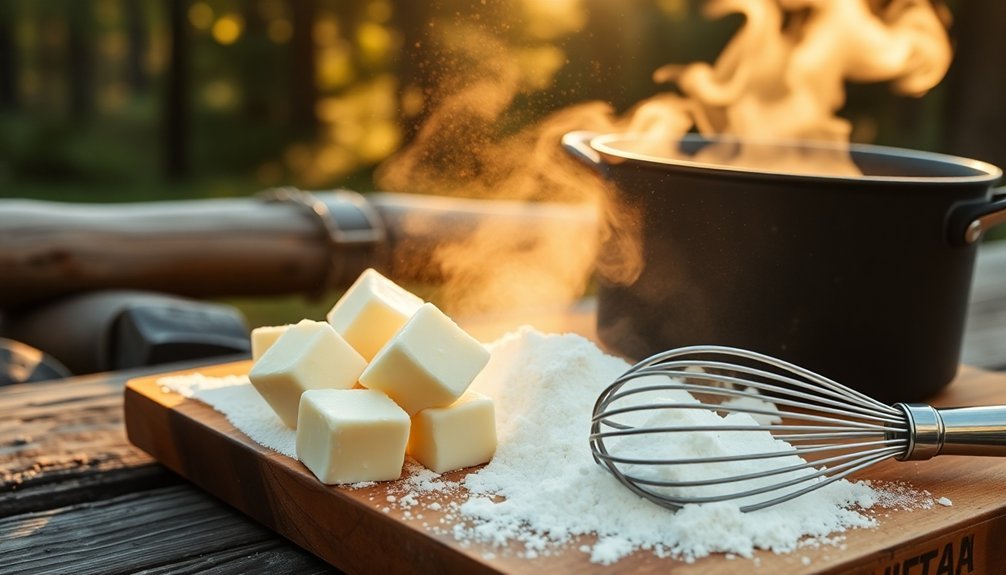
Making a butter roux outdoors requires careful attention to heat control and ingredient ratios.
You'll want to start with equal parts butter and flour, or use a 3:2 ratio of flour to fat. Clarified butter works best due to its higher smoke point, though you can also use peanut oil, canola oil, or bacon fat for different flavor profiles.
- You'll feel confident knowing the perfect golden-brown color means you've achieved the ideal flavor base for your sauce.
- You'll experience satisfaction watching the transformation from raw ingredients to a smooth, aromatic mixture.
- You'll take pride in mastering this fundamental cooking technique that elevates your outdoor cooking game.
Keep stirring constantly in a figure-eight pattern over medium heat, and watch for that toasty aroma that signals your roux is ready to use.
Cold Beurre Manie Technique
While a hot roux requires constant attention and stirring, the cold beurre manié technique offers a simpler approach to sauce thickening outdoors.
You'll need equal parts softened butter and flour by weight, kneaded together until they form a smooth paste.
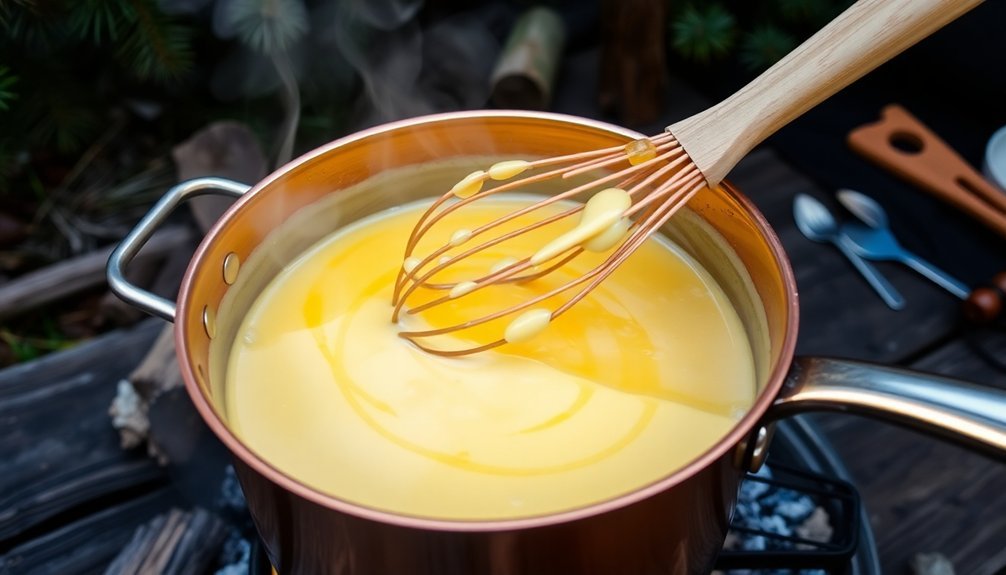
To thicken your outdoor-cooked sauces, add small portions of the beurre manié while whisking continuously. Once you've added it, bring your sauce to a gentle boil and cook for at least a minute to eliminate any raw flour taste.
You'll notice the sauce developing a beautiful sheen and velvety texture as the butter melts and disperses.
This versatile thickener works perfectly for various outdoor cooking scenarios, from hearty stews to delicate pan sauces.
It's especially useful when you need quick thickening without the commitment of making a traditional roux.
Pureed Vegetable Thickeners
Pureed vegetables offer a natural and nutritious way to thicken sauces during open-air cooking. You'll find that starchy vegetables like potatoes, winter squash, and root vegetables work exceptionally well.
Simply roast or boil your chosen vegetables, then process them until smooth using a blender or food processor. You can integrate the puree into your sauce by stirring it in gradually, using some of the cooking liquid to help it blend seamlessly.
- You're adding valuable nutrients while reducing calories and fat
- You're creating a silky-smooth texture that won't continue thickening
- You're enhancing the flavor profile naturally without artificial additives
For best results, start with a small amount of puree and adjust until you achieve your desired consistency.
Remember to taste and season accordingly, as vegetables will introduce their own flavors to your sauce.
Tempered Egg Solution
To thicken sauces with eggs in open-air cooking, you'll need to master the vital technique of tempering – gradually whisking hot liquid into beaten eggs to prevent scrambling.
Your success hinges on maintaining proper ratios: use two egg yolks and 4 ounces of cream per liter of sauce, while constantly whisking to guarantee even heat distribution.
Your whisking technique makes all the difference – keep it vigorous and continuous as you combine the ingredients to achieve a silky, properly thickened result.
Tempering Basics and Safety
Before attempting any egg-based sauce thickening, mastering the tempering process guarantees your sauce stays smooth instead of becoming scrambled eggs.
You'll need to whisk a small portion of hot sauce into your egg yolks before combining the mixture back into the main sauce over low heat. This gradual heating process assures even distribution and prevents curdling.
For food safety, you must cook your tempered sauce until it reaches 160°F, as tempering alone won't kill Salmonella.
When cooking outdoors, use a separate vessel over steady coals for better temperature control.
- You'll feel more confident knowing pasteurized eggs reduce the risk of foodborne illness
- You'll experience the satisfaction of creating silky-smooth sauces over an open fire
- You'll master a professional technique that elevates your outdoor cooking game
Egg-to-Sauce Ratio Guide
Getting your egg-to-sauce ratios right builds on proper tempering technique. For every cup of sauce, you'll want to use 1-2 large egg yolks, depending on your desired thickness. Start with less and adjust upward if needed.
To achieve the perfect consistency, whisk and strain your yolks before incorporating them into the sauce. You'll know you've hit the sweet spot when your sauce coats the back of a spoon without breaking.
For thicker sauces, add more yolks gradually while maintaining a steady temperature below 65°C. Remember to incorporate cold butter at the finish for extra stability and shine.
If you're working outdoors, keep a close eye on temperature control – lift your pan off the heat source if the mixture starts to stick or shows signs of curdling.
Whisking Techniques Matter Most
While mastering egg-based sauce techniques requires various skills, proper whisking remains the cornerstone of successful tempering. You'll need to maintain constant motion while gradually incorporating hot liquid into your eggs to prevent curdling.
Whether you're using a traditional bowl-and-whisk method or a blender approach, the key is controlling temperature and protein distribution.
- You'll feel confident when your stable bowl setup allows smooth, continuous whisking without worrying about spills or slips.
- You'll experience satisfaction watching your sauce transform from separate components into a silky, unified mixture.
- You'll take pride in achieving professional-level results as you master the coordination of pouring and whisking simultaneously.
For the smoothest results, keep your whisk moving steadily and add hot liquid slowly – there's no rushing perfect tempering.
Frequently Asked Questions
How Do Weather Conditions Affect Sauce Thickening Times When Cooking Outdoors?
You'll find that high temperatures and low humidity speed up sauce thickening through faster evaporation, while wind can help or hinder. Rain and humid conditions will slow down the process considerably.
Can Camping Stoves Maintain Consistent Temperatures Needed for Proper Sauce Thickening?
You'll find most camping stoves struggle to maintain low, consistent temperatures needed for sauce thickening. However, you can use a heat diffuser or partially offset your pot from the burner for better control.
Which Thickening Method Works Best in High-Altitude Outdoor Cooking Situations?
You'll find cornstarch slurry works best at high altitudes. It's quick, reliable, and won't separate like other thickeners. Just mix it with cold water first to prevent clumping in your sauce.
What's the Best Way to Store Thickening Agents During Multi-Day Camping Trips?
Store your thickeners in sealed, airtight containers and keep them in a cool, dry place in your camping gear. You'll want to label them clearly and use moisture-proof packaging for multi-day protection.
How Does Humidity Impact the Effectiveness of Different Thickening Techniques Outdoors?
You'll find humidity slows down reduction and weakens starch-based thickeners. It's best to rely on purees and gelatin methods, as they're less affected by moisture. Fat-based techniques need extra attention to prevent separation.
In Summary
You'll find these seven thickening methods transform your outdoor cooking from basic to gourmet. Whether you're reducing sauces naturally over the campfire or whisking up a quick cornstarch slurry, each technique brings unique benefits. Don't let thin, runny sauces spoil your open-air meals – master these methods, and you'll create restaurant-quality dishes anywhere. They're simple, reliable, and perfect for any outdoor cooking adventure.


Leave a Reply