
You'll master solar cooking temperatures by focusing on three key elements: understanding your cooker's range, monitoring heat levels, and maintaining ideal positioning. Box ovens operate at 150-300°F, while parabolic models can exceed 550°F, giving you different options for various recipes. For best results, position your cooker in direct sunlight between 11 AM and 3 PM, adjusting it every 30-45 minutes to follow the sun's path. Use dark cookware with tight-fitting lids and proper insulation to retain heat effectively. Your success depends on how well you control these fundamental aspects of solar cooking.
Understanding Solar Cooking Temperature Ranges

While traditional ovens offer precise temperature control, solar cookers present a fascinating range of cooking temperatures that vary based on their design and environmental conditions.
You'll find that different types of solar cookers achieve distinct temperature ranges: box ovens reach 150-300°F, panel cookers hit 210-260°F, and parabolic models can soar above 550°F, rivaling conventional grills.
To maximize your solar cooking success, you'll need to understand how external factors affect temperature. Quality insulation and reflector panels help maintain heat, while wind and cloud cover can reduce internal temperatures. The most effective solar cookers maintain optimal cooking temperatures between 325°F and 350°F.
Dark-colored cookware enhances heat absorption, boosting efficiency. When positioning your cooker, you'll want to adjust it periodically to track the sun's movement, ensuring ideal temperature maintenance throughout the cooking process.
Essential Temperature Control Equipment
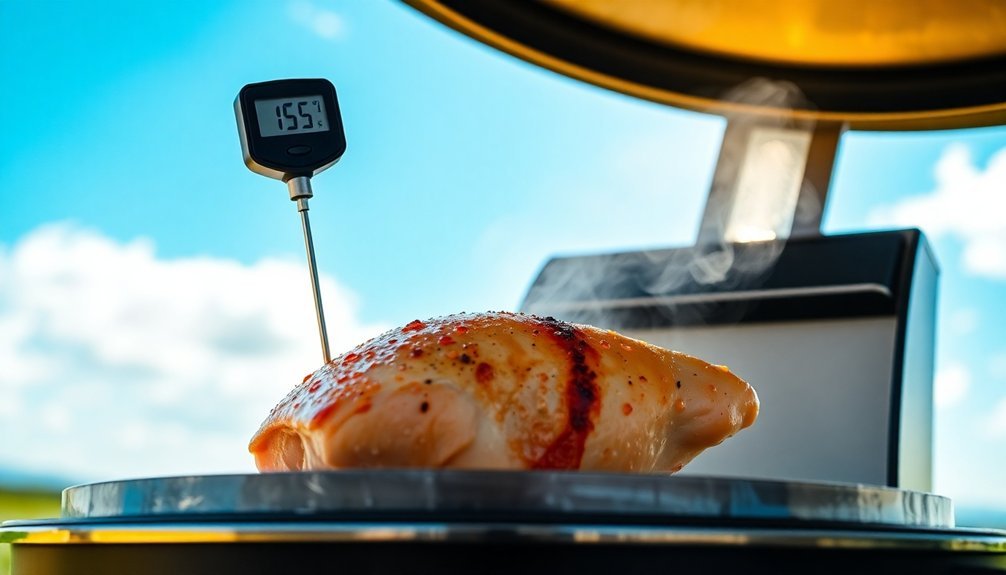
You'll need reliable thermometers strategically placed in your solar cooker to monitor both the cooking chamber and food temperatures accurately.
Your essential heat monitoring toolkit should include both digital probe thermometers for checking food doneness and chamber thermometers to track ambient cooking temperatures.
Solar cookers can reach temperatures of over 250 degrees Celsius in optimal conditions, making accurate temperature monitoring crucial for food safety and quality.
To get the most accurate readings, place your chamber thermometer away from direct sunlight and position food probes in the thickest part of your ingredients while ensuring they don't touch the cooking vessel's sides.
Thermometers For Solar Cooking
Since precise temperature monitoring is essential for solar cooking success, selecting the right thermometer becomes a fundamental first step for any solar chef.
You'll find three main types to choose from: dial, solar-powered digital, and pen-type thermometers.
Dial thermometers are compact, stainless steel devices perfect for solar ovens, offering readings from 50°C to 300°C.
If you prefer digital precision, solar-powered models provide 0.1°C resolution with NIST-traceable accuracy and large LCD displays.
For versatility, pen-type thermometers feature rotating heads and waterproof probes that switch between Celsius and Fahrenheit. The Elitech WT-5 offers exceptional reliability with its dual power system combining solar energy and backup battery.
Remember to use your thermometer primarily between 10 a.m. and 2 p.m. when sunlight's strongest.
This helps you guarantee proper cooking temperatures, leading to healthier, more flavorful meals in your box or panel cooker.
Essential Heat Monitoring Tools
Building on your thermometer selection, a complete solar cooking setup requires additional temperature control tools to achieve consistent results.
You'll want to invest in a solar oven tracker, which uses a motor-driven turntable to follow the sun's path and maintain steady temperatures throughout the day.
Automated positioning systems take this a step further by adjusting your oven's alignment automatically. They're especially valuable when you're using hybrid cookers or need extended cooking times.
To monitor heat distribution effectively, you'll benefit from apps like SunTracker that provide detailed heat maps of your oven's performance.
Don't forget to track and log your cooking data. Apps that integrate with data loggers will help you optimize cooking times and validate your oven's effectiveness across different weather conditions and seasons.
Temperature Tracking Placement Tips
When monitoring temperatures in solar cooking, precise probe placement makes the difference between perfectly cooked meals and inconsistent results.
You'll want to position your temperature sensors in three key locations: the center of the cooking chamber, on thermal mass surfaces, and along interior walls.
For accurate food readings, insert your probe into the thickest part of the meat, ensuring it's centered where thickness is equal on all sides.
Don't let the probe touch your cooking container, as this will skew your measurements. Keep the probe in place for at least 10 seconds to get a stable reading.
Remember to adjust your solar oven's orientation throughout the day to follow the sun's path, and take multiple readings to verify consistency.
Document your temperature data to help identify areas for improvement.
Seasonal Temperature Variations

Your success with solar cooking varies greatly between summer and winter months, with peak sun angles and longer daylight hours providing ideal cooking conditions during summer.
At higher altitudes, you'll find that solar cooking becomes more efficient due to decreased atmospheric interference and stronger solar radiation.
You'll need to adjust your cooking times and techniques accordingly, cooking for longer periods during winter months and shorter periods at high elevations where the sun's intensity is greater.
Summer Versus Winter Performance
The dramatic shift between summer and winter solar cooking performance requires strategic adaptations to maintain effective meal preparation throughout the year.
During summer, you'll find peak cooking hours between 11:00 am and 3:00 pm, when you can leave your solar oven relatively unattended while achieving faster cooking times and higher temperatures ideal for baking.
Winter presents more challenges, as you'll need to adjust your cooker more frequently and plan ahead.
You'll want to start earlier, preheat your oven, and possibly spread cooking over multiple days. The shorter sun hours and less intense UV rays mean you'll need to be more strategic with meal planning.
In coastal areas, where winter brings increased cloudiness and fog, you'll need to be particularly mindful of weather conditions and adapt your cooking schedule accordingly.
Altitude's Impact On Heat
Understanding altitude's effects on solar cooking can greatly impact your meal preparation success. You'll notice that higher elevations present unique challenges due to lower atmospheric pressure and temperature variations.
| Altitude Factor | Impact on Solar Cooking |
|---|---|
| Air Density | Less heat absorption at higher elevations |
| Pressure | Lower boiling temperatures require longer cook times |
| Moisture | Faster evaporation needs moisture retention methods |
| Temperature | Greater temperature fluctuations affect cooking consistency |
At higher altitudes, you'll need to adjust your cooking approach since there's less atmospheric insulation to trap heat. Consider using covers to retain moisture and extend cooking times by up to 25%. Remember that the temperature drops roughly 0.65°C per 100 meters of elevation gain, so you'll want to plan accordingly and use a food thermometer to guarantee proper cooking temperatures.
Positioning For Maximum Heat Gain
Maximizing heat gain in your solar oven starts with strategic positioning and careful attention to sunlight angles.
Place your oven in a spot that receives unobstructed sunlight between 11:00 am and 3:00 pm, when the sun's rays are strongest. You'll want to select a level surface away from shadows cast by trees or buildings.
Adjust your reflective flap to capture and direct more sunlight into the cooking chamber. Keep your reflective surfaces clean and experiment with different angles until you find the sweet spot for ideal heat concentration.
Don't forget to rotate your oven throughout the cooking process to track the sun's movement. For best results, you can add extra reflective materials around the oven's perimeter to boost solar collection and maintain consistent temperatures.
Weather Impact On Cooking Times
Because weather plays an essential role in solar cooking, you'll need to adapt your cooking times based on various atmospheric conditions. Temperature fluctuations, humidity levels, altitude, and wind patterns all impact how quickly your food will cook in a solar oven.
| Weather Factor | Impact on Cooking |
|---|---|
| Temperature | Higher temps speed cooking; cold weather extends time |
| Humidity | High humidity cooks faster; low humidity requires longer |
| Altitude | Higher altitudes need lower temps and longer times |
| Wind/Rain | Disrupts heat stability; requires covered cooking areas |
You'll want to maintain a cooking log to track these variables. On humid days, watch carefully for overcooking, while at higher altitudes, you'll need to extend cooking times to compensate for faster moisture evaporation. In windy conditions, make sure your solar cooker is properly sheltered to maintain consistent temperatures.
Adjusting Reflector Angles
You'll need to track the sun's movement throughout the day, adjusting your reflector angles every 30 minutes to maintain ideal heat collection.
By positioning your reflectors at no more than 22.5 degrees from perpendicular to the glass, you can maximize the concentration of sunlight onto your cooking container.
As seasons change, you'll want to modify these angles further – using steeper angles in winter when the sun is lower and shallower angles during summer months when the sun is higher in the sky.
Track Sun's Daily Path
As the sun tracks across the sky, maintaining proper reflector angles becomes essential for consistent solar cooking temperatures. You'll need to adjust your solar cooker every 10-20 minutes to keep ideal heat levels unless you're using an automated tracking system.
For manual tracking, use a protractor to position reflectors between 45 and 90 degrees, with 60 degrees being most effective. You'll know you've got the right angle when sunlight reflects onto the opposite side of your cooking target.
If you're not keen on constant monitoring, consider investing in commercial solutions like the Solar Tracker by Sunshine Innovations. These automated platforms follow the sun's east-to-west movement, eliminating the need for frequent adjustments and maintaining steady cooking temperatures throughout the day. They're particularly helpful during partly cloudy days when sun exposure varies.
Maximize Heat Collection Points
Three critical factors determine ideal heat collection in solar cooking: reflector angle, size, and alignment. You'll achieve peak performance by positioning your reflector between 110-112.5 degrees, or no more than 22.5 degrees from perpendicular to the glass. For taller reflectors, maintain a 20-degree angle from perpendicular for maximum efficiency.
| Position | Angle | Purpose |
|---|---|---|
| Standard Setup | 120° | Typical configuration for general cooking |
| Tall Reflector | 110-112.5° | Maximizes heat for larger cooking surfaces |
| Heaven's Flame | 135° | Specialized design for intense heat focus |
Remember to adjust your reflector periodically as the sun moves. For parabolic designs, place your cookware at the focal point, which should be one-fourth of the aperture length. Your reflector's surface must remain smooth and clean to maintain efficient heat collection.
Position For Seasonal Changes
Since the sun's position changes throughout the year, your solar cooker's reflector angles need seasonal adjustments to maintain peak performance.
To optimize your cooker's efficiency, you'll need to adjust the reflectors so sunlight hits the transparent cover perpendicularly, especially during peak cooking hours between 10 AM and 2 PM.
For most designs, you'll want to aim for a 60-degree angle when your reflector length matches the target width. Use a protractor for precise measurements, or try the eyeballing method by ensuring the top sun ray reflects to the opposite side of your target area.
Remember, different cooker types require specific adjustments – box ovens need steeper angles for low sun positions, while parabolic cookers must align precisely with their focal points.
Check and readjust your reflector positions regularly as the seasons change.
Dark Cookware Heat Absorption
While cooking with sunlight requires careful attention to various factors, dark cookware plays a fundamental role in maximizing heat absorption. You'll find that black-colored pots and pans absorb notably more solar radiation than their lighter counterparts, converting sunlight into usable heat energy for cooking your meals.
To optimize your solar cooking, choose black metal pans or coat your cookware with black construction paper.
You'll want durable materials that conduct heat well, like glass or metal, but avoid anything that might release toxic fumes at high temperatures. Remember to pair your dark cookware with proper insulation to retain the absorbed heat, and use reflectors to direct additional sunlight onto your cooking vessels.
This combination will help you achieve and maintain the high temperatures needed for effective solar cooking.
Maintaining Consistent Cooking Temperatures
Maintaining consistent temperatures during solar cooking requires careful monitoring and strategic adjustments throughout the day.
You'll get the best results by cooking between 11:00 am and 3:00 pm when the sun's intensity is highest, allowing your solar cooker to reach ideal temperatures of 180-250°F.
Remember that solar cooking typically takes twice as long as conventional methods, so plan accordingly.
For smaller meals, you'll need 1-2 hours, while larger dishes might require 5-8 hours.
Don't let your food fall into the danger zone (40°F-140°F) for more than four hours, as this can promote bacterial growth.
If you're cooking on an especially hot day above 90°F, you'll want to refrigerate any leftovers within one hour to maintain food safety.
Heat Loss Prevention Techniques

To maximize your solar cooker's efficiency, implementing proper heat loss prevention techniques is essential for maintaining ideal cooking temperatures.
You'll need to focus on creating multiple barriers against heat escape while ensuring proper insulation throughout your cooking setup.
- Seal your cooker with double-paned glass or heavy-duty plastic wrap, and add a vapor barrier to prevent moisture damage while trapping valuable heat inside.
- Layer your insulation strategically using materials like crumpled newspaper, rockwool, or polystyrene sheets on all sides except the glazed surface.
- Use dark-colored cookware with tight-fitting lids and line your cooking chamber with black surfaces to absorb up to 95% of incoming solar radiation.
Remember to position reflective panels and aluminum foil surfaces strategically to redirect sunlight and maximize heat retention within your cooking area.
Temperature Zones Within Solar Ovens
Understanding the temperature zones within your solar oven is essential for achieving consistent cooking results.
You'll find that temperatures vary considerably depending on your oven type, with box-style ovens reaching 160°F to 400°F and parabolic cookers hitting impressive highs of 800°F.
To maximize your cooking efficiency, you'll want to position your cookware strategically.
The highest temperatures typically occur at the center where sunlight converges, making this zone perfect for baking and high-temperature cooking between 300°F and 400°F.
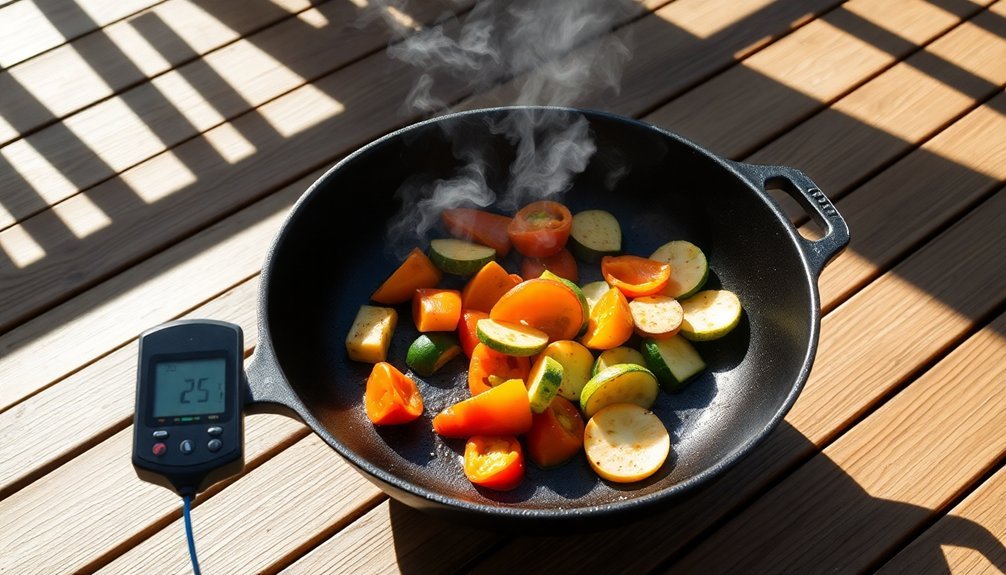
The outer edges maintain lower temperatures, ideal for simmering and slow-cooking below 300°F.
You can enhance these temperature zones by using dark-colored cookware in hotter areas and adjusting your oven's position every 30-45 minutes to maintain ideal heat distribution.
Time Of Day Cooking Adjustments

Beyond mastering temperature zones, successful solar cooking hinges on proper timing throughout the day.
You'll get the best results between 10 am and 4 pm, though winter narrows this window to 11 am-3 pm. To maintain ideal cooking temperatures, you'll need to adjust your cooker's position every 10-20 minutes to track the sun's movement.
For consistent results, follow these essential timing adjustments:
- Start preheating earlier during fall and spring seasons, ideally by 10 am
- Double your usual cooking time on partly cloudy days
- Use a sun dial or Lazy Susan to simplify repositioning your cooker throughout the day
Insulation Methods For Heat Retention
Proper insulation serves as the cornerstone of successful solar cooking, helping you maintain consistent temperatures throughout the cooking process. You'll need at least 4 inches of insulation around your cooking vessel, ensuring there aren't any air gaps that could compromise heat retention.
| Material Type | Best Uses |
|---|---|
| Natural | Straw, hay, leaves for outdoor setups |
| Household | Newspapers, cardboard for quick solutions |
| Professional | Rock wool, perlite for permanent builds |
For best results, preheat your cooking vessel with boiling water before use. When preparing your setup, wrap food containers in multiple layers of aluminum foil, followed by a towel. You'll get the best performance from double-walled stainless steel containers or cast iron cookware, which can maintain heat for up to 6 hours when properly insulated.
Safe Temperature Monitoring Practices

With your insulation system in place, accurate temperature monitoring becomes your next key focus for successful solar cooking. You'll need a reliable digital probe thermometer that can measure temperatures from -50°C to 300°C to guarantee food safety.
For precise readings, remember these essential steps:
- Calibrate your thermometer regularly using ice water (32°F) and boiling water (212°F).
- Insert the probe correctly – between patties for ground meat or into the thickest part of whole cuts.
- Keep track of minimum safe temperatures: 160°F for ground meats, 145°F for whole cuts, and 165°F for poultry.
Don't forget to account for carryover cooking, where temperatures continue rising after removing food from your solar oven.
Always maintain hot foods above 140°F and never leave fresh food out for more than two hours.
Frequently Asked Questions
Can I Use My Solar Cooker to Sterilize Medical Equipment?
You shouldn't use a regular solar cooker for medical sterilization. This device is specially designed with aerogel insulation and precise temperature control to reach 125°C consistently, which your solar cooker can't reliably achieve.
How Do Altitude and Humidity Affect Solar Cooking Temperatures?
You'll get higher temperatures at higher altitudes due to less atmospheric interference. High humidity reduces your cooking temps by blocking solar radiation, so you'll achieve better results in dry, elevated locations.
Does Food Cooked in Solar Ovens Retain More Nutrients?
Yes, you'll find that solar-cooked food retains more nutrients due to lower cooking temperatures and gentle heating. Your meals won't lose vitamins and minerals like they would with high-heat traditional cooking methods.
Can Solar Ovens Be Used Effectively for Dehydrating Fruits and Herbs?
Yes, you can effectively use solar ovens to dehydrate fruits and herbs. They'll maintain proper drying temperatures around 100°F, and with adequate ventilation, you'll get quality dried products while saving energy.
Will Cooking With Reflective Cookware Damage the Solar Oven's Performance?
No, reflective cookware won't damage your solar oven, but it's not ideal for performance. You'll get better results using dark or black cookware that absorbs more sunlight and converts it to heat efficiently.
In Summary
You'll master sun-cooked meals by understanding temperature control's essential role in solar cooking. Keep monitoring your temps, adjust for weather and seasons, and don't forget proper positioning and insulation. With practice, you'll predict cooking times accurately and create consistently delicious dishes. Remember to prioritize food safety with reliable temperature checks, and you'll enjoy efficient, eco-friendly cooking powered by the sun.


Leave a Reply