You'll succeed at cooking multiple solar meals simultaneously by mastering a few key techniques. Start by positioning your solar oven between 11 AM and 3 PM for peak sunlight, and arrange your dishes strategically using temperature zones. Place larger, heavier items on the bottom rack and lighter dishes on top, using dark-colored cookware to maximize heat absorption. Rotate dishes every 30 minutes to guarantee even cooking, and keep the oven door closed as much as possible to maintain temperature. Track your cooking times and temperatures in a journal to fine-tune your solar cooking expertise. The more you explore these techniques, the more efficient your sun-powered kitchen will become.
Essential Solar Cooking Equipment
Start with the basics: cardboard boxes for the main structure and aluminum foil or Mylar sheets to create reflective surfaces that direct sunlight. You'll want clear plastic wrap or glass panels for the glazing that traps heat inside your oven.
Don't forget the cooking containers – thin-walled enameled pans heat quickly, while cast iron works well for pre-heated cooking. Dark-colored pots or black construction paper will maximize heat absorption. A double layer of plastic wrap over the opening helps maintain consistent cooking temperatures.
Keep essential tools like scissors, thermometers, and oven mitts nearby. For insulation, gather materials such as newspaper, rigid foam, or packing peanuts to place between your oven's walls, ensuring heat stays where you need it.
Positioning Your Solar Cookers
Success with solar cooking depends heavily on proper positioning of your cooker to maximize sun exposure.
Place your cooker between 11:00 AM and 3:00 PM when the sun's intensity peaks, though you'll want to start earlier around 10:00 AM during winter months.
You'll need to adjust your cooker every 20-30 minutes to track the sun's movement.
Use shadows as your guide – the cooker's shadow should fall directly behind it.
Position the shorter front panel eastward for lunch meals or westward for evening cooking.
For ideal exposure, tilt your cooker to match your latitude angle. Higher elevations experience increased solar intensity but require better insulation due to lower ambient temperatures.
On windy days, stabilize your setup with stones or bricks, and create an air gap under your pot using a wire rack.
Keep reflector surfaces clean and centered at the focal point for maximum heat concentration.
Meal Planning for Solar Success
When planning meals for your solar cooker, start by selecting recipes that match the unique characteristics of sun-powered cooking. Choose simple dishes that work well with slow-cooking methods, like roasted vegetables, cookies, or small pizzas.
Use dark, thin-metal cookware with lids to maximize heat absorption and retention while cooking. Position cooking vessels to take advantage of reflective surfaces that concentrate sunlight for optimal heating.
Make sure you're planning around available ingredients and considering your family's skill levels. You'll want to maintain a visible weekly menu to keep everyone involved and accountable.
- Opt for vitamin-rich vegetables like eggplant and zucchini that respond well to solar cooking
- Select recipes that can cook unattended throughout the day, similar to slow-cooker meals
- Use ingredients that are readily available and appropriate for your solar oven's temperature range
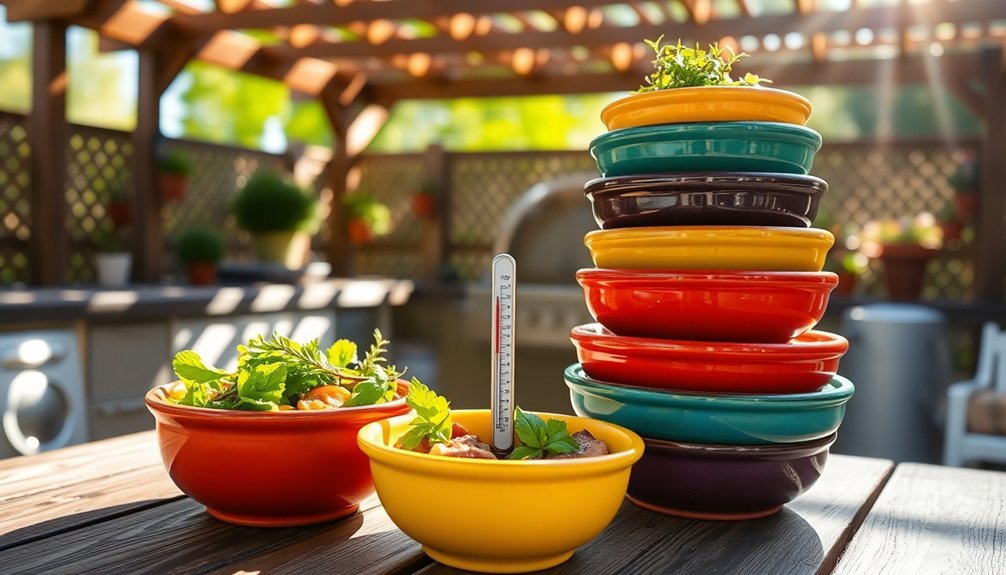
Temperature Zones and Cooking Times
You'll need to understand your solar oven's temperature zones, which typically range from 300°F to 400°F in the center and cooler towards the edges, to create your cooking time chart for different foods.
Proper heat distribution depends on dark-colored cookware placement and strategic repositioning every 30 minutes during peak hours between 11 AM and 3 PM. Using insulation and newspaper around your cookware helps maintain consistent temperatures throughout the cooking process.
Working with these natural temperature variations, you can implement a layered cooking strategy by placing quick-cooking items in the hottest zones while allowing slower-cooking foods to simmer in the cooler areas.
Temperature Timing Chart Guide
Understanding temperature zones and cooking times is essential for effective solar oven cooking. You'll need to adjust your cooking times based on temperature variations, especially when preparing multiple dishes simultaneously. For example, if you're cooking at 350°F instead of 400°F, multiply your standard cooking time by 1.14 to get the adjusted duration.
When cooking multiple items, set your solar oven to the lowest required temperature and position delicate items on lower shelves.
Factor in a 10-15 minute increase in cooking time each time you open the oven door.
Add extra time on cloudy days or when the sun's position requires frequent refocusing.
Remember to regularly check your food's progress, as factors like sunlight quality, food quantity, and oven positioning can greatly impact cooking times. Your solar oven can reach temperatures between 180-400°F, depending on conditions.
Proper Heat Distribution Tips
Proper heat distribution in solar ovens starts with strategic placement of reflective surfaces and careful temperature management. You'll want to use aluminum foil to redirect sunlight while ensuring dark pots absorb maximum heat energy. Avoid shiny cookware that reflects light away from your food.
| Zone Type | Temperature Range | Best For |
|---|---|---|
| Hot Zone | 300-350°F | Quick-cooking items |
| Medium Zone | 250-300°F | Most entrees |
| Warm Zone | 200-250°F | Slow-cooking dishes |
| Low Zone | 150-200°F | Keeping food warm |
To maintain consistent temperatures, realign your oven with the sun every 30 minutes, more frequently at noon when the sun moves quickly. For ideal results, preheat your oven for up to an hour and use the Levelator to prevent spills during adjustments. Remember, opening the door adds 10-15 minutes to cooking time.
Layered Cooking Strategy
When mastering solar cooking, a layered approach to temperature zones maximizes your oven's efficiency and guarantees food safety.
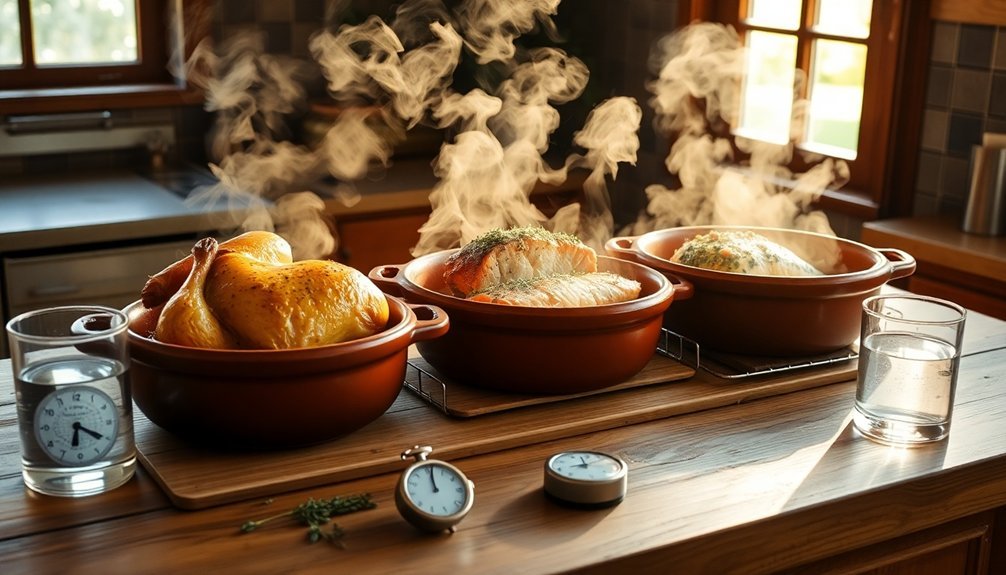
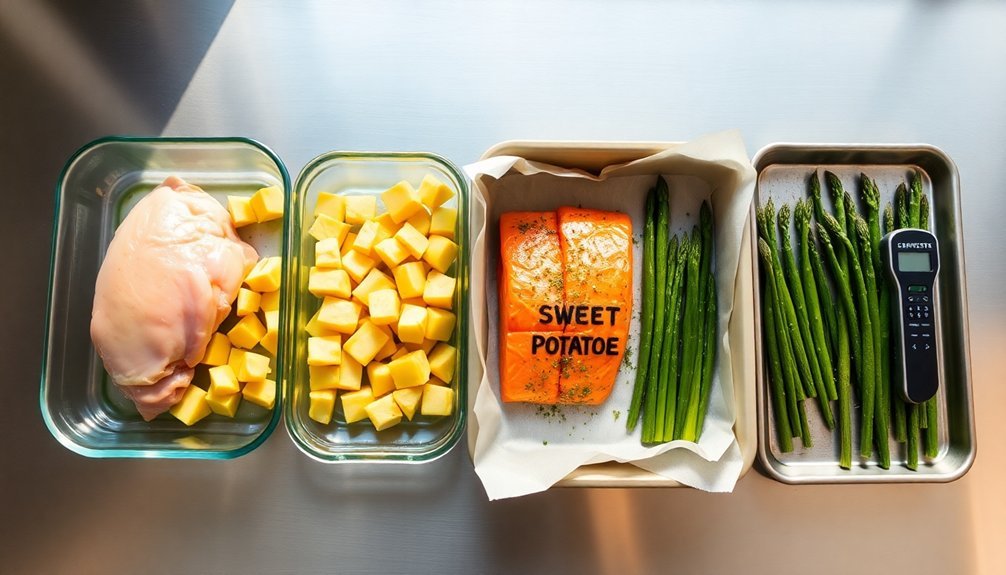
You'll need to monitor different foods carefully, as each requires specific temperatures and cooking times. Position dishes that need the highest heat (like poultry at 165°F) on the top layer where temperatures peak, while placing items requiring lower temperatures (like seafood at 145°F) on lower levels.
- Stack your heaviest, densest dishes requiring 155°F (like ground meats) in the middle layer where heat remains steady.
- Place quick-cooking items needing 145°F (like steaks) on the bottom layer.
- Monitor food temperatures regularly with a calibrated thermometer to ascertain proper cooking across all layers.
Remember to cool any leftover foods properly, following the 2-hour rule from 135°F to 70°F, then 4 hours to reach 41°F.
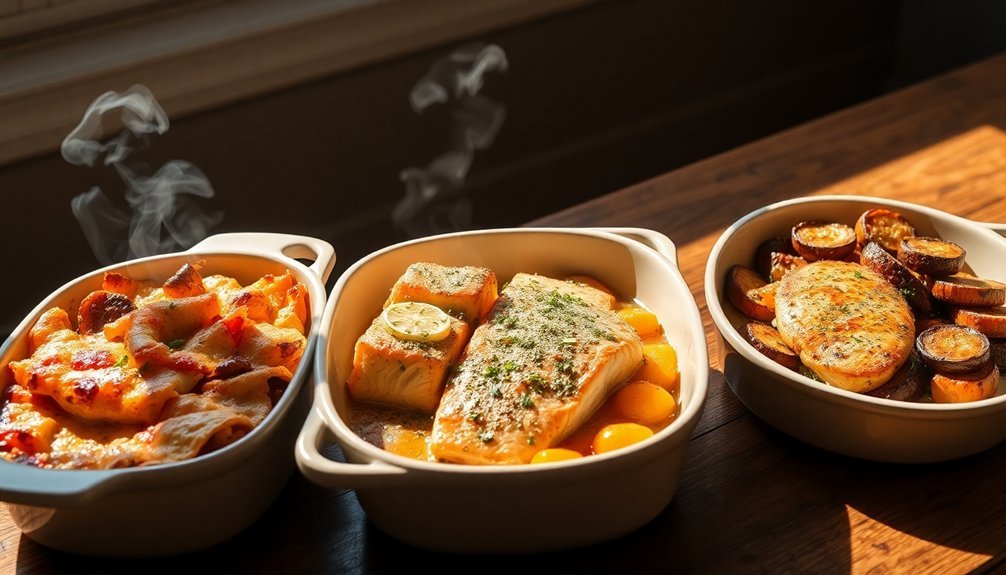
Stacking Dishes Efficiently
You'll want to stack your baking dishes strategically to make the most of your solar oven's limited space.
Position larger, heavier dishes on the bottom rack while placing smaller, lighter containers on top to guarantee proper weight distribution and heat circulation.
When arranging multiple dishes, leave enough space between them for hot air to flow evenly, which helps achieve consistent cooking results throughout your meal.
Maximize Oven Space Wisely
Mastering the art of oven space utilization can transform your multi-dish baking from chaotic to efficient. Before you preheat, test-fit your bakeware combinations to minimize heat loss when loading.
You'll want to choose cookware that maximizes available space, such as rimless cookie sheets for larger batch sizes. Remember to maintain proper air circulation between dishes to guarantee even cooking throughout.
- Use sheet trays and bakeware that fit efficiently together, making the most of every inch of oven space
- Keep sweet and savory dishes separate to prevent flavor transfer during the baking process
- Test different pan arrangements before heating the oven to determine the most space-efficient configuration
When you're strategic about space usage, you'll be able to cook more dishes simultaneously while maintaining ideal cooking conditions for each item.
Position For Even Heat
Proper dish positioning stands as the cornerstone of successful multi-rack cooking. To achieve ideal results, place larger dishes on the bottom rack where they'll receive more direct heat. You'll want to use the upper rack for dishes that need browning or crisping, as heat naturally rises to this area.
| Position | Best For | Temperature Tip |
|---|---|---|
| Top Rack | Broiling | Higher heat zone |
| Middle Rack | Even cooking | Moderate heat |
| Bottom Rack | Roasting | Direct heat source |
| Front Area | Quick-check items | Easy access |
| Back Area | Longer-cooking items | Consistent temp |
Remember to stagger your dishes and avoid overcrowding to maintain proper air circulation. If you're using a convection oven, you can reduce the temperature by 15-20°F, as the fan will distribute heat more efficiently. For conventional ovens, consider increasing the temperature slightly to compensate for multiple dishes.
Managing Multiple Cooking Temperatures
Successfully cooking multiple dishes at different temperatures requires a strategic approach to temperature management and dish placement.
Calculate the average temperature by adding your desired cooking temperatures and dividing by the number of different temperatures. You'll want to set your convection setting slightly lower than this average, as the circulating air helps distribute heat more evenly and reduces cooking time by about 25 minutes.
- Position delicate items on lower shelves where heat is less intense
- Rotate dishes halfway through cooking if you're not using convection settings
- Keep sweet and savory dishes separated to prevent flavor mixing
Remember to maintain adequate spacing between dishes to allow proper air circulation.
If you're lucky enough to have a double oven, you can manage different temperatures independently for ideal results.
Timing Your Dishes
When planning multiple dishes for a sun-based meal, precise timing becomes your key to serving everything hot and perfectly cooked. You'll find most dishes take 30 minutes or less, with Quick & Easy options ready in under 20 minutes. To maximize efficiency, organize your cooking sequence using the "mise en place" method and tackle multiple components simultaneously.
| Meal Type | Prep Time | Cooking Style | Best Practice |
|---|---|---|---|
| Oven-ready | 6-10 min | Single step | Prep all ingredients first |
| Quick & Easy | 15-20 min | One pot | Follow sequential steps |
| Standard | 25-30 min | Multiple steps | Cook components parallel |
| Premium | 30+ min | Advanced | Divide tasks if possible |
You can adapt cooking times based on your needs, and don't hesitate to prepare certain ingredients in advance for more complex meals.
Weather and Solar Cooking
You'll get the best results from your solar cooker between noon and 3 PM when the sun's energy is strongest, especially during summer months when sunlight is more concentrated.
Cloud cover can noticeably slow down your cooking times, so it's crucial to have at least 15 minutes of direct sunlight per hour for effective cooking.
Your cooking success also depends on seasonal temperature variations, requiring longer cooking times in winter months and proper adjustment of your cooker's position to match the sun's changing angle throughout the year.
Best Solar Cooking Times
Three key factors determine the best times for solar cooking: sunlight intensity, cloud cover, and wind conditions.
You'll get the best results between 11:00 am and 3:00 pm when the sun's position is ideal and UV rays are strongest. Start preheating your solar oven around 10:00 am for longer cooking tasks, especially during summer months when you won't need frequent adjustments.
- Choose clear, cloudless days for ideal cooking – even partial cloud cover will extend your cooking time considerably.
- Set up your cooker in a sunny spot protected from wind, using windbreaks like glass panels or natural barriers.
- Monitor shadow depth to gauge sunray strength – deeper shadows mean you'll need more cooking time.
Watch your oven's temperature regularly and adjust for changing weather conditions to guarantee successful solar cooking.
Seasonal Temperature Impacts
Seasonal changes dramatically affect your solar cooking experience, with each period of the year presenting unique challenges and opportunities.
You'll find summer offers the most flexibility, letting you cook longer without frequent adjustments.
Winter requires more attention as you'll need to reposition your oven more often due to lower sun angles and reduced UV intensity.
For best results, you'll want to match your cooking method to the season. Preheat your oven early during winter months and consider using thermal mass like rocks to retain heat.
In spring and fall, adjust your cooking times to account for temperature fluctuations. Proper insulation becomes essential year-round, but it's especially important in colder weather.
Remember to protect your solar oven from wind, which can quickly reduce its temperature regardless of season.
Cloud Coverage Effects
While sunshine is essential for solar cooking, cloud coverage poses significant challenges that can dramatically impact your cooking efficiency.
Heavy cloud cover can slow down or completely halt your cooking process by blocking vital solar radiation. Even scattered clouds can reduce your cooking effectiveness by up to 20%, making meal planning more challenging.
You can overcome some cloud-related obstacles by implementing smart strategies:
- Use reflectors around your solar cooker to concentrate available sunlight
- Maintain good insulation to retain heat during cloudy periods
- Adjust cooking times and track the sun more frequently when clouds are present
For best results, check weather forecasts and plan your solar cooking during periods of clear skies.
In areas with frequent cloud cover, consider using institutional roof-top systems with solar-heated fluid for more consistent results.
Food Safety Guidelines
Maintaining proper food safety practices is essential when preparing sun-baked meals to prevent foodborne illness. You'll need to wash your hands for at least 20 seconds and keep all preparation surfaces clean. Use separate areas for raw and cooked foods to prevent cross-contamination.
| Safety Area | Temperature | Time Limit |
|---|---|---|
| Hot Foods | Above 140°F | 2 hours max |
| Cold Foods | Below 40°F | 2 hours max |
| Ground Meat | 160°F | Until done |
| Poultry | 165°F | Until done |
| Leftovers | 165°F | Reheat once |
Store leftovers within two hours of serving (one hour if it's above 90°F). Use shallow containers for quick cooling and reheat thoroughly to 165°F. When using a microwave, let covered food stand for two minutes after heating to ascertain even temperature distribution.
Recipe Adaptation Techniques
Beyond keeping food safe, adapting recipes for sun-baked cooking requires careful consideration of ingredients and methods.
You'll need to understand how each ingredient functions in your dish and adjust cooking times since solar ovens operate differently from conventional ones. When scaling recipes for sun cooking, focus on maintaining proper ratios and consider how the sun's intensity affects cooking temperatures throughout the day.
- Replace ingredients that might spoil quickly in warm conditions with more stable alternatives while preserving the dish's character.
- Adjust liquid quantities since solar cooking typically requires less moisture due to reduced evaporation.
- Scale recipes carefully, keeping in mind your solar oven's size and the sun's position when cooking multiple dishes.
Remember to document successful adaptations and test small portions before preparing larger quantities in your solar oven.
Frequently Asked Questions
Can I Use Frozen Ingredients in My Solar Cooker?
Yes, you can use frozen ingredients in your solar cooker. You'll need to allow extra cooking time, guarantee proper preheating, and maintain stable temperatures. It's best to cook between 10 AM and 2 PM.
What Backup Cooking Methods Should I Have Ready?
You'll want a diverse backup system: a camp stove with fuel, a solar oven for sunny days, and a crock-pot with portable power source. Keep conventional options like propane grills ready too.
How Do Different Colored Cooking Vessels Affect Solar Cooking Performance?
You'll get better results using dark-colored cookware since it absorbs more solar energy and heats faster. Light or shiny vessels reflect sunlight away, making them less efficient for solar cooking and extending cooking times.
Will Cooking Multiple Dishes Affect the Flavor of Each Meal?
You'll find that cooking multiple dishes together typically won't affect individual flavors if you maintain proper spacing. However, strongly aromatic foods like garlic or curry can impart their scents if dishes are too close.
Can I Use My Solar Cooker to Sterilize Water While Cooking?
Yes, you can safely pasteurize water while cooking in your solar cooker. Just keep water containers separate from food and guarantee they reach 65°C (149°F) for at least 6 minutes to kill harmful pathogens.
In Summary
Solar cooking lets you create multiple dishes while harnessing the sun's power. You'll master this eco-friendly cooking method by using proper equipment, strategic positioning, and careful timing. As you experiment with recipe adaptations and learn to work with weather patterns, you'll become confident in preparing complete meals using nature's heat. Remember to follow food safety guidelines, and you'll enjoy delicious, sun-baked feasts while saving energy.


Leave a Reply