For the best results with your solar cooking, you'll want to start between 11:00 AM and 3:00 PM when sunlight is most intense. Begin by positioning your solar cooker in a wind-protected spot with direct sun exposure. You'll need to prep ingredients about an hour before cooking time – for morning meals, start prep at 8-9 AM, and for evening dishes, begin around 1-2 PM. Check today's weather forecast for cloud cover, as this affects cooking duration. Aim for internal temperatures of 178°F or higher, and remember to adjust your cooker's position every 20 minutes. Understanding a few more essential factors will help guarantee your sun-powered meal's success.
Best Hours for Solar Cooking
When it comes to solar cooking, timing is everything. You'll want to focus on the peak hours between 11:00 am and 3:00 pm, when the sun's position is most direct and powerful.
During summer, you can enjoy extended cooking periods thanks to intense sunlight and longer days. Southern regions experience better solar cooking conditions year-round due to their intense UV radiation.
If you're cooking in winter, fall, or early spring, you'll need to start earlier – around 10:00 am – to properly preheat your solar cooker and prep your ingredients.
Winter cooking still works best between 11:00 am and 3:00 pm, but you'll want that extra preheating time to compensate for less intense sunlight.
Remember that weather conditions like clouds, rain, or fog can impact your cooking time, regardless of the season. Plan accordingly by checking the weather forecast before starting your solar-powered meal.
Finding Your Perfect Cooking Spot
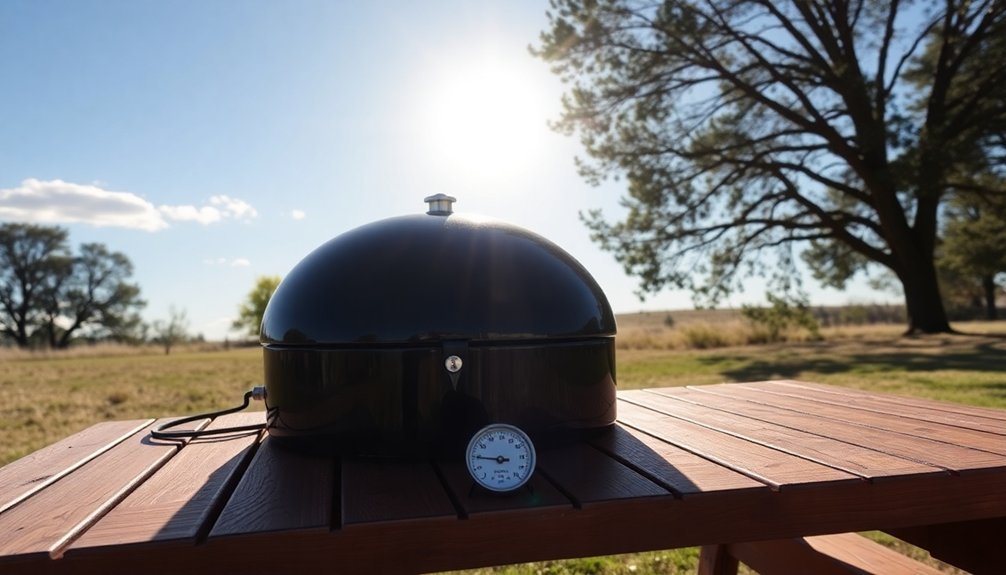
Where you position your solar cooker can make or break your cooking success.
You'll want to seek out a spot that receives uninterrupted sunlight, ideally in an area protected from wind. If you're near the equator, you've got the advantage of direct sunlight year-round, but even higher latitudes can work well during summer months.
Choose a location with natural windbreaks like buildings or set up recycled glass panels to shield your cooker. Your cooking performance will decrease significantly in winds over 30 mph.
For best results, pick a spot at a higher elevation if possible, as you'll benefit from clearer, unfiltered sunlight.
Don't forget to take into account seasonal changes – you'll need more flexibility to adjust your cooker's position during winter months.
Using dark cookware and thermal mass materials in your chosen spot will help maintain steady temperatures despite environmental variations.
Setting Up Your Solar Kitchen
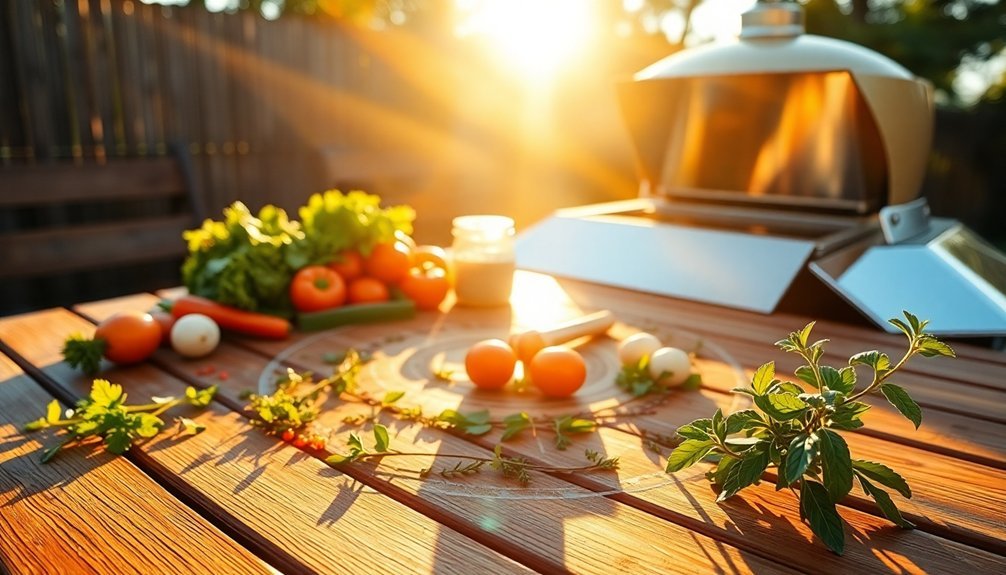
Setting up an effective solar kitchen requires careful attention to essential components and proper assembly. You'll need to start with a box that has a lid and three sides, lining it with aluminum foil and insulating materials. A box solar oven is ideal for baking and slow cooking various dishes while maintaining consistent temperatures.
Create a window using clear plastic or glass to trap heat while ensuring proper ventilation with a cooking rack positioned two inches above the base.
For ideal cooking results:
- Choose dark-colored, thin-walled cookware with lids to maximize heat absorption and retention.
- Position your solar oven in direct sunlight between 11 am and 3 pm, adjusting it every 20 minutes to track the sun.
- Monitor internal temperature with an oven thermometer, aiming for at least 178°F, while rotating solid foods every 15 minutes and stirring liquids every 10 minutes.
Ideal Recipes for Different Times
Maximizing your solar cooking potential depends largely on choosing the right recipes for different times of day.
For morning and early afternoon meals, you'll want to start preparing ingredients between 8-9 AM for dishes like oatmeal, scrambled eggs, or solar-baked muffins. Place these breakfast items in your solar cooker by 10 AM to capture peak sunlight.
For evening meals, begin your prep around 1-2 PM and get your food in the cooker by 2-3 PM. Dishes like roasts with vegetables, dinner rolls, and apple crisps work well during this time slot. The process of searing the roast beforehand helps lock in moisture for better results.
Remember that morning meals typically need temperatures of 150-200°F, while dinner dishes require 180-220°F. You'll need to monitor and adjust your solar oven's position throughout cooking to maintain ideal temperatures.
Weather Impact on Cooking Schedule
While selecting the right cooking times helps optimize your solar meals, weather conditions will shape your daily cooking schedule.
You'll need direct sunlight between 11 AM and 3 PM for best results, though a few passing clouds won't ruin your meal. A well-insulated solar oven can maintain cooking temperatures even in cold weather, but continuous cloud cover will greatly extend cooking times or halt the process altogether.
- Check your local weather forecast – if it predicts heavy clouds or rain, you may need to adjust your cooking plans.
- Position your cooker in a wind-protected spot to maintain consistent temperatures.
- Start cooking earlier in winter months to compensate for the shorter daylight hours and lower sun angle, especially if you're in northern regions.
Tracking Your Solar Meal Progress
You'll want to check your meal's temperature at regular intervals using a thermocouple or data logger to guarantee proper cooking progress.
Modern mobile apps can help you track both real-time temperature data and the sun's position, providing alerts when adjustments are needed.
Keep your tracking consistent by setting specific time points for temperature checks and solar position monitoring, which helps maintain ideal cooking conditions throughout the day.
Temperature Check Time Points
When cooking with solar power, tracking your meal's temperature at key intervals guarantees both food safety and optimal results.
You'll need a reliable digital probe thermometer to monitor internal temperatures, ensuring they reach 145°F for whole cuts, 160°F for ground meats, and 165°F for poultry.
Keep a close eye on temperatures between 200-300°F for peak cooking performance.
- Check temperatures immediately when you start cooking to establish your baseline.
- Monitor every 30-45 minutes during peak sunlight hours to track progress.
- Take final readings before serving to verify safe consumption temperatures (165°F for reheated foods).
Don't forget to maintain a temperature log for future reference, and remember that cooking times often double compared to conventional ovens.
If clouds appear, you'll need to adjust your timing accordingly.
Track Position And Timing
Once you've mastered temperature monitoring, proper sun tracking becomes your next key to solar cooking success.
You'll need to position your solar oven facing south and adjust its angle to match your latitude for maximum sun exposure. Use apps like Solar Oven Buddy or Sun Surveyor to analyze your location's sun path and potential shade obstacles.
For precise tracking, you can upgrade to an automated system that uses photocells and DC motors to follow the sun's movement.
These dual-axis trackers adjust both horizontally and vertically every 5-15 minutes based on real-time satellite data. If you're using a manual setup, check your oven's position hourly and realign it with the sun's path.
Don't forget to take into account seasonal changes and adjust your panel frames accordingly for best cooking results.
Frequently Asked Questions
Can I Use Aluminum Foil Containers in My Solar Oven?
Yes, you can use aluminum foil containers in your solar oven, but don't use them for acidic foods since they can leach aluminum. For best results, wrap food carefully and monitor cooking temperatures.
How Do I Know if My Food Has Reached a Safe Cooking Temperature?
You'll need to use a food thermometer to check internal temperatures: 165°F for poultry, 155°F for ground meats, and 145°F for whole cuts. Don't guess – always verify for food safety.
What Happens if Someone Accidentally Bumps the Solar Oven While Cooking?
If someone bumps your solar oven, you'll lose heat and cooking efficiency. You'll need to realign it with the sun, check food temperatures for safety, and be careful of hot surfaces while making adjustments.
Will Cooking Smells Attract Animals to My Outdoor Solar Kitchen?
Yes, your solar cooking can attract animals through food smells. To stay safe, keep your workspace clean, store food in airtight containers, and use natural deterrents like peppermint oil around your outdoor kitchen area.
Can I Stack Multiple Dishes to Cook Different Foods Simultaneously?
Yes, you can stack dishes in your solar cooker using both Suntube® and Cook UP modes simultaneously. You'll need to match cooking times, use appropriate containers, and guarantee proper heat distribution between stacked items.
In Summary
Time your solar cooking adventure right, and you'll enjoy perfectly prepared meals using nothing but the sun's power. Whether you're starting bright and early at 9 AM for slow-cooked stews or maximizing peak sunlight at noon for quick flatbreads, you've got options. Track your cooking times, adjust for weather conditions, and soon you'll master the art of planning sun-powered meals that fit seamlessly into your daily routine.


Leave a Reply