To find your ideal cooking angle, aim to position your grill or solar cooker to directly face the sun during peak hours of 11:00 am to 3:00 pm. You'll want to adjust your angle based on your latitude and the current season – higher angles in summer, lower in winter. Use a digital angle gauge for precise measurements and rotate your cooker every 30 minutes to track the sun's path. For most locations, start with a 45-degree angle and fine-tune based on shadow tests. The clearer the day, the better your results, but proper angle adjustment is just the beginning of maximizing your heat efficiency.
The Science Behind Solar Angles

When it comes to solar cooking, understanding the science of sun angles is crucial for achieving ideal results. The sun's position relative to your location directly impacts cooking efficiency, with equatorial regions receiving more intense rays than higher latitudes.
You'll get the best cooking results between 11:00 am and 3:00 pm when the sun's rays are most direct. During these peak hours, you can achieve maximum temperatures for your solar cooker. Rotating your cooker every 30 minutes ensures optimal exposure as the sun moves across the sky.
Your geographical location matters too – if you're closer to the equator, you'll benefit from more direct sunlight throughout the year. In contrast, if you're in higher latitudes, you'll need to compensate for the sun's lower angle by tilting your cooker appropriately.
Remember that northern and southern hemispheres experience opposite effects due to the sun's positioning.
Seasonal Sun Position Changes
To make the most of your solar cooking setup, you'll need to understand how the Sun's path changes dramatically between seasons, rising higher in summer and staying lower in winter.
When positioning your grill, track the daily arc of the Sun and adjust your cooking angle accordingly – higher in summer months when the Sun travels overhead, and lower in winter when it remains closer to the horizon. At extreme latitudes, you may experience very long days during summer months which can extend your solar cooking time.
These seasonal shifts mean you'll want to modify your grill's tilt about every three months, with more frequent adjustments needed during the changeover periods of spring and fall.
Tracking Daily Sun Path
Understanding the Sun's daily path across the sky proves essential for determining ideal cooking angles throughout the year.
You'll need to track how the Sun moves from east to west while its elevation changes throughout the day. Using augmented reality tools and 3D visualizations can help you predict exact positions for optimal cooking setup. The latest app updates offer enhanced visualization performance for precise tracking.
To effectively track the Sun's path, follow these key steps:
- Use a Sun tracker app to visualize the daily arc specific to your location
- Note the maximum elevation angle during solar noon
- Monitor how shadows change throughout the day
- Check sunrise and sunset positions to plan your cooking schedule
Adjusting Grill Position Seasonally
Since the Sun's position shifts dramatically throughout the year, you'll need to adjust your grill's angle each season for best cooking performance.
During summer months, when the Sun sits higher in the sky, you'll want a shallower tilt angle. In winter, with the Sun lower on the horizon, increase your grill's tilt for maximum heat capture.
Consider your latitude when making these adjustments – if you're cooking in northern regions, you'll need more dramatic seasonal angle changes than those grilling closer to the equator.
Watch how shadows fall across your cooking area and adjust accordingly.
Don't forget to account for seasonal changes in wind patterns and surrounding obstacles like leafy trees in summer or snow buildup in winter. These environmental factors can greatly impact your grill's heat retention and distribution.
Summer Versus Winter Angles
While solar cooking remains effective year-round, the Sun's position dramatically affects your perfect cooking angles between seasons.
You'll need to adjust your cooker more frequently during winter months when the Sun sits lower in the sky, requiring steeper angles to capture optimal rays.
For the most efficient cooking results, consider these seasonal adjustments:
- Set flatter angles in summer when the Sun is higher
- Position steeper angles in winter to compensate for lower Sun position
- Check your shadow length – if it's shorter than your height, you've got ideal cooking conditions
- Adjust reflectors more often in winter to maintain consistent heat
At northern latitudes, you'll notice these seasonal differences more prominently, while equatorial regions enjoy more consistent sun angles throughout the year.
Calculating Your Local Solar Angle
To determine your ideal cooking angle, you'll need to calculate your local solar angle through a series of mathematical steps.
Start by finding your declination angle using your day of the year. Next, calculate your hour angle by converting your local solar time, keeping in mind that each hour represents 15 degrees from solar noon.
With these values and your latitude, you can now determine your solar elevation angle, which shows how high the sun sits above your horizon.
Finally, compute your solar azimuth angle to pinpoint the sun's direction relative to true south. While these calculations might seem complex, they're essential for positioning your solar cooker correctly.
Remember that your best angle will change throughout the day as the sun moves across the sky, so you'll want to adjust accordingly.
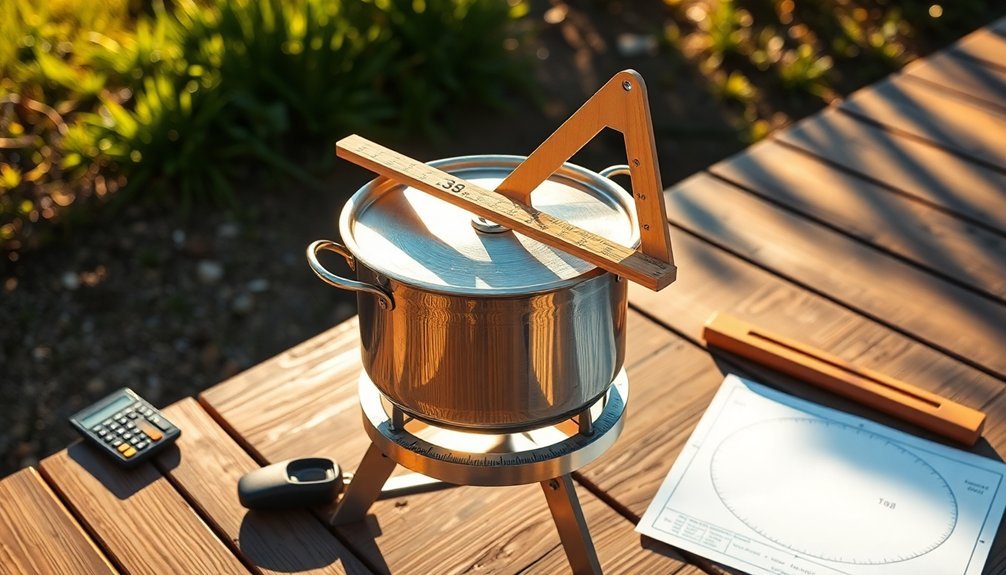
Essential Tools for Angle Measurement
You'll need precise tools to measure and maintain the ideal cooking angle for your grill or solar cooker.
A digital angle gauge provides accurate readings to position your cooking surface, while an infrared heat thermometer helps you monitor temperature distribution across the angled surface.
A grill surface level guarantees your cooking platform remains stable and properly oriented while you make your angle adjustments.
Digital Angle Gauges
Digital angle gauges represent essential tools for precise angle measurements in cooking applications.
You'll find these devices particularly useful when positioning grills, smokers, or cooking surfaces for ideal heat distribution. The high-visibility display with auto-rotating features guarantees you can read measurements easily, even in your dimly lit outdoor cooking areas.
When setting up your cooking equipment, you'll appreciate these key advantages:
- Accuracy within 0.1° to 0.2° for precise surface angles
- Strong magnetic base that attaches securely to metal cooking surfaces
- Zero calibration function for establishing relative angles
- Auto-shutoff feature to preserve battery life during long smoking sessions
The durable construction, featuring ABS plastic housing and IP42 protection, guarantees your gauge withstands the harsh cooking environment while maintaining reliable performance.
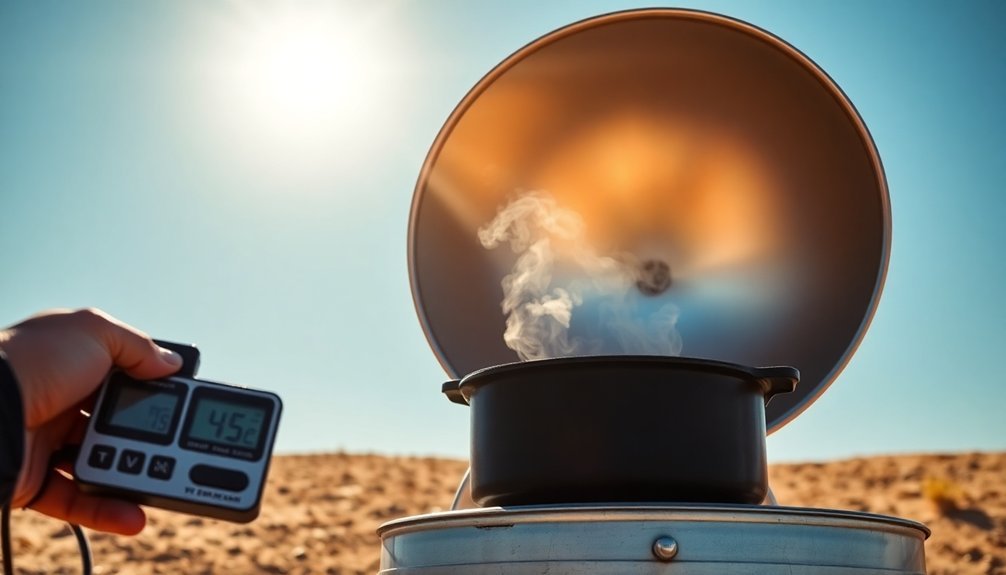
Infrared Heat Thermometers
While maintaining the correct angle of measurement proves essential for accurate readings, infrared heat thermometers offer a non-contact solution for precise temperature monitoring.
You'll get the most accurate results by holding the thermometer perpendicular to your target surface, creating a circular measurement area rather than an elliptical one.
For specific cooking scenarios, you'll need to adjust your approach. When checking oil temperature in a cast iron skillet or sauté pan, aim directly at the oil's surface.
If you're measuring a grill grate or pizza stone, shooting at a slight angle can help you identify hot and cold spots.
Remember that any deviation from 90 degrees will expand your measurement area, so you'll want to account for this when interpreting readings, especially with shiny surfaces where adding oil improves accuracy.
Grill Surface Levels
Maintaining proper grill surface levels requires specialized angle measurement tools that combine precision and durability.
You'll need accurate measurements to guarantee even heat distribution and prevent hot spots on your cooking surface.
Modern angle measurement tools feature advanced capabilities that make grill leveling easier:
- Precise readings up to 0.1° accuracy at critical 0° and 90° positions
- Magnetic bases with GripTight™ technology for secure attachment to metal grill surfaces
- V-groove designs that fit perfectly on rounded grill components
- Backlit displays for clear readings in outdoor lighting conditions
When checking your grill's level, you'll appreciate the tool's IP protection rating, which guards against dust and moisture.
The automatic digit inversion feature proves especially helpful when you're measuring overhead angles or working underneath your grill's hood.
Weather Impact on Solar Cooking
Since weather conditions greatly influence solar cooking efficiency, understanding these impacts helps you maximize your cooking success.
You'll get the best results between 11:00 am and 3:00 pm when the sun's directly overhead. Clear skies are essential – even thin clouds will slow your cooking time, while heavy cloud cover makes solar cooking impractical.
While outside temperature doesn't considerably affect performance on clear days, you'll need to make adjustments in different seasons. During shorter winter days, you might need to split cooking over multiple days.
Remember to preheat your solar oven an hour before cooking and reposition it every one to two hours to track the sun. For best results, choose a sheltered spot to protect your cooker from wind interference.
Adjusting Reflectors for Maximum Heat
You'll need to carefully adjust both your top and bottom reflectors to create an ideal heat distribution pattern for your solar cooking setup.
Your top reflector should maintain a steep angle while your bottom reflector stays shallow, ensuring that sunlight focuses precisely on your cooking target.
Position for Heat Distribution
The proper positioning of cooking surfaces and reflectors plays an essential role in maximizing heat distribution during cooking.
By understanding how heat transfers through conduction, convection, and radiation, you'll achieve better results in your cooking endeavors.
To optimize heat distribution, consider these important positioning factors:
- Place your food at the appropriate distance from the heat source – closer for intense heat, farther for gentle cooking.
- Guarantee adequate spacing between items to allow proper air circulation and even heating.
- Align food correctly with the heat source to maximize exposure and achieve uniform cooking.
- Position reflective surfaces strategically to redirect heat where needed.
Remember to adjust your heat levels based on your cooking method, whether you're searing at high temperatures or slowly simmering at low heat.
Focused Reflective Surface Control
Mastering reflective surface control allows you to harness maximum heat efficiency through precise adjustments of parabolic and elliptical reflectors.
You'll need to focus on maintaining ideal alignment as your reflector rotates synchronously with the Earth's axis to track the sun's movement.
For best results, you'll want to use polished materials like aluminum leaf or nickel-plated bronze foil, which can achieve up to 75% optical efficiency at the focal point.
Make seasonal adjustments to your flexible parabolic reflector to maintain proper focus throughout the year.
If you're using a segmented design, verify each section is precisely aligned to create a uniform parabolic surface.
Remember to check your reflector's position every 30 minutes, as some systems require manual tracking for maximum heat concentration.
Managing Thermal Loss Patterns
Successful heat management requires precise control over thermal loss patterns when adjusting your reflectors. Understanding how heat transfers through conduction, convection, and temperature gradients helps you position your cooking surface for maximum efficiency.
To minimize thermal loss when using reflective surfaces, you'll want to:
- Position reflectors to direct heat flow toward your food, reducing temperature gradients.
- Account for the mass of your food when adjusting cooking angles, as larger items need more focused heat.
- Consider the convection patterns of heated air around your cooking surface.
- Maintain ideal contact between the heat source and cooking surface through proper angle alignment.
Remember that heat always moves from hotter to cooler areas, so you'll need to adjust your reflectors to compensate for natural heat dispersion while maintaining even cooking temperatures.
Time of Day Considerations
Selecting the right time of day for cooking can greatly impact your grilling success and the ideal cooking angle you'll need to maintain. You'll find that each time period presents unique challenges and advantages for heat management and angle adjustments.
| Time Period | Ideal Angle Considerations |
|---|---|
| Morning | Adjust higher to compensate for low sun angle; account for humidity |
| Afternoon | Lower angle needed; protect from intense direct heat |
| Evening | Gradually increase angle as sun sets; monitor temperature drops |
| Midday | Minimal angle adjustment; focus on heat distribution |
| Night | Set standard angle; rely on artificial heat source |
For best results, you'll want to modify your cooking angle based on sun position and environmental factors. Morning and evening sessions require higher angles to capture available heat, while afternoon cooking needs protection from excessive direct exposure.
Geographic Location Heat Variations
Beyond the daily timing considerations, your geographic location considerably shapes how you'll need to adjust your cooking angles and methods.
If you're cooking at high altitudes, you'll face unique challenges that require specific adjustments to your techniques.
Your location's altitude affects cooking temperatures and times in these key ways:
- Above 3,000 feet, water boils at lower temperatures, requiring longer cooking times.
- You'll need to increase liquid amounts to combat faster evaporation rates.
- Moist heat methods need up to 25% more cooking time.
- Your covered pans become essential to retain moisture.
While dry heat methods remain largely unaffected by altitude, you'll find that climate influences your overall cooking approach.
In warmer regions, you might adjust your cooking angle to accommodate spicier dishes and local ingredients that suit the environment.
Shadow Testing Methods

To achieve ideal cooking angles, mastering shadow testing methods becomes essential for both home cooks and professionals. You'll need to understand how shadows cast from your cooking setup affect heat distribution and visibility, similar to PCF techniques used in computer graphics.
When filming or monitoring your cooking from above, you can test shadows by observing how light falls across your workspace. Position yourself to minimize shadows that might obstruct your view of ingredients or cooking surfaces.
For top-down perspectives, you'll want to take into account how steam and lens fogging might impact visibility. Set up your lighting to create clear, defined shadows that help you gauge ingredient heights and cooking progress.
This approach lets you maintain optimal angles while avoiding unwanted shadows that could interfere with temperature control and food preparation.
Temperature Monitoring and Adjustment
While mastering shadow techniques enhances visual control, precise temperature monitoring forms the backbone of successful cooking.
You'll need to choose between instant-read thermometers for quick checks or wireless probes for continuous monitoring, ensuring the probe reaches the thickest part of your food.
When adjusting cooking temperatures, follow these critical steps:
- Calculate the percentage difference between original and new temperatures
- Multiply your initial cooking time by this percentage
- Add a small safety margin to prevent overcooking
- Use conversion charts when switching between Fahrenheit and Celsius
For multiple dishes, set your oven to accommodate the most delicate item, placing it on a lower shelf.
Consider using a multi-probe thermometer to track several dishes simultaneously, and don't forget to clean probes between readings to prevent cross-contamination.
Frequently Asked Questions
Can Cooking Angle Affect Food Texture and Moisture Retention?
Yes, your cooking angle impacts food texture and moisture. When you position food correctly, you'll get better heat distribution and air circulation, helping maintain moisture while achieving your desired texture throughout the dish.
How Do Different Reflective Materials Impact Optimal Cooking Angles?
You'll find aluminum foil tape gives you the most flexibility in angle adjustments, while radiant barriers require steeper angles. Lower-quality materials like aluminized polycarbonate need more extreme angles to achieve the same heat reflection.
Does Altitude Affect the Ideal Cooking Angle for Solar Cooking?
Yes, your altitude affects perfect cooking angles. You'll need less tilt at higher elevations since there's less atmospheric interference. At higher altitudes, you can position your cooker at a flatter angle for ideal results.
What Backup Methods Exist When Optimal Angles Cannot Be Achieved?
You can use reflective surfaces, elevate your cooker, or switch to backup methods like rocket stoves or portable folding stoves when solar angles aren't ideal. Aluminum foil can help redirect limited sunlight.
How Do Surrounding Structures Influence the Best Cooking Angle Selection?
You'll need to adjust your cooking angle based on nearby walls, fences, and buildings, as they can reflect heat, block wind, or create drafts that affect your grill's temperature and airflow patterns.
In Summary
You'll find that mastering your solar cooking angles takes practice and patience. Remember to check your location's seasonal sun patterns, use proper measurement tools, and monitor temperatures regularly. Don't forget to adjust for weather conditions and time of day variations. Once you've perfected your technique, you'll consistently achieve ideal cooking temperatures and better results from your solar cooking adventures.


Leave a Reply