You'll need 2-6 hours to cook beans without electricity, depending on your chosen method and bean variety. Pre-soaking overnight can cut cooking time by 25%. For solar cooking, position your cooker between 11 AM and 3 PM for best results, using dark cookware to absorb heat effectively. Alternative methods like hay box ovens or earth ovens work well too, though cooking times vary based on elevation and weather conditions. Remember to check water levels every 30-45 minutes and stir regularly to prevent sticking. Understanding the specific needs of different bean varieties and cooking methods will help guarantee your success.
Understanding Bean Varieties
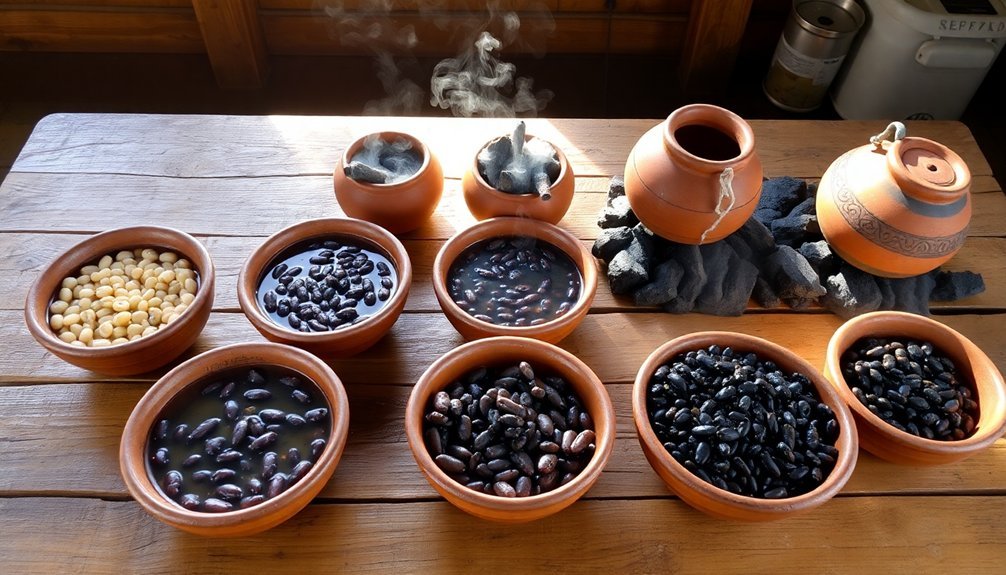
When you're planning your bean garden, understanding the main varieties can help you choose the perfect type for your space and needs.
Bush beans are compact and ideal for small gardens, maturing quickly in 50-60 days. You'll find popular varieties like Blue Lake and Jade offer excellent disease resistance and tender, stringless pods. The variety Jutta offers stringless pods while maintaining strong disease resistance.
If you've got room for vertical growth, consider pole beans or runner beans. Pole beans like Kentucky Blue need support but reward you with high yields after 63-68 days.
Runner beans, including varieties like Eva and Goldmarie, thrive in cooler, humid conditions and produce larger, fleshier pods. You'll want to harvest runner beans early for the best tenderness.
All these varieties offer strong disease resistance, particularly against fungal problems and halo blight.
Solar Cooking Principles
When cooking beans using solar power, you'll want to position your cooker where it receives unobstructed sunlight between 11 AM and 3 PM, adjusting its angle throughout the day to track the sun's movement.
Set up your dark-colored cooking pot on a level surface inside the solar oven, ensuring the reflectors are angled to concentrate maximum sunlight onto the container. For optimal absorption of solar energy, use cookware with a matte black finish.
You can maintain ideal cooking temperatures by minimizing the number of times you open the oven and using heat-retaining accessories like cooking bags or double-walled containers.
Optimal Sunlight Positioning Tips
Getting the most from your solar cooking starts with proper sunlight positioning. You'll want to cook between 11:00 am and 3:00 pm when sunlight is most intense.
During summer, you can extend cooking from 8am to 6pm, while winter limits you to 10am-2pm.
Look for clear shadows on the ground to confirm you've got direct sunlight. You'll need at least 30-45 minutes of good sun per hour for effective cooking.
Avoid heavily cloudy or hazy days, as they'll prevent your oven from reaching safe temperatures. While cold weather won't greatly impact a well-insulated solar oven, wind can disrupt cooking efficiency. Using reflective surfaces and mirrors helps concentrate sunlight to achieve higher cooking temperatures.
Position your oven in a sheltered spot to protect it from strong gusts. Remember to use reflectors carefully, as they can create intense glare – consider using a sunshade for protection.
Equipment Setup and Placement
Successful solar cooking depends on choosing and setting up the right equipment for your needs.
You'll want to select from options like a solar funnel cooker, sun oven, panel cooker (CooKit), or build your own DIY version using basic materials like cardboard and aluminum foil.
Once you've chosen your equipment, place it on a dry, level surface in direct sunlight.
If you're in the Northern Hemisphere, position your cooker facing south for maximum sun exposure.
You'll need to adjust the cooker throughout the day to follow the sun's path.
When assembling, verify all components are properly sealed with plastic wrap to retain heat, and raise your cooking pot to allow sunlight reflection from all angles.
Don't forget to wear sunglasses during setup and monitoring for eye protection.
Temperature Control Techniques
To achieve reliable cooking results with a solar oven, you'll need to master several temperature control principles. Your primary goal is maintaining temperatures between 200-300°F for safe cooking while keeping food out of the danger zone (50-125°F).
Use a Type-K thermocouple for precise readings and monitor temperatures regularly.
You'll need multiple layers of insulation around your cooking cavity, except for the glazed surface. Crumpled newspaper, dry leaves, or spun fiberglass work well.
Add reflective surfaces like aluminum foil to enhance heat retention. Use dark-colored, lidded cookware and minimize opening the oven.
For ideal results, position your oven in direct sunlight between 11 AM and 3 PM, adjusting every 1-2 hours.
Remember that weather conditions can affect cooking temperatures, so choose clear, sunny days for best performance.
Bean Preparation Steps
To prepare beans in an off-grid setting, you'll need to start with proper soaking techniques, including the traditional overnight method or quick-soak option using boiled water.
Your pre-soaking success depends on careful bean selection and inspection, removing any damaged beans or debris before beginning the process.
Once you've completed the soaking phase, you're ready to combine your beans with fresh water and chosen seasonings for the actual cooking process.
Pre-Soaking Beans Guide
Whether you're preparing a hearty soup or a simple side dish, properly pre-soaking your beans is essential for achieving the best texture and reducing cooking time.
You'll need to start by sorting your beans on a sheet pan, removing stones, shriveled beans, and debris before rinsing them thoroughly in a colander.
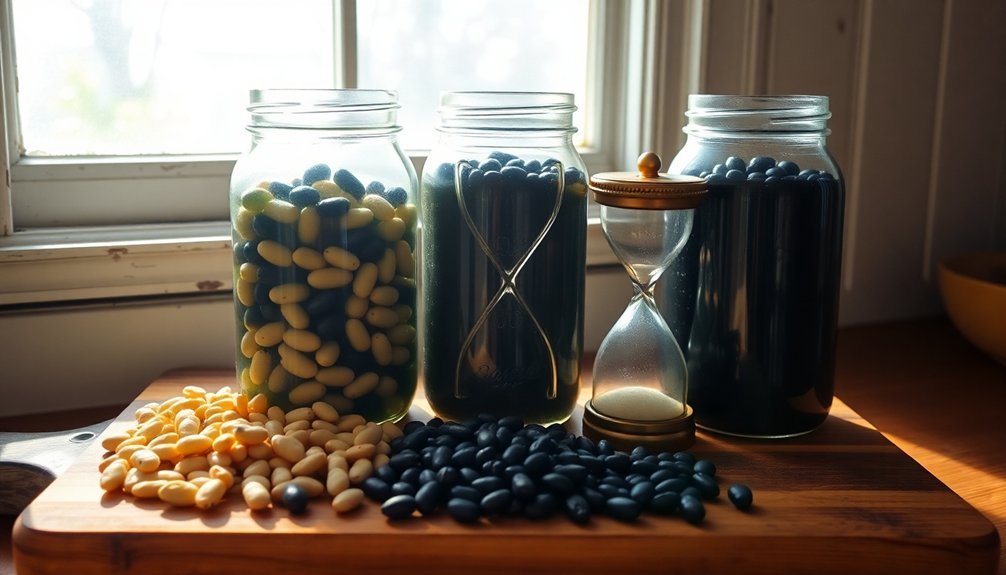
You've got two effective pre-soaking options. For the quick method, cover beans with 2-3 inches of water, boil for 2-3 minutes, and let them soak uncovered for an hour.
If you're planning ahead, use the traditional overnight method by covering beans with cold water and refrigerating for 8 hours. While they'll look wrinkled after cold soaking, don't worry – they'll fully rehydrate during cooking.
Remember to discard the soaking water and rinse again before cooking.
Off-Grid Cooking Basics
Since modern conveniences aren't always available, mastering off-grid cooking methods gives you reliable options for preparing beans anywhere.
You'll find several effective techniques that don't require electricity, from solar ovens to pressure cookers and traditional stovetop methods.
- Pressure cooking is your fastest option, cutting cooking time by 60-70% while preserving nutrients. Let pressure release naturally for 10 minutes before quick-releasing.
- Traditional stovetop cooking works well on propane or charcoal grills. Bring beans to a boil, then simmer for 1-3 hours.
- Solar ovens harness natural energy and work like slow cookers. Start early to maximize daylight hours.
- Alternative methods include thermos cooking, tea light heating, or insulated container techniques when fuel is scarce.
You can also try sprouting to reduce cooking time by half.
Alternative Fuel-Free Cooking Methods
Although modern stoves and appliances dominate today's kitchens, several effective fuel-free cooking methods can help you prepare beans and other dishes without electricity or gas.
You can harness the sun's power with a solar oven, which works like a slow cooker and requires only periodic adjustments to track the sunlight.
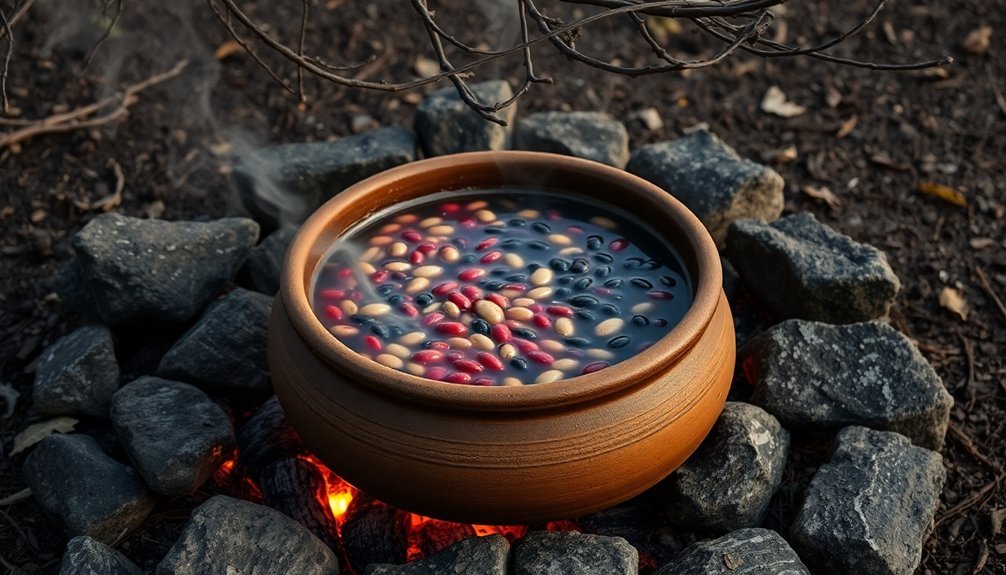
Earth ovens offer another option, where you'll dig a hole, line it with fire-heated stones, and create a natural steam-cooking environment.
For a simpler approach, try a hay box oven, where you'll place preheated food in an insulated container packed with hay or old sweaters to continue cooking slowly.
If you prefer traditional methods, ember roasting with a Dutch oven provides even heat distribution and works well for beans, letting you cook over fire coals rather than direct flames.
Storage During Extended Cooking

When preparing beans for extended cooking periods, proper storage techniques at each stage help guarantee food safety and ideal results.
You'll need to monitor your beans carefully during the cooking process, keeping them covered with about two inches of water and maintaining a gentle simmer.
- Keep your cooking pot covered to retain heat and moisture, which helps prevent water from evaporating too quickly during long cooking sessions.
- Check water levels every 30-45 minutes and add more hot water as needed to keep beans submerged.
- Stir regularly to prevent beans from sticking to the bottom of your pot, which can cause uneven cooking.
- Avoid adding salt or acidic ingredients during the cooking process, as these can interfere with proper softening and extend cooking times.
For best results, use a large stock pot that allows enough room for the beans to expand as they cook.
Weather Impact On Results
The success of your bean cooking largely depends on your geographical location and elevation, as altitude considerably affects cooking temperatures and times.
You'll need to adjust your cooking strategy if you're at higher elevations, where water boils at lower temperatures. For every 1,000 feet above sea level, you'll want to add 5% to your cooking time and increase liquid amounts accordingly.
If you're cooking at 8,000 feet, expect what normally takes 80 minutes to stretch beyond 4 hours. Weather conditions can intensify these effects, so you'll need to monitor humidity levels and atmospheric pressure.
Pre-soaking becomes especially vital in high-altitude locations – plan for a 12-hour soak to reduce cooking time by 25%. Using distilled water helps guarantee even cooking, particularly if you're in an area with hard water.
Frequently Asked Questions
Can Beans Be Safely Cooked Without Soaking in Non-Electric Methods?
Yes, you can safely cook beans without soaking using non-electric methods. You'll need to extend cooking time by about 2-3 hours and guarantee there's always enough water covering the beans while they cook.
How Do You Prevent Beans From Spoiling During Long Thermal Cooking?
You'll need to cool your beans quickly using ice water baths, store them in shallow containers, and guarantee they reach 41°F within four hours. Don't let them sit at room temperature longer than two hours.
Which Beans Are Most Suitable for Thermos Cooking?
You'll find small to medium beans like black beans, navy beans, and split peas work best for thermos cooking. They absorb heat evenly, cook thoroughly, and won't get mushy during the long heating process.
What Emergency Alternatives Can Replace Traditional Insulation Materials?
You can use readily available materials like shredded newspaper, cardboard, old clothing, straw, dried leaves, or sawdust for emergency insulation. These alternatives won't match commercial products but can provide temporary thermal protection.
Do Sprouted Beans Require Different Water Ratios When Cooking?
Yes, you'll need less water for sprouted beans compared to unsprouted ones. Since they've already absorbed water during sprouting, just use enough to barely cover them when cooking to avoid mushiness.
In Summary
Now you've learned several electricity-free methods to cook beans naturally. Whether you're using solar power, hay box cooking, or thermal retention, you'll need to plan ahead and work with nature's cycles. Remember to soak your beans, watch the weather, and maintain safe temperatures throughout the process. With practice, you'll master these traditional cooking techniques and enjoy perfectly cooked beans without modern conveniences.


Leave a Reply