
You'll achieve perfectly tender rice outdoors by following these expert tips. Start with a 2:1 water-to-rice ratio, adding an extra 1/4 cup for evaporation. Choose white rice for reliability and rinse it thoroughly until water runs clear. Use a pot twice the size of your rice amount and guarantee it has a tight-fitting lid. Position your cooking setup on stable, level ground and maintain medium-high heat until boiling, then reduce to low. Don't peek while cooking, and let the rice rest 10-15 minutes afterward. Add aromatic vegetables at the start and adjust seasonings thoughtfully. These fundamentals set you up for countless delicious outdoor meals.
Perfect Water-to-Rice Ratios
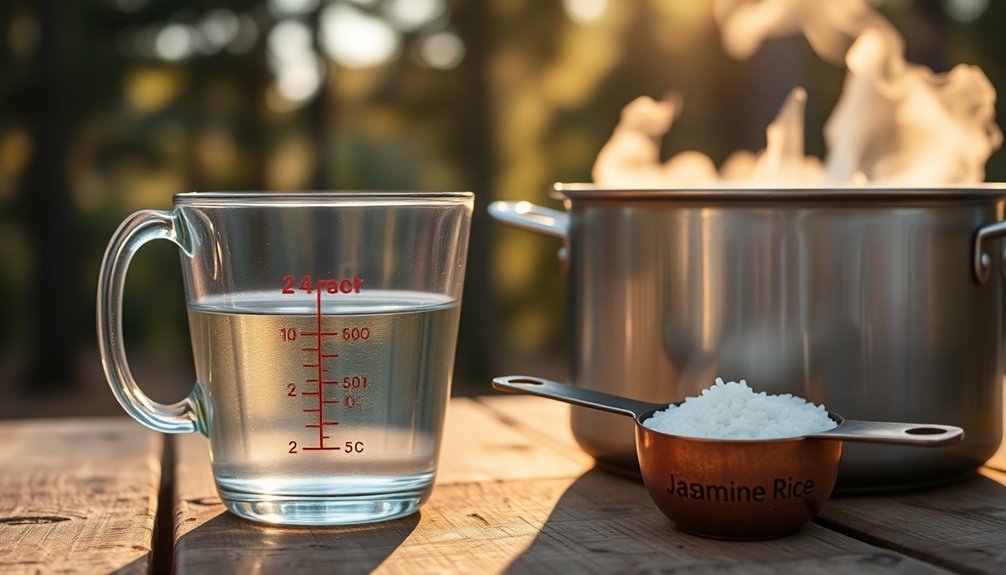
When it comes to cooking rice outdoors, mastering the water-to-rice ratio is your key to consistently perfect results. While you'll commonly hear about the traditional 2:1 ratio (two cups of water for every cup of rice), you'll need to make smart adjustments for outdoor cooking conditions.
Start with the basic 2:1 ratio, but add an extra quarter cup of water to account for increased evaporation in outdoor settings. Using heavy-bottomed cookware with weighted lids will help minimize water loss during the cooking process. If you're using a pot with a loose-fitting lid, you might need to increase this even further.
For more precise results, consider switching to a 1.5:1 or 1.25:1 ratio plus the evaporation allowance, especially if you're cooking long-grain white rice.
Your cooking method will also affect the ratio. If you're using a portable rice cooker at your campsite, stick to a 1:1 ratio since these devices are designed to minimize evaporation.
For traditional stovetop or camp stove cooking, maintain the 2:1 ratio plus extra for evaporation. Remember to keep your pot's lid as tight as possible to prevent unnecessary moisture loss during cooking.
Choosing Your Rice Type
Selecting the right type of rice for outdoor cooking can make or break your camping meals. While you'll find various rice types available, each has distinct characteristics that affect your outdoor cooking experience.
White rice is often your best bet for camping due to its quick cooking time and long shelf life. You'll find it's affordable and easy to prepare, though it lacks some nutritional value.
If you're focusing on health benefits, brown rice offers more nutrients and fiber, but you'll need to plan for longer cooking times and carry extra fuel. Remember that you'll need to follow the 2 parts water ratio to achieve perfectly cooked rice on your portable camp stove.
For ultralight camping or quick meals, instant rice is your most convenient option. It's pre-cooked and requires minimal fuel, though you'll sacrifice some texture and flavor.
Among specialty rices, basmati and jasmine are excellent choices if you're planning flavorful dishes, as they absorb seasonings well. However, avoid sticky rice varieties like glutinous rice, as they require specific steaming methods that aren't practical outdoors.
Consider your trip's length, cooking equipment, and fuel availability when choosing rice. For most camping situations, white rice or instant rice will serve you best due to their reliability and ease of preparation.
Solar Cooker Temperature Control
Beyond choosing the right rice variety, mastering temperature control in your solar cooker will guarantee perfectly cooked grains every time.
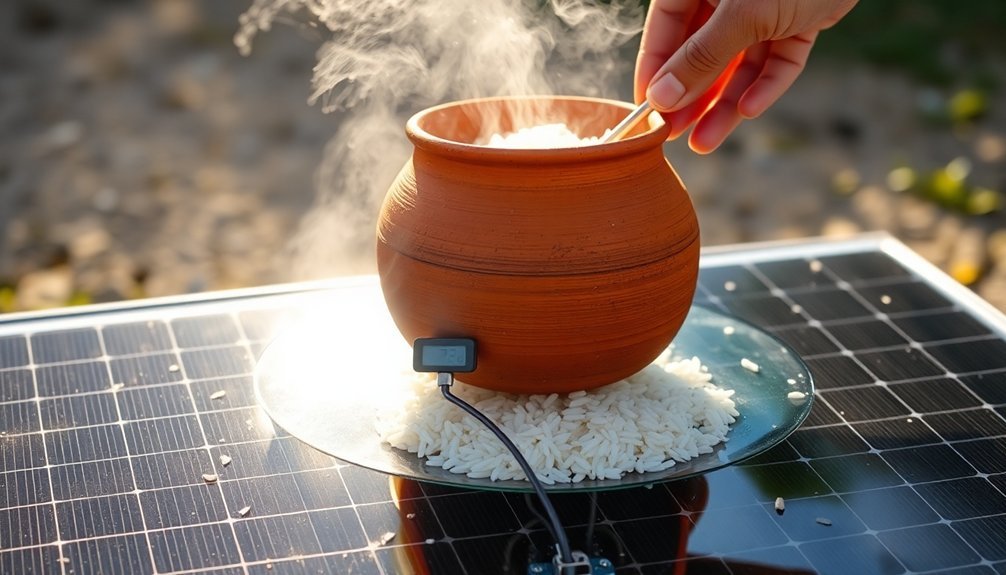
You'll need to position your cooker directly facing the sun and adjust it every 30-45 minutes to maintain ideal heat collection. Select a sheltered spot to prevent wind from interfering with your cooking temperature.
Before adding your rice, preheat your solar oven for 20-30 minutes until it reaches the perfect temperature range of 150-225°F. You'll want to use a reliable thermometer or Type-K thermocouple for accurate readings. Parabolic cookers can reach temperatures of up to 700°F maximum for faster cooking options.
Choose dark-colored, lidded cookware to maximize heat absorption and retention while cooking your rice.
To maintain consistent temperatures, you'll need proper insulation around your cooking cavity. Layer materials like crumpled newspaper or spun fiberglass to trap air particles and reduce heat loss.
Add reflective surfaces like aluminum foil to enhance heat retention. If you're using an advanced setup, you can implement real-time tracking with photoresistors and servo motors to maintain ideal sun exposure.
Remember to adjust your cooking times based on current weather conditions and your specific solar cooker model.
Rice Rinsing Methods
Proper rice rinsing stands as an essential first step for achieving perfectly cooked grains outdoors. When you're preparing rice at your campsite, you'll want to remove excess starch, debris, and any processing residue to guarantee your rice cooks evenly and maintains separate, fluffy grains.
You've got two effective methods to choose from at your campsite. The running water method works best if you've got access to clean water – simply place your rice in a fine-mesh strainer and run cold water over it while gently agitating the grains.
If you're conserving water, opt for the bowl method by submerging the rice and changing the water 4-5 times until it runs clear.
- Picture crystal-clear water finally emerging after several rinses, indicating your rice is ready
- Visualize the gentle swirling motion of your hands through the rice, like creating ripples in a pond
- Imagine perfectly separated, fluffy grains of rice steaming in your camping pot
Remember not to skip this step unless you're making specific dishes like risotto or rice pudding.
When camping, properly rinsed rice will cook more predictably and deliver better results in your outdoor cooking setup.
Essential Equipment Setup
You'll need a stable, heat-resistant surface for your camping stove or portable cooker to guarantee safe and efficient rice preparation outdoors.
Select a pot that's at least twice the size of your desired rice amount to prevent boiling over and allow proper expansion during cooking.
Whether you're using a JetBoil or cast iron pot, place it on a level stone surface or designated cooking platform to maintain consistent temperature control.
Heat-Safe Surface Selection
Selecting a heat-safe surface is essential for outdoor rice cooking, as it protects both your equipment and the surrounding area from thermal damage. For ideal safety and performance, you'll want to choose materials that can withstand high temperatures and outdoor conditions.
Granite and quartzite surfaces are excellent choices, offering natural heat resistance and durability that'll prevent damage from hot cookware.
If you're setting up a permanent outdoor kitchen, think about porcelain or stainless steel countertops. While porcelain requires careful handling to prevent thermal shock, stainless steel offers professional-grade heat resistance and easy maintenance.
For those seeking modern alternatives, Dekton provides exceptional heat resistance and can handle extreme temperature changes, making it perfect for outdoor cooking stations.
- A raised granite platform with enough space for your rice cooker and prep area, featuring natural veining that complements your outdoor décor
- A sleek stainless steel prep station with an integrated backsplash, reflecting natural light and providing a professional cooking experience
- A spacious porcelain countertop with a matte finish, offering both elegance and practicality while resisting UV damage
Remember to reflect on your local climate when selecting materials, particularly if you're in an area with freeze-thaw cycles or intense sun exposure.
Pot Size Considerations
When cooking rice outdoors, choosing the right pot size makes the difference between perfectly fluffy grains and a boiled-over mess. You'll need a pot that holds at least twice the volume of your uncooked rice and water combined, as rice expands considerably during cooking.
Select a heavy-bottomed pot with a tight-fitting lid to guarantee even heat distribution and proper steam retention. If you don't have a proper lid, create a makeshift one using foil weighted down with a pan. Fill your pot only 1/3 full with rice to accommodate expansion.
| Rice Amount | Minimum Pot Size | Water Needed |
|---|---|---|
| 1 cup | 1.5 quart | 2 cups |
| 2 cups | 2 quart | 4 cups |
| 3 cups | 3 quart | 6 cups |
| 4 cups | 4 quart | 8 cups |
| 5 cups | 5 quart | 10 cups |
For camping situations, confirm your pot is compatible with your heat source, whether it's a campfire or portable stove. Cast iron pots work well but require careful monitoring to prevent burning. Remember that different rice varieties expand at different rates, so always err on the side of a larger pot when cooking outdoors.
Proper Pot Positioning
On both gas stoves and campfires, proper pot positioning plays an essential role in achieving perfectly cooked rice. You'll want to guarantee your pot sits on a stable surface, positioned at a safe distance from the edge and away from children and pets.
For gas stoves, start with medium-high heat to bring the water to a boil, then reduce to low for a steady simmer.
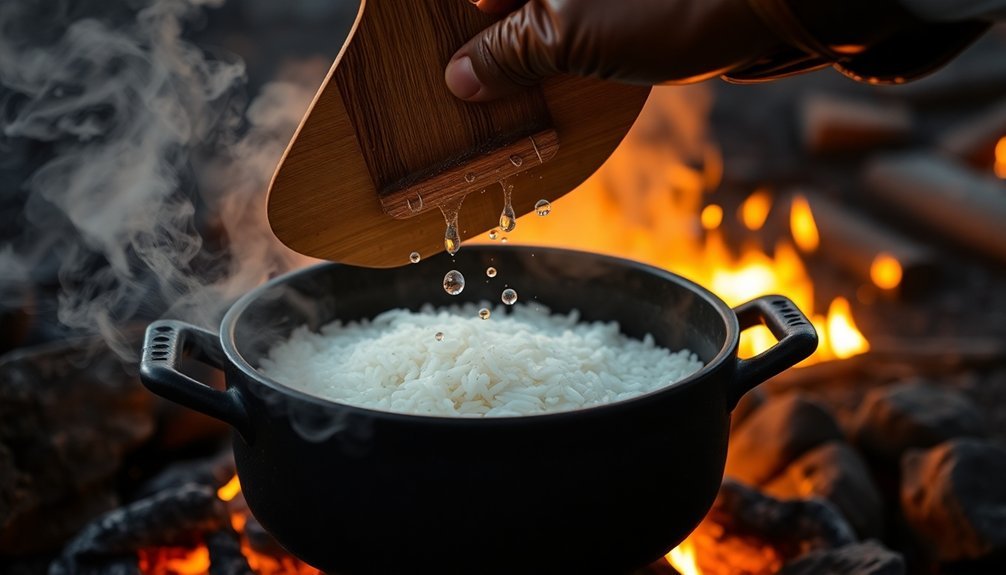
When cooking over a campfire, let the wood burn down to hot coals before starting. Position your pot above the coals rather than direct flames, using a cooking grate for stability. You'll need to monitor the heat output and adjust the pot's position as needed for even cooking.
- Picture your pot sitting centered on the burner or grate, with flames or coals evenly distributed beneath
- Visualize steam gently rising from under a tightly sealed lid, creating the perfect cooking environment
- Imagine the pot elevated just enough above the heat source to prevent scorching while maintaining steady temperature
Remember to use pot holders when handling the vessel, and don't lift the lid during cooking – the trapped steam is vital for tender rice.
A heavy-bottomed pot will help distribute heat evenly throughout the cooking process.
Steam Management Techniques
You'll need a tight-fitting lid to effectively trap steam during outdoor rice cooking, pressing down firmly to guarantee a proper seal.
Don't lift the lid while cooking, as this releases precious steam and disrupts the cooking process.
If you're concerned about steam retention in windy conditions, you can place a clean, heavy towel between the pot and lid to create an extra seal.
Tight Lid Best Practices
Throughout the outdoor cooking process, proper lid management stands as the cornerstone of achieving perfectly tender rice. You'll need a heavy-bottomed saucepan with a tight-fitting lid to trap essential steam and heat while cooking outdoors.
Don't lift the lid during the 20-minute cooking time, as this will release the precious steam needed for tender results. For ideal results, bring your water to a boil with the lid secured, then reduce the heat to low or turn it off completely.
If your lid doesn't have ventilation holes, position it slightly askew to allow controlled steam release. Keep your cooking area protected from drafts to maintain consistent temperature throughout the process.
- Picture steam rising and swirling beneath a sturdy lid, gently cooking each grain to perfection
- Envision moisture droplets condensing on the lid's interior, creating a natural basting effect
- Visualize the transformation as individual grains absorb the heated moisture, becoming plump and tender
After cooking, let your rice stand undisturbed for 5-10 minutes. This final rest allows any remaining moisture to distribute evenly throughout the pot.
Once rested, fluff the rice with a fork to separate the grains and release any trapped steam.
Moisture Escape Prevention
Building on proper lid management, successful steam retention hinges on multiple moisture control techniques when cooking rice outdoors.
You'll need to maintain precise water levels throughout the cooking process, using a 1:1 ratio of water to rice plus an additional quarter cup to account for evaporation. Keep a pot of simmering water nearby to replenish levels if needed.
Proper heat regulation is vital for maintaining consistent steam. You'll want to adjust your flame to generate adequate steam without causing excessive evaporation. For outdoor cooking, use high heat initially, then reduce to low once steaming begins. This helps prevent moisture loss while guaranteeing even cooking.
To maximize steam circulation, you'll need to create proper spacing within your cooking vessel. Don't overcrowd the pot, and consider using a steaming rack for larger portions.
If you're using a bamboo steamer, fill it halfway with water and monitor levels frequently. Wrapping your pot with a heavy cast iron lid helps trap moisture, while using perforated liners guarantees steam reaches every grain.
Remember to maintain sufficient clearance above the rice for ideal steam movement.
Steam Retention Techniques
After mastering moisture control, effective steam management becomes the cornerstone of ideal outdoor rice cooking. You'll need to harness steam's gentle cooking power by maintaining the right heat level and using proper equipment.
Trap steam effectively by using a heavy-bottomed pot with a tight-fitting lid, and consider wrapping the lid with a clean cloth to prevent steam from escaping through the edges.
To maximize steam retention during outdoor cooking, you'll want to create an ideal cooking environment. Position your cooking setup in a wind-protected area, and maintain a consistent, low heat source.
Once your rice reaches a boil, reduce the heat immediately to create gentle steam, and resist the urge to lift the lid or stir the rice.
- A Dutch oven nestled in glowing coals, steam wisping from beneath its heavy lid
- A cloth-wrapped pot lid collecting condensation droplets that fall back onto the rice
- A foil-packet of rice releasing a perfect spiral of steam when opened
Let the rice rest for 10-15 minutes after cooking, keeping the lid sealed. This resting period allows the steam to finish its work, ensuring each grain absorbs moisture evenly for the perfect tender texture.
Rice Texture Testing
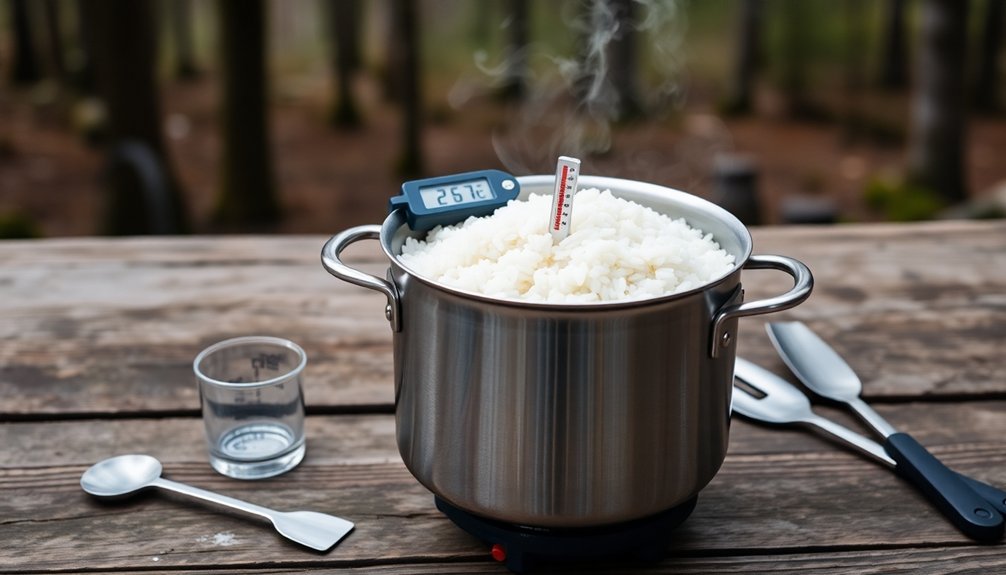
Professional texture testing of rice requires specialized equipment and precise methodology to guarantee accurate results. While you won't have access to laboratory equipment outdoors, you can apply similar principles to test your rice's texture during cooking.
Just as professional testers measure firmness and hardness, you'll want to check these attributes in your cooked rice. When you press a grain between your fingers, it should feel firm but not hard, similar to how texture analyzers measure peak compression force.
You can also test adhesiveness by observing how the grains stick together – they shouldn't be overly sticky unless you're specifically preparing sticky rice.
To evaluate your rice like the pros, take samples from different areas of your cooking vessel. Look for consistency in texture throughout, just as laboratory testing calculates mean values from multiple batches.
If you're cooking outdoors regularly, create your own grading system based on successful batches. Document your cooking times and methods when you achieve perfect texture, similar to how professionals use software to log their results. This systematic approach will help you maintain consistency in your outdoor cooking.
Seasoning During Solar Cooking
Once you've mastered testing your rice's texture, proper seasoning becomes your next focus when solar cooking outdoors.
You'll need to be more strategic with your seasonings compared to conventional cooking, as solar cookers concentrate flavors differently due to minimal evaporation.
Start by choosing spices and herbs that complement your rice without overpowering it. You'll want to add these seasonings early in the cooking process to allow flavors to develop fully.
When using broths or stocks instead of water, reduce the amount you'd typically use by about 20% to prevent oversaturation.
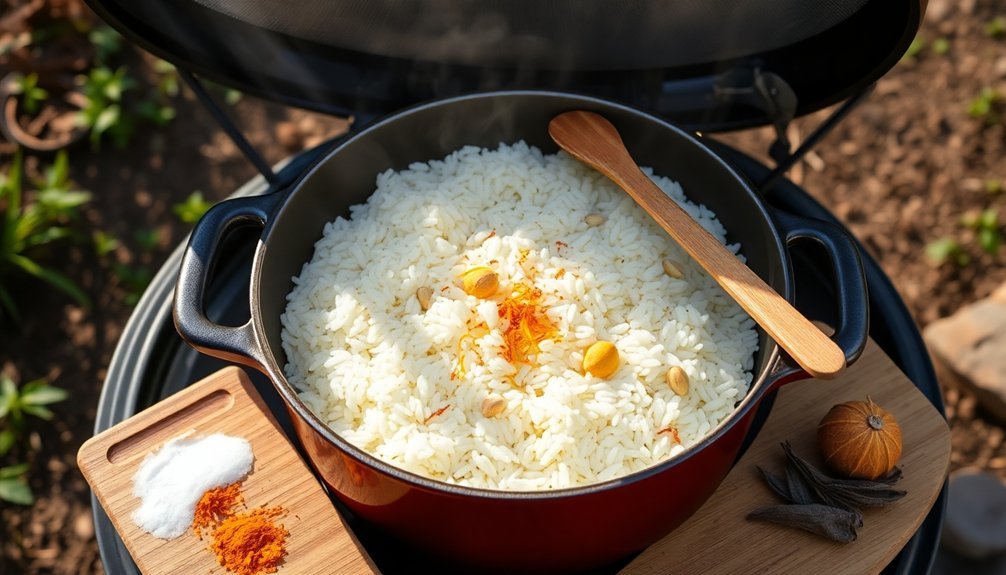
- Picture aromatic vegetables like finely diced onions, carrots, and celery releasing their flavors into the rice as it slowly cooks under the sun.
- Imagine the gentle steam carrying the scent of fresh herbs and carefully selected spices through your campsite.
- Envision perfectly seasoned rice grains, each one infused with the balanced flavors of your chosen aromatics and broth.
For the best results, combine aromatic vegetables with your rice from the start, and don't forget to adjust your salt levels downward since solar cooking concentrates seasonings.
If you're using store-bought broth, consider mixing it with water to prevent the final dish from becoming too intense.
Post-Cooking Rest Period
The rest period stands as the vital final step in achieving tender rice when cooking outdoors. After your rice finishes cooking, you'll need to let it rest for 10-15 minutes with the lid firmly in place. During this time, the residual water continues to be absorbed, ensuring even moisture distribution throughout the grains.
Don't skip this vital step, as it prevents your rice from becoming hard and dry. If you uncover the pot too early, you'll lose valuable steam that's needed for complete cooking.
To maximize the benefits of the rest period, keep the lid tightly sealed and resist the urge to peek or stir the rice. You can place a clean kitchen towel between the pot and lid to catch any excess moisture that might make your rice soggy.
Once the rest period is complete, you'll find your rice perfectly tender and fluffy. Gently fluff the rice with a fork, and if you're not serving it immediately, transfer it to an airtight container to maintain its ideal texture.
This resting technique works effectively for all rice varieties, whether you're cooking white, brown, or specialty rice outdoors.
Frequently Asked Questions
Can You Cook Rice Directly in Aluminum Foil Over a Campfire?
Yes, you can cook rice in foil packets over a campfire, but you'll need to use instant rice or parboiled rice, add enough liquid, and seal the packets tightly to retain moisture while cooking.
How Do You Prevent Animals From Being Attracted to Cooking Rice Outdoors?
Store your rice and cooking utensils in airtight containers, clean up spills immediately, and dispose of any leftover rice far from your campsite. Don't leave cooking items out overnight to avoid attracting wildlife.
What's the Best Way to Store Leftover Rice While Camping?
Store your cooked rice in airtight containers or zip-top freezer bags, and keep them in a sealed cooler. Don't store food in your tent – use designated food storage areas or bear-proof containers instead.
Can Morning Dew Affect Solar Rice Cooking Times Significantly?
Yes, morning dew can extend your solar cooking time by 1-2 hours since it cools the cooker and reduces initial efficiency. You'll get better results if you wait until the dew evaporates before starting.
Does Altitude Affect Cooking Time When Preparing Rice in the Wilderness?
Yes, you'll need to cook rice longer at higher altitudes since water boils at lower temperatures. For every 1,000 feet up, add about 1-2 minutes to your cooking time and use more water.
In Summary
You'll find these outdoor rice cooking tips invaluable for your next adventure. By following proper ratios, choosing the right rice, and mastering solar cooker techniques, you're well-equipped to make tender, fluffy rice anywhere. Remember to rinse thoroughly, manage steam effectively, and never skip the essential rest period. With practice, you'll soon be cooking restaurant-quality rice under the open sky.


Leave a Reply