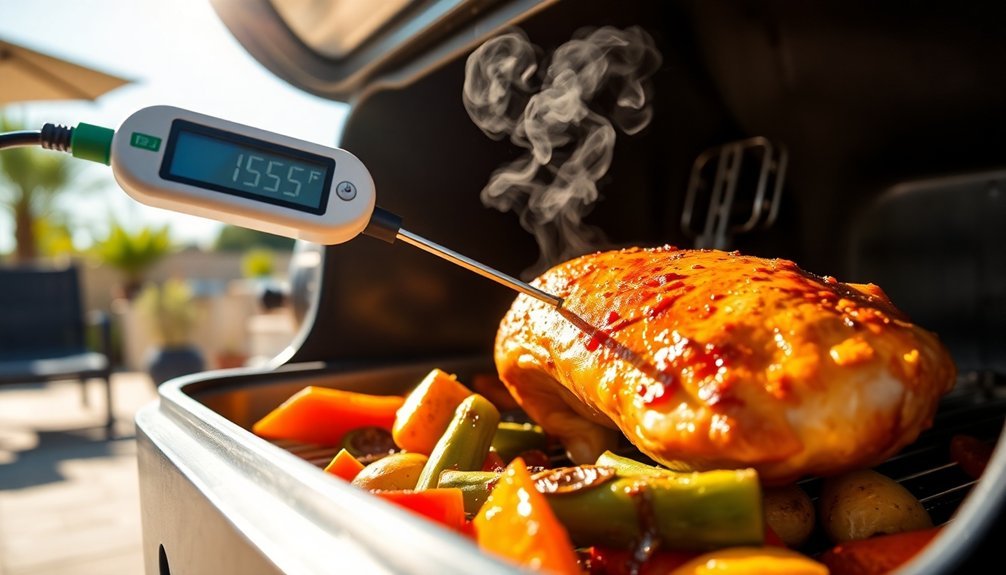
You'll need to monitor temperature closely when cooking solar chicken to guarantee both safety and ideal results. Your chicken must reach an internal temperature of 165°F to eliminate harmful bacteria like Salmonella, particularly in the thickest parts of meat. Using a reliable thermometer during peak solar hours (11 am to 3 pm) helps you track progress in your solar cooker, which can range from 160°F to 800°F depending on the type. Proper temperature monitoring also prevents undercooking, which can lead to severe food-borne illnesses. Understanding the relationship between time, temperature, and cooking methods will transform your solar chicken experience.
Temperature Zones for Solar Cooking
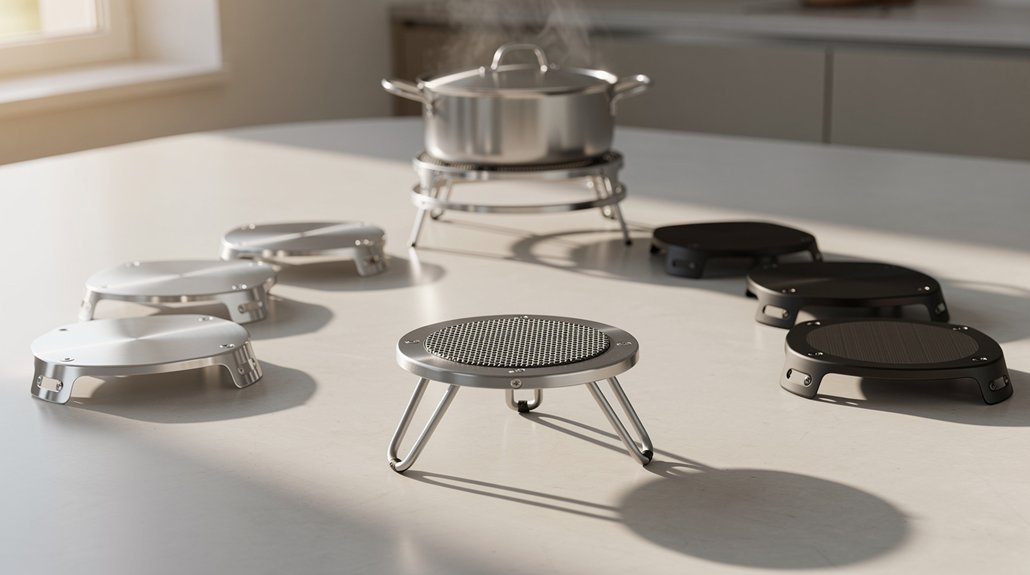
Understanding temperature zones is essential for successful solar cooking, as different types of solar ovens operate within distinct heat ranges.
You'll find that box-type ovens typically reach 160°F to 400°F, making them versatile for most cooking needs. If you're using a parabolic cooker, you can achieve much higher temperatures between 300°F and 800°F, perfect for grilling and quick-cooking methods.
For slower cooking, panel cookers maintain temperatures between 200°F and 300°F, while simple solar cookers operate in the 180-250°F range. Using tight-fitting lids will help maintain consistent cooking temperatures and trap moisture effectively.
You'll need to take into account your location's peak cooking hours, typically from 11:00 am to 3:00 pm, when the sun's UV rays are strongest. During winter months, you'll have shorter peak hours and need to adjust your cooker's angle more frequently to maintain ideal temperatures.
Safe Internal Cooking Points
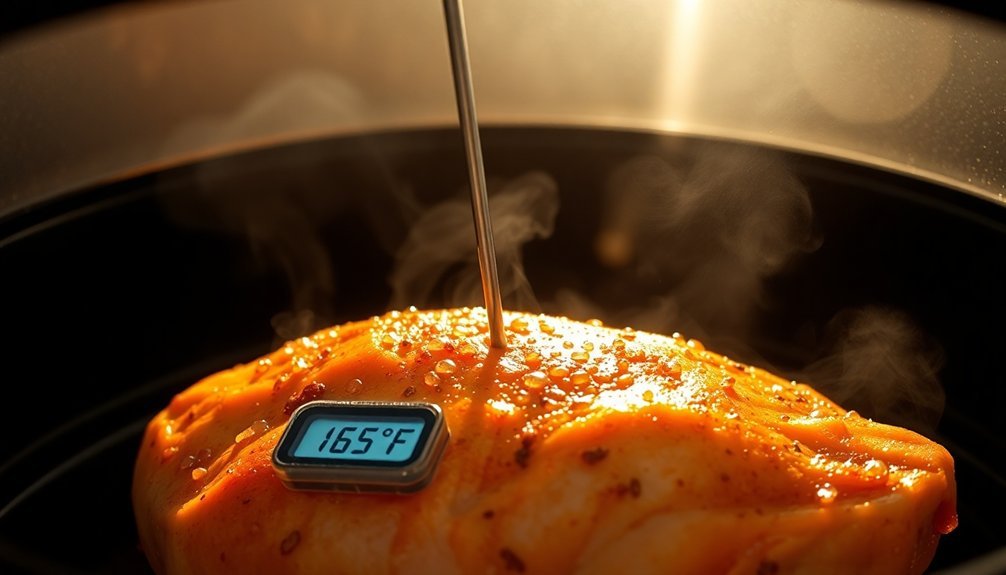
When cooking chicken in your solar oven, maintaining proper internal temperatures stands as your primary food safety checkpoint.
You'll need to guarantee your chicken reaches 165°F (74°C) to kill harmful bacteria like Salmonella. Don't rely on visual cues alone – always use a meat thermometer to check the thickest parts of the meat.
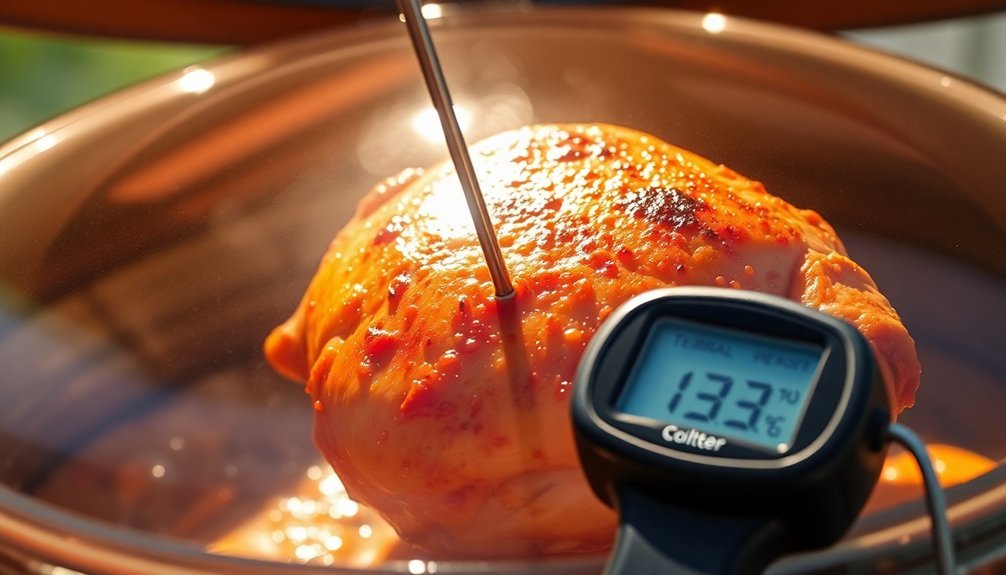
While 165°F is your minimum safe temperature for all chicken parts, you might want to cook thighs to 170-175°F for better texture. Insert the thermometer and wait 30 seconds for accuracy when taking temperature readings.
Remember that different parts require specific attention: check the breast's thickest portion in whole chickens and verify that thighs have also reached safe temperatures. If you're cooking multiple pieces, test each one individually.
Undercooking can lead to severe food-borne illnesses, so you can't afford to skip this vital step.
Monitoring Methods While Cooking
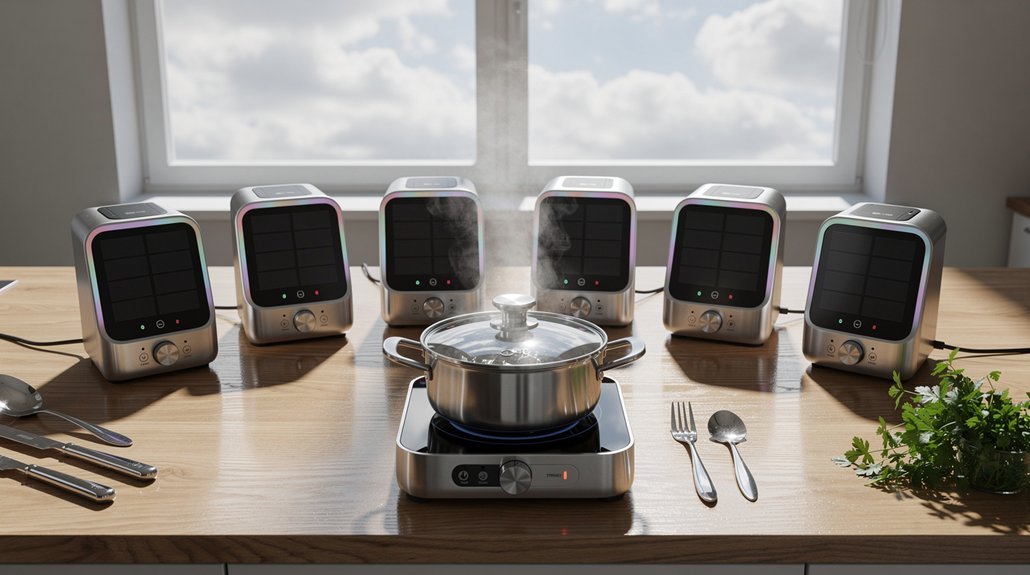
To effectively monitor your solar-cooked chicken, you'll need a combination of tools and techniques that work together.
You can use RTD sensors for precise temperature readings and thermocouples when you need to track rapid temperature changes. For surface temperature monitoring, infrared sensors work best.
Don't rely on just one measurement method. You'll want to track humidity levels alongside temperature to guarantee proper cooking conditions.
Modern digital logging systems can help you record temperature data hourly and create trend graphs for analysis. Set up customizable alerts on your phone for when temperatures exceed safe limits.
Make certain your monitoring system has backup power, either through solar panels or batteries, so you won't lose tracking during power outages. Access your data anytime through the Crodeon Dashboard for real-time monitoring.
For outdoor cooking, choose sensors with IP67 ratings to protect against weather elements.
Heat Distribution Safety Measures
Beyond monitoring temperatures, proper heat distribution safety measures form the backbone of successful solar chicken cooking.
You'll need to guarantee your heat sources are secure and positioned correctly, maintaining at least 6 inches of clearance from any combustible materials. Install thermostatically controlled devices to regulate heat distribution effectively, and mount your radiant heaters with proper wall or ceiling attachments.
Don't forget to inspect your heating equipment regularly for signs of wear or damage. Keep all electrical components away from moisture and flammable materials, and avoid using extension cords whenever possible.
If you're using heat lamps, they must have protective cages and maintain a minimum 12-inch distance from bedding.
Remember to partition your cooking space strategically to create zones that allow for ideal heat retention and distribution.
Time and Temperature Relationships
Understanding the relationship between time and temperature in solar chicken coops requires careful attention to multiple heat sources throughout the day-night cycle.
You'll notice that daytime temperatures considerably affect nighttime warmth, as your coop's walls and roof absorb and radiate heat.
During the day, you'll want to monitor how your solar heating system performs, ensuring water temperatures reach about 120 degrees on sunny winter days.
Keep track of temperature patterns using max-min thermometers, particularly at roost level where your chickens spend their nights.
Remember that each group of 10 chickens adds about 100 watts of heat, similar to a light bulb.
When temperatures drop below 35°F, you'll need to supplement the heat, even with solar heating in place.
Adjust ventilation based on your daily temperature readings to maintain ideal conditions.
Frequently Asked Questions
How Does Seasonal Temperature Variation Affect Solar-Powered Coop Monitoring Systems?
You'll notice your solar-powered monitoring systems work differently across seasons. They'll generate less power during winter's shorter days, while summer's intense sunlight provides abundant energy for temperature tracking and control.
Can Temperature Monitoring Devices Interfere With Chicken Behavior or Cause Stress?
You'll find that properly installed monitoring devices won't disturb your chickens if you place them away from roosting areas, use silent sensors, and avoid bright lights or vibrations that could cause stress.
What Backup Systems Are Recommended When Solar Power Fails?
You'll need two main backup systems: battery storage to maintain power during short outages, and traditional heating methods like electric heaters for extended failures. These guarantee your chickens stay warm when solar power isn't available.
How Often Should Temperature Sensors Be Calibrated for Accurate Readings?
You'll need to calibrate your temperature sensors every 3-6 months for frequent use, or annually for less critical applications. Consider more frequent calibrations if your sensors operate in harsh environments or show inconsistent readings.
Do Different Chicken Breeds Require Different Temperature Monitoring Settings?
Yes, you'll need different temperature settings based on your breeds. Cold-hardy breeds can handle lower temps around 0°F, while heat-tolerant breeds need monitoring above 90°F. All-climate breeds are more adaptable to temperature variations.
In Summary
You'll need to monitor temperature in your solar chicken to prevent foodborne illness and confirm proper cooking. Keep your chicken in the safe zone between 165°F and 185°F, and don't let it stay in the danger zone (40°F-140°F) for more than two hours. Using a reliable meat thermometer helps you track progress and guarantees your chicken is both safe and delicious.
Leave a Reply