
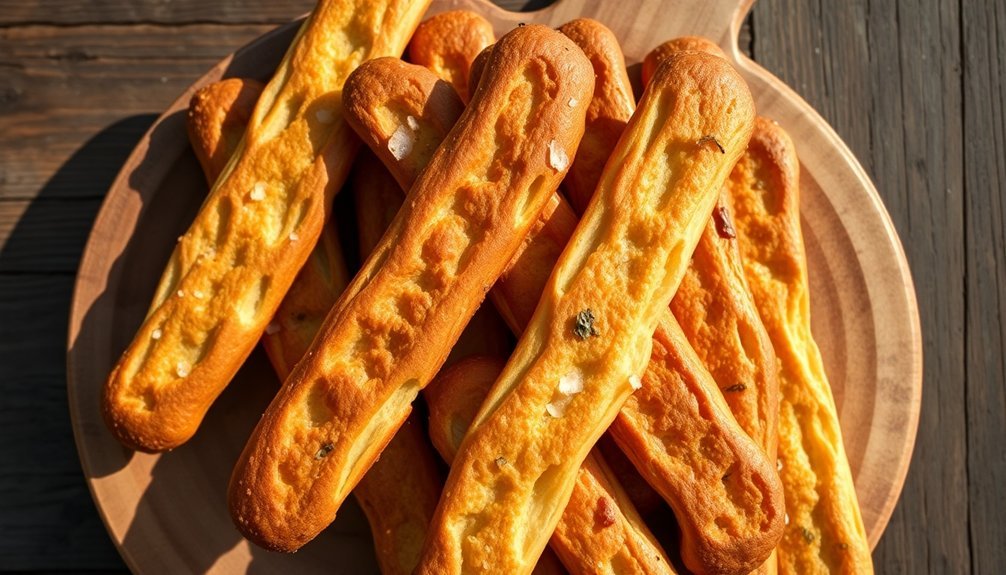
Solar-baked breadsticks offer a unique way to create golden, crusty treats while preserving nutrients and enhancing natural sweetness. You'll need basic baking tools, quality ingredients, and a sun oven preheated to 300-350°F. Start by combining unbleached white bread flour, rapid-rise yeast, salt, water, and olive oil in your bread machine's dough cycle. Once complete, shape your dough into strips and let them rise for 30 minutes. Place them in your preheated sun oven for 1-2 hours until golden brown. For perfect results, position your oven in full sun and keep surfaces clean. Discover how these simple steps lead to artisanal-quality breadsticks you'll want to make again and again.
Why Solar Baked Breadsticks
Four compelling reasons make solar-baked breadsticks a smart choice for your kitchen.
You'll preserve more nutrients since solar ovens use lower temperatures and slower cooking methods, resulting in breadsticks that maintain their natural flavors and nutritional value. The sun's gentle heat breaks down complex carbohydrates into simple sugars, creating naturally sweet and flavorful results that you can't achieve with conventional baking. The consistent heat distribution ensures your breadsticks cook evenly from end to end.
Your breadsticks won't dry out or burn because solar ovens excel at maintaining moisture, producing tender treats with perfectly crusty exteriors. You'll notice the difference in texture and taste compared to traditional oven-baked versions.
Plus, you're making an environmentally conscious choice by using free solar energy instead of fossil fuels.
You can easily achieve temperatures up to 300°C with advanced solar ovens, ideal for creating that golden-brown crust on your breadsticks. The aluminum foil reflectors increase heat absorption, ensuring efficient baking even on partly cloudy days.
Essential Ingredients and Equipment
Your kitchen likely has most of the basic tools you'll need for making solar-baked breadsticks, including mixing bowls, measuring cups, and a sharp knife for sectioning dough.
While specialized equipment like a sun oven and thermometer are essential for solar baking, it's the quality of your core ingredients – particularly the flour, yeast, and salt – that will make the biggest difference in your results.
Fresh, high-quality ingredients combined with proper measuring techniques will set you up for consistent success with your breadsticks. Solar baking generally requires 1-2 hours baking time as demonstrated by recipes like cornbread and scones.
Basic Kitchen Tools Needed
Before starting your crusty golden breadsticks adventure, gathering the essential kitchen tools and ingredients guarantees a smooth baking process. You'll need precise measuring tools and mixing equipment to achieve the perfect dough consistency.
| Essential Tools | Mixing Equipment | Temperature Control |
|---|---|---|
| Measuring cups | Stand mixer/bread machine | Oven thermometer |
| Measuring spoons | Wooden spoon | Sun Oven® |
| Spray bottle | Dough whisk | Preheating rack |
| Loaf pans | Mixing bowls | Temperature gauge |
| Clean workspace | Dish towel | Water temp thermometer |
Your Sun Oven® should be preheated to 300-350°F for ideal results. You'll use measuring cups and spoons for precise ingredient portions, especially for the yeast (2-3 teaspoons) and flour (3-6 cups). A stand mixer or bread machine makes kneading easier, but you can use a wooden spoon or dough whisk for manual mixing. Don't forget the spray bottle – it's vital for achieving that golden-brown crust. Keep your workspace clean and organized with all tools within reach. The dish towel helps maintain proper temperature during rising, while the oven thermometer guarantees consistent baking temperature throughout the process. Adding vital wheat gluten to your recipe ensures proper texture and structure in whole wheat breads.
Quality Ingredients Matter Most
Superior ingredients are the foundation of perfectly crusty golden breadsticks. You'll need unbleached white bread flour as your primary ingredient, which provides the ideal protein content for a crispy exterior and chewy interior. The combination of rapid-rise yeast, salt, water, and olive oil creates the perfect dough structure and flavor profile.
When selecting your ingredients, opt for high-quality olive oil since it's essential for achieving that golden-brown crust and rich taste. You can enhance your breadsticks by adding optional toppings like poppy seeds, sesame seeds, or coarse sea salt.
If you're considering variations, whole wheat flour paired with critical wheat gluten will give you heartier, whole-grain breadsticks. For specialized versions, you might want to incorporate dry milk for added nutrition or natural sweeteners like honey or organic sugar to balance flavors.
The type of yeast matters too – while rapid-rise works best for white flour recipes, you'll need specific active dry yeast for whole grain variations. Always verify your water is at the correct temperature to activate the yeast properly, as this affects your final results considerably.
Preparing Your Solar Oven
Building a solar oven kicks off with proper preparation of your box and its essential components. You'll need to start with a sturdy box, preferably a cardboard or pizza box with a secure lid. Cut a three-sided flap in the lid, leaving a 1-inch border, then cover both the flap and box interior with aluminum foil for maximum heat reflection.
Create your oven's window by applying two layers of plastic wrap across the flap opening. Seal them tightly with tape to guarantee heat stays trapped inside. For ideal heat absorption, line the bottom with black construction paper or paint, and add newspaper insulation around the sides.
| Component | Purpose | Installation |
|---|---|---|
| Aluminum Foil | Reflects Heat | Cover flap and interior |
| Plastic Wrap | Traps Heat | Double layer on opening |
| Black Paper | Absorbs Heat | Place on bottom |
| Newspaper | Insulates | Line box sides |
| Support Stick | Props Flap | Angle toward sun |
Position your completed oven in direct sunlight when temperatures exceed 75°F. Before cooking your breadsticks, test the oven's effectiveness by melting butter or chocolate. Remember to reposition the oven periodically to maintain ideal sun exposure.
Mixing The Perfect Dough
Creating perfect breadstick dough starts with precise measurements and your bread machine's dough cycle.
Begin by adding 7/8 cup of water and 3 tablespoons of olive oil to your bread machine pan. You'll then need to carefully sprinkle 3 cups of unbleached white bread flour over the liquid ingredients, making sure you've covered them completely.
Add 1 1/2 teaspoons of salt to one corner of the pan, and create a small well in the center of your flour. Into this well, you'll place 1 1/2 teaspoons of rapid-rise yeast.
Select your machine's dough setting and let it complete its cycle.
Once the cycle's finished, you'll transfer your dough to a lightly floured surface and punch it down. Roll the dough into a 9 x 8-inch rectangle, then cut it into strips.
You'll need to roll and stretch these strips into your desired breadstick shape. Place them on your prepared racks and brush with olive oil.
Let them rest for 10 to 15 minutes, covered with plastic wrap. If you're using seeds or coarse salt for coating, now's the time to add them.
Shaping Your Solar Breadsticks
Now that your dough is ready, proper shaping will set you up for beautiful solar breadsticks. Begin by dividing your dough into equal portions of 55-80g each, working with one half at a time to maintain control.
After the initial rise of 50-75%, punch down the dough to release trapped air before proceeding with shaping. Cut your dough into 7-12 equal pieces, depending on your recipe's specifications.
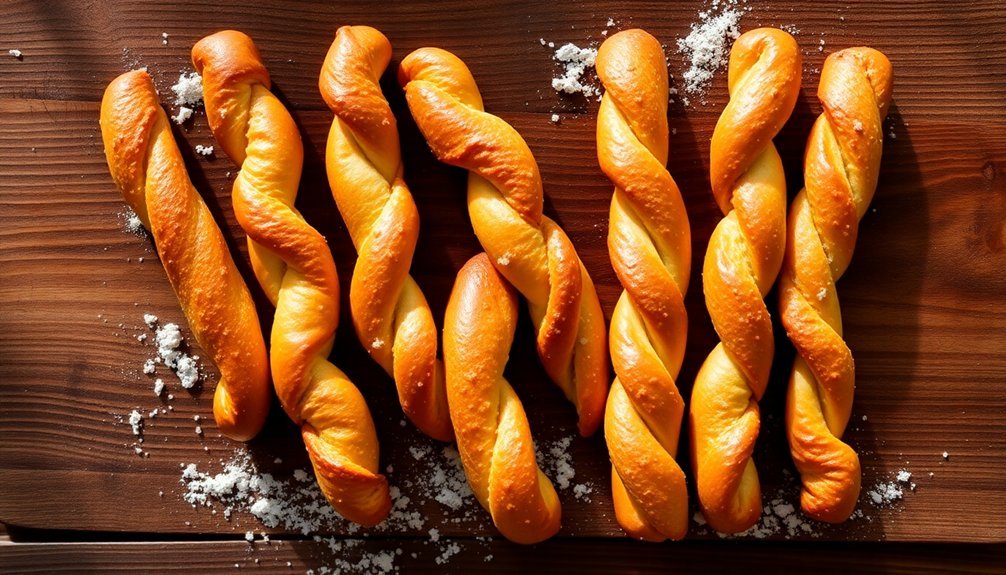
Roll each piece into a log shape between 8-15 inches long. If you're making twisted breadsticks, fold the dough in half, hold it at the center, and twist the ends together, making sure to pinch the ends to seal them properly.
You'll want to line your baking sheets with parchment paper, arranging 6-7 breadsticks per sheet with adequate spacing between them.
Cover your shaped breadsticks with clean tea towels, aluminum foil, or plastic wrap, ensuring you've lightly floured the surface to prevent sticking. Let them complete their final rise until they're slightly puffy, about 30% increased in size.
Keep them covered during this process to maintain warmth and prevent the surface from drying out.
Solar Baking Tips
Successfully baking breadsticks in a solar oven requires careful attention to four key elements: positioning, temperature control, equipment selection, and timing. For best results, you'll need to track the sun's movement and adjust your oven's position frequently to maintain direct sunlight exposure.
Choose the flattest, sunniest spot available and avoid any potential shadows that might interfere with heating.
Your choice of baking equipment greatly impacts success. Use dark-colored, thin metal baking sheets that absorb heat efficiently. If you're working with lighter-colored pans, cover them with a dark cloth to enhance heat absorption.
Remember to preheat your solar oven for 15-20 minutes before placing your breadsticks inside.
For consistently golden breadsticks, follow these essential steps:
- Keep your oven's glass and reflective surfaces spotlessly clean to maximize sun reflection.
- Monitor internal temperature with a thermometer, adjusting the oven's position as needed.
- Resist the urge to open the oven frequently, as this releases valuable heat and extends baking time.
Since solar conditions vary throughout the day, use your senses as a guide. The aroma of baking bread often signals when your breadsticks are done.
Serving and Storage
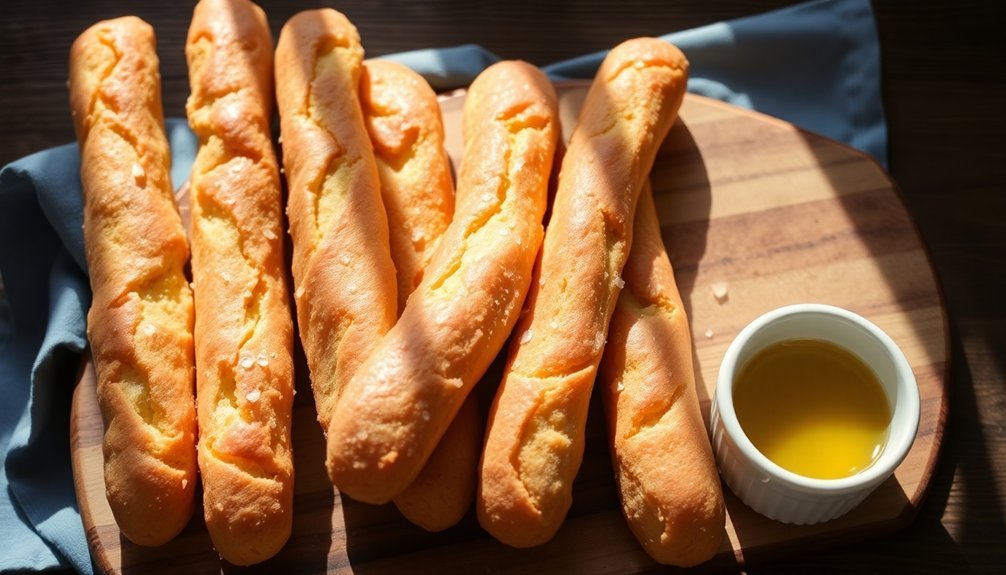
You'll get the most enjoyment from your crusty golden breadsticks by serving them warm with marinara sauce or your favorite dips.
You can easily enhance them with grated cheese or fresh herbs.
To keep your breadsticks fresh, store them in an airtight container for up to two days, or freeze them for longer storage in well-sealed freezer bags.
When you're ready to serve, refresh them in a 350°F oven for a few minutes to restore their original crispiness and warmth.
Fresh Serving Tips
These crusty golden breadsticks shine brightest when served immediately after baking, while they're still warm and at peak crispiness.
Before serving, brush them lightly with olive oil to enhance their moisture and flavor, then add a finishing touch with a sprinkle of salt, poppy seeds, or sesame seeds.
If your breadsticks have lost their crunch, you can quickly refresh them in your sun oven or conventional oven at 350°F for 2-3 minutes.
Keep a close eye on them to prevent burning while they regain their crispy texture.
To elevate your breadsticks from simple to spectacular, try these sophisticated finishing touches:
- Brush with garlic-infused olive oil and top with freshly grated parmesan cheese and chopped parsley
- Add a Mediterranean twist with a drizzle of herb-infused oil and a sprinkle of fresh rosemary
- Create a citrus-herb variation using lemon zest and thyme
Serve your breadsticks alongside marinara sauce or hummus for dipping, or incorporate them into a charcuterie board.
They'll make an excellent accompaniment to soups and salads, or stand alone as an appetizing snack at your next gathering.
Storage Duration Guidelines
Proper storage makes all the difference in maintaining your breadsticks' golden crunch and fresh-baked flavor. You'll want to cool them completely before storing to prevent unwanted moisture buildup that can make them soggy. Store your breadsticks in an airtight container lined with parchment paper, keeping them away from direct sunlight and strong-smelling foods.
| Storage Method | Duration | Quality Impact |
|---|---|---|
| Room Temperature | 2-3 days | Best flavor and texture |
| Airtight Container | 1-2 weeks | Slight texture change |
| Vacuum Sealed | 2-3 weeks | Good texture retention |
| Refrigerated | 3-4 weeks | May become chewy |
| Frozen | 4-6 months | Texture changes after thawing |
For the longest shelf life, consider vacuum sealing or freezing your breadsticks. If you choose to freeze them, wrap them well in freezer-safe bags after they've cooled completely. When you're ready to enjoy them, let them thaw at room temperature and reheat in the oven to restore their crispiness. Remember that flavored breadsticks may start losing their taste complexity after 4-6 months, even with proper storage.
Reheating For Best Results
Bringing back the ideal crunch and warmth of freshly baked breadsticks requires careful reheating techniques. You'll find several effective methods to restore their original texture, with the oven providing the most consistent results.
For best outcomes, let your breadsticks reach room temperature before reheating and consider brushing them with olive oil to restore moisture.
Choose from these proven reheating methods:
- Oven Method (Best Overall): Preheat to 350°F, wrap breadsticks loosely in foil, and heat for 5-10 minutes. For extra crispiness, unwrap and bake 2-3 minutes more.
- Microwave Method (Quickest): Cover with a paper towel and heat in 30-second intervals, flipping occasionally. Don't exceed 1 minute total to prevent toughness.
- Skillet Method (Most Control): Heat on medium-low for 1-2 minutes per side using a lid to trap moisture. For gas stoves, wrap in foil and place directly over low heat.
You can enhance moisture retention by placing a small cup of water in the oven or microwave during reheating.
Once heated through, serve immediately with warm marinara sauce for the best dining experience.
Frequently Asked Questions
Can I Substitute Whole Wheat Flour for Regular Flour in Solar Baking?
You can substitute whole wheat flour for regular flour in solar baking, but you'll need to add more liquid and adjust baking time. Watch closely since whole wheat flour creates denser dough that bakes differently.
How Do Weather Changes Affect the Texture of Solar-Baked Breadsticks?
Weather greatly impacts your solar-baked results. You'll notice stickier dough on humid days, while dry conditions need extra water. High temps speed up rising, and cloud cover can make your breadsticks less crusty.
What's the Best Container Material for Baking Breadsticks in Solar Ovens?
You'll get the best results using nested cardboard boxes lined with aluminum foil. The cardboard provides insulation while the foil reflects heat effectively, helping your breadsticks bake evenly at temperatures around 200°F.
Can I Double the Recipe for Larger Gatherings?
Yes, you can easily double the recipe! You'll need to adjust all ingredient quantities and use larger mixing bowls. Just make sure you've got enough baking space in your solar oven to fit more breadsticks.
How Long Do Solar-Baked Breadsticks Stay Fresh Compared to Conventional Ones?
You'll find solar-baked breadsticks stay fresh for 3-4 days, while conventional ones typically last 1-2 days. They'll retain moisture better thanks to the solar oven's gentle cooking and superior insulation.
In Summary
You'll love serving these golden solar-baked breadsticks at your next gathering. They're not just eco-friendly – they're a conversation starter that proves sustainable cooking can be delicious. Store your leftover breadsticks in an airtight container for up to three days, though they're best enjoyed fresh and warm. Once you've mastered these, you'll be ready to explore more solar baking adventures.


Leave a Reply