To get maximum heat from your parabolic solar cooker, you'll need precise sun alignment and regular adjustments. Position your cooker on level ground away from shade, and use the shadow test method: mount a pencil perpendicular to the surface and align the shadow with your markings. Adjust the cooker's angle based on your latitude and season, with steeper angles needed in winter and more vertical positioning in summer. Clean your reflective surfaces thoroughly and place your cooking pot at exactly one-fourth of the aperture length for ideal focus. Follow these fundamentals, and you'll access temperatures up to 500°F for efficient solar cooking.
Finding the Perfect Cooking Spot
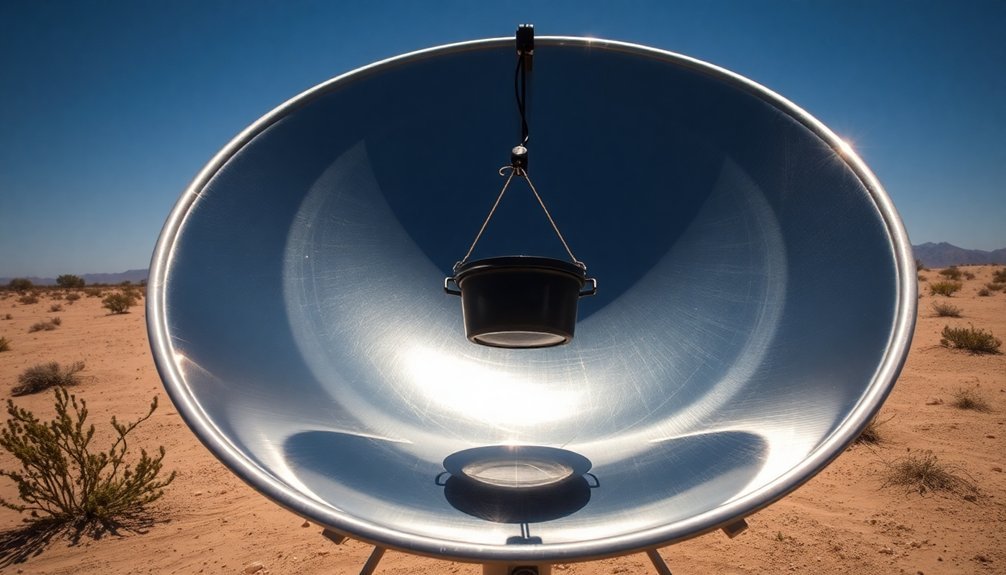
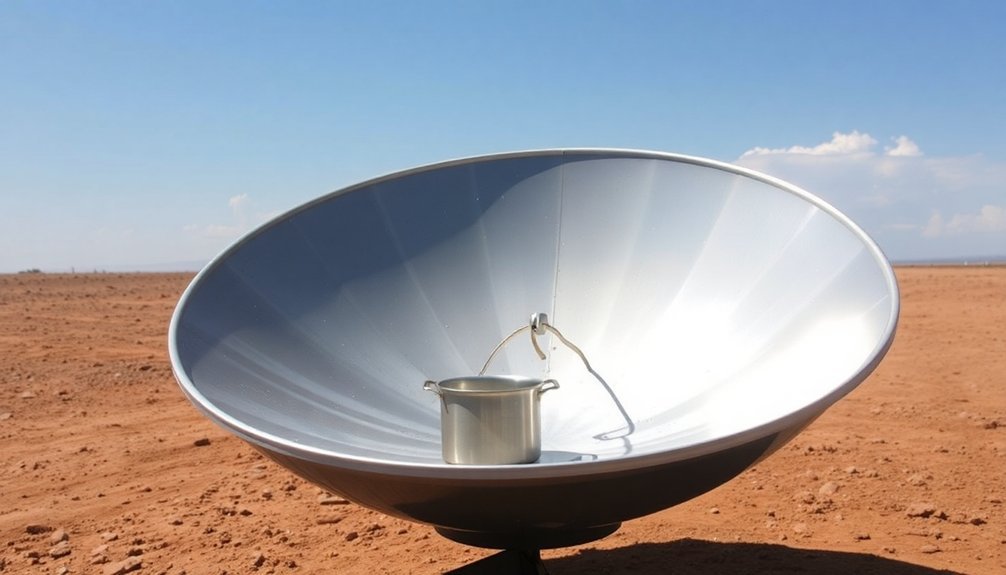
Where you position your parabolic cooker can make or break your solar cooking success. Look for a spot that's completely free from any shade cast by trees, buildings, or other obstacles. You'll want an unobstructed view of the sun throughout your cooking time.
Place your cooker on stable, level ground to prevent any wobbling that could disrupt the focal point alignment.
If you're in the Northern or Southern hemisphere, you'll need to adjust your position more frequently than if you're near the equator. Consider your elevation too – higher locations often provide more intense sunlight due to less atmospheric interference.
Once you've found your spot, verify your reflective surface is clean and properly aligned to concentrate sunlight onto your cooking pot at the precise focal point. Using a parabolic design allows you to achieve temperatures up to 500°F for effective frying and grilling.
Basic Shadow Alignment Method
You'll find the shadow test method to be one of the simplest ways to aim your parabolic cooker at the sun.
By mounting a pencil or bolt perpendicular to your cooker's surface, you can track its shadow on a marked surface below to determine proper alignment.
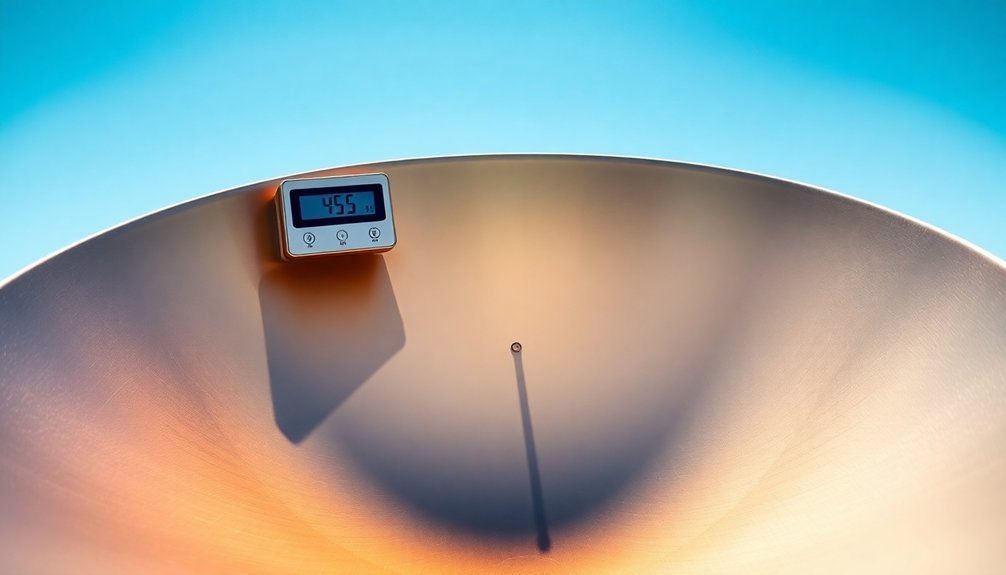
When the shadow aligns perfectly with your marking, you've successfully positioned your cooker for ideal sun exposure. This alignment technique helps achieve the ideal cooking temperature of 451°F at the focal point.
Shadow Testing Basics
How can you tell if your parabolic cooker is perfectly aligned with the sun? The simplest way is through shadow testing.
You'll need basic materials like a pencil, paper clip, or hollow tube to create your alignment tool.
Insert a pencil into the center nut of your cooker, or set up a paper clip on cardboard with a cross drawn beneath it. When the shadow disappears or falls perfectly centered on your marker, you've achieved proper alignment.
For the hollow tube method, you'll see a bright circle inside the shadow when aligned correctly.
Remember to check both vertical and horizontal alignment regularly as the sun moves. Keep adjusting your cooker's position until there's no shadow from your alignment tool, ensuring the sun's rays hit your black cooking pot directly. Traditional parabolic dishes require adjustments every 30 minutes to maintain optimal heat concentration.
Quick Shadow Tracking Steps
Now that you understand the basics of shadow testing, let's walk through the simple steps to create and use a shadow tracker.
Cut a small piece of cardboard and draw a cross on it. Place a paper clip at the center to serve as your needle, then glue a smaller cardboard piece underneath to secure it. Add a bottle ring around the tracker area and fold it in half at a right angle.
To use the tracker, mount a pencil perpendicular to your cooker's dish and place a paper with a center hole around the securing nut.
Adjust your cooker until the pencil's shadow disappears. For continued efficiency, check and realign your cooker hourly as the sun moves across the sky. This method helps you maintain ideal sun alignment for maximum heating power.
Tracking Sun Movement
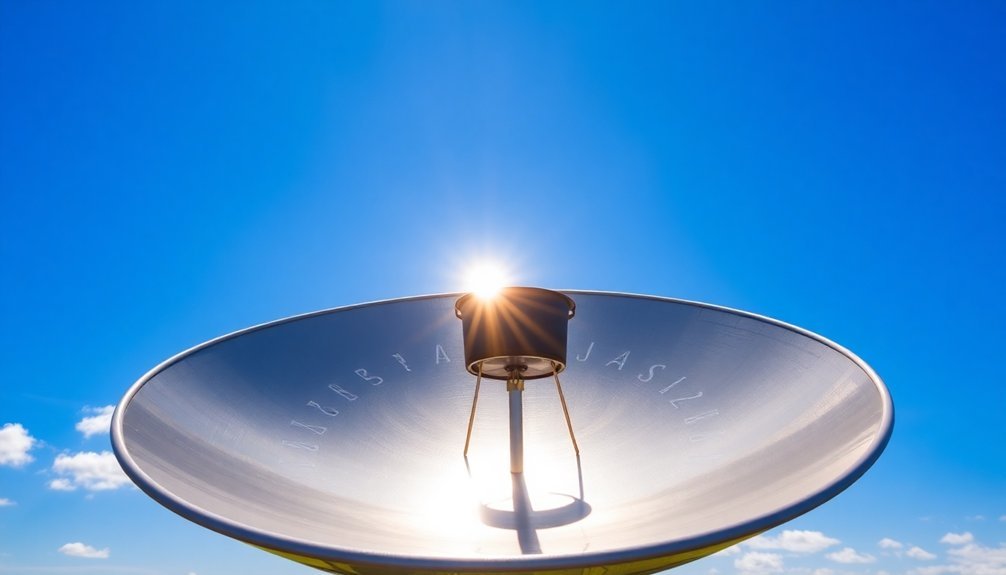
Maintaining ideal performance with a parabolic solar cooker requires consistent attention to the sun's movement across the sky.
You'll need to realign your cooker regularly since even small deviations from the best angle can dramatically reduce its efficiency. While this might seem challenging, you've got several tracking options to make the process easier.
- Picture a sunflower following the sun's path, just as your cooker needs to pivot throughout the day.
- Think of a clock face, with your cooker's adjustments marking each hour's position.
- Imagine a dance between light and shadow as you fine-tune your cooker's alignment.
Consider using a compound parabolic shape that'll give you up to three hours of cooking time without adjustments.
For seasonal changes, you can opt for a single-axis tracking system that'll cover most of the year with minimal tweaking.
Achieving Optimal Focus Point
With your solar cooker properly aligned to track the sun, finding the ideal focus point becomes your next key challenge.
You'll want to position your cooking pot at a height that's one-fourth of your aperture length for maximum efficiency. This focal point is where all reflected sunlight converges.
The size of your pot matters greatly. While a larger pot makes it easier to capture reflected rays and reduces the need for precise alignment, it'll decrease your concentration ratio and overall cooking efficiency.
You'll need to balance these factors carefully. If you're using a compound parabolic design, you'll have more flexibility with positioning, as it spreads the focused light over a larger area.
This design can give you up to three hours of cooking time without needing to readjust your cooker.
Temperature Control Through Positioning
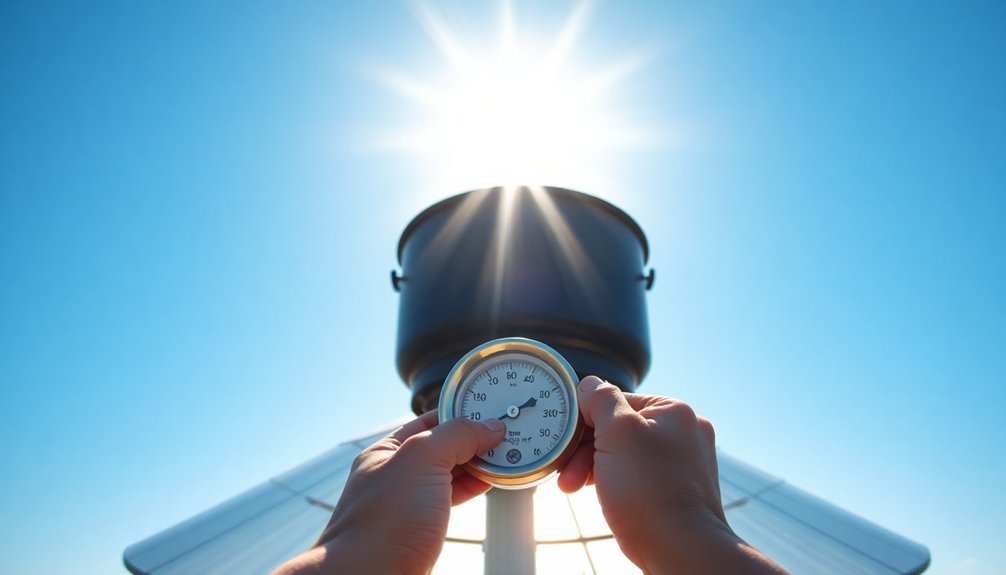
Precise temperature control in your parabolic cooker depends largely on proper positioning and continuous adjustments.
You'll need to rotate your cooker every 10 minutes to maintain ideal sun alignment and heat concentration. By keeping the reflective panels clean and properly aligned, you can achieve temperatures up to 500°C at the focal point.
- Picture yourself smoothly turning the cooker's axis like the hand of a clock, following the sun's path across the sky.
- Imagine a laser-like concentration of sunlight hitting your cooking pot as you make micro-adjustments.
- Visualize the steam rising from your pot as you maintain perfect alignment throughout cooking.
For the best results, position your pot on a stable stand at the exact focal point and use deep pots with lids.
Remember to wear protective eyewear while operating your cooker, as the reflected sunlight can be intense.
Seasonal Angle Adjustments
Your parabolic cooker's angle needs to shift considerably between summer and winter to capture the sun's seasonal path effectively.
You'll find that summer setups require a more vertical position to catch the higher sun angle, while winter demands a steeper tilt to compensate for the sun's lower position in the sky.
If you're cooking at higher latitudes, you'll need to make more dramatic angle adjustments throughout the year to maintain ideal solar focus.
Tracking Sun's Seasonal Path
Successfully tracking the sun's seasonal path requires understanding how your latitude affects solar cooking performance. If you're near the 30th parallel or lower, you'll enjoy more direct sunlight year-round. Higher elevations boost UV intensity due to thinner atmosphere, making your cooker more efficient.
To enhance your cooker's performance throughout the seasons:
- Position your cooker to face the equinox sun at its highest point
- Adjust the elevation axis periodically as seasons change
- Monitor the azimuth (left/right) axis daily for ideal sun tracking
You'll need more frequent adjustments during winter months and at higher latitudes.
Consider installing a mechanical tracking system with a DC motor and worm drive to maintain alignment against wind forces. For easier tracking, use light-dependent resistors paired with Arduino controls to automatically adjust your dish's position.
Summer Versus Winter Setup
The sun's position dramatically changes between summer and winter, requiring distinct setup strategies for your parabolic cooker.
In summer, you'll need a shallower tilt as the sun travels higher across the sky, allowing for a narrower acceptance angle and more concentrated heat. Adjust your cooker every 10-20 minutes to maintain ideal focus.
Winter setups demand steeper angles, often exceeding 60 degrees, to capture the low-riding sun. You'll find yourself making more frequent adjustments to keep the focal point steady on your cooking pot.
While summer cooking offers peak efficiency with faster cooking times, winter use requires extra patience and attention. Consider adding stabilizing supports during winter months, as the steeper angles can make your cooker less stable.
Wearing protective eyewear is essential year-round when working with these high-temperature devices.
Latitude-Based Position Changes
Since geographical latitude plays a crucial role in solar cooking, you'll need to adjust your parabolic cooker's position throughout the year to match the sun's changing altitude.
The sun's angle can shift up to 46 degrees between seasons, considerably impacting your cooker's effectiveness. At higher latitudes, like in Canada, you'll need to make more frequent adjustments compared to locations closer to the equator.
For ideal heat capture, consider these key positioning tips:
- Tilt your cooker to match the sun's current angle – steeper in winter, more level in summer
- Check alignment every 10-20 minutes to maintain focus on your cooking pot
- Use the compound parabolic design for up to 3 hours of cooking without constant readjustment
Common Positioning Mistakes
Operating a parabolic solar cooker demands careful attention to positioning, yet many users make fundamental mistakes that compromise its effectiveness.
You'll reduce your cooker's efficiency if you don't angle it directly at the sun and adjust it every 10-20 minutes to track the sun's movement. The focal point must stay perfectly aligned with the sun's rays for maximum heat.
Don't let dirt or debris accumulate on your reflective surfaces or glass components, as they'll diffuse sunlight and decrease cooking temperatures.
When setting up, verify you're on level ground and use handle markers to guide proper alignment. Remember to protect your eyes and never place your head near the focal area.
Avoid covering pots with aluminum foil, as it can reflect heat away from your food instead of retaining it.
Weather Impact on Angles
While proper positioning techniques matter greatly, weather conditions greatly influence how you'll need to angle your parabolic cooker. On cloudy days, you'll want to adjust your cooker's angle more frequently to capture maximum available sunlight, as even thin clouds can considerably reduce cooking efficiency.
When it's windy, positioning becomes even more critical – you'll need to create or use windbreaks while maintaining ideal sun angles to prevent heat loss.
- Picture your cooker as a sunflower, constantly needing to face the strongest light source
- Think of your reflector as a shield that needs protection from gusty winds
- Visualize your cooker as a precision instrument requiring frequent micro-adjustments
Remember that altitude and seasonal changes will affect your positioning strategy.
At higher elevations, you'll need less dramatic angles to capture intense UV rays, while lower altitudes require more precise positioning to compensate for atmospheric interference.
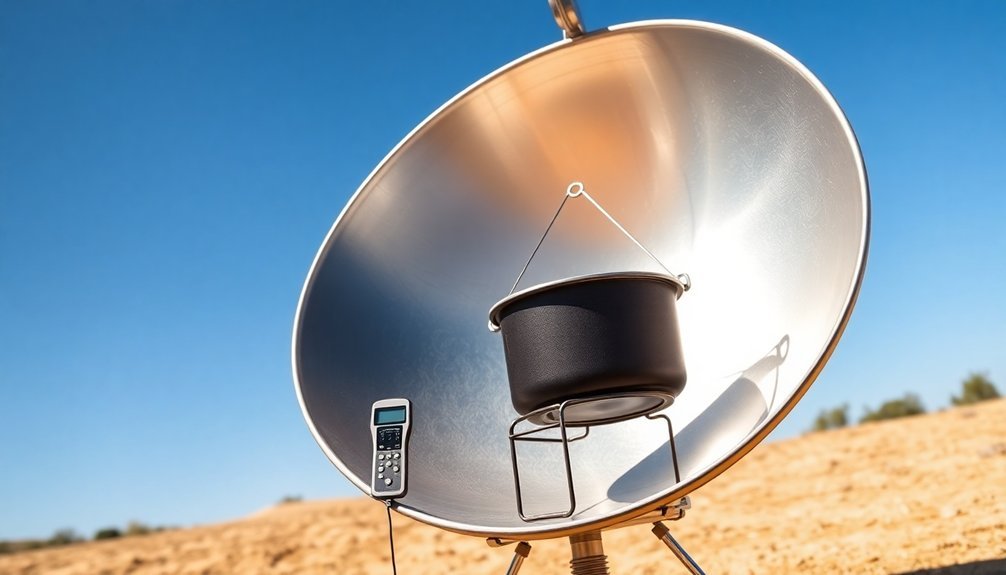
Tools for Precise Alignment
Three essential tools help you achieve precise alignment with your parabolic cooker: mechanical adjustments, tracking mechanisms, and visual aids.
For mechanical precision, you'll want to use the 360° rotation feature and elevation adjustments between 5° and 60°. The tension locking mechanism helps you make safe adjustments from behind the cooker, while the locking system prevents unwanted movement from wind or bumps.
You can create a simple solar tracker using everyday items like paperclips and cardboard, or opt for shadow alignment using a needle indicator.
For consistent tracking, you'll find that basic trackers requiring bi-weekly adjustments work well for most cooking needs. Visual focusing helps you fine-tune the focal point, while the strap-and-pulley system guarantees smooth, controlled movements as you align your cooker with the sun.
Frequently Asked Questions
Can I Use My Parabolic Cooker Effectively on Cloudy or Overcast Days?
You'll find parabolic cookers don't work well on cloudy days since they rely on direct sunlight. They're ineffective with diffuse radiation, and temperatures won't get hot enough. Consider using alternative cooking methods during overcast conditions.
How Do Wind Conditions Affect the Alignment Stability of My Cooker?
Strong winds can destabilize your cooker's alignment and reduce its efficiency. You'll need to guarantee it's firmly anchored and consider using wind barriers to protect it, especially in speeds above 1.0 m/s.
What's the Minimum Reflective Surface Area Needed for Effective Cooking?
You'll need at least 0.5 square meters of reflective surface area for basic cooking. A larger area around 1 square meter is ideal, as it'll capture enough solar energy for reliable cooking performance.
Does Altitude or Geographic Location Impact the Optimal Angle Settings?
Yes, both affect your settings. You'll need steeper angles at higher latitudes, while altitude mainly impacts ray intensity. You should adjust more frequently near the poles and account for seasonal changes year-round.
How Often Should I Clean or Polish the Reflective Surface?
You'll need to clean your reflective surface based on your local environment. In dusty areas, clean monthly; in cleaner environments, every 3-6 months. Use mild detergent and water for regular cleaning.
In Summary
You'll get the most from your parabolic cooker by paying attention to proper alignment. Remember to check your shadows, track the sun's movement, and adjust seasonally for peak performance. Don't let common mistakes like incorrect focus points or poor weather positioning hold you back. With practice and the right tools, you'll master the art of solar cooking and enjoy efficient, sustainable meals year-round.


Leave a Reply