You can naturally intensify food flavors using the sun's power through strategic solar drying techniques. Start by selecting produce at 75-85% ripeness and harvesting during peak sunlight hours (10 AM – 2 PM). Cut your ingredients into uniform, thin slices and pre-treat vegetables with blanching. Position your drying racks at a 45-degree angle and maintain temperatures between 120-185°F while ensuring proper airflow. Turn foods regularly for even drying, and store them in airtight containers once complete. Focus on flavor-rich foods like citrus fruits, dark berries, and tomatoes. The sun's natural enhancement process opens up a world of concentrated flavors to explore.
Understanding Solar Food Enhancement
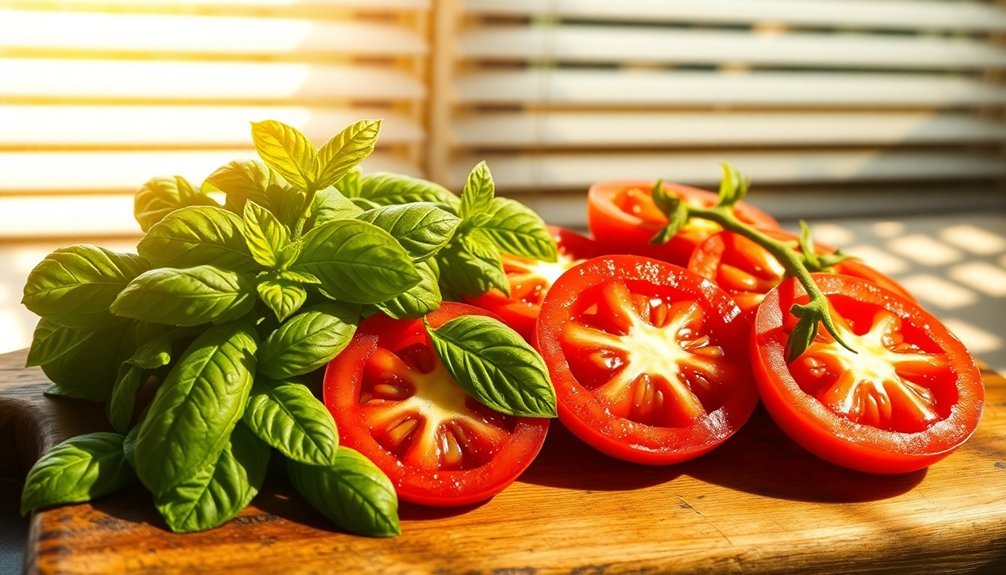
While many modern food preservation methods rely on electricity or artificial heat, solar food enhancement offers a natural and sustainable way to intensify flavors.
You'll find that sun-drying concentrates the natural taste of foods while preserving their essential nutrients, creating rich, complex profiles in items like tomatoes and herbs. This sustainable approach aligns with modern innovations like hydrogen-powered food production, which also aims to minimize environmental impact.
You can choose from several solar drying methods to match your needs.
Direct dryers work well for small batches of fruits and herbs, while indirect systems protect light-sensitive nutrients. If you're handling larger quantities, cabinet-style dryers with multiple trays might be your best option. For flexibility, tent dryers provide a portable solution.
You'll not only enhance your food's taste but also contribute to sustainability, as solar drying requires no fossil fuels and produces zero emissions.
Selecting Prime Produce
To maximize flavor enhancement through solar power, you'll need to carefully time your harvests during peak sunlight hours between 10 AM and 2 PM.
You can identify ideal ripeness by checking for uniform color, gentle firmness, and natural fragrance while following quality inspection guidelines that focus on size consistency and unblemished surfaces. Early review and critical evaluation of produce selection criteria will help ensure optimal results.
When selecting produce for solar enhancement, look for fruits and vegetables that have reached 75-85% maturity, as this stage offers the best balance between sugar content and flavor development potential.
Prime Harvest Times
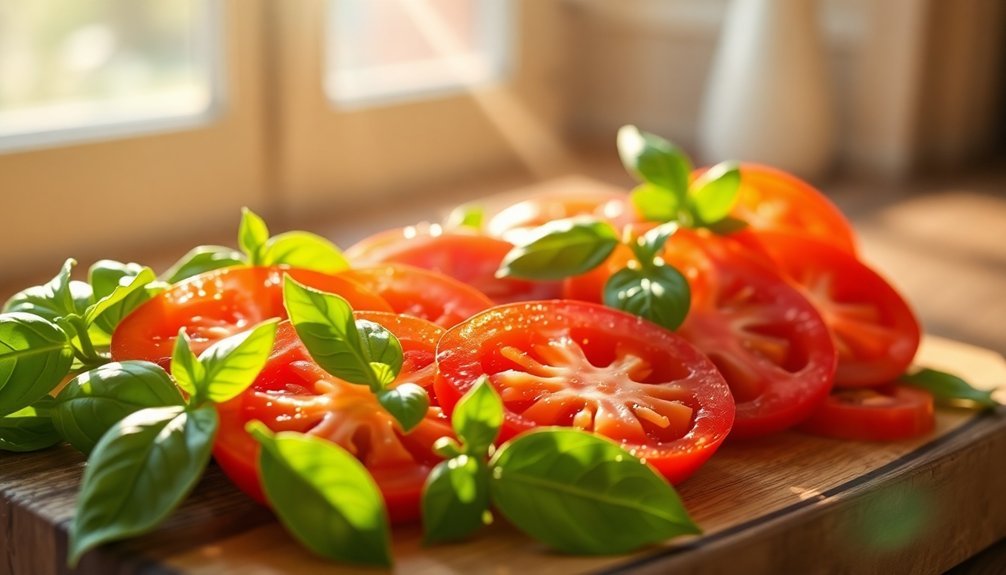
Knowing when produce reaches its peak ripeness can dramatically enhance the natural flavors in your cooking.
You'll find spring's finest flavors in fresh artichokes, asparagus, and tender pea greens, while summer bursts with vine-ripened tomatoes, sweet corn, and juicy berries. Understanding seasonal adaptation patterns helps predict the best harvest windows throughout the year.
In early fall, you can still catch late-summer produce like peppers and tomatoes, along with autumn specialties like pumpkins and quinces.
Don't overlook winter's bounty – it's prime time for citrus fruits and hearty vegetables like broccoli and cauliflower.
If you're in a warmer climate, you'll enjoy longer growing seasons with year-round access to greens and root vegetables.
For the most intense flavors, watch for specific peak times: early spring for strawberries and rhubarb, early summer for cherries and apricots, and late summer for melons and edamame.
Quality Inspection Guidelines
Success in selecting prime produce starts at first glance. You'll need to rely on your senses to evaluate quality effectively. When inspecting fruits and vegetables, trust your natural abilities to detect freshness and ripeness.
- Look for vibrant colors and uniform appearance without blemishes, bruises, or signs of decay.
- Feel the texture – produce should be firm but not hard, with slight give when gently pressed.
- Smell near the stem end – fresh produce has a clean, characteristic aroma without off-odors.
- Check for proper size and weight relative to the type of produce you're selecting.
Consider internal qualities too. The best produce typically has high soluble solids content, ideal dry matter, and balanced acidity levels.
Your careful inspection helps guarantee you're getting nutritious, flavorful items that will enhance your sun-dried creations.
Optimal Ripeness Indicators
Ripeness signals vary dramatically among different fruits and vegetables, making it crucial to understand the unique indicators for each type of produce.
You'll find that some fruits, like bananas and apples, continue ripening after harvest by producing ethylene gas, while others, such as cherries and raspberries, won't ripen further once picked.
When selecting produce, rely on multiple senses.
Look for color changes in peaches and cantaloupe, but don't trust red coloring alone. Instead, check the ground color and netting patterns.
Use your sense of smell with pineapples and strawberries – they should emit sweet, fresh aromas without any vinegary or moldy scents.
For texture, gently squeeze kiwis and cantaloupes near the stem.
With pumpkins, listen for a hollow sound when tapped, and ascertain the shell resists pressure.
Essential Equipment and Tools

Four key categories of equipment and tools drive the natural flavor intensification process: extraction equipment, enhancement tools, analytical instruments, and processing machinery.
You'll need specific equipment for each stage of flavor enhancement. When working with natural ingredients, your essential toolkit should include:
- Fermentation tanks and spray dryers for extracting and preserving flavors from natural sources
- Natural enhancers like glutamic acid-rich ingredients and mycelia-based products to boost flavor profiles
- Analytical tools such as taste panels and gas chromatography to measure and verify flavor compounds
- Processing equipment including liquid culture systems and homogenizers to guarantee consistent quality
Your success in natural flavor intensification depends on choosing the right combination of these tools and maintaining proper quality control throughout the process.
Remember that each piece of equipment serves a specific purpose in maximizing flavor potential.
Perfect Weather Conditions
You'll find the most vibrant flavors in your produce when growing or harvesting on hot, sunny days, as warmth intensifies sweetness and enhances aroma compounds.
Keep an eye on your local weather forecast to plan your gardening or farmers' market trips during ideal conditions, looking for days with temperatures between 75-85°F.
While hot days are essential, maintaining proper humidity levels around 50-60% helps preserve flavors and prevents moisture-related issues that could compromise taste.
Hot Days Rule Best
The perfect weather conditions for solar panel efficiency combine moderate temperatures and abundant sunlight. When you're planning to harness solar energy for cooking, aim for days when temperatures hover between 70-90°F, with clear skies and minimal cloud cover.
For ideal sun-powered cooking results, look for these conditions:
- At least 5 hours of direct sunlight with minimal shade interference
- Light breezes to help maintain perfect panel temperature
- Low humidity levels for maximum performance
- Clean, dust-free air for better solar absorption
You'll find your solar cooking most effective when positioning your panels to face true south (in the Northern Hemisphere) at a 30-45 degree tilt.
Remember that even small shadows can greatly reduce efficiency, so make certain your cooking setup stays clear of trees, buildings, or other potential obstructions.
Monitor Local Weather Reports
Staying informed about local weather patterns helps you maximize your solar cooking efficiency and plan your meals accordingly.
Look for days with five or more hours of direct sunlight and temperatures between 70°F and 90°F for best results. Clear skies are ideal, though scattered clouds can sometimes enhance performance through light reflection.
Check wind forecasts too – light breezes can help maintain perfect cooking temperatures, but strong gusts might disturb your solar cooker's stability.
Watch for potential obstructions like passing clouds or temporary shadows from buildings and trees. You'll want to avoid cooking during periods of high humidity, snow, or ice, which can reduce efficiency.
Proper Humidity Levels Matter
Beyond tracking general weather conditions, appropriate humidity levels play a significant role in successful solar cooking. High humidity can compromise food texture and flavor, making it harder to achieve the desired results. You'll want to choose days with moderate to low humidity for ideal solar cooking outcomes.
Watch for these humidity-related factors when planning your solar meals:
- Lower humidity helps maintain crispiness in foods that need a crunchy exterior
- Excessive moisture in the air can make baked goods become soggy or brittle
- Dry conditions help prevent unwanted bacterial growth during cooking
- Appropriate humidity levels enhance natural flavors and preserve food's structural integrity
Consider using your solar cooker on days when humidity levels are below 60% to guarantee the best possible results and maintain food quality throughout the cooking process.
Food Preparation Steps

Four essential preparation steps can maximize the natural flavors in your dishes.
Start by layering your aromatics – sauté onions and garlic first to release their natural sweetness.
Next, add dried herbs and spices early in the cooking process, but save fresh herbs for the end to preserve their vibrant flavors. Remember to use three times more fresh herbs than dried ones.
For the third step, balance your dish with acids and sweetness. You'll want to incorporate vinegars, citrus juices, or mustard to enhance flavors, while adding a touch of sweetness from fruits or maple syrup to create harmony.
Finally, adjust your seasonings by tasting and adding salt and pepper last, after you've included other flavor enhancers. Don't forget to check if your spice blends already contain salt.
Maximizing Sun Exposure
Position your drying racks at a 45-degree angle and elevate them on reflective surfaces like aluminum foil to maximize the sun's rays hitting your ingredients.
You'll get the most intense sun exposure between 10 AM and 2 PM, but remember to keep food items in indirect sunlight to prevent scorching.
Track the sun's movement throughout the day and rotate your racks accordingly, ensuring even exposure across all ingredients.
Strategic Rack Positioning Tips
Successfully drying food outdoors depends heavily on strategic rack placement for ideal sun exposure.
You'll want to position your racks in open areas where they'll receive maximum sunlight throughout the day, particularly between 10am and 2pm when the sun's intensity peaks.
For best results:
- Elevate your racks to allow air circulation from all angles
- Face them south, especially if you're in regions like Texas
- Orient the racks perpendicular to the sun's path
- Place screens or netting over food to protect from debris
Remember to rotate your items regularly and avoid areas with dense tree coverage or building shadows.
If you're working in varying conditions, use a hygrometer and thermometer to monitor humidity and temperature levels, ensuring they stay below 60% humidity and above 85°F for efficient drying.
Reflective Surface Enhancement Methods
Beyond proper rack positioning, you can dramatically boost your food drying efficiency by incorporating reflective surfaces around your setup.
Position aluminum foil or mirrors strategically to reflect up to 25% more sunlight onto your food. You'll get the best results by adjusting the angles of your reflective materials to optimize sun exposure throughout the day.
For a more permanent solution, consider applying solar reflective coatings to your drying area.
White thermoplastic membranes can reflect over 80% of sun rays, while high-reflectance coatings containing titanium dioxide maintain color while maximizing reflectivity.
You can also upgrade your drying racks with built-in reflective surfaces or use stainless steel components with high SRI ratings of 100-115.
For even distribution, set up multiple reflective surfaces around your drying zone.
Optimal Sun Tracking Times
The four most productive hours for solar cooking and drying fall between 11:00 am and 3:00 pm when the sun reaches its peak position.
During this window, you'll experience maximum UV exposure and heat intensity, perfect for achieving the best cooking results.
To optimize your sun tracking schedule:
- Check your solar oven's position every 10-20 minutes to maintain direct sunlight alignment
- Start preheating your oven during early morning hours to prepare for peak cooking time
- Choose a sheltered spot protected from wind to prevent disruption of cooking
- Monitor temperature regularly using a thermometer to guarantee consistent heat
During winter months, you'll need to adjust for shorter daylight hours and the sun's lower position.
Monitoring the Drying Process

While drying foods to intensify their flavors requires patience, monitoring the process closely guarantees ideal results. You'll need to track temperature distribution using infrared cameras that capture surface images of your drying products. These cameras convert pixel values into precise temperature data, helping you prevent overheating and maintain quality.
Install temperature and humidity sensors both inside and outside your drying environment, and use custom software to analyze the readings. You can enhance your monitoring with AI-powered sensors and NIR spectroscopy, which provide real-time feedback on moisture content. This technology lets you make immediate adjustments if needed.
For best results, capture images every 10 minutes and assess the maximum, minimum, and average temperatures. This systematic approach assures your dried foods develop concentrated flavors without compromising quality.
Storing Sun-Dried Foods
Proper storage conditions make the difference between preserving or losing your sun-dried foods' concentrated flavors. You'll need airtight containers, like glass jars or vacuum-sealed bags, stored in a cool, dark place between 50°F to 60°F with humidity below 60%.
- Keep dried fruits and vegetables in small batches to minimize contamination risk.
- Label everything with contents and drying dates so you'll use older items first.
- Condition dried fruits by checking for condensation daily for 7-10 days before storage.
- Store opened containers in your refrigerator or freezer to maintain freshness.
When stored correctly, your dried fruits can last 6-12 months, while vegetables typically stay good for 4-6 months. You can extend shelf life to 1-2 years by vacuum-sealing or freezing.
Remember to check periodically for any signs of spoilage like mold or unusual odors.
Cooking With Sun-Dried Ingredients
Sun-dried ingredients pack concentrated flavors that can transform ordinary dishes into culinary masterpieces.
When cooking with sun-dried tomatoes, you'll find they're especially versatile in pasta dishes, where they create rich, complex sauces. Try sautéing them with garlic and butter, then combining them with cream, broth, and parmesan for a luxurious pasta sauce.
You can also blend sun-dried tomatoes into pesto, vinaigrettes, or flavor-packed spreads. Add them to salads, risottos, or use them as filling for ravioli.
For convenience, create flavor bombs by processing sun-dried tomatoes into a paste and freezing them in ice cube trays.
Don't waste the oil from packed sun-dried tomatoes – it's perfect for sautéing aromatics or enhancing your sauces with deep, savory notes.
Common Solar Drying Mistakes
Despite its simplicity, solar drying requires careful attention to detail to avoid common pitfalls that can ruin your harvest. You'll need to monitor weather conditions carefully, as cloudy skies and rain can greatly reduce drying efficiency. Remember that proper airflow and temperature control are essential for achieving the best results.
- Don't skip pre-treatment steps like blanching vegetables or cutting food into uniform, thin slices.
- Make certain you're protecting your food from insects and removing it from the dryer during nighttime hours.
- Keep temperatures between 120-185°F to prevent cooking or enzyme activation.
- Turn your food regularly to achieve even drying throughout.
If you're new to solar drying, start with small batches until you've mastered the basics.
Poor maintenance and improper sanitization can lead to mold growth, so clean your dryer thoroughly after each use.
Best Foods for Flavor Concentration

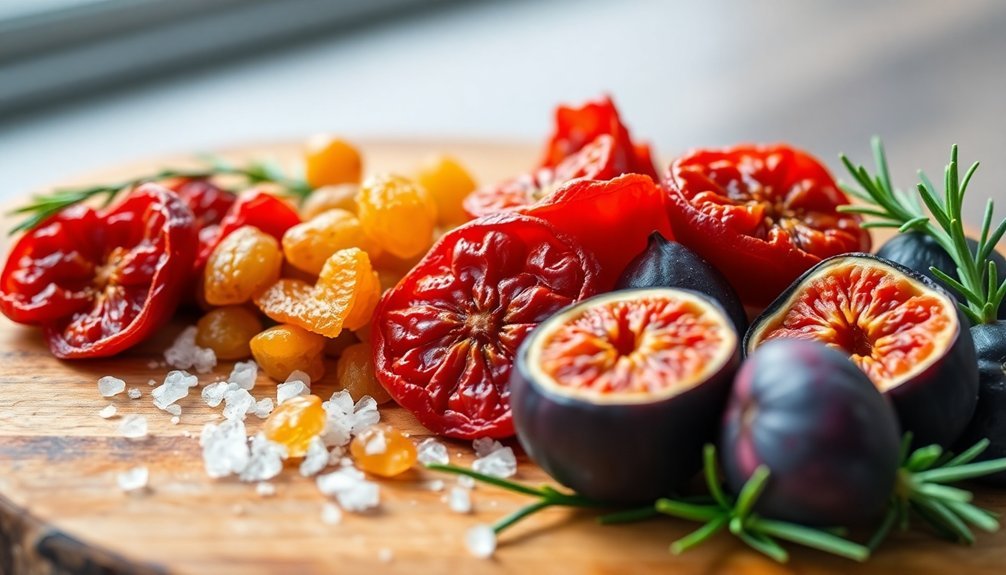
Certain foods naturally intensify their flavors through concentration, making them ideal candidates for enhancing your meals.
Citrus fruits like lemons and limes concentrate their sour notes, while dark berries develop deeper, more complex flavors. You'll find that bell peppers and tomatoes intensify their natural sweetness, especially when you reduce their water content.
For savory options, you can't go wrong with fatty fish like salmon and mackerel, which concentrate their rich omega-3 profiles.
Dark chocolate becomes more intense as it's processed, developing stronger antioxidant properties. Extra virgin olive oil and seaweed also pack concentrated flavors that can transform your dishes.
When you're looking to boost flavor naturally, focus on foods with high antioxidant content – they often have the most potential for flavor enhancement.
Frequently Asked Questions
Can Sun-Dried Foods Trigger Allergic Reactions Different From Their Fresh Counterparts?
You'll typically experience similar allergic reactions to sun-dried and fresh foods since drying doesn't remove allergens. However, some proteins may become more concentrated during drying, potentially affecting reaction intensity.
How Do Pesticides Concentrate During the Sun-Drying Process?
As water evaporates during sun-drying, you'll find pesticides becoming more concentrated in your food. While some pesticides break down from sunlight exposure, others can increase by up to 5 times their original levels.
Does Altitude Affect the Time and Quality of Sun-Dried Foods?
Yes, you'll find higher altitudes increase drying time due to lower air pressure and humidity. Your food quality may also be affected, with potential issues like case hardening and uneven drying requiring careful monitoring.
Can Solar-Dried Foods Be Used in Commercial Food Production?
You can definitely use solar-dried foods in commercial production. They're cost-effective, environmentally friendly, and maintain high nutritional value. They work great in sauces, baked goods, soups, and as natural flavor enhancers.
Do Different Colored Fruits and Vegetables Dry at Different Rates?
No, the color of fruits and vegetables doesn't affect their drying rates. You'll find that sugar content, acid levels, and natural moisture are what determine how quickly they'll dry, not their pigmentation.
In Summary
You'll find that solar-powered food enhancement transforms ordinary ingredients into flavor powerhouses while preserving nutrients naturally. By following proper selection, preparation, and drying techniques, you're creating concentrated tastes that'll enhance countless dishes. Whether you're drying tomatoes, herbs, or fruits, you've now got the knowledge to harness sunlight for intensifying food flavors. Start with small batches and you'll soon master this ancient preservation method.


Leave a Reply