You can transform regular pans into effective sun ovens through several key modifications. Start by darkening your pan's surface with heat-resistant barbecue paint or black construction paper to maximize heat absorption. Create a tight seal using two layers of clear plastic wrap or oven bags over the lid for the greenhouse effect. Add reflective elements by lining the pan's interior and exterior with aluminum foil, and incorporate insulation layers using foam board or Styrofoam to retain heat. Position your modified pan on an adjustable platform for ideal sun exposure, and monitor every 30-45 minutes. These fundamental tweaks will get you started, but there's much more to explore for maximum solar cooking efficiency.
Dark Surface Treatments
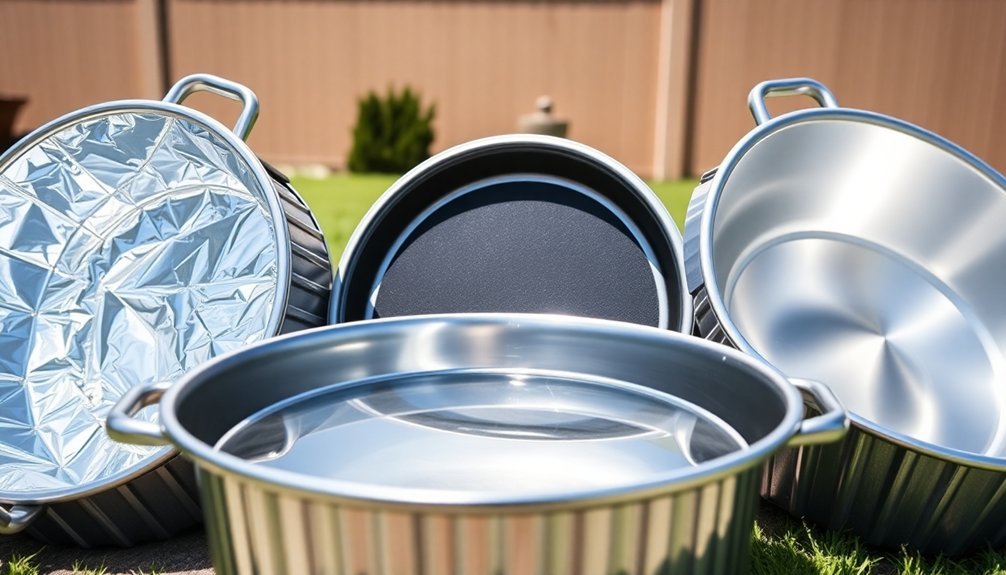
The magic of solar cooking lies in effective heat absorption, making dark surface treatments essential for your sun oven's performance.
You'll get the best results by using black metal pans or dark enamel pots that naturally retain heat. If you're working with regular cookware, you can transform it by applying heat-resistant barbecue grill paint to the exterior in multiple thin coats.
For enhanced efficiency, line your oven's bottom with black construction paper or use a black-painted shelf as a heat sink. Under optimal conditions, temperatures up to 200°F can be achieved with proper dark surface treatments.
For enhanced efficiency, line your oven's bottom with black construction paper or use a black-painted shelf as a heat sink.
When using aluminum foil, cover it with black tempera paint to prevent sunlight reflection. Cast iron pots work exceptionally well due to their natural heat retention.
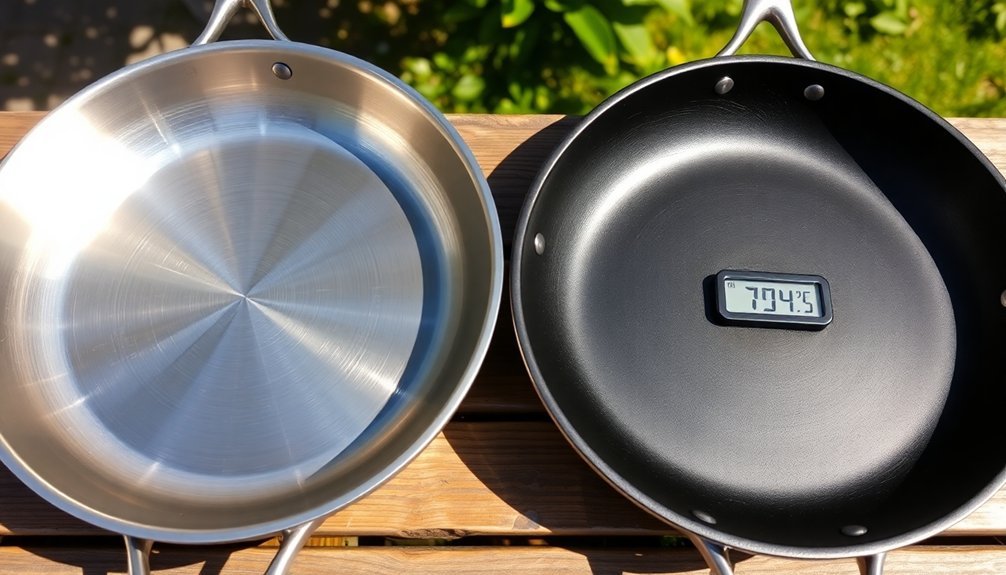
While light-colored pots can function, they won't match the performance of dark surfaces that convert sunlight into infrared radiation more effectively.
Heat-Trapping Lid Solutions
Building upon effective heat absorption, proper lid solutions take your sun oven's efficiency to the next level.
Create a tight seal by wrapping two layers of clear plastic wrap over your lid, ensuring it doesn't touch the cooking surface. You'll want to secure it firmly with tape to prevent heat escape.
To maximize heating potential, craft a three-sided flap in your lid and cover its inner surface with smooth aluminum foil. You can adjust this reflector throughout the day to direct more sunlight into your oven.
For superior insulation, consider using oven bags as an additional barrier, and seal them completely to prevent water vapor from entering. Adding newspaper stuffing around the edges provides extra insulation against heat loss.
Don't forget to seal any gaps in the lid and reinforce corners with binder clips while adhesives set.
These modifications will greatly boost your sun oven's performance.
Reflective Material Applications

When selecting reflective materials for your sun oven, aluminum foil tape stands out as the most effective choice, boasting nearly double the heating speed of alternatives.
You'll find Shurtape AF 912 at stores like Lowe's, offering superior performance compared to radiant barriers or aluminized polycarbonate film. Tests with one liter of water demonstrated its superior heating capabilities.
To maximize your sun oven's efficiency:
- Apply the reflective material to the inner side of flaps or panels, ensuring the shiny side faces outward
- Keep the surface smooth and mirror-like to enhance reflectivity
- Adjust reflector angles throughout the day as the sun moves
Insulation Layer Techniques
You'll need multiple layers of foil wrap strategically placed between insulation materials like newspaper, hay, or cotton padding to create an effective heat barrier in your sun oven.
By adding these reflective layers within the insulation, you're establishing secondary heat barriers that work alongside the primary insulation to trap warmth inside the cooking chamber.
For peak performance, secure the foil layers with adhesive tape and guarantee they overlap at the edges, creating a complete seal around the inner cooking cavity. For optimal heat retention, you can also include rigid polystyrene sheets between the layers.
Adding Foil Wrap Layers
Properly layering aluminum foil in your sun oven creates an essential system for both heat reflection and insulation.
You'll want to start by applying foil with the shiny side out, ensuring it's smooth to maximize sunlight reflection. Combine the foil with black materials at the bottom to enhance heat absorption while creating an effective greenhouse effect.
For peak performance, focus on these critical foil placement areas:
- Cover the top reflector flap with smooth foil, adjusting its angle throughout the day to track the sun
- Wrap insulation materials like crumpled newspapers or foam in foil to prevent heat loss
- Line the cooking chamber's bottom with black material covered by foil to maximize heat absorption
Remember to secure all foil layers with minimal tape inside the cooking chamber to avoid unwanted heat absorption.
Creating Secondary Heat Barriers
Building upon your foil layers, effective secondary heat barriers can dramatically improve your sun oven's performance.
You'll want to create a multi-layered insulation system using materials like closed cell foam, spun fiberglass, or rockwool. Start by establishing an air gap between your inner and outer boxes, then fill this space with your chosen insulation material.
Add crumpled newspaper as an additional barrier, and secure it with adhesive to prevent shifting. You can enhance the system's effectiveness by incorporating a dark-colored interior liner made from black foam or construction paper.
Remember to seal all gaps and cracks thoroughly to prevent heat escape. For moisture control, include a vapor barrier and consider using high-temperature plastic glazing.
These layers work together to trap heat while managing moisture levels effectively.
Positioning and Support Systems

You'll need a sturdy adjustable base platform to optimize your sun oven's performance in varying conditions and seasons.
To maximize heat distribution, elevate your cooking pans using a wire rack or heat-resistant spacers that create essential air circulation beneath cookware.
Your sun oven's tilt control mechanism should allow quick angle adjustments to track the sun's movement, ensuring consistent temperatures throughout the cooking process.
Adjustable Base Platforms
When designing a solar oven setup, adjustable base platforms serve as the foundation for ideal sun tracking and cooking performance. Your platform needs to be constructed from heavy-duty materials like steel to guarantee stability while accommodating your specific oven model and its reflectors.
A raised lip around the platform's edge prevents sliding and keeps your oven securely positioned.
Key features you'll want to include:
- Platform dimensions that match your oven's specifications, particularly for models like the All-American Sun Oven
- High-quality materials that can withstand outdoor conditions and provide necessary weight for stability
- Built-in centering mechanisms using protrusions and depressions for precise oven placement
Remember that compatibility is essential – some tracking systems are designed for specific oven models, so verify measurements before modifying your platform.
Pan Elevation Techniques
Proper pan elevation techniques form the core of successful solar cooking, requiring both precise positioning and reliable support systems.
You'll need to align your oven carefully with the sun's position, using shadows as guides to guarantee even heating on both sides.
Install a sturdy rear stand and secure it with tent stakes to prevent wind disruption. You'll want to adjust this stand throughout the day to maintain ideal sun exposure.
Use a sundial with a peephole to achieve precise alignment – when sunlight hits the target screw through the peephole, you've got perfect positioning.
For even heat distribution, place your pots on a leveling rack rather than directly on the oven floor. This creates essential airflow around your cookware.
Don't forget to check and adjust your setup every 30 minutes as the sun moves across the sky.
Tilt Control Mechanisms
Building on the foundation of pan elevation, effective tilt control mechanisms take your solar cooking to the next level. You'll need to adjust your oven's tilt every 30-45 minutes to maintain ideal sun alignment. An aluminum tube with a spring-loaded pin system offers precise angle control, while stability measures keep your setup secure against wind.
- Install metal stakes or tie-downs to prevent the oven from tipping over
- Add a wood wedge between base pieces to stop unwanted rotation
- Use a lazy Susan attachment for smooth, effortless adjustments
For easier operation, consider upgrading to a gimble mechanism that allows one-handed tilt control.
Whichever system you choose, remember to align the oven by checking its shadows and maintain a straight line from the sun to guarantee even heating throughout your cooking session.
Temperature Control Enhancements
To achieve ideal cooking temperatures in your sun oven, several key modifications can enhance heat retention and control.
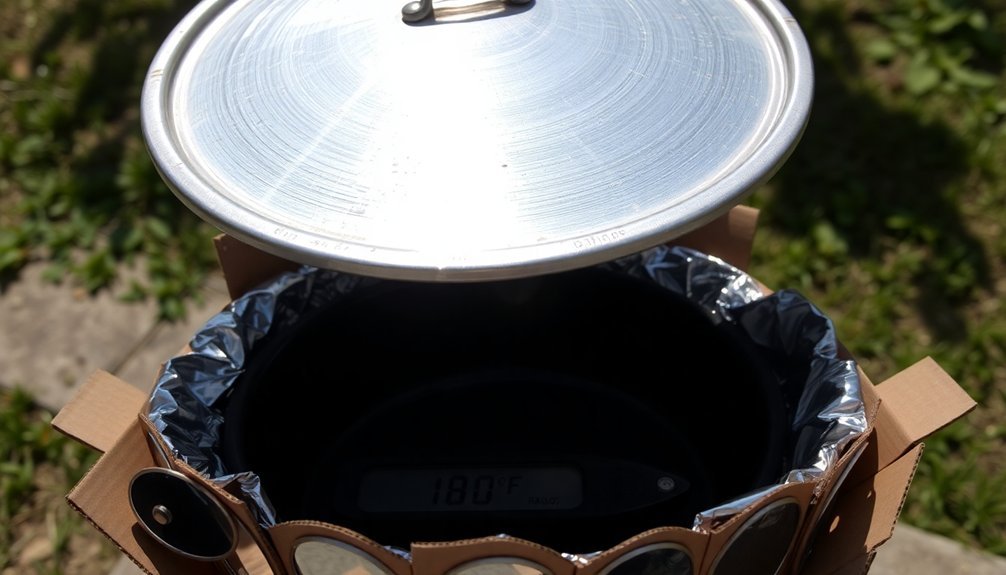
Line both the interior and exterior of your pan with aluminum foil to reflect sunlight and trap heat effectively. Create a greenhouse effect by covering the pan with plastic wrap or a clear plastic bag, and add black paper to the bottom to absorb more heat.
You'll want to insulate the pan using foam board or Styrofoam to prevent heat loss. Monitor the temperature using a thermometer to track your modifications' effectiveness.
For maximum heat generation, combine these improvements with reflective surfaces like mirror vinyl on external reflectors. You can experiment with different insulation materials and reflector configurations to find what works best for your climate and cooking needs.
Weather Protection Adaptations
While outdoor cooking with a sun oven offers sustainable benefits, protecting it from harsh weather conditions remains essential for long-term durability.
You'll want to select military-grade 1000 Denier Cordura material and waterproof components to shield your oven from the elements. For maximum protection, make sure you've got tight seals and moisture barriers throughout the cooking chamber.
To maximize your sun oven's weather resistance, focus on these key modifications:
- Install a snug-fitting weather-resistant cover with side zippers and secure latches
- Add aluminum tape to seal exposed seams and create an adjustable lid hinge
- Incorporate reflective materials and proper ventilation to manage moisture and heat retention
These adaptations will help your sun oven withstand various weather conditions while maintaining peak cooking performance.
Frequently Asked Questions
How Long Do DIY Sun Oven Modifications Typically Last Before Needing Replacement?
You'll need to replace your DIY sun oven modifications every 1-3 years, depending on materials used. Insulation and reflective surfaces wear out first, while structural components like wood can last several years with maintenance.
Can Modified Pans Still Be Used for Regular Indoor Cooking?
You can still use your modified pans indoors, but you'll need to remove any detachable solar cooking parts first. The black-painted pots work fine on regular stoves, though insulation materials should be cleaned off.
What's the Maximum Safe Temperature These Modified Pans Can Reach?
You'll find your modified pans can safely reach 300°F (149°C) in typical setups, though some designs like parabolic cookers can hit 800°F (427°C). Just verify you're monitoring temperatures for food safety.
Will Modifications Affect the Taste of Food Cooked in Sun Ovens?
Your food will taste just as good, if not better, in a sun oven. The modifications help retain natural juices and moisture, while slow cooking enhances flavors. You'll notice more tender, flavorful results.
Are There Specific Pan Materials That Shouldn't Be Modified for Solar Cooking?
You shouldn't modify light-colored or reflective pans, as they won't absorb sunlight well. Avoid using thin, lightweight materials, shiny stainless steel, or silver-coated cookware that can't retain heat effectively.
In Summary
You've learned how to transform everyday pans into effective sun ovens through simple modifications. By applying dark surfaces, adding reflective materials, and creating insulated lids, you'll capture more solar energy. Don't forget to position your pan correctly and protect it from weather. With these adaptations, you're ready to harness the sun's power for sustainable cooking right in your backyard.


Leave a Reply