
To optimize your outdoor oven's performance, start by mapping heat reflection points using an infrared thermometer like the Hi Temp IR-IND to identify how heat bounces off your dome's surfaces. Next, test temperature zones by placing a grate-clipped air probe thermometer and laying out white bread slices to create a visual heat map of hot and cool spots. Finally, adjust your oven's position throughout the day, particularly between 11 AM and 3 PM, to maximize heat capture from the sun's movement. Understanding these heat mapping fundamentals will reveal the full potential of your outdoor cooking setup.
Mapping Heat Reflection Points
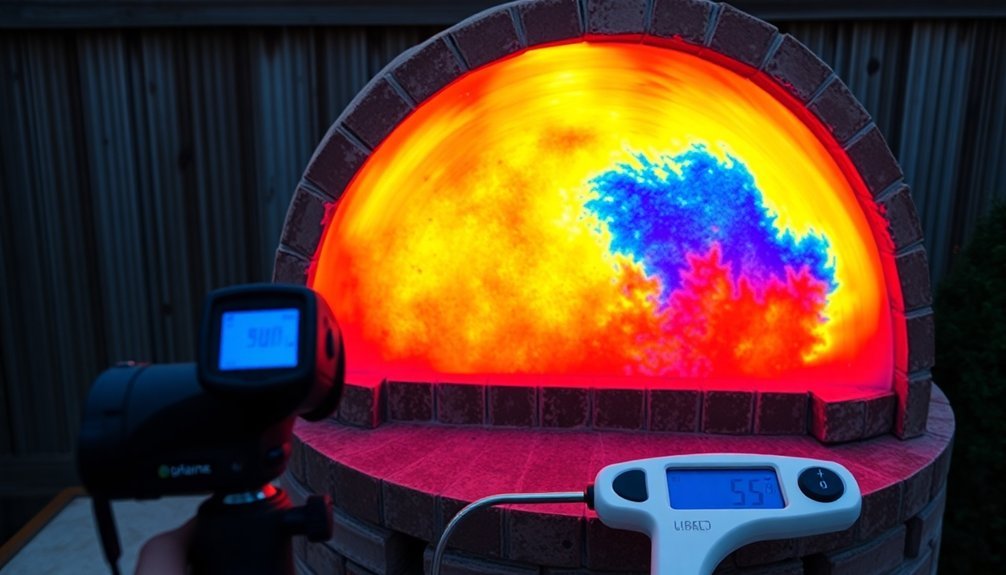
While outdoor ovens rely heavily on their dome shape for heat reflection, understanding the key reflection points will help you maximize cooking efficiency.
You'll find that brick, stone, and concrete surfaces act as primary reflection points, radiating stored heat back into your cooking space with nearly perfect efficiency.
To map these reflection points, you'll need an infrared thermometer with a narrow optic focus and laser guide. The best device for this task is the Hi Temp IR-IND thermometer.
The 30:1 distance ratio lets you precisely measure small areas from a safe distance.
Start by checking temperatures near the fire, then work your way toward the opening – you'll notice a natural temperature gradient.
Wait for the carbon burn-off stage, which signals that the thermal mass has reached ideal heat absorption.
Once the bricks emit steady radiant heat, you've achieved ideal cooking conditions.
Temperature Zone Testing Methods
Because accurate temperature mapping is essential for consistent results, testing your outdoor oven's temperature zones requires both systematic measurements and practical observation techniques.
Start by using an air probe thermometer with a grate clip to measure actual temperatures at different points. You'll want to record the maximum and minimum readings over a 30-minute period after preheating. Temperature readings typically show 25-50 degree variations from the set point during normal operation.
Don't forget to verify your thermometer's accuracy with an ice bath test first.
For a visual heat map, arrange white bread slices in a grid pattern across your cooking surface. After 5-10 minutes of toasting, you'll see darker areas indicating hot spots and lighter areas showing cooler zones.
Use this information to adjust your cooking positions and consider adding a pizza stone to help stabilize temperature variations throughout your outdoor oven.
Strategic Solar Position Adjustments
Since solar cooking success depends heavily on proper positioning, mastering strategic adjustments will greatly boost your outdoor oven's performance. You'll want to position your oven between 11 AM and 3 PM, tracking the sun's movement every 20-30 minutes for ideal heat capture. Higher altitudes can increase your solar cooking intensity significantly.
| Time of Day | Your Action |
|---|---|
| Morning Setup | Orient front panel eastward |
| Mid-Day | Center cookware at focal point |
| Early Afternoon | Adjust reflectors hourly |
| Late Afternoon | Shift panel westward |
| Weather Changes | Add stabilizing stones |
Don't forget to calculate your seasonal angles based on latitude: winter requires adding 15° to your latitude, while summer needs a 15° reduction. For spring and fall, subtract 2.5° from your latitude. Always verify you're working on level ground and maintain clear sight lines to avoid unwanted shadows from nearby obstacles.
Frequently Asked Questions
How Does Wind Direction Affect the Heat Distribution in Outdoor Ovens?
When wind hits your oven's opening directly, you'll lose more heat and get uneven temperatures. If it crosses the front instead, you'll maintain better heat distribution and more consistent cooking temperatures.
Can Different Types of Wood Affect Heat Zone Patterns?
Yes, your wood choice directly impacts heat zones. You'll find hardwoods create longer-lasting, stable heat patterns, while faster-burning woods like mesquite produce intense but shorter-lived hot spots throughout your oven.
What Role Does Outdoor Humidity Play in Maintaining Consistent Temperatures?
You'll notice humidity considerably impacts your oven's temperature stability. High humidity makes it harder to maintain heat, extends preheating time, and affects moisture evaporation from food. You'll need to adjust cooking times accordingly.
How Often Should Thermal Mapping Be Repeated in Varying Weather Conditions?
You'll need to perform thermal mapping at least once yearly, but it's best to map during both summer and winter seasons. For accurate results, conduct mapping over a two-week period in each season.
Does Elevation Impact the Effectiveness of Outdoor Oven Heat Zones?
Yes, elevation affects your oven's heat zones considerably. You'll notice less pressure and humidity above 3,500 feet, which alters how heat distributes. You'll need to adjust your firing patterns and monitor temperatures more carefully.
In Summary
You'll find these heat mapping techniques transform your outdoor oven's performance. By identifying reflection points, testing temperature zones, and adjusting solar positions, you've now got the tools to maximize cooking efficiency. Don't forget to regularly check your heat maps as seasonal changes affect your oven's behavior. Keep refining these methods, and you'll consistently achieve the perfect bake in your outdoor setup.


Leave a Reply