To heat your outdoor oven quickly, position it in direct sunlight between 11 AM and 3 PM, facing south for maximum exposure. Clean your reflectors with glass cleaner and remove any protective films for peak performance. You'll want to place dark-colored stones underneath to retain heat, and adjust the oven's position every 20-30 minutes to track the sun. Monitor the temperature with an infrared thermometer, aiming for 400-450°C (752-842°F). During preheating, which typically takes 20-35 minutes, guarantee proper ventilation and airflow. The deeper you understand these heating techniques, the more efficiently you'll master your outdoor oven.
First Steps Before Heating

Before firing up your outdoor oven for the first time, you'll need to complete several essential preparation steps. Start by removing any protective film from the reflectors and position your oven directly facing the sun with the glass door securely latched. Let it sit for 25-30 minutes to begin the preheating process.
Next, you'll want to prepare the interior for cooking. Put on an oven mitt to unlatch the door safely, then place a pot of soapy water inside. This creates steam that helps clean the chamber thoroughly. Clean using glass cleaner on your reflectors to ensure optimal heating performance.
For DIY solar ovens, line the bottom with black construction paper and add insulation using crumpled newspapers around the cooking area. Don't forget to cover the inner flap with aluminum foil, shiny side out, and seal the opening with clear plastic wrap.
Positioning Your Solar Oven
You'll get the best results by placing your solar oven in direct sunlight between 11:00 AM and 3:00 PM, when the sun's intensity peaks.
Position the oven on a dry, level surface away from any shadows that could block the sun's rays. Consider using dark-colored stones beneath your oven to help retain and stabilize heat during cooking.
For maximum heat absorption, you'll need to adjust your oven's position every 20-30 minutes to track the sun's movement across the sky.
Catching Maximum Sun Rays
To maximize your solar oven's performance, proper positioning is absolutely critical. You'll want to face it directly into the sun, ideally in a southerly direction, and adjust its position throughout the day to follow the sun's path.
Make sure you've chosen a spot free from any shadows cast by trees, buildings, or other obstacles. The double plastic wrap layers on your oven's lid will help maintain consistent internal temperatures.
For ideal heat generation, remember these key steps:
- Angle your reflector flaps with a ruler to capture maximum sunlight, keeping the shiny aluminum foil side facing outward.
- Create a windbreak to stabilize your oven and maintain consistent heating in breezy conditions.
- Place a black heat sink inside and insulate with crumpled newspaper to trap and radiate heat effectively.
Don't forget to reposition your oven every 30 minutes for the best results during peak sunlight hours.
Optimal Flat Surface Setup
Having positioned your solar oven to catch maximum sunlight, proper surface setup plays a key role in cooking success.
Select a flat, stable area away from shade and wind, ensuring it's dry and level for even heat distribution. Clear away any debris that could block sunlight or destabilize your setup.
You'll want to create an air gap under your cooking pot using a wire rack or twigs to improve heat retention.
For extra stability, especially on windy days, place large stones or bricks around the base. Don't forget to secure any reflective flaps with clothespins or tape to maintain the structure.
If needed, set up wind barriers around your cooker and add thermal mass materials like bricks to help maintain consistent temperatures during your cooking session.
Essential Temperature Control Methods

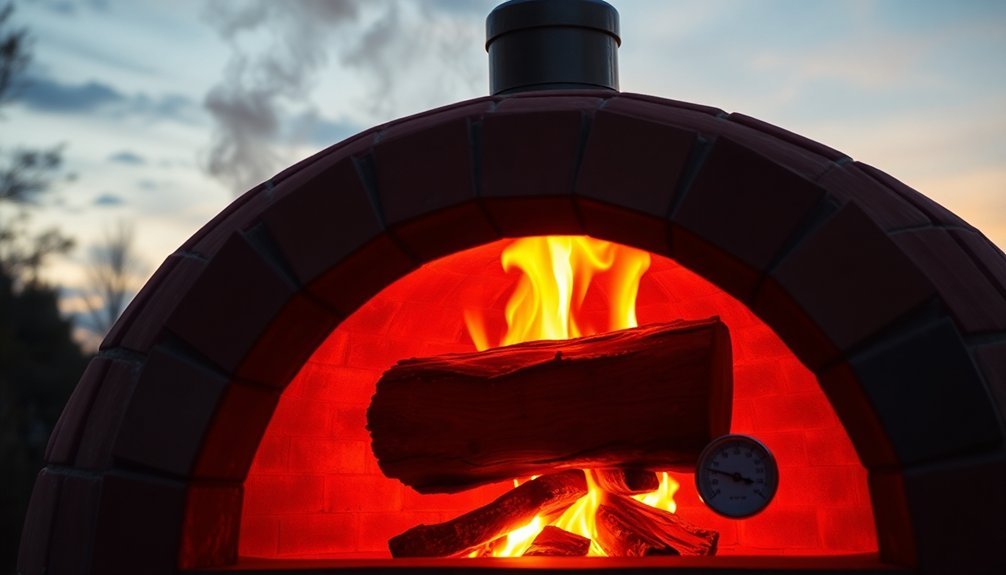
Watch your fire's color to gauge temperature levels – bright orange flames indicate ideal cooking heat, while deep red suggests it's too cool and white means it's too hot.
You'll get the best cooking results by identifying your oven's heat zones, with the hottest area typically near the flames and cooler zones toward the front.
Position your food strategically within these zones to achieve perfect cooking temperatures, moving items closer to or farther from the heat source as needed.
Monitor Flame Color Signals
Understanding flame color signals helps you master temperature control in your quick-heat outdoor oven.
You'll notice your flames shift from yellow to blue as combustion efficiency improves, though yellow flames are perfectly normal in wood-fired setups. Just make certain they don't directly touch your cooking surface.
Watch for these key visual indicators:
- Initial yellow flames with black soot accumulation on the dome
- Gradual shift to clearer flames as temperatures rise
- White dome appearance when you've reached 600-650°F
The color transformation tells you when you're reaching ideal cooking temperatures.
Don't worry if you see mixed flame colors – it's typical in wood-fired ovens and won't affect your cooking performance.
Focus on maintaining good airflow and adding small wood pieces to keep your desired temperature range.
Optimal Heat Distribution Zones
To master your quick-heat outdoor oven, you'll need to recognize its three distinct heat zones that naturally form during operation.
The high-heat zone, typically at the back or center, is perfect for achieving that crispy crust you're after. Position pizzas strategically in the medium-heat zone, found in the middle of the oven, when you want even cooking of toppings without burning the base.
You'll find the low-heat zone near the oven's entrance, which works well for gentle cooking or keeping finished pizzas warm.
To maintain these zones effectively, use an infrared thermometer to monitor temperatures and adjust your fire size accordingly. Control the heat distribution by managing your damper settings and ensuring proper ventilation through the cooking chamber while maintaining the dome's natural heat circulation pattern.
Best Times For Preheating
Although preheating requirements vary by oven type, wood-fired ovens typically need 20-60 minutes to reach perfect cooking temperatures, while some models may require up to 3 hours for thorough heat distribution.
To achieve ideal cooking results, you'll want to maintain a steady temperature of around 400°C/750°F.
For consistent heat management, follow these essential steps:
- Use an infrared thermometer to monitor your pizza stone's temperature, guaranteeing it stays within 370°C-540°C
- Add fresh wood every 20 minutes to maintain steady flames and heat
- Adjust your damper as needed – partially close it to retain heat or open it to lower temperatures
You'll know your oven's ready when you see the right amount of smoke and can verify the temperature with your laser thermometer.
This preparation guarantees you'll get evenly cooked, restaurant-quality pizzas every time.
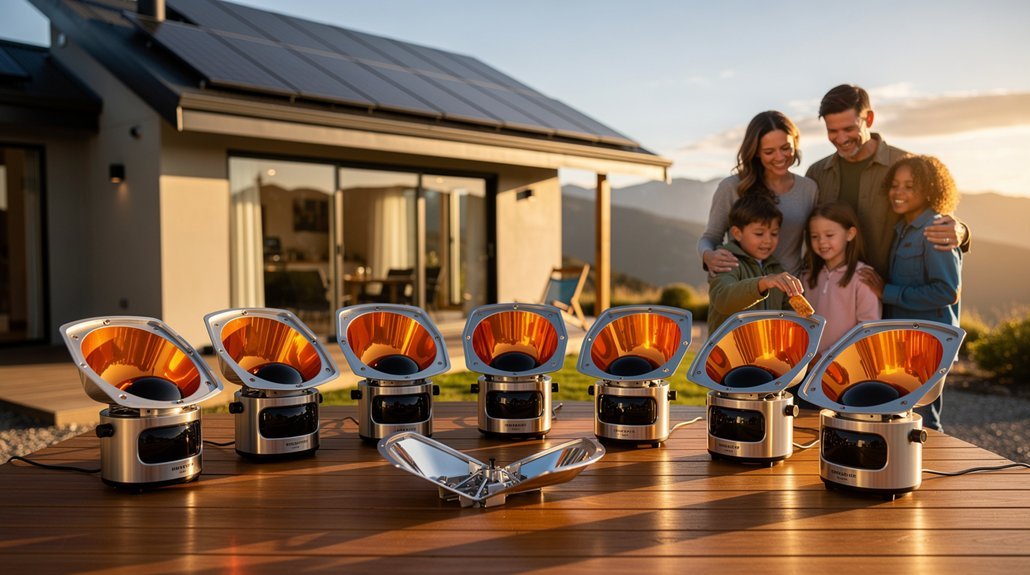
Maximizing Solar Energy Collection

Solar energy collection stands at the heart of efficient outdoor oven performance, making proper design and setup essential for ideal cooking results.
You'll want to create a box-within-box design using a large pizza box, adding insulation between the layers. Line both the interior and the reflective flap with aluminum foil, and seal the opening with plastic wrap to trap heat effectively.
To maximize heat retention, you'll need to pack newspaper or Styrofoam between the boxes and seal all gaps with tape.
Don't forget to add black construction paper at the bottom to absorb heat. Position your oven in direct sunlight, and angle the foil-covered flap to capture maximum rays.
Keep the plastic window clean and adjust the oven's position throughout cooking to maintain peak sun exposure.
Weather Conditions and Adjustments
Weather plays an essential role in your outdoor oven's performance, requiring smart adjustments for best cooking results.
You'll need to adapt your heating approach based on temperature, sunlight, and moisture levels to achieve ideal cooking conditions.
For quick heating success, follow these key weather considerations:
- Heat gradually during cold spells to protect masonry from cracking, but take advantage of warm days when you can heat faster.
- Shield your oven from strong winds that can disrupt temperature consistency and scatter ashes, using proper insulation.
- Combat high humidity by using extra-dry wood and allowing more time for the heating process.
If you're using a solar oven, you'll need direct sunlight and temperatures above 75°F for best results.
For wood-fired ovens, focus on proper ventilation and maintaining consistent heat regardless of cloud cover.
Ready to Cook Signs

Knowing when your outdoor oven is ready for cooking requires understanding key temperature indicators and visual cues.
You'll know it's time to cook when the oven reaches 400-450°C (752-842°F), which you can verify using an infrared thermometer or a dial thermometer. For a quick check, try the hand test – if you can count "2 Mississippi" near the oven's opening, the temperature is around 275-300°C.
Watch for the smoke to clear completely – this is a reliable indicator your oven's ready.
You should see glowing embers and heated walls after about 20-35 minutes of preheating. Check that your hardwood is burning efficiently with good airflow, creating strong flames and minimal smoke.
When the baking stones are thoroughly heated and heat distribution is even, you're set to start cooking.
Frequently Asked Questions
Can You Cook Multiple Pizzas Back-To-Back Without Reheating the Oven?
You can cook multiple pizzas back-to-back in electric ovens like the Ninja Woodfire™ without reheating. Just remember to shift your launch spots on the pizza stone to maintain even heat distribution while cooking.
How Long Does Wood-Fired Pizza Oven Masonry Remain Hot After Cooking?
Your wood-fired masonry oven will stay hot for several days, dropping from initial high temperatures (800-1000°F) gradually. You'll have enough heat for different cooking methods, from pizza to slow-cooking, over 2-3 days.
What Should I Do if My Oven Produces Excessive Smoke?
Use dry hardwood, guarantee proper airflow through a clean chimney, and don't overload the oven. Start your fire from top-down, maintain adequate air intake, and position wood away from the door to minimize smoke.
Does the Type of Wood Affect the Flavor of the Food?
Yes, your wood choice greatly impacts food flavor. You'll get strong flavors from hickory and oak, while fruit woods like apple and cherry provide milder, sweeter tastes. Different woods complement specific meats perfectly.
When Should I Clean the Ashes From Previous Fires?
You should clean out ashes before starting a new fire. For wood-fired ovens, remove them after each use, but if you're cooking continuously, you don't need to clean between sessions. Regular cleaning guarantees peak performance.
In Summary
You'll find heating your outdoor oven doesn't have to be a lengthy process when you follow these proven methods. By positioning your oven correctly, monitoring weather conditions, and maximizing solar collection, you're well on your way to efficient cooking. Remember to check for those ready-to-cook signs before loading your food, and you'll be enjoying solar-cooked meals in record time.

Leave a Reply