
You'll find multiple ways to preserve food without electricity during emergencies. Sun drying works well for fruits and vegetables, while root cellars keep produce fresh through natural cooling. Salt curing and smoking can preserve meats and fish effectively, and natural fermentation transforms vegetables into long-lasting foods. Traditional methods like charcoal preservation and sand storage help maintain freshness, while alcohol preservation works great for fruits. The Zeer pot cooling system and natural ice storage provide refrigeration alternatives. Don't overlook these time-tested techniques – they've helped communities survive challenging times for generations.
Sun Drying Fruits and Vegetables
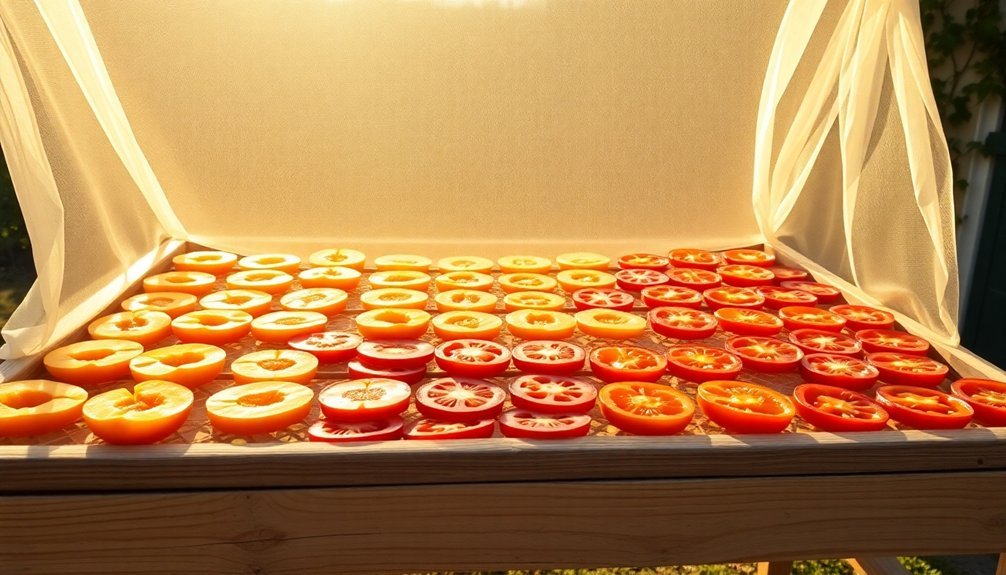
When properly executed, sun drying offers one of the most cost-effective and natural methods to preserve fruits and vegetables.
You'll need to select unblemished, ripe produce and wash it thoroughly before cutting it into uniform pieces. To prevent browning, soak your fruits in lemon juice or red wine vinegar. Free from preservatives and artificial additives, sun-dried foods maintain their natural flavors and nutrients.
Choose a sunny location with good airflow, away from pollution sources, where temperatures reach above 86°F and humidity stays below 60%.
Lay your prepared produce in a single layer on drying racks, and rotate them 180 degrees daily for even drying. Remember to bring your produce inside at night to prevent moisture buildup.
Start with high-sugar fruits like apricots and grapes if you're a beginner, then progress to vegetables like tomatoes and mushrooms once you've mastered the technique.
Root Cellar Storage Basics
Root cellars offer three essential elements for long-term food storage: cool temperatures, high humidity, and proper ventilation. You'll want to maintain temperatures between 32-40°F and humidity levels of 85-95% to effectively preserve your produce.
You can create a root cellar by converting an unheated basement, digging into a hillside, or adapting a garage. Traditional root cellars were partially buried underground to take advantage of natural insulation. Use insulation materials like straw bales or foam board to maintain consistent conditions.
When storing food, focus on root vegetables like carrots, beets, and potatoes, which thrive in these environments.
To keep your root cellar functioning effectively, you'll need to monitor conditions regularly. Check for spoilage, guarantee proper air circulation, and adjust ventilation as needed.
In dry climates, you might need to add moisture to maintain ideal humidity levels. Remove any produce showing signs of decay to prevent spread.
Salt Curing Meats
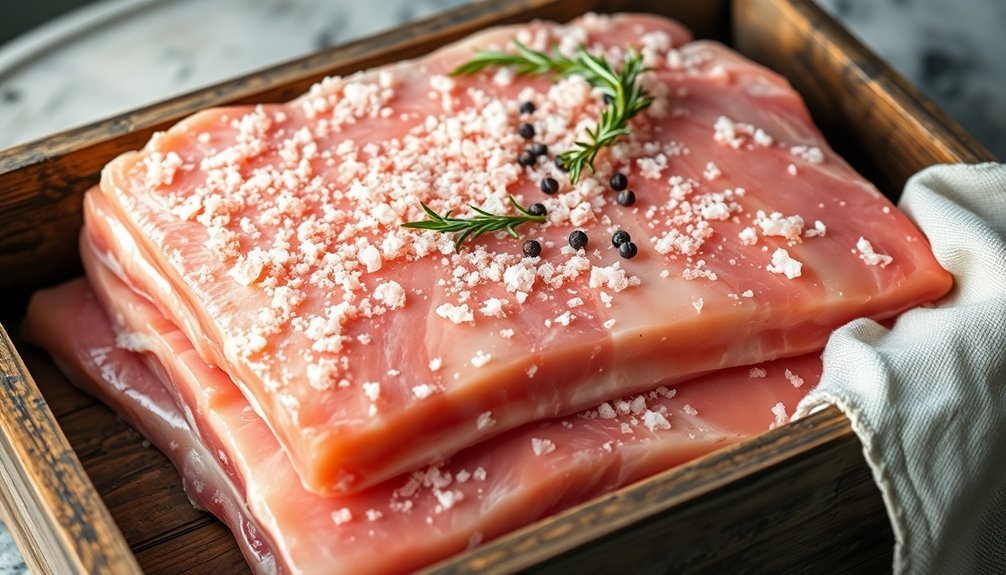
Three primary methods exist for preserving meat through salt curing: dry curing, wet curing (brining), and combination curing.
When you're facing an emergency without electricity, salt curing can be your lifeline for preserving meat. You'll need salt as your main ingredient, and you can add sugar or spices for extra flavor and preservation. The ground meat and spices can also be combined to make cured sausages.
For successful meat curing, follow these essential steps:
- Keep your curing temperature between 36°F and 40°F in a cool, dry place.
- Apply salt mixture directly to meat for dry curing, or create a brine solution for wet curing.
- Check regularly for signs of spoilage and label your meat with start dates.
- Remember to cook your cured meat thoroughly before eating, as it's still raw after the curing process.
Natural Fermentation
To start fermenting your own food, you'll need basic supplies including a clean non-reactive container, salt without additives, chlorine-free water, and a weight to keep ingredients submerged in brine.
When choosing a starter culture, opt for trusted sources like existing fermented foods (whey from yogurt) or commercial starters to guarantee safety and success.
Keep your fermentation equipment sanitized and monitor the process regularly, watching for signs of proper fermentation like bubbling and a tangy smell, while discarding any batches that show mold or off-putting odors.
Essential Fermentation Supplies Needed
Successful natural fermentation requires several essential supplies that form the foundation of your preservation setup.
You'll need appropriate vessels like wide-mouth Mason jars or ceramic crocks that won't react with the fermentation process. Quality fermentation weights and airlocks are vital to keep vegetables submerged and manage gas exchange.
- Choose non-reactive containers – stick to glass jars or ceramic crocks, avoiding metal or plastic vessels that could affect the fermentation.
- Get proper weights and airlocks – use glass weights to keep vegetables under brine and airlocks to release CO2.
- Stock up on pure salt without additives and filtered water to guarantee proper fermentation.
- Keep monitoring tools handy – pH strips and thermometers help you track the fermentation progress and maintain ideal conditions.
Starter Culture Safety Tips
Building on your fermentation supply foundation, proper starter culture practices determine the success and safety of your natural fermentation projects. When using starter cultures, select high-quality options that match your specific food type and follow proven recipes carefully. Don't rely on spontaneous fermentation, as it increases risks of dangerous end products.
| Safety Element | What You Need to Know |
|---|---|
| Temperature | Monitor specific ranges (18-22°C sauerkraut, 37°C yogurt) |
| Cleanliness | Sanitize all equipment, wash hands, keep workspace clean |
| Contamination | Use fresh ingredients, avoid moldy foods, check pH levels |
Never scrape off mold from ferments – discard them entirely. Keep your fermentation vessel clean and guarantee it allows gas release while maintaining proper anaerobic conditions. Regular monitoring helps prevent spoilage and guarantees safe, successful preservation of your emergency food supply.
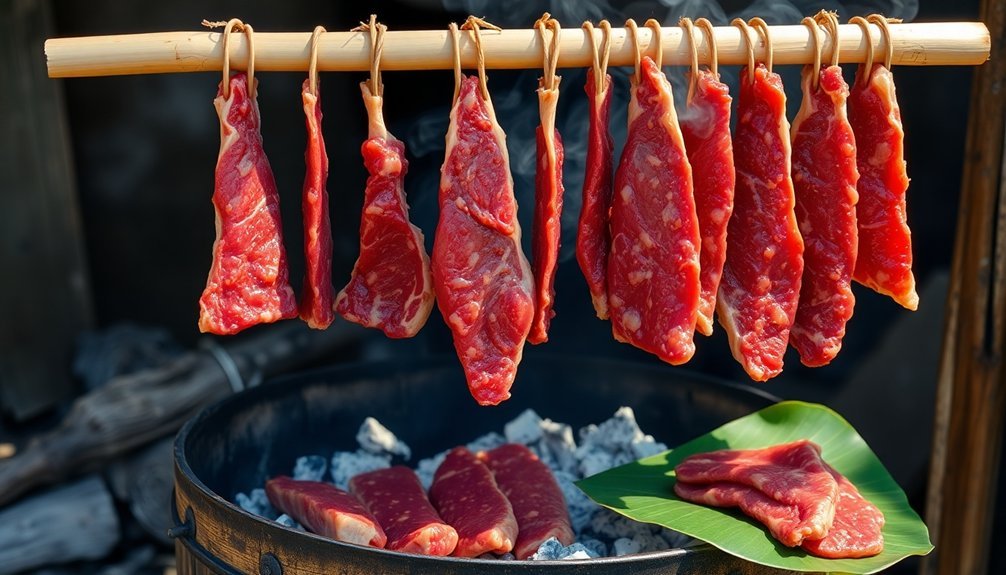
Smoking Fish and Game
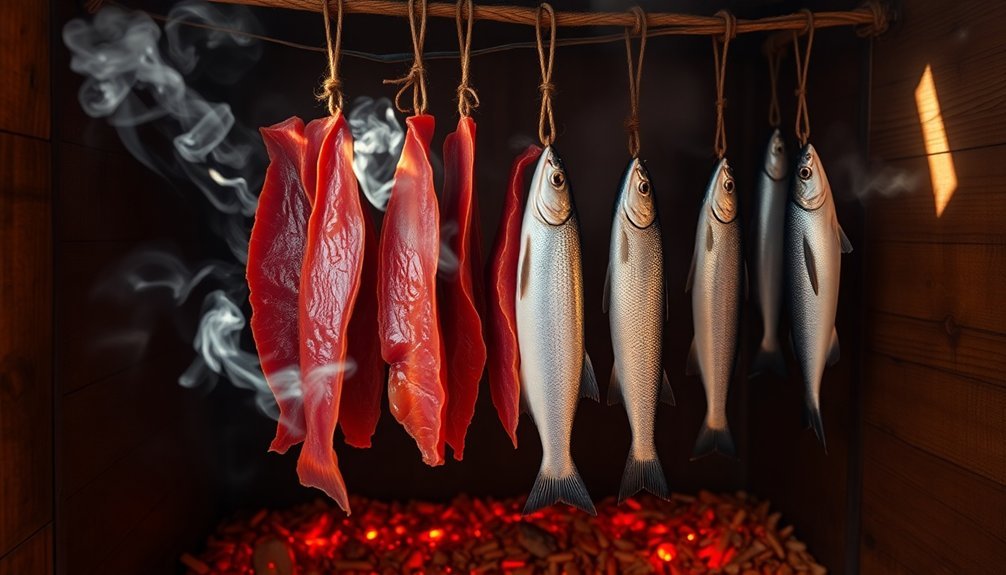
When preserving food during emergencies, smoking fish and game offers both a practical storage solution and a delicious way to enhance flavor.
You'll need a hooded grill with good ventilation and soaked wood chips like hickory, mesquite, or apple. Before smoking, clean your fish thoroughly and brine it for at least 30 minutes, then dry and season it with your preferred spices.
- Smoke at low temperatures (150°-175°) for 30-60 minutes, depending on the fish's thickness.
- Keep adding wood chips to maintain consistent smoke levels.
- Baste oily fish with cooking oil near the end to prevent drying.
- Store smoked fish in the refrigerator for up to three days or freeze it in moisture-proof wrapping.
For reheating, wrap the frozen fish in foil and heat at 300° for 20-30 minutes.
Zeer Pot Cooling System
You'll need two non-glazed terracotta pots of different sizes, sand, and water to build an effective zeer pot cooling system.
Place the smaller pot inside the larger one, fill the gap between them with sand, and keep the sand consistently wet to maintain the evaporative cooling effect.
Your zeer pot can lower the inner temperature by up to 10°C compared to the surrounding air when placed in a shaded, well-ventilated area.
Building Your Zeer Pot
Creating a Zeer pot requires just two clay pots of different sizes and some basic materials to construct this ancient cooling system.
You'll need to nest the smaller pot inside the larger one, leaving enough space between them for sand. Once you've positioned the pots, fill the gap with sand and add water until it's thoroughly moistened.
- Place your Zeer pot in a shaded, well-ventilated area where air can freely circulate around it.
- Set the pot on an elevated platform or frame to maximize airflow underneath.
- Cover the top with a damp cloth to enhance the cooling effect.
- Keep water nearby to maintain moisture in both the sand and cloth.
For best results, make sure you're using your Zeer pot in a dry climate with low humidity and good wind movement.
Materials and Temperature Control
The effectiveness of a Zeer pot cooling system relies heavily on proper material selection and temperature control principles.
You'll need two clay pots (the inner one unglazed), sand or alternative absorbents like coir dust, a cloth cover, and water. The space between the pots should be filled with wet sand, which acts as both a water reservoir and thermal mass.
Your Zeer pot can achieve up to 10ºC cooler than the ambient temperature through evaporative cooling.
For ideal performance, place it in a shady, well-ventilated area where humidity is low and airflow is consistent.
The cooling efficiency varies with materials – sand achieves about 69% efficiency, while alternatives like sawdust reach around 60%.
You can enhance the cooling effect by increasing the outer pot's radius and maintaining constant water supply.
Charcoal Preservation Methods
Modern food preservation doesn't always require electricity or complex equipment. Charcoal offers a simple, cost-effective way to preserve your food during emergencies. By absorbing moisture and reducing microbial growth, charcoal can greatly extend your food's shelf life while maintaining its quality.
- Place charcoal in polyethylene bags with plantains to extend freshness up to 30 days.
- Add 3-7g of charcoal to food storage containers to absorb excess moisture and odors.
- Use activated or coconut shell charcoal for better preservation results than ordinary charcoal.
- Combine charcoal with evaporative cooling systems like the Zeer pot for enhanced preservation.
You'll find charcoal particularly effective for preserving pre-processed foods like ground tomatoes and wet-milled beans. Its anti-bacterial properties help reduce microbial loads, while its moisture-controlling abilities create an environment that inhibits food spoilage.
Alcohol Food Preservation
Ancient civilizations discovered alcohol's remarkable preservation properties, and today it remains one of the most effective emergency food storage methods.
You'll find that 70% alcohol concentration works best, as it maintains proper hydration while killing harmful microorganisms.
To preserve fruits using alcohol, you'll need food-grade ethanol (at least 80 proof) and sugar.
Start by thoroughly cleaning your containers and fruits. Layer your fruit with sugar, then completely cover it with alcohol to prevent air pockets. The alcohol disrupts bacterial cell walls while the sugar helps with sterilization.
Store your preserved foods in a cool place and check regularly for signs of fermentation like bubbles or yeasty smells.
You don't need complex equipment, but maintaining cleanliness is essential. This method's simplicity makes it ideal for emergency situations when electricity isn't available.
Sand Storage Techniques
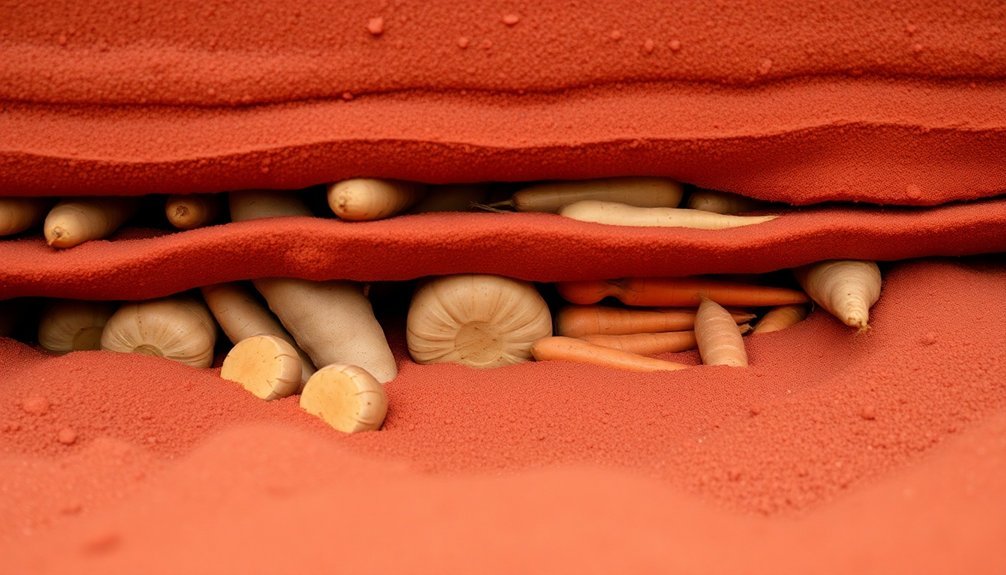
You'll find sand storage to be an effective preservation method by layering root vegetables in damp, clean sand within a well-ventilated container.
To create a desert storage box, you can use wood, cardboard, or plastic containers filled with several inches of slightly moistened sand at the bottom.
Position your vegetables with space between them, cover completely with sand, and store in a cool, dry location away from freezing temperatures.
Layering Vegetables in Sand
Sand storage, a time-tested preservation method, offers an effective way to keep root vegetables fresh for months.
You'll need fine, washed play sand and unblemished produce to get started. Let your vegetables cure in the air for a couple of days before storing them.
When layering vegetables in sand, follow these essential steps:
- Pour a few inches of slightly damp sand into your storage container.
- Position carrots and parsnips vertically to maintain their natural growth orientation.
- Add layers of vegetables, ensuring they don't touch each other.
- Cover each layer completely with sand for proper humidity control.
Remember to leave space between vegetables for air circulation and monitor the sand's moisture regularly.
With proper layering, your root vegetables can stay fresh for two to six months in a cool environment.
Desert Storage Box Construction
Building on the layering techniques, proper container construction forms the backbone of successful sand storage. You'll need to select containers that can withstand the weight of both sand and vegetables while providing adequate space for proper layering.
| Container Type | Best Location |
|---|---|
| Wooden Boxes | Root Cellar |
| Cardboard | Cool Basement |
| Buckets | Unheated Shed |
| Large Crates | Dark Garage |
For best results, use fine, washed play sand that's completely dry. Don't wash your vegetables; instead, brush off dirt and remove any green parts. Let vegetables cure for a couple of days before storage. Place your storage container in a cool, dry area with consistent temperatures that won't freeze. Verify proper ventilation and keep the container away from direct sunlight and heat sources to maintain ideal preservation conditions.
Natural Ice Storage
While modern refrigeration dominates food preservation today, natural ice storage remains a reliable method in many regions, particularly where permafrost exists.
You'll find this technique effectively used in places like Yakutia, where underground storage sheds called bulus maintain temperatures between -5 to -8°C, even when outside temperatures soar above 25°C.
You can implement natural ice storage by following these key steps:
- Collect ice during cold months (October-November)
- Store in an underground shed with proper earth insulation
- Maintain proper ventilation to keep consistent temperatures
- Layer ice with insulating materials for year-round use
The natural insulation of earth combined with proper storage techniques can provide you with enough ice to preserve food and maintain drinking water throughout the year, making it an invaluable emergency preparation method.
Frequently Asked Questions
How Long Can Preserved Foods Last Before They Become Unsafe to Eat?
You'll find properly preserved foods last varying times: freeze-dried foods up to 25 years, canned goods 2-5 years, and dehydrated foods 1-2 years. Always check for signs of spoilage before eating.
What Are Signs That Food Preservation Methods Have Failed or Spoiled?
You'll notice visible mold, slimy textures, off-putting odors, unusual discoloration, or bulging containers. Don't ignore changes in taste, texture, or smell – these are key signs your preserved food has spoiled.
Which Preservation Methods Work Best in Extremely Humid Environments?
You'll want to focus on vacuum sealing and dehydration with desiccants in humid areas. Use Mylar bags with oxygen absorbers, and consider adding silica gel packets to combat moisture. Always double-seal your containers.
Can Multiple Preservation Techniques Be Combined for Better Results?
Yes, you can definitely combine preservation methods for better results. Try pairing salt curing with smoking, or drying with vacuum sealing. These combinations will give you enhanced protection and longer-lasting food storage solutions.
What Common Household Items Can Substitute for Traditional Preservation Equipment?
You can use large cooking pots for canning, blankets for insulation, coffee filters for dehydrating, glass jars for fermentation, and clean cotton cloths for straining. Common kitchen tools work well as alternatives.
In Summary
With these nine emergency food preservation methods, you'll be prepared to keep your food supply safe without relying on electricity. Whether you're drying foods in the sun, storing root vegetables in a cellar, or curing meats with salt, you've got multiple options at your disposal. Start practicing these techniques now, while you have time to perfect them, so you're ready when traditional power sources aren't available.


Leave a Reply