To maximize solar cooking power, you'll need to properly align your cooker with true south using either a stick-shadow method at solar noon or digital tools like NOAA's calculator. Adjust your cooker's angle based on your latitude and season, typically increasing tilt by 5 degrees in winter. Position your setup in direct sunlight during peak hours (10 AM – 2 PM) and preheat for 20-30 minutes before adding food. You'll get the best results cooking in afternoon sun when UV levels are highest. Remember to realign every 1-2 hours and use windbreaks when needed. Our complete guide reveals advanced techniques to triple your solar cooking efficiency.
Finding True South Position
Finding true south is essential for properly aligning solar panels, gardens, or astronomical equipment. You can determine true south using several reliable methods.
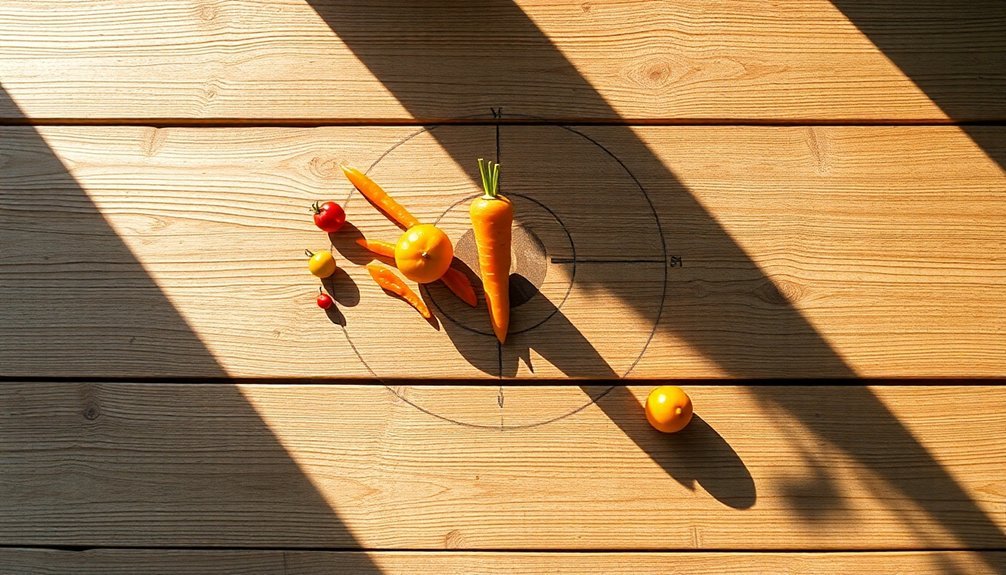
At solar noon, place a vertical stick in flat ground and mark where its shadow falls – this line points true north-south. You'll find solar noon by calculating the midpoint between sunrise and sunset times.
For nighttime orientation, locate the North Star using the Big Dipper's outer stars as a guide. True south is exactly opposite from the North Star's position.
If you're using a compass, remember to adjust for magnetic declination in your area, as magnetic declination differs from true south. The NOAA solar calculator provides highly accurate timing data for determining the exact moment of solar noon in your location.
For quick digital solutions, you can use Google Earth's latitude-longitude grid or consult online solar calculators to find precise alignments for your specific location.
Seasonal Solar Angle Adjustments
For ideal winter sunlight, you'll want to tilt your panels steeper than usual – about 5 degrees more than standard recommendations based on your latitude.
When adjusting during equinoxes, you can follow a simple schedule of March 5 and September 4 in the Northern hemisphere, which provides better year-round efficiency than just seasonal changes. Making these adjustments can help achieve 75.2% greater efficiency compared to fixed panels.
To maximize summer performance, set your panel angle to roughly your latitude minus 15-20 degrees, though at lower latitudes you might need to tilt slightly away from the equator.
Winter Tilt Angle Tips
To maximize your solar panels' efficiency during winter months, you'll need to adjust their tilt angle to compensate for the sun's lower position in the sky. Focusing panels toward true south ensures optimal sunlight capture in the Northern Hemisphere.
You can calculate the ideal winter tilt angle using three methods: add 15 degrees to your latitude, multiply your latitude by 0.875 and add 19.2 degrees, or multiply your latitude by 0.9 and add 29 degrees.
If you're in the Northern Hemisphere, adjust your panels around October 5 or September 10. For the Southern Hemisphere, make changes near April 6 or March 12.
Verify your panels maintain at least a 10-20 degree tilt to help shed snow. You can use a digital angle finder or smartphone app for precise measurements.
These adjustments can boost your energy production by 10-25% annually while reducing snow accumulation.
Equinox Adjustment Strategy
Building on winter adjustments, equinox periods present unique opportunities for enhancing your solar panel setup. During these times, you'll need to be strategic about panel positioning since the sun's rays hit Earth at a distinct angle.
You can boost your energy capture by 10-25% through proper seasonal adjustments, particularly during equinoxes when daylight and nighttime hours are equal.
To maximize your system's performance during equinoxes:
- Adjust your panels around March 30 or September 10 in the Northern Hemisphere (reverse for Southern Hemisphere)
- Clear any obstructions that might block sunlight during this vital period
- Consider installing automated tracking systems for peak alignment
If you're managing panels manually, use solar tracking software to calculate the ideal tilt angles for your location. This guarantees you're capturing maximum sunlight despite the sun's changing position.
Summer Performance Optimization
While summer brings longer days and intense sunlight, you'll need to adjust your solar panels to a flatter angle to maximize energy production. For latitudes between 25° and 50°, set your panels at an angle that's your latitude multiplied by 0.93, minus 21 degrees. Make this adjustment around April 18 in the Northern Hemisphere or October 18 in the Southern Hemisphere.
Keep your panels clean from summer dust and pollen to maintain peak efficiency. While high temperatures can reduce panel performance, the season's increased sunlight intensity more than makes up for this loss.
Consider installing a battery storage system to capture excess energy during these productive months. If you're looking for maximum gains, automated tracking systems can boost your energy output by up to 25% compared to fixed installations.
Achieving Maximum Sun Exposure

Successful solar cooking depends primarily on proper sun exposure and positioning. You'll need to place your cooker in direct sunlight, ideally during midday when the sun is at its peak. Track the sun's movement by adjusting your cooker every 1-2 hours, and verify you're using a location with unobstructed sunshine.
To maximize heat retention and cooking efficiency:
- Preheat your cooker for 20-30 minutes before adding food, using dark-colored pots to absorb heat effectively.
- Angle your reflector surfaces precisely to concentrate sunlight into the cooking area, keeping all surfaces clean and reflective.
- Seal the cooking area tightly with plastic wrap or similar materials to trap heat, and line the interior with aluminum foil for better heat reflection.
Remember to monitor and adjust the cooker's angle throughout the day to maintain ideal exposure.
Morning Versus Afternoon Cooking
Understanding the differences between morning and afternoon solar cooking can greatly impact your meal preparation success.
While morning sunlight offers gentler heat with higher red and infrared light levels, you'll find it less efficient for rapid cooking due to reduced UV intensity.
Afternoon sun provides ideal cooking conditions, especially during midday hours when UV and blue light levels peak.
You'll achieve faster cooking times and higher temperatures, making it perfect for dishes requiring intense heat.
However, you'll need to monitor your food more carefully to prevent overcooking, as afternoon sun's intensity can cause rapid temperature spikes.
Consider using morning hours for slow-cooking methods or food prep, while saving high-heat cooking for afternoon sessions.
Don't forget to adjust your cooking times based on your geographical location and seasonal variations.
Weather Impact on Setup
Beyond the timing of your solar cooking sessions, weather conditions directly shape your setup strategy and cooking success.
While you'll find that outside temperatures won't greatly affect a well-insulated solar cooker, other weather factors demand your attention. Wind poses a particular challenge, as it can dramatically reduce cooking temperatures even on sunny days.
- Set up windbreaks on gusty days to maintain consistent cooking temperatures, especially when winds exceed 25mph
- Choose a location with unobstructed sunlight, away from buildings or trees that could cast shadows
- Keep a backup cooking method ready for cloudy days, as solar cookers require direct sunlight to function effectively
Ideal Reflector Positioning
Proper reflector positioning can make or break your solar cooking results, as it directly influences how much sunlight reaches your cooking surface.
You'll want to position your reflector almost perpendicular to your cooking vessel, with angles between 0° and 10° above the horizon during winter months.
For maximum efficiency, place your reflector so it's facing south, especially if you're using a specular (mirror-like) surface rather than a diffuse one.
Make sure your reflector's length matches your cooking surface, and consider using a slightly curved shape to follow the sun's path.
You'll need to adjust the angle based on your latitude – for instance, if you're in Calgary, don't exceed 15.5° to avoid unwanted shadows.
This setup can boost your solar collection by 1.4 to 1.7 times.
Frequently Asked Questions
Can Solar Panels Be Installed Vertically on Walls for Energy Generation?
Yes, you can install solar panels vertically on walls as a viable alternative to rooftop systems. While they'll generate less energy than traditional installations, they're ideal when roof space is limited or unsuitable.
How Do Different Colored Roofing Materials Affect Solar Panel Efficiency?
Your roof's color impacts solar panel performance. Light-colored roofs reflect heat, keeping panels cooler and more efficient, while dark roofs absorb heat, potentially reducing efficiency by warming the panels above ideal temperatures.
Do Nearby Water Bodies Enhance Solar Panel Performance Through Reflection?
Yes, nearby water bodies can boost your solar panels' performance through reflection and cooling effects. You'll get up to 15% more efficiency from reflected sunlight and benefit from water's natural cooling properties.
What Impact Do Atmospheric Pollution Levels Have on Solar Panel Orientation?
You'll need to adjust your solar panels at steeper angles in highly polluted areas to reduce soiling buildup. This helps combat both direct atmospheric attenuation and the accumulation of pollutants on panel surfaces.
How Do Different Panel Materials Respond to Varying Tilt Angles?
You'll find that thin-film panels perform better at lower tilt angles, while crystalline silicon panels are more efficient at steeper angles. Amorphous silicon shows greater flexibility in tilt optimization across different orientations.
In Summary
You'll get the most from your solar cooking by mastering proper alignment with true south and adjusting for seasonal angles. Remember to track the sun's path and reposition your setup every 30 minutes for ideal exposure. Don't forget that morning sun differs from afternoon rays, and weather conditions will affect your cooking times. Keep your reflectors angled correctly, and you'll achieve consistent, efficient solar cooking results.


Leave a Reply