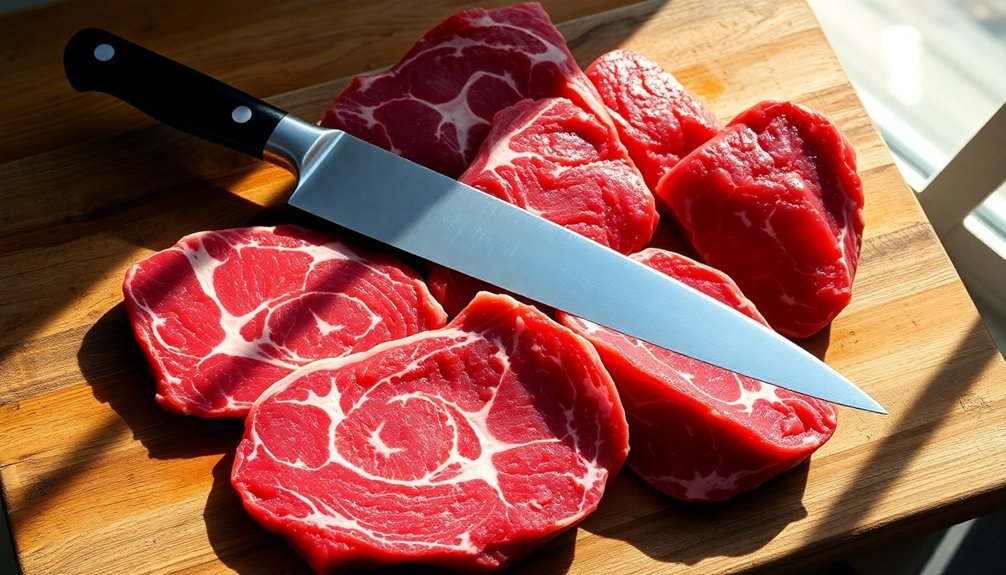
When cutting meat for sun-drying, you'll need the right tools and techniques to achieve ideal results. Start with a sharp carving or butcher knife, and slice against the grain to guarantee tender strips that dry evenly. Keep your cuts uniform, aiming for strips between 1-2 cm thick for consistent drying times. For different meat types, adjust thickness accordingly: thinner for lean cuts, slightly thicker for fattier pieces. Finally, hang your strips with proper spacing to allow maximum airflow during the drying process. These fundamental steps will set you up for success, but there's much more to mastering the art of sun-dried meat preparation.
Proper Knife Selection

Four essential types of knives stand out when it comes to cutting meat properly: carving knives, boning knives, butcher knives, and Japanese-style slicing knives.
You'll want to use carving knives (8-12 inches long) for your roasts, briskets, and poultry. They feature pointed or rounded tips that work perfectly for both bone-in and boneless cuts. High-end carving knives with smooth handles can be slippery when working with greasy foods.
For removing meat from bones, you'll need a boning knife with a 4-8 inch blade – choose wider blades for raw meat and narrower ones for precision work.
Butcher knives excel at dicing and cubing meat, while their rock-hollow divots make breakdown easier.
If you're after ultra-thin slices, grab a Japanese-style slicing knife. These thin-bladed knives feature rippled surfaces to prevent sticking and incredibly sharp edges sharpened to 9-12 degrees.
Against The Grain Cutting
While identifying the meat's grain might seem challenging at first, it's actually quite straightforward once you know what to look for. Search for visible lines or striations on the meat's surface – these indicate the direction of muscle fibers. You can also gently pull the meat apart to see how the fibers separate.
Position your meat on a stable cutting board with the grain running parallel to the board's edge. Using a sharp knife will prevent tearing of the meat fibers and ensure clean cuts. If you're working with larger cuts, consider dividing them into manageable portions first.
Then, hold your knife perpendicular to the grain and make slow, even slices across the muscle fibers. Cutting against the grain isn't just technique – it's essential for tenderness.
This method breaks down tough muscle fibers, making your meat easier to chew and more enjoyable to eat, especially with cuts like flank steak or brisket.
Uniform Strip Sizes
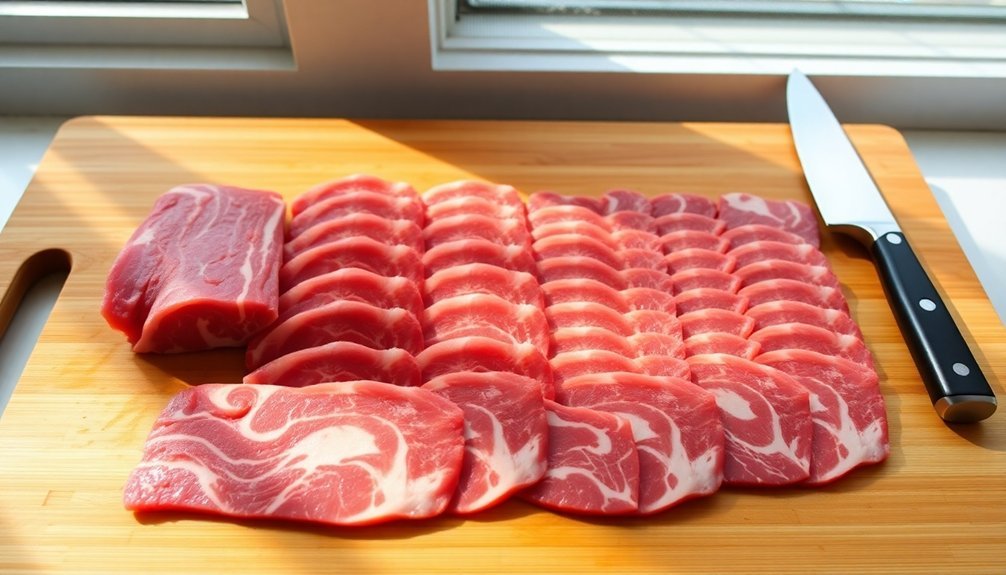
Now that you've mastered cutting against the grain, achieving uniform strip sizes will elevate your meat preparation to the next level. To get consistent strips, you'll need a sharp chef's knife and a stable cutting board. Bring your meat to room temperature and remove any bones or cartilage before starting.
Begin by trimming excess fat and creating a rectangular shape. You'll want to use the crosscut technique, establishing a stable base before making horizontal slices. Keep your knife movements smooth and controlled – no hacking or sawing motions. For chicken breast portions, aim for 1.5 to 2 inches wide to ensure proper cooking and serving sizes.
For precise measurements, don't hesitate to use a ruler as a guide. If you're working in larger quantities, consider using a meat slicer for perfect uniformity. Remember to maintain consistent pressure and follow standard thickness tolerances for professional results.
Thickness Based On Meat Type
Selecting the right thickness for each cut of meat makes all the difference in achieving perfect results.
When you're preparing premium steaks, aim for 1.5 to 2 inches thick for ribeyes and New York strips, while filet mignon works best at 1 to 1.5 inches. For bone-in cuts like T-bones and porterhouse steaks, stick to 1.5 to 2 inches to guarantee even cooking and moisture retention.
If you're slicing meat for drying, keep your strips between 1 to 2 cm thick, as uniform thickness guarantees consistent results.
For deli-style cuts, you'll want to adjust based on your needs: go paper-thin at less than 1/16 inch for shaved meat, or up to 3/16 inch for thick-sliced portions.
Remember that thinner slices work best for sandwiches and charcuterie boards, while thicker cuts are ideal for main dishes.
Hanging And Air Flow
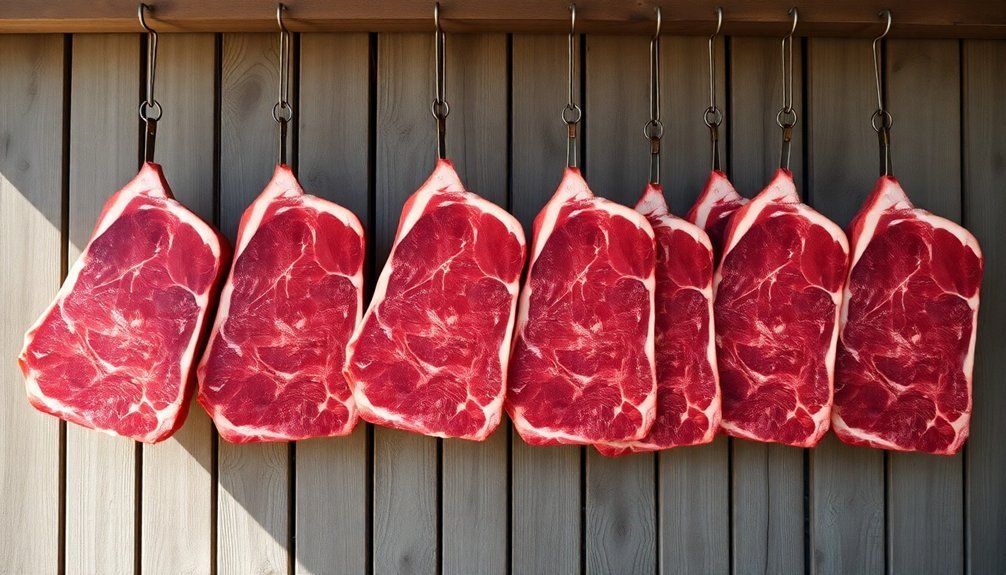
To achieve ideal drying results, proper hanging techniques and air circulation are critical when preserving meat.
You'll need to suspend each strip individually using metal hooks, loops, or clips, ensuring they don't touch each other or any surfaces. This prevents moisture buildup and promotes even drying.
Your drying area should have warm, dry air with humidity around 30 percent and consistent temperatures.
Don't overcrowd your drying space – arrange the strips with enough room for air to flow freely around them. You can use drying racks to maintain proper spacing and exposure to air.
If you're using a salt solution pre-treatment, make sure to drain excess moisture before hanging.
Remember to monitor the drying conditions regularly and maintain strict hygiene practices to prevent contamination.
Frequently Asked Questions
How Long Should Meat Strips Be Exposed to Direct Sunlight?
You'll need to expose your meat strips to direct sunlight for 3-8 days, depending on weather conditions. The process works fastest in hot, dry weather and can take just 3 days in temperatures around 104°F.
Can I Dry Meat Strips in Partial Shade Instead of Full Sunlight?
Yes, you can dry meat strips in partial shade. It's actually beneficial to move them into shade after initial sun exposure. This helps maintain moisture balance and prevents over-drying, while still ensuring proper preservation.
What Time of Day Is Best for Starting the Sun-Drying Process?
You'll want to start drying your meat early in the morning to maximize daylight hours. Be sure to avoid peak sun hours, and you can gradually increase exposure time as the meat dries.
Should Meat Strips Be Covered With Mesh to Protect From Insects?
Yes, you'll definitely need to cover your meat with fine mesh during the drying process. It'll protect against insects while maintaining proper airflow. Use mesh with at least 256 holes per square inch.
Does the Color of the Drying Surface Affect the Meat Drying Process?
You'll want to use a dark-colored drying surface since it absorbs more heat and speeds up the drying process. However, don't let the surface get too hot, as it can cook rather than dry your meat.
In Summary
You'll find that properly cut meat makes all the difference in successful sun-drying. Remember to keep your knife sharp, cut against the grain, and maintain consistent strip sizes. Don't forget to adjust thickness based on the type of meat you're working with. When hanging your cuts, guarantee proper airflow between pieces. Follow these techniques, and you'll achieve evenly dried, flavorful results every time.


Leave a Reply