
For outdoor bread baking, you'll find dark carbon steel and cast aluminum pans are your best options. These materials excel at heat distribution and absorption, creating perfectly browned crusts on your loaves. You can't go wrong with a thick, multi-layered aluminum pan for its durability and consistent heat retention, while tin-plated steel works great for delicate pastries. When using these dark pans, remember to reduce your baking temperature by 25°F to prevent over-browning. To maintain your pan's performance, clean it with campfire ashes and store it in a breathable canvas bag. The right dark pan will transform your outdoor baking game, and there's so much more to discover about maximizing your results.
Dark Pan Material Benefits
Dark pans revolutionize outdoor bread baking with their superior heat absorption capabilities.
You'll find that dark metal pans and carbon steel options excel at heat distribution, giving you perfectly browned crusts on your outdoor-baked bread.
When you're baking outdoors, you'll want pans that can withstand temperature fluctuations. Dark pans may require you to reduce baking temperature to prevent over-browning of your bread.
Cast aluminum dark pans offer excellent heat retention while keeping your equipment lightweight for portability.
If you're working with delicate pastries, tin-plated steel pans provide even heat distribution that's essential for consistent results.
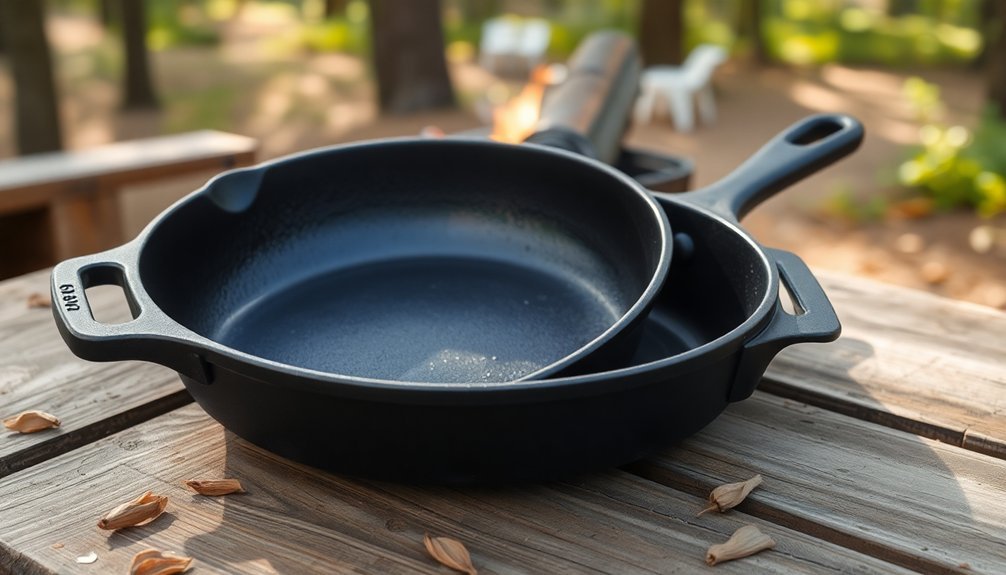
Choosing Outdoor Baking Pans
When selecting pans for outdoor bread baking, you'll need to take into account both material composition and heat retention capabilities. Thick, multi-layered dark pans made from aluminum and steel combinations work best for outdoor environments, as they provide superior heat distribution and durability against warping. Covered stone bakers are particularly effective for outdoor baking, as they lock in moisture while creating an ideal environment for crusty loaves.
For ideal outdoor baking results:
- Choose anodized aluminum pans to prevent unwanted reactions with acidic bread ingredients.
- Look for pans with straight sides and at least 2" clearance for proper heat circulation.
- Select thicker, insulated pans that maintain consistent temperatures despite outdoor conditions.
Remember to reduce your temperature by 25°F when using dark pans, and check for doneness earlier than usual. These adjustments will help you achieve the perfect crust and even baking, even in variable outdoor conditions.
Heat Distribution Techniques

Understanding heat distribution in outdoor bread baking builds directly on your pan selection.
When using dark pans outdoors, you'll need to monitor temperatures carefully as they absorb and distribute heat more rapidly than light-colored alternatives. You'll want to reduce your cooking temperature by 25°F to prevent over-browning and uneven crust formation. Placing a damp towel near your baking setup can help achieve proper steam retention levels.
To optimize heat distribution, consider using materials with high thermal conductivity and heat retention properties. You can enhance heat transfer by placing stone or brick surfaces beneath your pan, creating a more stable baking environment.
If you're baking at high altitudes, you'll need to increase your temperature by 25°F to compensate for lower air pressure, while also adjusting your dough's hydration levels for proper oven spring and crust development.
Temperature Control Methods
Since outdoor baking presents unique temperature challenges, mastering control methods becomes essential for consistent results. When using dark pans outdoors, you'll want to reduce your baking temperature to 325°F, particularly with charcoal heat sources. This lower temperature prevents burning while ensuring thorough baking of your bread. Environmental factors like humidity and wind can significantly impact your baking success rate.
For ideal temperature control in outdoor baking, remember these key points:
- Place 15 charcoals on top and 9 on bottom for a 12" Dutch oven, rotating both lid and bottom every 5-10 minutes.
- Monitor internal bread temperature with an instant-read thermometer, aiming for 190°F for completion.
- Use cold or iced water in your dough during hot weather, and reduce yeast amounts to prevent over-proofing.
Adjust these methods based on weather conditions and protect your heat source from wind using appropriate shields.
Essential Pan Features
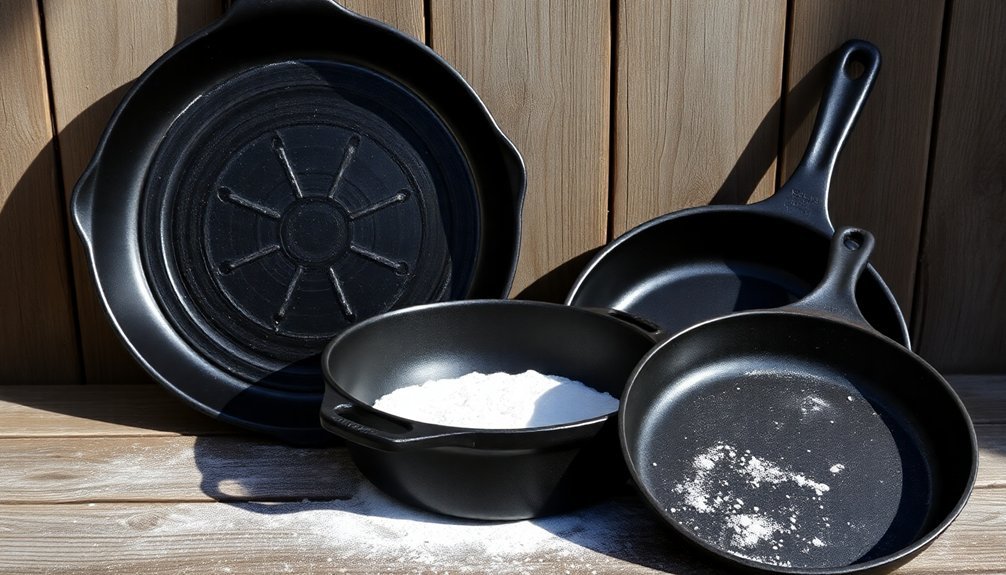
Dark pans' distinctive features make them particularly suitable for outdoor bread baking. They're designed to absorb and distribute heat quickly, ensuring your bread develops a perfectly crispy crust even in variable outdoor conditions.
| Feature | Benefit |
|---|---|
| Dark metal surface | Promotes faster heat absorption and even distribution |
| Enhanced browning ability | Creates perfectly golden crusts on bread loaves |
| Heat radiation properties | Maintains consistent baking temperature outdoors |
When choosing your outdoor bread baking pan, you'll want to take into account these essential characteristics. The pan's material should be durable enough to withstand outdoor elements while maintaining its heat distribution properties. Remember to adjust your baking time and temperature, as these pans heat up faster than lighter alternatives. For best results, position your dark pan in the center of your outdoor oven and consider using a protective baking sheet underneath.
Cast Iron Dutch Oven Tips
You'll need precise temperature control when using your Dutch oven outdoors, starting with a 450°F preheat and adjusting down to 425°F if you notice excessive bottom browning.
A well-seasoned Dutch oven helps prevent dough from sticking and creates a better crust, so maintain your pan's seasoning by cleaning it properly and applying a thin coat of oil after each use.
For consistent results, always let your Dutch oven reach the target temperature before adding your dough, and use parchment paper for easy transfer.
Temperature Control Essentials
While mastering outdoor bread baking requires practice, controlling your Dutch oven's temperature doesn't have to be complicated. You'll get consistent results between 350°F-374°F using the simple 2x Rule: use twice as many charcoal briquettes as your Dutch oven's diameter, placing ⅓ below and ⅔ on top.
For more precise control, try the Dinwiddie Ring Method, which creates specific temperature zones by arranging charcoal in rings.
To prevent burning, you'll want to:
- Use parchment paper or coarse cornmeal to protect your dough
- Avoid placing the Dutch oven directly on hot stones or steel
- Consider using aluminum foil as a bottom insulator
Remember that briquettes typically last about 50 minutes before needing replacement, so time your baking accordingly.
While exact temperature control isn't possible, these methods will help you achieve reliable results.
Seasoning Your Dutch Oven
Properly seasoning your cast iron Dutch oven creates a durable, nonstick surface that's essential for outdoor bread baking. Start by removing the protective wax coating using hot soapy water or melting it off at 400°F in your oven. Once clean and dry, you're ready to season.
| Step | Temperature | Duration |
|---|---|---|
| Initial Oil | 375°F | 60 min |
| Second Layer | 375°F | 60 min |
| Final Layer | 375°F | 60 min |
Apply a thin layer of vegetable oil to all surfaces and bake upside down at 375°F for one hour. You'll need to repeat this process three times for best results. After each use, maintain the seasoning by cleaning and applying a light coat of oil. Don't use acidic ingredients, as they'll damage your carefully crafted seasoning.
Adapting Indoor Pans Outdoors

Although indoor baking pans can work outdoors, they require specific adaptations for ideal performance. When moving your favorite indoor pans to an outdoor setting, you'll need to adjust your baking approach to accommodate different heat sources and environmental factors.
- Reduce your baking temperature by 25 degrees when using dark metal pans outdoors, as they'll absorb heat more quickly and could cause over-browning.
- Replace your usual parchment paper with a thorough coating of pan release spread or oil, since paper can be hazardous over open flames.
- Monitor your bread's progress more frequently than indoor baking, checking for doneness 10-15 minutes earlier than usual.
Remember to choose pans made from durable materials like cast iron or enameled cast iron, which can handle outdoor temperature fluctuations while maintaining consistent heat distribution.
Pan Maintenance While Camping
You'll need clever solutions to clean your dark baking pans without running water, such as using cooled campfire ashes as a natural abrasive cleaner.
To prevent rust during your camping trip, thoroughly dry your pans after each use and store them in a breathable canvas bag rather than plastic.
When facing dents or scratches in the field, you can smooth minor damage with fine-grit sandpaper and immediately re-season the affected area with oil.
Cleaning Without Running Water
When camping in remote locations, maintaining clean baking pans becomes a unique challenge that requires alternative cleaning methods. You'll need to adapt your cleaning approach based on your pan's material and available resources.
For cast iron pans, you can use the salt and oil method when water isn't available. While the pan is still warm, scrape off food debris with a metal spatula, then use kosher salt and oil with a paper towel to remove remaining residue.
- Use a copper or steel scrubber for regular pans, as copper offers antimicrobial benefits.
- When water's available, rinse thoroughly and sterilize in the campfire for 10-15 minutes.
- Always dispose of cleaning materials properly, keeping water sources uncontaminated.
Remember to apply a light coat of oil after cleaning cast iron to maintain its seasoning.
Preventing Rust When Camping
Since exposure to moisture and outdoor elements can quickly damage cookware, protecting your dark baking pans from rust becomes essential during camping trips.
After each use, rinse your pans with hot water and dry them thoroughly with a clean cloth.
Don't use soap, as it'll strip away the protective seasoning. Instead, remove stuck-on food with a non-abrasive tool like a chain mail cleaner.
Once clean, apply a thin coat of oil to create a barrier against moisture.
Never let your pans soak or sit wet, as this invites rust formation.
When storing at your campsite, keep them in a dry place away from morning dew and rain.
If you're cooking over a fire, use coals rather than wood to minimize soot buildup, which can trap moisture and lead to rust.
Quick Field Repair Tips
Maintaining your dark baking pans while camping goes beyond rust prevention – you'll need quick solutions for unexpected issues that arise in the field.
When your pans get charred from campfire use, let them cool completely and use cooled ashes as a natural abrasive. Don't forget to wear gloves for protection.
For the best results in maintaining your pans while camping:
- Apply a soapy paste to the exterior before using them over the fire – this makes cleanup much easier
- Use OxiClean soaks for stubborn soot when the paste method wasn't applied
- For titanium pans, place them directly in the fire to naturally sterilize and clean without scrubbing
After cleaning, thoroughly rinse your pans and dry them completely.
For extra shine, you can use metal polish like Flitz, but make sure you wash the pan well before the next use.
Top Dark Pan Recommendations
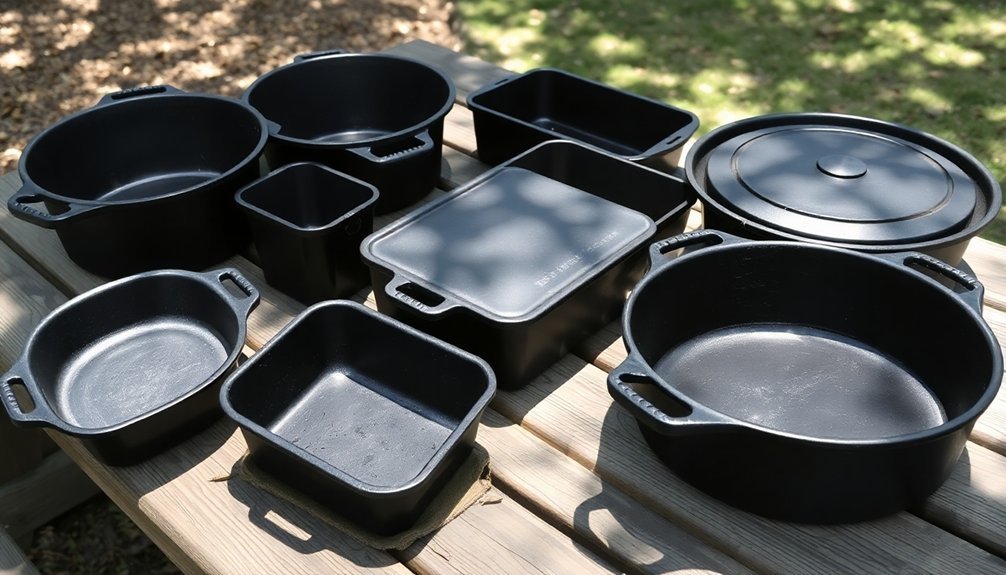
A baker's choice of dark pan can make or break their outdoor bread-baking success. For reliable outdoor baking, you'll want to take into account the Chicago Metallic Commercial II, crafted from aluminized steel that guarantees even browning and resists warping in variable temperatures.
If you're looking for a premium option, the Hestan Provisions OvenBond Tri-ply offers heavy-duty construction with wide handles that are especially helpful when wearing outdoor cooking gloves.
The Great Jones Breadwinner, with its ceramic nonstick coating, makes bread removal easier in field conditions. For intense browning that's perfect for crusty outdoor loaves, try the All-Clad Loaf Pan.
Remember to lower your cooking temperature by 25 degrees when using these dark pans to prevent over-browning in outdoor conditions.
Bread Recipes for Dark Pans
Your success with crusty sourdough in dark pans starts with proper temperature control and steam management during the first 20 minutes of baking.
When using a Dutch oven outdoors, you'll want to preheat it thoroughly and maintain consistent heat by protecting it from wind.
For both methods, you'll achieve the best results by following the egg wash technique and monitoring internal bread temperature to reach 195-200°F before removing from heat.
Crusty Sourdough Success Tips
While mastering crusty sourdough in dark pans requires careful attention to detail, you'll find the process more manageable by following proven techniques. Your dark aluminized steel pan will help achieve that perfect brown crust faster than lighter alternatives, typically in about 55 minutes at 500°F.
For ideal results in outdoor baking, focus on these essential elements:
- Use a Dutch oven with coals on top and bottom to create perfect steam conditions
- Score your dough deeply before baking to control steam release and prevent unwanted bursting
- Monitor internal bread temperature until it reaches 206°F, adjusting baking time as needed
Remember to cold-proof your dough overnight for better fermentation and crust development.
For extra browning, you can apply an egg wash or coffee glaze during baking.
Dutch Oven Bread Basics
Creating delicious Dutch oven bread starts with understanding the basic recipe and essential techniques.
You'll need three cups of all-purpose flour, two teaspoons of active dry yeast, and sea salt, combined with warm water at 105°F.
Mix your ingredients until they form a ball, then let the dough ferment for 18-24 hours at room temperature, covered with plastic wrap and a damp towel.
Once fermented, shape your dough on a floured surface. While your oven preheats to 450°F with the Dutch oven inside, keep the dough covered with a floured towel.
Transfer your dough to the heated Dutch oven using parchment paper or cooking spray.
Bake covered for 30 minutes, then uncovered for 15 minutes until golden brown.
Let it cool completely before slicing.
Troubleshooting Common Baking Issues

When baking bread outdoors with dark pans, several common issues can affect your results, but they're often easy to fix once you understand the cause.
Dark pans can intensify heat absorption, potentially leading to over-browning or burning if you don't adjust your baking time and temperature accordingly.
Watch for these critical points when using dark pans outdoors:
- Keep pans spaced apart for proper air circulation and even baking
- Lower your cooking temperature by 25°F to prevent excessive browning
- Monitor your bread's internal temperature for doneness instead of relying on color
If your bread isn't rising properly, check your yeast's activity and water temperature.
For ideal texture, confirm you've kneaded the dough sufficiently and provided adequate moisture during proofing.
Frequently Asked Questions
Can Dark Pans Be Pre-Heated Empty Over Campfire Coals?
Yes, you can preheat empty dark pans over campfire coals. Just make sure you're monitoring the temperature, using heat-resistant gloves, and keeping the pan stable. Don't let it get too hot to avoid warping.
How Do High-Altitude Conditions Affect Baking Times in Dark Pans Outdoors?
You'll need to extend baking times considerably, as dark pans absorb more heat and high altitude slows cooking. Watch carefully for over-browning, and consider reducing your heat source to prevent burning the exterior.
What's the Maximum Temperature Dark Pans Can Withstand in Direct Sunlight?
You can't pinpoint a universal maximum temperature for dark pans in sunlight – it varies by material. Cast iron handles extreme heat well, but you'll need to check your specific pan's manufacturer guidelines for temperature limits.
Should Dark Pans Be Seasoned Differently When Used Primarily for Outdoor Baking?
No, you don't need to season dark pans differently for outdoor use. However, you'll want to apply a slightly thicker oil coating since outdoor temperature fluctuations can be more demanding on the seasoning.
Can Dark Pans Be Buried in Hot Sand for Traditional Desert Baking?
You shouldn't bury dark pans in hot sand for desert baking – there's no historical evidence supporting this method. It's not a traditional technique and could damage your pans. Use proper outdoor baking equipment instead.
In Summary
You'll find that dark baking pans are essential tools for successful outdoor bread baking. Remember to choose heavy-gauge materials, maintain proper seasoning, and protect your pans from extreme temperature changes. Whether you're using cast iron or dark-coated steel, these pans will help you achieve that perfect golden crust. Keep your pans clean and stored properly, and they'll serve you well on countless outdoor baking adventures.


Leave a Reply