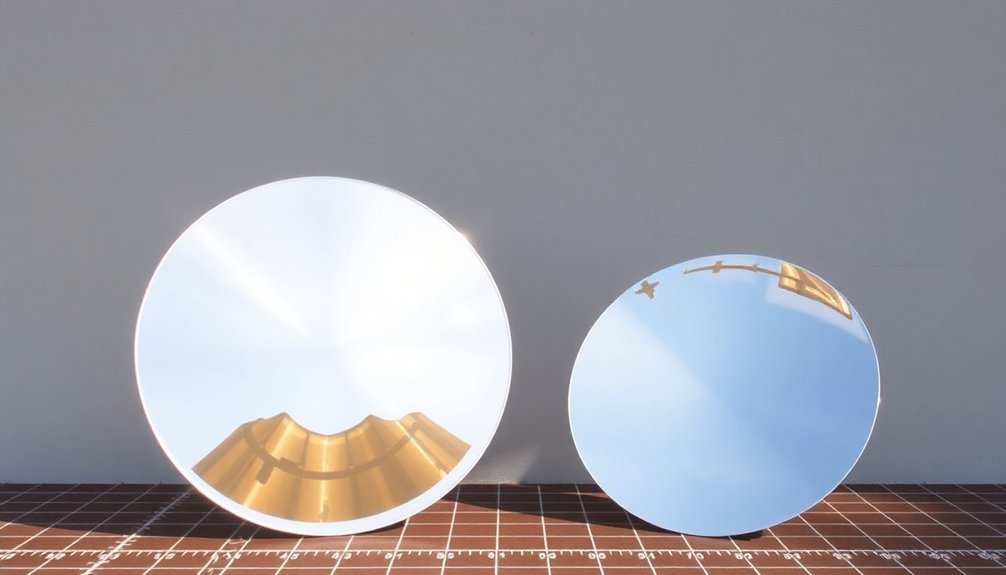
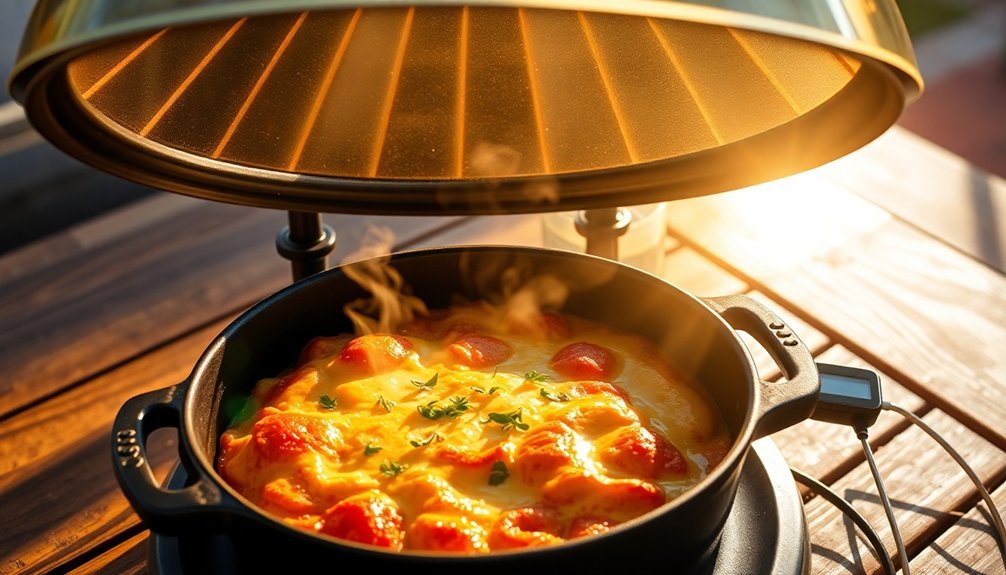
Position your reflectors at no more than 22.5 degrees from perpendicular to the sun's rays for maximum heat generation. Your reflector setup needs a sturdy mount that allows for easy angle adjustments throughout the day as the sun moves. For taller reflectors, maintain a 20-degree angle, while shorter ones work best between 110-120 degrees. Keep the reflective surfaces spotlessly clean and use highly reflective materials like heavy-duty aluminum foil. Test your setup using a flashlight to visualize heat direction, and don't forget to account for seasonal sun changes. Proper angle positioning is just the beginning of maximizing your solar cooking potential.
Optimal Angles for Heat Generation

When designing a solar oven, the angle of your reflectors plays a crucial role in maximizing heat generation.
You'll find that specific angles create maximum heat reflection, with 45 degrees being particularly effective for Heaven's Flame ovens and 60 degrees working well for Global Sun Ovens.
For maximum efficiency, you shouldn't position your reflectors more than 22.5 degrees from perpendicular to the sun's rays. If you're working with taller reflectors, maintain a 20-degree angle to guarantee even heat distribution across your cooking surface. The ideal positioning between your reflectors and glazing should fall within 112.5 to 110 degrees.
You'll need to adjust these angles based on your reflector size. Longer reflectors require more acute angles for efficient heat reflection, while shorter ones work better with shallower angles. Using multiple reflector panels helps capture sunlight when the sun is positioned low in the sky.
When you're determining the best angle, consider that the reflected light from the upper edge should reach the far side of the glazing.
Remember to design your reflectors with adjustability in mind, as you'll need to modify angles throughout the year to accommodate seasonal changes in the sun's position.
Setting Up Your Reflector Position
Now that you understand the ideal angles for your solar oven, proper reflector positioning will turn those angles into maximum cooking power. For the best heat generation, you'll want to focus on both the angle and material quality of your reflector setup.
Higher angles around 79.3° typically deliver better temperature increases compared to lower angles, but you'll need to adjust this based on the sun's position throughout the day. Using materials like heavy-duty aluminum foil will provide longer-lasting reflective properties since regular kitchen foil can oxidize quickly.
- Mount your reflector on a sturdy support system that allows for easy angle adjustments – a simple pivoting mechanism using twine and a rope cleat works well.
- Choose highly reflective materials like aluminum foil or shiny gift wrap, ensuring they're securely attached and free from damage.
- Position your reflector to face the sun directly, focusing the reflected light onto your cooking pot.
- Keep the reflective surface clean and well-maintained to maintain top performance.
Remember to account for environmental factors like wind when setting up your reflector. You'll need to adjust your reflector's position throughout the day to track the sun's movement, and seasonal adjustments will help maintain peak efficiency as the sun's path changes.
Size Impact on Angle Choice

The size of your reflector plays a crucial role in determining the best angle for maximum heat concentration.
If you're working with a shorter reflector, you'll need to maintain shallower angles, typically between 110 to 120 degrees, to guarantee maximum heat retention. Be precise with your adjustments, as even slight misalignments can substantially reduce your cooking efficiency.
For taller reflectors, you'll want to use more acute angles, generally less than 22.5 degrees from perpendicular. These sharper angles, usually between 110 and 112.5 degrees, help create more stable structures and trap heat more effectively. Your tall reflector's performance heavily depends on maintaining these specific angles.
If you're using variable or adjustable reflectors, you'll need to adapt your angles based on both the reflector's length and the sun's position. Keep in mind that bigger isn't always better – larger reflectors may actually decrease efficiency if rays miss their target. Using dense reflector materials will significantly improve the amount of heat retained and reflected back to your cooking area.
Through experimental testing, researchers have found that different angles (such as 10.2°, 39.5°, and 79.3°) produce varying temperature increases. You'll achieve the best results by matching your reflector's angle to its size and your cooker's specific design.
Temperature Control Through Reflection
Successfully managing temperature through reflection requires understanding multiple heat transfer mechanisms. When you're working with reflective surfaces, you'll need to think about how radiation, conduction, and convection work together to achieve your desired cooking temperature.
For the best temperature control through reflection, you'll need to master these essential aspects:
- Keep your reflector surfaces spotlessly clean – even minor dirt can reduce optical efficiency by disrupting the reflection of sunlight to the focal point.
- Adjust your reflector angles precisely throughout cooking to compensate for Earth's rotation and maintain consistent heat.
- Use proper insulation around your cooking vessel to prevent heat loss and maintain stable temperatures.
- Think about implementing a dual-angle approach for better sunlight capture, especially during morning and evening hours.
Your reflector shape plays a vital role in temperature management. Parabolic reflectors can concentrate sunlight effectively, achieving up to 75% optical efficiency when properly positioned. Using activated-carbon-coated aluminium for reflective surfaces can dramatically improve cooking effectiveness and heat concentration.
You'll get the best results by combining high-quality reflectors with well-insulated cooking vessels. Remember that seasonal variations require different angle adjustments – what works in summer won't necessarily work in winter for maintaining your target cooking temperature.
Testing Your Reflector Setup

Setting up your reflector system correctly requires careful testing to guarantee efficient heat distribution for cooking. You'll need to follow the fundamental principle that the angle of incidence equals the angle of reflection, typically starting with a 45-degree angle for maximal heat distribution. Just as in LED panel positioning, multiple angles create more dynamic and effective coverage.
Begin testing with a basic light source, like a flashlight, to visualize how your reflectors direct heat. Use white cardboard or foam board for initial experiments before investing in professional equipment. You'll want to adjust distances and angles while monitoring temperature changes across your cooking surface.
| Test Factor | What to Check | Adjustment Needed |
|---|---|---|
| Angle | Heat distribution | Modify tilt until even |
| Distance | Heat intensity | Move closer/farther |
| Coverage | Dead spots | Reposition reflectors |
If you notice uneven heating, make iterative adjustments to your setup. Watch for hot spots that could burn food and cold zones that might leave portions undercooked. Address glare issues by repositioning reflective surfaces, and use diffusers if needed. For multi-source setups, confirm each reflector complements rather than interferes with others. Test your configuration thoroughly before actual cooking to achieve consistent, controlled heating across your cooking surface.
Frequently Asked Questions
How Often Should Reflector Surfaces Be Cleaned for Optimal Performance?
You'll need to clean your reflector surfaces before each use and inspect them regularly. If you're using your solar cooker frequently or during dusty conditions, you should clean them more often for best results.
Can Reflectors Be Used Effectively on Cloudy or Partially Overcast Days?
Yes, you can still use reflectors effectively on cloudy days. They'll help maximize available diffused light, though you'll get reduced performance. For best results, adjust your reflector angles frequently as clouds move overhead.
What Material Is Best for DIY Reflector Construction at Home?
You'll get the best results using aluminum foil attached to cardboard or poster board. It's cheap, easy to work with, and effectively reflects heat. For durability, consider using anodized aluminum sheets instead.
How Do Wind Conditions Affect Reflector Positioning and Stability?
Strong winds can destabilize your reflectors and reduce cooking efficiency. You'll need to secure them firmly and may want to add wind breaks. Consider adjusting angles more frequently to maintain maximum heat concentration.
Are There Safety Precautions When Handling Reflectors at Maximum Heat Capacity?
You'll need heat-resistant gloves and never touch hot reflectors directly. Keep proper clearance, guarantee secure mounting, and wait for complete cooling before adjusting. Don't leave them unattended while at maximum heat.
In Summary
You'll find that mastering angle reflectors transforms your cooking efficiency. When you've positioned them at 45-60 degrees and confirmed proper sizing, you're ready to start experimenting. Test your setup by monitoring temperature changes and adjusting as needed. Remember, you can always fine-tune the angles to match your specific cooking requirements. With practice, you'll achieve consistent, optimized heat reflection for perfect results every time.


Leave a Reply