
You'll dramatically boost your sun oven's heat output by optimizing five key elements. Start with properly angled reflectors, tilting them steeper for low sun and shallower for high sun positions. Track the sun's movement every 30 minutes, repositioning your oven to maintain maximum exposure. Add thermal mass through dark-colored cookware and heat-absorbing materials like black construction paper. Place your oven strategically between 11 AM and 3 PM when sun intensity peaks, using dark pots on raised racks for better heat circulation. Finally, wrap multiple layers of quality insulation around all sides except the glazing. These proven techniques will transform your solar cooking experience into something extraordinary.
Maximize Your Reflector Setup
When setting up your sun oven's reflectors, proper angle adjustment and configuration make the difference between mediocre and excellent performance.
You'll want to adjust your reflector angles based on the sun's position – use steeper angles when the sun is low and shallower angles when it's high overhead.
To optimize your setup, guarantee the top ray reflects precisely to the opposite side of your target area. Tilt the back reflector for high sun angles around 80°, and adjust the front reflector for lower sun positions near 50°. Using a skewer or pencil can help you prop the reflector at the perfect angle.
Don't forget to include side mirrors tilted outward at 20 degrees to capture additional solar radiation. For maximum efficiency, consider using multiple reflectors at different angles and positioning your target in front of the reflector array rather than extending reflector length.
Perfect Sun Tracking Methods
How effectively you track the sun can make or break your solar cooking success.
You've got several reliable tracking options to choose from, each offering unique advantages for your solar cooking setup.
If you prefer automation, you can install a motorized system that uses a 24-volt DC motor with chain drives and slip clutches for precise movement.
For a simpler approach, try the dual solar panel servo system that automatically adjusts your oven's position based on sunlight exposure.
The electronic photocell control offers another automated solution, using light-sensitive cells to maintain ideal alignment.
One popular commercial option is the Solar Tracker platform that automatically follows the sun to maintain optimal focus throughout the day.
If you're going manual, position your oven toward the sun's midday location and adjust it every 30 minutes.
Keep an eye on your thermometer and make angle adjustments based on the sun's position throughout the day.
Enhance Thermal Mass Storage
The secret to maximizing your sun oven's performance lies in effective thermal mass storage.
You'll want to incorporate heat-absorbing materials like black construction paper or dark-colored pots to capture and retain solar energy. Pre-heating for 30 minutes ensures optimal cooking temperatures.
Make sure you're using multiple layers of insulation, including crumpled newspapers and fiberglass, to maintain those high temperatures you've worked hard to achieve.
- Line the inner box with black anodized metal or thick black paper to enhance heat absorption
- Create an airtight seal using clear plastic wrap or glazing to prevent heat escape
- Position reflective surfaces strategically by covering flaps with smooth aluminum foil
Remember to seal all gaps with packing tape and use covered pots to reduce condensation.
These thermal mass improvements, combined with proper insulation and reflective surfaces, will greatly boost your sun oven's heating capacity.
Master Strategic Pot Placement
Mastering pot placement in your sun oven involves three critical factors: timing, position, and cookware selection.
Position your oven between 11:00 AM and 3:00 PM when the sun's intensity peaks, and adjust it every 20-30 minutes to track the sun's movement.
You'll get the best results using dark-colored cookware, particularly black cast iron or dark brown glass dishes, as they absorb heat more effectively than light-colored alternatives.
For water boiling, try a flat black painted canning jar.
Create an air gap beneath your cookware using a wire rack or twigs to improve heat retention.
Don't forget to check the cooker's alignment regularly, ensuring the shadow falls directly behind it.
On windy days, stabilize your oven with stones or bricks, and monitor cooking temperatures with a digital thermometer. Use polished aluminum reflectors to maximize sunlight reflection and boost cooking efficiency.
Optimize Insulation Performance
Proper insulation stands as the cornerstone of an efficient sun oven, directly impacting its ability to reach and maintain ideal cooking temperatures.
You'll want to surround your cooking cavity with high-quality materials like glass wool or rock wool, which outperform basic options like crumpled paper. A 5 cm thick insulation layer offers excellent cost-effectiveness while reducing heat loss by up to 30%.
- Use multiple insulation layers to create effective heat barriers, focusing especially on reinforcing corners where heat commonly escapes.
- Wrap insulation around all sides except the glazed surface, ensuring it's securely sealed to prevent thermal leakage.
- Consider incorporating thermal mass materials with high heat capacity alongside your insulation strategy to maintain steady temperatures for 6-8 hours of cooking time.
Frequently Asked Questions
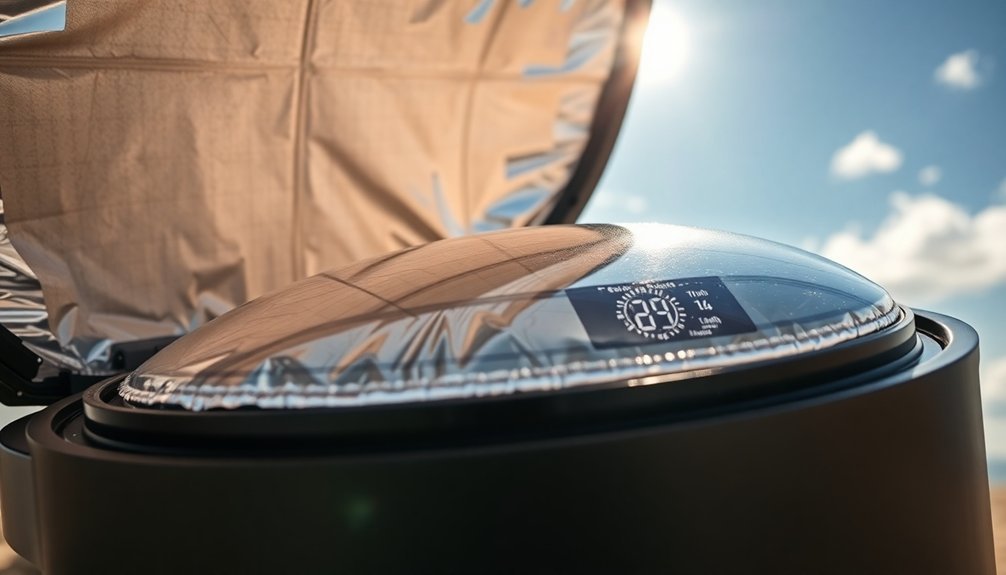
Can I Use My Sun Oven on Partly Cloudy Days?
Yes, you can use your sun oven on partly cloudy days. You'll reach temperatures around 225°F, though cooking takes longer. As long as there's enough sun to cast a shadow, your oven will still function.
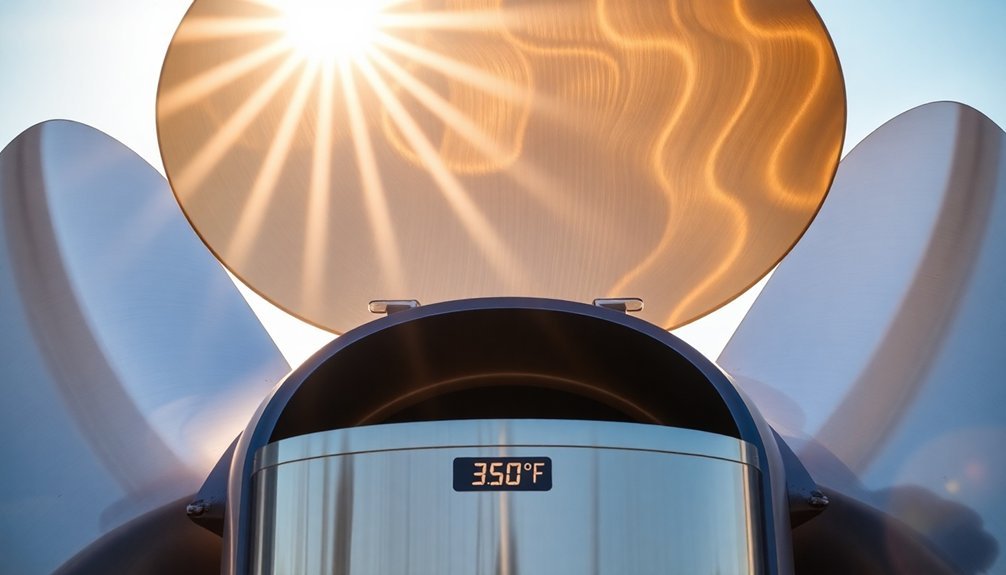
What's the Highest Temperature My Sun Oven Can Typically Reach?
Your sun oven's maximum temperature depends on its type. Box-style ovens typically reach 325-350°F, with some hitting 400°F. Portable models reach 210-260°F, while parabolic cookers can soar above 800°F in ideal conditions.
Does Altitude Affect My Sun Oven's Cooking Performance?
Yes, altitude can affect your sun oven's performance. You'll notice slightly longer cooking times at higher elevations due to lower air pressure and thinner air, though the basic functionality of your oven remains effective.
Should I Adjust Cooking Times Based on Seasonal Changes?
Yes, you'll need to adjust cooking times seasonally. Winter requires longer cooking times due to lower sun intensity, while summer allows faster cooking. Always plan around peak hours between 11 AM and 3 PM.
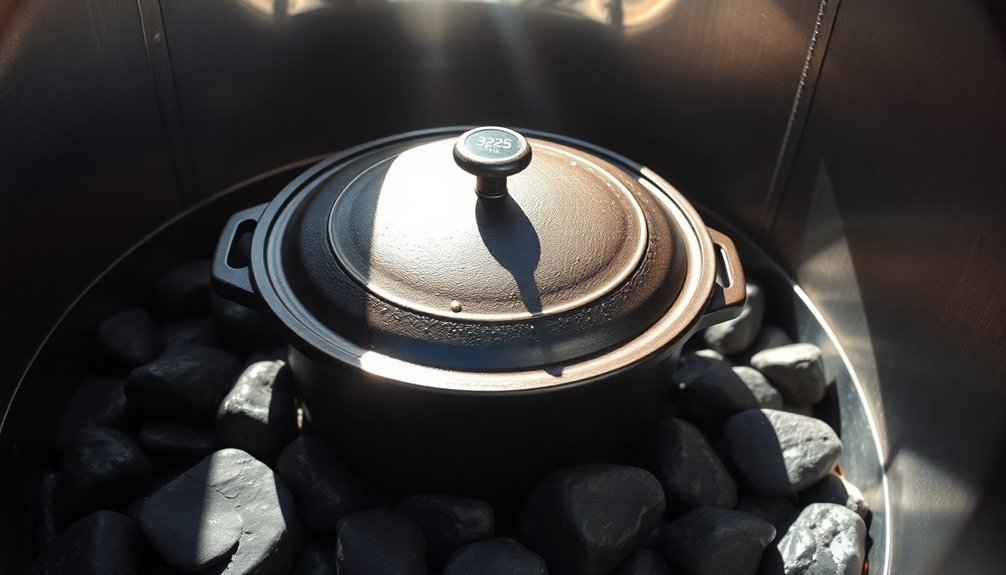
How Long Will Food Stay Warm After Removing From Direct Sunlight?
Using a Dutch oven or cast-iron pot in your SUN OVEN®, your food can stay warm above 150° for 6-7 hours after sunlight passes. You'll get best results when you've maintained proper alignment throughout cooking.
In Summary
By applying these five key strategies, you'll dramatically improve your sun oven's performance. When you position your reflectors correctly, track the sun's movement, add thermal mass, place your pots strategically, and maintain proper insulation, you're setting yourself up for successful solar cooking. Don't let cloudy days discourage you – with these techniques, you'll achieve higher temperatures and more consistent results in your solar cooking adventures.


Leave a Reply