
To achieve ideal preheating in your outdoor oven, start by positioning your solar reflectors at angles between 15.5 to 60 degrees to maximize sunlight capture. Line your oven's interior with dark surfaces and use dark cookware to enhance heat absorption and retention. Time your preheating between 10 a.m. and 2 p.m. when sunlight is strongest, adjusting the oven's position every 30 minutes. Build multiple insulation layers using materials like SUPERWOOL® PLUS™ blankets for superior heat retention. Install temperature monitoring sensors or use an infrared thermometer to track progress. These proven techniques will help you master the art of outdoor oven preheating.
Positioning the Solar Reflectors
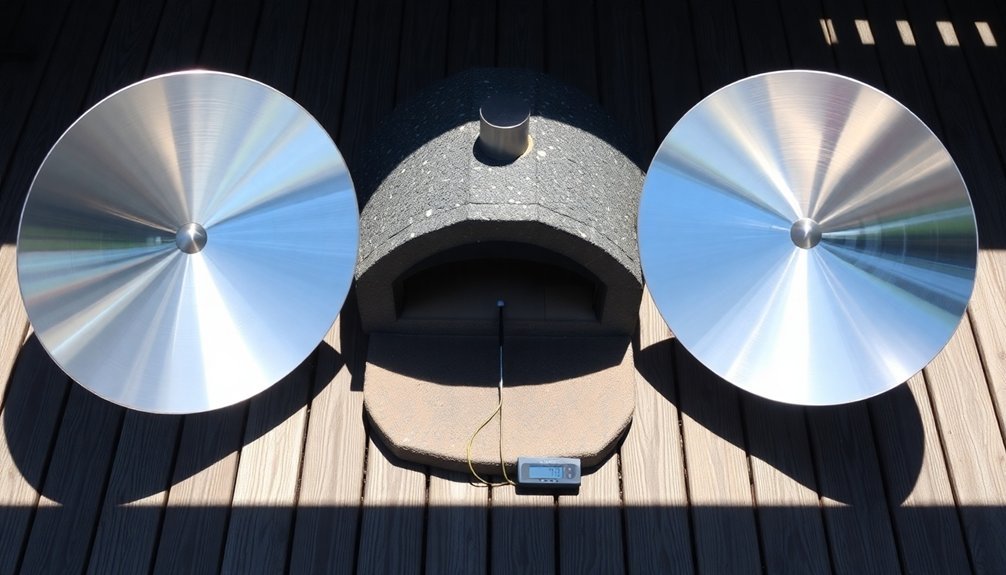
Three key factors determine ideal solar reflector positioning: the sun's position, seasonal changes, and reflector angles.
You'll need to adjust your reflectors so the sun's rays bounce off the top and hit the opposite side of your target cooking area without creating unwanted shadows.
For best performance, set your reflectors at angles between 15.5 to 60 degrees, depending on the sun's height and season.
During winter months when the sun sits lower, steeper angles work better. You can use a protractor to measure and adjust these angles precisely.
Consider using multiple reflectors at different angles to maximize sunlight capture throughout the day. Using polished aluminum reflectors will provide optimal performance due to their high reflectivity and excellent heat conductivity.
Position them carefully to avoid blocking direct sunlight to your cooking surface, and be prepared to make adjustments as the sun moves across the sky.
Dark Surface Heat Absorption
A significant aspect of solar oven performance lies in dark surface heat absorption. Dark surfaces maximize heat absorption and retention, converting solar radiation into usable cooking energy. You'll want to guarantee both your oven's interior and cooking vessels are dark-colored for best results. Side-by-side tests show that while shiny cookers may heat faster initially, dark surfaces maintain more consistent temperatures over time.
| Surface Type | Benefits | Drawbacks | Best Use |
|---|---|---|---|
| Dark Interior | High heat absorption | Slower initial heating | Heat retention |
| Dark Cookware | Efficient heat transfer | May show wear | Direct cooking |
| Reflective Sides | Focuses sunlight | Less heat retention | Light direction |
| Black Paper | Inexpensive heat sink | Needs replacement | Bottom liner |
To maximize your oven's performance, line the bottom with black paper and use dark cookware. While reflective surfaces help direct sunlight, dark surfaces are vital for maintaining consistent cooking temperatures. Position these elements strategically to create an efficient heating environment.
Preheating During Peak Sunlight
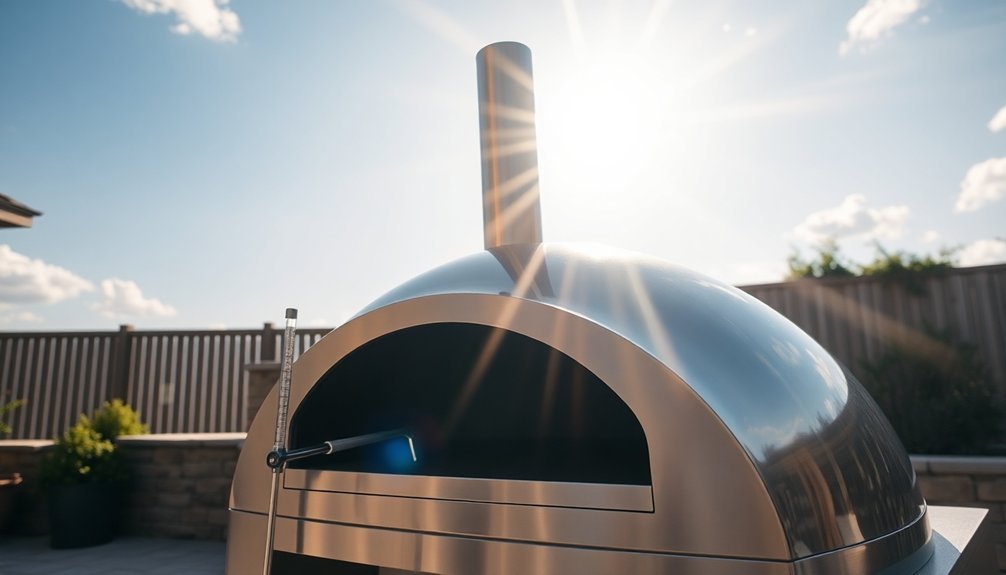
When preheating your outdoor oven, timing is essential for achieving ideal cooking temperatures.
You'll want to position your oven between 10 a.m. and 2 p.m., when sunlight is strongest. During clear days, you can extend this window from 9 a.m. to 3 p.m.
To maintain peak heat, align your oven directly with the sun and adjust its position every 30 minutes.
Make sure the glass door is securely latched and use the reflectors to direct maximum sunlight into the chamber. The dual-purpose leveling rack helps optimize airflow around your cookware while maximizing usable space.
You can expect temperatures to reach up to 400°F on sunny days, though 300-375°F is typical.
Plan to preheat for 20-30 minutes before cooking, and keep an oven mitt handy for safe handling.
Regular monitoring and adjustment of the reflectors will help maintain consistent temperature throughout your cooking session.
Insulation Layer Setup
Proper insulation setup directly impacts your outdoor oven's heat retention and efficiency.
Start by applying refractory white fire clay as your adhesion layer, ensuring higher humidity for better bonding. Next, wrap your oven with SUPERWOOL® PLUS™ blankets, overlapping the joints carefully.
Create a mixture of vermiculite and Portland cement, applying it over a wire frame to maintain the desired shape. You'll want to build 7-9 layers of insulation for maximum effectiveness. The biosoluble fiber used in the insulation system is 100% natural.
Secure each layer with chicken wire support to prevent sagging. Finally, apply a calcium silicate board followed by a waterproof sealant coating.
When done correctly, you'll achieve up to 60% fuel savings and superior heat distribution. Your oven will maintain consistent temperatures, perfect for both high-heat pizza making and slow-cooking overnight dishes.
Temperature Monitoring Methods
Monitoring your outdoor oven's temperature accurately guarantees consistent cooking results and ideal fuel efficiency.
You'll want to install thermocouple sensors about 2 inches above the oven floor to measure air temperature in real-time. Connect these to a temperature controller for automated monitoring and adjustment.
For thorough tracking, position multiple thermocouples at different points – center floor, mid-dome, and outside dome. This setup helps you understand heat distribution throughout your oven.
You can supplement electronic monitoring with manual checks using a pocket infrared thermometer. The traditional "hand test" is also useful; count "Mississippi" seconds until your fingers tingle to estimate temperature ranges.
For example, if you can hold your hand for two Mississippi counts, the temperature's likely between 520°F and 570°F.
Frequently Asked Questions
How Long Can an Outdoor Oven Maintain Cooking Temperature After Sunset?
Your outdoor oven can maintain cooking temperatures for up to 48 hours after firing. You'll get high-heat cooking (500°F+) for several hours, bread-baking temps (300-400°F) for 24 hours, and low-temp cooking afterward.
What Materials Are Best for Repairing Cracks in Outdoor Oven Floors?
You'll need refractory mortar with over 1200°C heat resistance for oven floor cracks. Clean the area thoroughly, dampen it, then apply the mortar evenly. It's crucial to let it cure completely before use.
Can Outdoor Ovens Be Safely Used During Light Rain Conditions?
You can safely use your outdoor oven during light rain if it's properly covered. Keep the cooking area protected, guarantee good ventilation, and monitor for water infiltration. Don't use it in heavy rain though.
How Often Should Wood Ash Be Removed From Outdoor Pizza Ovens?
You should remove wood ash from your outdoor pizza oven after each use when it's completely cool. Don't skip this vital step, as it maintains peak performance, prevents fire hazards, and guarantees proper temperature regulation.
What's the Best Way to Protect Outdoor Ovens During Winter Storage?
You'll need to store your outdoor oven in a garage or shed, using a fitted waterproof cover. If that's not possible, place it under a patio with protection from snow, rain, and harsh winter elements.
In Summary
You've now mastered the key techniques for preheating your outdoor oven effectively. By properly positioning your solar reflectors, maximizing dark surface absorption, timing your preheating during peak sunlight hours, setting up proper insulation layers, and monitoring temperatures accurately, you'll achieve ideal cooking temperatures every time. These proven methods won't just save energy – they'll guarantee your outdoor cooking experience is consistently successful and efficient.


Leave a Reply