To master solar cooking temperatures like experts, you'll need precise positioning and timing. Set up your solar oven between 11 AM and 3 PM for peak intensity, facing due south and adjusting every 20-30 minutes. Use dark, non-reflective cookware with snug-fitting lids to maximize heat absorption and retention. Preheat your oven for an hour before cooking, and employ multiple insulation layers around the cooking cavity. Monitor temperatures using digital thermometers, and adapt your setup seasonally – especially during winter months when sun positions are lower. The journey to expert-level solar cooking starts with understanding these fundamental temperature control principles.
Positioning Your Solar Oven
Four key principles guide successful solar oven positioning: ideal timing, directional alignment, reflector adjustments, and environmental factors.
You'll get the best results between 11 AM and 3 PM when the sun's intensity peaks. Place your oven facing due south, and adjust it every 20-30 minutes to track the sun's movement. In winter, start cooking earlier, around 10 AM.
Orient the shorter front panel east for noon meals or west for evening cooking. You'll know you've aligned it correctly when the shadow falls directly behind the cooker. Your cooking times may double versus conventional cooking methods.
Keep reflectors angled to concentrate sunlight, adjusting them hourly for maximum efficiency.
Choose a dry, level spot and protect your oven from wind. Use stones or bricks for stability, and don't forget to wear sunshades while working with reflective surfaces.
Insulation Techniques For Heat Management
While sunlight provides the energy for solar cooking, proper insulation determines how effectively your oven retains and utilizes that heat.
You'll want to surround your cooking cavity with multiple layers of insulating materials like crumpled newspaper, dry leaves, or spun fiberglass. Line the bottom with black construction paper to maximize heat absorption.
Create an insulated barrier by placing materials around all sides except the glazed window. Remember to leave an air space between the window and food for additional insulation.
You can enhance heat retention by using dark, lidded cookware and thin metal dishes that heat up quickly. Seal the top with two layers of plastic to create an effective thermal window.
Don't forget to incorporate reflective surfaces – smooth aluminum foil with its shiny side out will direct more sunlight onto your cooking area. Adjust reflective panels regularly to optimize sunlight capture throughout the day.
Temperature Monitoring Equipment
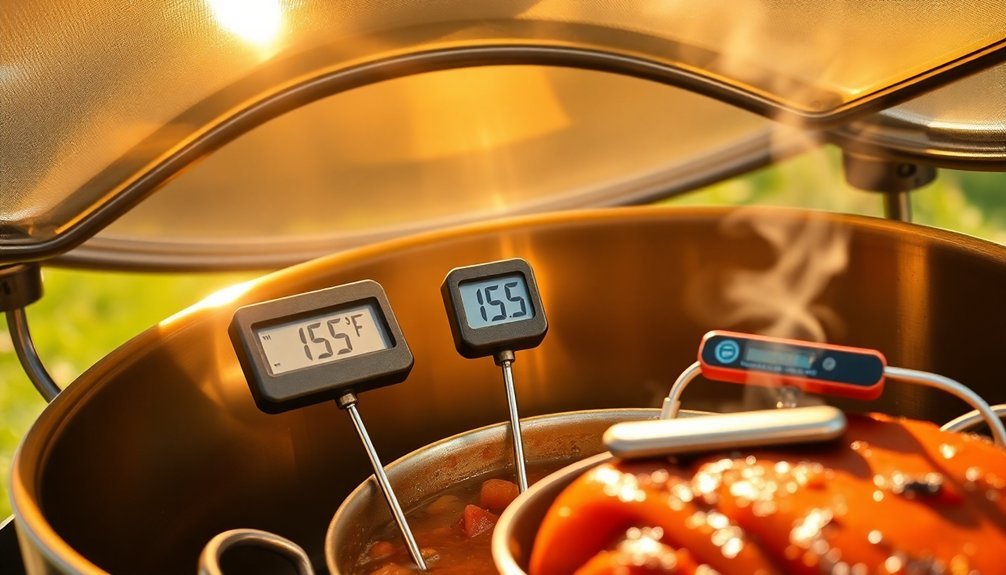
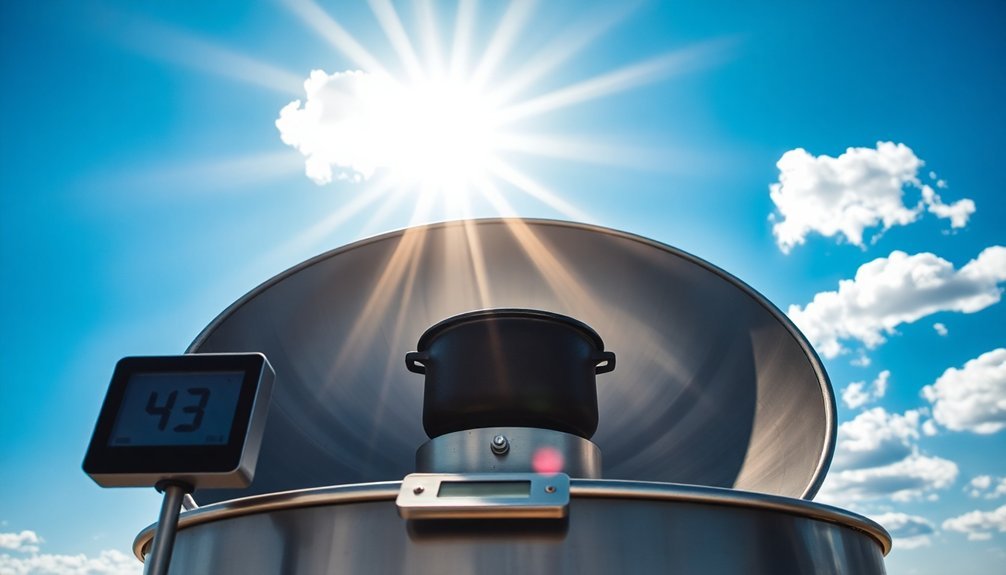
Proper insulation sets the stage for solar cooking success, but you'll need reliable temperature monitoring equipment to maintain control over your cooking process. Digital thermometers and thermocouples offer quick, accurate readings through their metal tips, while bi-metallic stemmed thermometers remain the most common choice for their easy-to-read markings and simple calibration. Since peak sun hours are critical for achieving optimal temperatures, monitoring tools become especially important during midday cooking.
| Type | Best For |
|---|---|
| Digital | Quick readings with clear display |
| Thermocouple | Rapid temperature checks |
| Bi-metallic | General purpose cooking |
| Specialized | Specific tasks (candy, meat, deep-frying) |
Remember to calibrate your thermometer regularly using the ice-point method, especially after exposure to extreme temperatures. Always insert the probe into the food's center, avoiding contact with cooking containers. Don't leave bi-metallic thermometers in food during cooking, and clean your equipment before and after each use.
Peak Solar Hours
Understanding peak solar hours is essential for successful solar cooking, as these periods offer the most intense sunlight for your cooking needs.
These hours occur when sunlight reaches an intensity of 1,000 watts per square meter, typically during midday to early afternoon. You'll find the most effective cooking times align with these peak hours, when the sun's rays are most direct. Morning and late afternoon typically receive less than 500 W/m², making these times less suitable for solar cooking.
- Plan your solar cooking between 11 AM and 2 PM, when you'll experience the highest concentration of sunlight.
- Check your region's average peak sun hours – western states like Arizona can get 7.5 hours, while northern areas might only get 3-4.
- Use tools like the PV Watts Calculator to determine your location's specific peak sun hours and plan your cooking schedule accordingly.
Plan your meals around these ideal cooking windows for the best results.
Reflective Panel Placement
You'll achieve ideal cooking temperatures by positioning your reflective panels at strategic angles that directly concentrate sunlight onto the cooking vessel.
The angle of your panels should be adjusted throughout the day to maintain consistent heat concentration as the sun moves across the sky.
Your panels' distance from the cooking surface matters too – they need to be close enough to focus concentrated sunlight effectively, but far enough to create a stable, balanced setup that won't tip over.
Strategic Panel Angles
Strategic placement of reflective panels serves as the foundation for efficient solar cooking, with precise angles determining how effectively sunlight reaches your cooking surface.
You'll want to adjust your panels throughout the day to match the sun's position, ensuring top reflectors maintain steep angles while bottom reflectors stay shallow for ideal capture during low sun positions.
- Use a protractor to measure angles accurately, making sure reflection angles match incidence angles
- Position your target area so the top ray of sunlight reflects to the opposite side
- Test your setup using aluminum foil or reflective insulation for better results
Remember to preheat your solar cooker for 15-30 minutes before use, and don't assume longer reflectors automatically mean better results.
Instead, focus on finding the perfect angle combination while maintaining clear covers to trap heat effectively.
Distance From Cooking Surface
Now that you've mastered panel angles, getting the right distance between your reflective panels and cooking surface will determine your solar cooker's performance.
You'll need to position your panels close enough to concentrate sunlight effectively, but not so close that they block the cooking area.
If you're using a parabolic cooker, focus parallel sunlight rays to a single point where you'll place your cooking vessel.
For panel cookers, you'll typically work with shorter distances, while box cookers use internal reflective linings.
Remember that you'll need to adjust your panels throughout the day as the Sun moves across the sky.
The geometry of your panels matters too – curved or parabolic shapes are most efficient.
For DIY projects, you can create an effective parabolic curve using multiple small reflective segments.
Dark Cookware Selection
You'll get the best heat absorption for your sun cooking by choosing cookware made of dark metal, ceramic, or porcelain-enamel materials.
Your pot or pan's lid design plays an essential role in maintaining steady temperatures, with dark or clear lids working best to trap steam and heat.
For ideal performance, consider cookware with non-reflective surface treatments or naturally dark finishes that maximize sunlight conversion to heat energy.
Optimal Heat Absorption Materials
Dark cookware plays a pivotal role in successful solar cooking by maximizing heat absorption from sunlight.
You'll find that thin, dark metal pots like granite ware heat up fastest due to their superior light absorption properties, while cast iron takes longer but maintains steady temperatures once heated.
- Choose black steel pans for excellent thermal conductivity and superior browning capabilities
- Consider thin, dark metal cookware for quick heating and efficient energy transfer
- Opt for cast iron when you need consistent, long-lasting heat retention
When selecting your solar cooking vessels, you'll want to avoid light-colored or reflective materials, as they won't absorb sunlight as effectively.
While aluminum and copper conduct heat well, their reflective properties make them less ideal for solar cooking compared to darker alternatives.
For best results, dark metal cookware will consistently outperform ceramic or Pyrex options.
Lid Design Matters
Building on the significance of dark cookware, proper lid selection can make or break your solar cooking success. You'll want to choose dark or glass lids that maximize heat retention while allowing you to monitor your food without opening the oven. Remember, each time you lift the lid, you'll lose up to 25 degrees of valuable heat.
| Lid Type | Best Uses |
|---|---|
| Dark Metal | Quick heating, general cooking |
| Glass with Dark Rim | Visible monitoring, moisture control |
| Cast Iron | Long, slow cooking methods |
| Ceramic | Heat retention, stews |
| Tinted Glass | All-purpose, ideal visibility |
Select lids that fit snugly within your solar oven's dimensions and check that handles don't interfere with the oven's tilt. For most dishes except bakery items, keeping the lid on is essential for maintaining consistent cooking temperatures.
Surface Treatment Options
The selection of properly treated cookware surfaces plays an essential role in solar cooking efficiency.
You'll want to choose dark-colored pots and pans that can effectively absorb and convert sunlight into heat energy. For best results, select thin-walled cookware in small to medium sizes to guarantee even heating throughout your dishes.
- Choose nontoxic materials like dark porcelain enamel, cast iron, or ceramic-coated pots that are safe for food preparation
- Avoid shiny aluminum cookware as it reflects light and reduces cooking temperatures
- Look for easy-to-clean surfaces that won't harbor bacteria or release harmful substances
Weather Pattern Analysis
Understanding weather patterns plays an essential role in maximizing your solar cooking efficiency.
You'll need to track both daily and seasonal sunlight variations to plan your meals effectively, especially since tropical regions offer about 12 hours of sunlight daily.
Watch for cloud cover, as it's particularly challenging during lunch hours. While box cookers retain heat better during cloudy periods, parabolic cookers lose temperature more quickly.
You'll want to adjust your cooking schedule around predicted overcast conditions.
Don't overlook environmental factors like dust storms, which can reduce your cooker's heat output by up to 30%.
Keep your cooking surfaces clean and protected to maintain peak performance.
Remember that your local climate directly impacts cooking times and effectiveness, so you'll need to adapt your cooking habits to match your region's weather patterns.
Thermal Data Collection
To optimize your solar cooking setup, precise thermal data collection requires strategic use of specialized equipment.
You'll need to monitor temperatures using light-dependent resistors and a microcontroller system that collects data every 10 minutes between 8:00 and 17:00 h. The setup includes a DS1307 real-time clock chip and Bluetooth connectivity for wireless data retrieval.
- Track water, cooking box, and heat storage temperatures while measuring solar radiation peaks that can reach up to 890.4 W/m².
- Store your collected data on an SD card for detailed analysis of temperature profiles in relation to solar radiation and humidity.
- Compare your readings with meteorological station data to validate your measurements and understand weather impacts.
The system monitors temperature variations throughout the day, with typical peaks occurring around 14:00 h and lowest readings at 17:00 h.
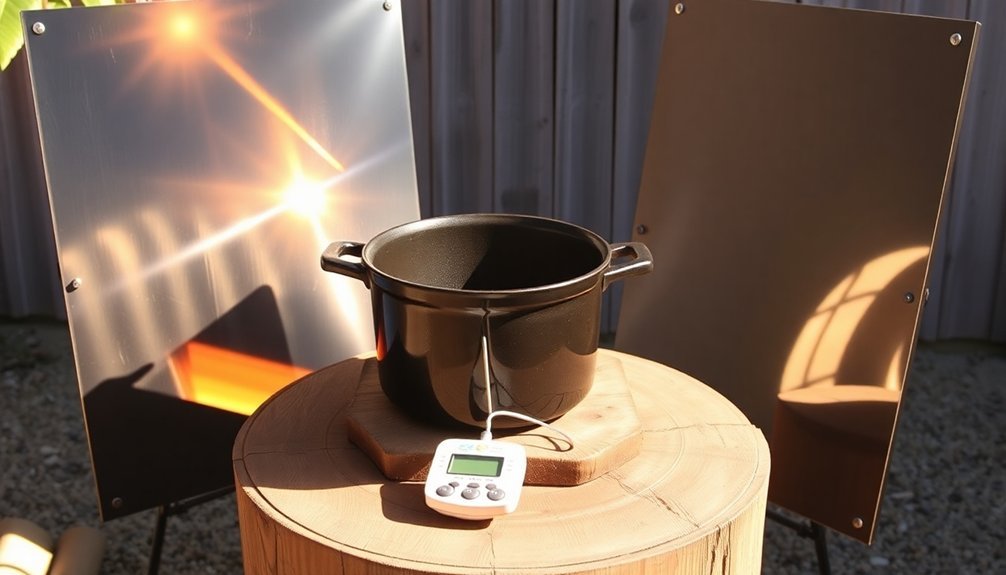
Preheating Your Solar Cooker
Proper preheating of your solar cooker stands as a vital first step that can make or break your cooking success. You'll need at least one hour of preheating to achieve ideal cooking temperatures, especially for baking tasks.
| Time | Action | Check |
|---|---|---|
| Morning | Position cooker | Shadow falls behind |
| Pre-cook | Close lid/cover | No gaps or openings |
| During | Monitor alignment | Adjust as sun moves |
| Ongoing | Check temperature | Use food thermometer |
To guarantee effective preheating, point your cooker directly at the sun, keeping the shadow straight behind it. Keep the lid sealed to trap heat, and make periodic adjustments as the sun moves. If you're not seeing temperature increases, verify your thermometer isn't stuck and check for any shadows inside the cooker. Remember, continuous direct sunlight is essential for maintaining consistent cooking temperatures.
Temperature Zones and Control
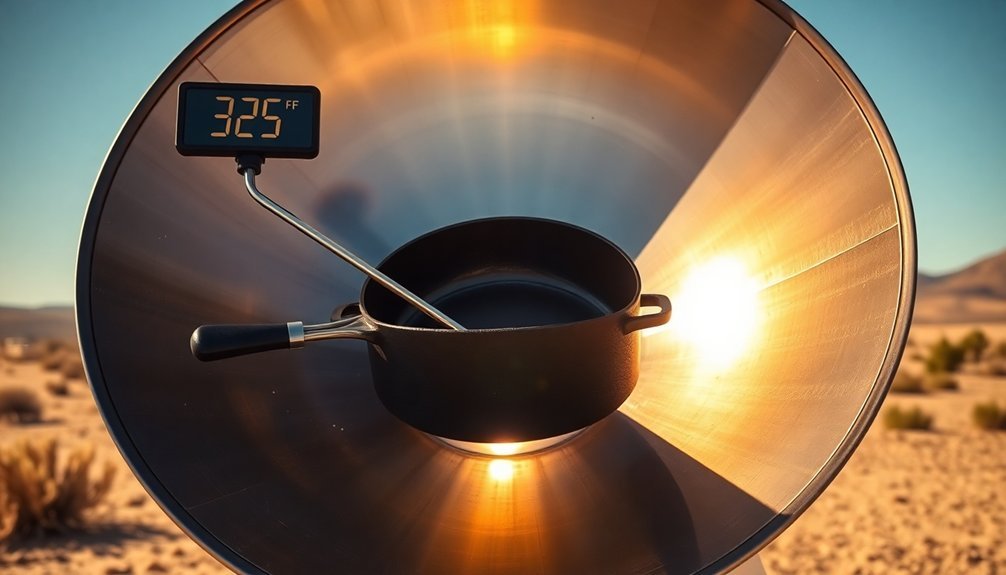
Solar cooking success relies on mastering three distinct temperature zones that vary by cooker type: box ovens (160-400°F), panel cookers (200-300°F), and parabolic designs (300-800°F).
You'll need to maintain at least 180°F for safe cooking, while the sweet spot for most dishes falls between 300-400°F.
- Use dark-colored cookware and keep your cooker's seals airtight to enhance heat retention.
- Monitor internal temperatures with a thermometer and adjust reflector angles every 20-30 minutes.
- Place thermal mass materials like bricks or stones around your pots to stabilize temperatures.
Remember that environmental factors impact your temperature control.
Cold dry air actually enhances cooking effectiveness, but wind can quickly reduce internal temperatures.
You'll want to position wind barriers and guarantee your cooker's face stays perpendicular to the sun's rays for peak results.
Seasonal Cooking Adjustments
When winter approaches, you'll need to adapt your solar cooking routine to account for shorter days and the sun's lower position in the sky.
Start by positioning your cooker where the sun will be directly in front of it halfway through your cooking time, and add booster panels to concentrate more sunlight.
You'll need to refocus your cooker more frequently during winter days to maintain ideal temperatures.
Monitor your setup with an oven thermometer and adjust the reflectors to direct maximum sunlight onto your cooking vessel.
If time is limited, consider breaking up your cooking into multiple days – start a stew one afternoon and finish it the next day.
Don't let winter discourage you; many regions actually have clearer sunny days during cold months due to reduced cloud cover.
Smart Temperature Tracking Systems
Your smart temperature tracking system can revolutionize sunlight cooking by providing real-time data collection through IoT sensors and wireless probes.
You'll receive instant digital alerts on your smartphone when temperatures deviate from ideal cooking ranges, allowing for quick adjustments to maintain food safety.
The system's automated heat zone monitoring helps you track multiple cooking areas simultaneously, ensuring consistent results across your solar cooking setup.
Real-Time Data Collection
Modern smart temperature tracking systems revolutionize sunlight cooking through sophisticated real-time data collection methods. You'll gain instant access to temperature readings from anywhere using IoT technology and cloud connectivity, ensuring precise control over your cooking process.
- Monitor multiple cooking zones simultaneously through wireless sensors that transmit data to your internet-ready devices.
- Track temperature trends and analyze historical data to optimize your sunlight cooking techniques.
- Generate automated HACCP compliance reports with just a few taps, eliminating manual paperwork.
The system's automated data logging creates a thorough record of your cooking temperatures, while durable sensors withstand demanding kitchen conditions.
With extended battery life and flexible installation options, you'll maintain consistent monitoring without interruption. This technology transforms traditional temperature tracking into a streamlined, efficient process that enhances your sunlight cooking precision.
Digital Temperature Alerts
Smart temperature tracking systems deliver instant alerts to keep your sunlight cooking process under control.
You'll receive immediate notifications through text, email, or your mobile device whenever temperatures deviate from your preset thresholds. These alerts guarantee you can take swift corrective actions, whether you're on-site or monitoring remotely.
The system's integration with HACCP compliance means you're getting more than just alerts – you'll automatically generate compliance reports and document all necessary actions.
Your wireless sensors continuously monitor temperatures 24/7, transmitting data to a central hub or cloud platform that you can access from any internet-connected device.
Best of all, the system maintains an extensive record of all temperature data, helping you identify patterns and prevent future issues while eliminating the need for manual temperature logging.
Automated Heat Zone Monitoring
Advanced heat zone monitoring takes temperature tracking to the next level with thorough real-time data collection across your sunlight cooking setup.
You'll benefit from wireless sensors that continuously track temperatures in different cooking zones, while cloud-based access lets you monitor readings from any device.
- Install smart sensors at critical points to receive instant alerts when temperatures deviate from safe ranges
- Access historical data through cloud platforms to analyze cooking patterns and optimize your sunlight cooking methods
- Use automated HACCP compliance features to generate reports and document corrective actions seamlessly
The system's data loggers and sensor modules guarantee reliable communication, helping you maintain precise temperature control.
You'll minimize food waste and safety risks while streamlining your entire cooking process.
With automated monitoring, you can focus on perfecting your sunlight cooking techniques instead of manual temperature checks.
Frequently Asked Questions
Can I Cook Frozen Food Directly in a Solar Oven?
Yes, you can cook frozen food directly in your solar oven. You'll need strong sunlight and proper temperature monitoring. For best results, use a well-insulated oven that reaches at least 550°F and adjust it periodically.
What Happens if Birds or Insects Land on My Solar Oven?
When birds or insects land on your solar oven, they'll reduce its efficiency by blocking sunlight and leaving droppings or debris. You'll need to clean regularly and consider installing deterrents to maintain peak performance.
How Do Different Colored Vegetables Affect Their Solar Cooking Time?
You'll find that darker vegetables cook faster in solar ovens because they absorb more heat. That's why potatoes with their dark skins cook more quickly than light-colored veggies like cauliflower or parsnips.
Does Altitude Impact Solar Oven Cooking Temperatures and Efficiency?
Yes, altitude greatly impacts your solar cooking. You'll achieve higher temperatures at greater elevations due to less atmospheric interference. Your food will cook faster and more efficiently as there's more direct solar radiation available.
Can Solar Ovens Be Used to Sterilize Medical Equipment?
Yes, you can sterilize medical equipment using solar ovens. They'll reach temperatures above 180°C and maintain 125°C for 30 minutes, meeting sterilization standards. They're especially useful in rural clinics without electricity.
In Summary
You'll find that mastering temperature control in solar cooking takes practice and attention to detail. By implementing proper positioning, insulation, and monitoring techniques you've learned, you can achieve consistent cooking results year-round. Don't forget to track your cooking data and make seasonal adjustments as needed. With these skills, you're now equipped to harness the sun's power effectively for your sustainable cooking journey.


Leave a Reply