
Transform your grandmother's classic cookie recipe into a solar-powered treat by using a homemade solar oven made from cardboard, black paper, and aluminum foil. You'll need a sunny day with temperatures above 110°F and about 3-4 hours of baking time. Start with chilled dough using quality ingredients like organic flour and pure vanilla extract. Position your solar oven toward direct sunlight, rotating it every 30 minutes to maintain consistent heating. While traditional ovens bake cookies in 10-13 minutes at 350°F, your sun-baked version will develop unique textures and flavors that make the extra patience worthwhile. Let's explore how to master this eco-friendly baking adventure.
The Solar Cookie Adventure
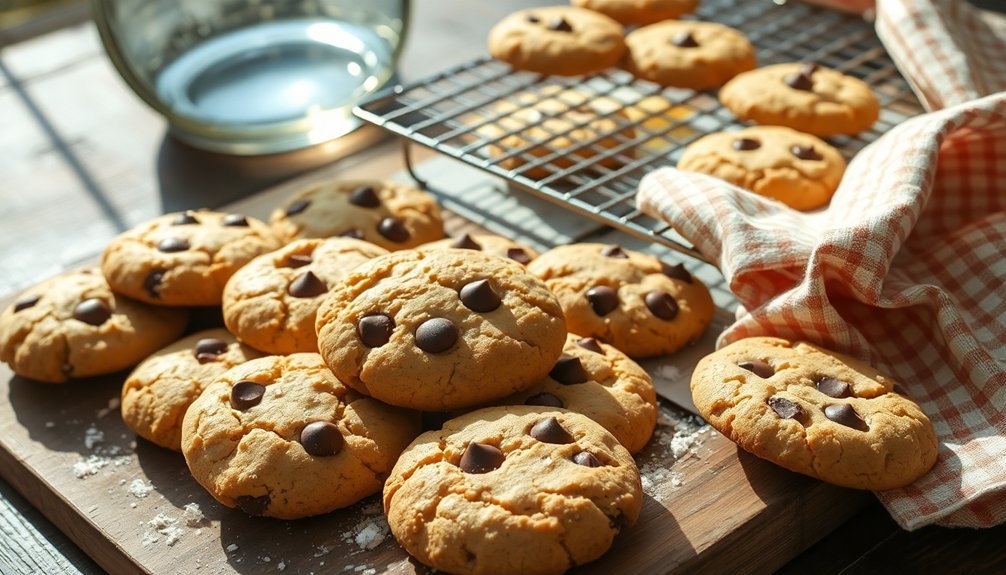
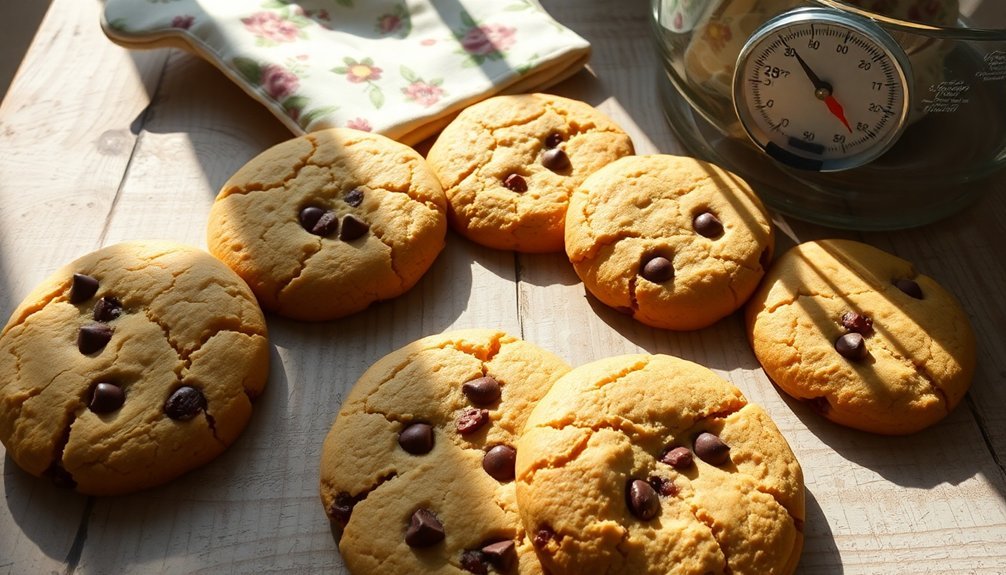
Want to try something unique with your cookie baking? Solar ovens offer an eco-friendly way to create delicious treats using the sun's natural energy.
You'll need basic materials like a cardboard box, black construction paper, aluminum foil, and plastic wrap to build your own solar baker.
Before mixing your cookie dough, set up your solar oven in direct sunlight. You'll want to position reflectors properly to maximize heat capture and guarantee your oven reaches an ideal temperature of around 250°F.
Keep in mind that baking times will vary between 1-2 hours, depending on weather conditions and the type of solar oven you're using. On cloudy days, temperatures might drop below 176°F, so it's best to plan your solar baking adventure for a clear, sunny day. This recipe requires just four main ingredients, making it perfect for solar oven experimentation.
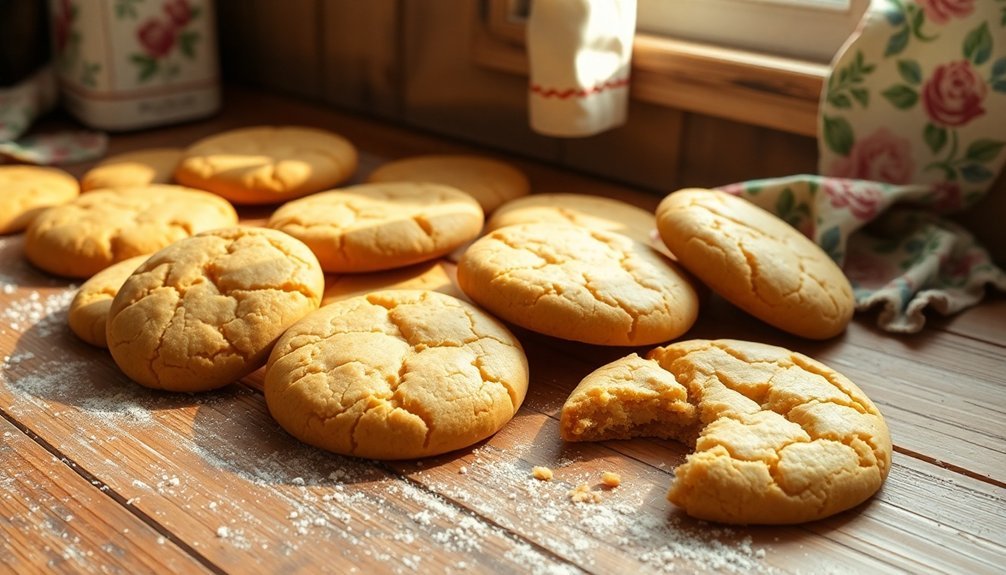
Ingredients for Sun-Sweetened Success
Your classic cookie success starts with selecting quality base ingredients like organic flours, fresh eggs, and pure vanilla extract.
For those with dietary restrictions, our cookies are made completely gluten and soy-free while maintaining their delicious taste.
You'll find that mix-in choices, from chocolate chunks to caramelized nuts, can transform a basic dough into something extraordinary.
The type of sugar you choose – whether organic cane sugar or specialty options like malted milk powder – will greatly impact your cookie's flavor profile and texture.
Essential Base Ingredients
Mastering classic cookies starts with understanding the essential base ingredients that form their foundation.
You'll need all-purpose flour as your primary dry ingredient, using either 3 cups or 1.5 cups based on your batch size. Add baking soda and baking powder to help your cookies rise properly, while a pinch to a teaspoon of salt enhances the overall flavor. For optimal results, having an oven thermometer nearby ensures your baking temperature remains precise and consistent.
For the vital fats and sugars, you'll want unsalted butter, either 1 cup or 125 grams, diced. Combine this with light brown sugar (1½ cup or 50g packed) and granulated sugar (½ cup or 100g).
Don't forget the essential liquids: two large eggs (or one egg yolk) and vanilla extract, which bring everything together and add that classic cookie aroma and texture.
Mix-In Options Matter
While the base cookie dough provides the foundation, the mix-ins you choose can transform an ordinary cookie into something extraordinary. You'll find endless possibilities across four main categories.
Classic mix-ins like rainbow sprinkles and chocolate chips offer timeless appeal, while nuts and fruits add both texture and natural sweetness. If you're craving something indulgent, try candy mix-ins such as crushed toffee bars or mini marshmallows. This recipe's use of leftover ingredients makes it perfect for clearing out your pantry while creating delicious treats.
For an unexpected twist, explore unconventional additions like pretzels or potato chips that bring a satisfying salty crunch.
When selecting your mix-ins, don't feel limited to just one option. You can combine chocolate chips with nuts, or pair dried cranberries with white chocolate chunks.
The key is balancing flavors and textures while keeping portions reasonable to maintain the cookie's structure.
Sugar Type Selection
Selecting the right type of sugar profoundly impacts your cookies' texture, moisture level, and depth of flavor. For classic, crisp-edged cookies, you'll want to use granulated sugar as your base. If you're aiming for softer, chewier cookies, brown sugar's higher moisture content is your best choice.
| Sugar Type | Best For | Key Characteristics |
|---|---|---|
| Granulated | Crispy Edges | Clean, classic sweetness |
| Light Brown | Chewy Center | Mild caramel notes |
| Dark Brown | Rich Texture | Deep molasses flavor |
| Demerara | Toppings | Crunchy, toffee-like |
You can experiment by combining different sugars – try a mix of granulated and brown sugar for balanced texture. When you're ready to finish, dust with powdered sugar for an elegant touch, or sprinkle demerara on top for extra crunch.
Mixing Your Cookie Magic
Understanding how to mix cookie dough properly can make the difference between mediocre and magnificent results. For classic cookies, you'll want to use the creaming method – it's your best bet for achieving that perfect texture.
Start by beating softened butter with sugar until it's light and fluffy, then add your eggs one at a time. Don't rush the process, but be careful not to over-mix.
Once your wet ingredients are combined, gently fold in your pre-mixed dry ingredients until they're just incorporated. Remember to scrape down the bowl's sides to guarantee everything's evenly mixed.
When adding chocolate chips or other mix-ins, fold them in gently at the very end. If your butter's too soft, your cookies will spread too much, so keep it just softened enough to cream smoothly.
Setting Up Solar Equipment
Now that you've mastered the art of mixing cookie dough, let's explore an eco-friendly way to bake them.
Start by gathering a pizza box, aluminum foil, black construction paper, plastic wrap, scissors, and tape. You'll transform this simple box into a solar-powered cookie oven.
Create a flap on the box's lid by cutting three straight lines, then line both the bottom and lid with aluminum foil.
Add black construction paper to the base for heat retention, and cover the opening with plastic wrap to trap warmth.
Don't forget to leave two inches between your cooking rack and the foil surface.
For best results, position your solar oven in direct sunlight between 11 am and 3 pm, adjusting the lid's angle to maximize sun exposure.
Weather and Timing Considerations
The success of your solar-baked cookies depends heavily on selecting the ideal weather conditions.
You'll need temperatures above 110°F with consistent, direct sunlight during peak afternoon hours for best results.
Since your car's interior can reach up to 150°F in full sun, choose a cloudless day when the forecast shows sustained triple-digit heat for the best baking outcome.
Solar Conditions Matter Most
When baking cookies in a solar oven, weather conditions play the most critical role in your success. You'll need consistent sunlight, as clouds can greatly extend your baking time.
Since solar oven temperatures typically range from 225°F to 300°F, you'll want to aim for about 250°F for ideal results.
Watch out for humidity, as it'll make your cookies spread faster and require longer baking times. You'll need to adjust your liquid ingredients on humid days.
Start early in the day to maximize sun exposure, and don't attempt solar baking when cloud cover is likely.
If you're baking at high altitude, you'll face additional challenges – reduce your leavening agents and modify sugar, eggs, and flour amounts accordingly.
Perfect Day For Baking
Planning your cookie-baking day around ideal weather conditions will greatly impact your results.
You'll want to choose a day with lower humidity, as excess moisture can cause your cookies to flatten and take longer to bake. If it's humid, store your dry ingredients in the fridge, but remember to bring them to room temperature an hour before baking.
Keep your kitchen cool by closing windows and running the air conditioner. This prevents butter from melting too quickly in your dough. You can also chill your dough for 30 minutes and use cold liquid ingredients to maintain better control over spreading.
If you're baking at high altitudes, you'll need to adjust your recipe by reducing leavening agents and modifying sugar, egg, and flour ratios to compensate for faster rising times.
Perfect Solar Cookie Techniques
Successfully baking cookies in a solar oven requires precise techniques and careful attention to detail.
You'll need to start by preheating your solar oven while positioning it directly toward the sun. Remember to rotate it frequently to maintain ideal heating throughout the baking process.
When preparing your dough, stick to simple recipes with minimal ingredients. Whether you're making peanut butter cookies or bar cookies, make sure your mixture is well-combined before placing it in the oven.
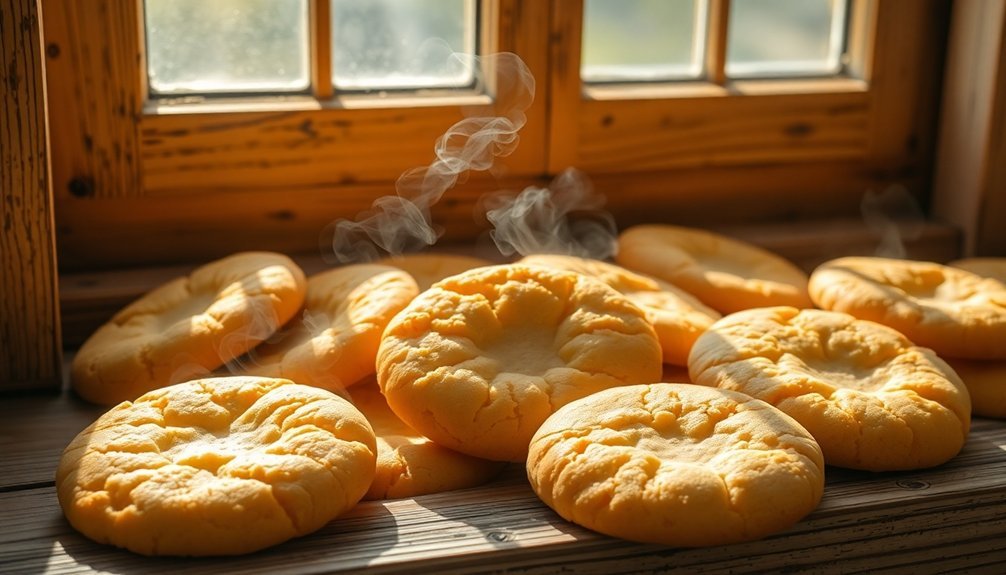
You'll know your cookies are done when they've browned and cooked through, typically after 1-2 hours depending on weather conditions and oven temperature.
Once baked, let your cookies cool briefly on the pan before transferring them to a wire rack.
For bar cookies, wait until they're completely cool before cutting into squares.
Traditional Vs Solar Methods
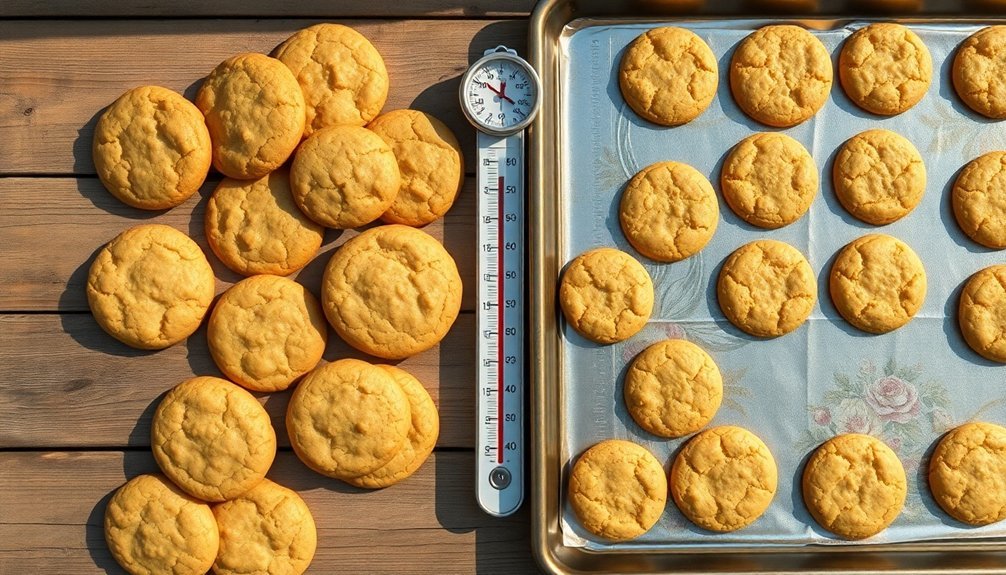
When you're comparing traditional and solar cookie baking methods, you'll find that temperature control is the biggest challenge, as conventional ovens offer precise settings while solar ovens fluctuate with weather conditions.
Your timing and heat management will need significant adjustments in solar baking, often requiring longer cooking periods and constant monitoring of the sun's position.
While traditional baking relies on standard kitchen equipment, you'll need specialized solar tools like reflective surfaces, proper insulation, and a well-positioned solar oven to achieve comparable results.
Temperature Control Differences
Baking cookies requires precise temperature control, which varies considerably between traditional and solar ovens.
While you'll typically set your traditional oven to 350°F for consistent results, solar ovens operate differently. They'll reach temperatures between 300°F to 400°F, but you'll need to account for weather conditions and time of day.
You'll find that traditional ovens offer more predictable outcomes with their stable temperatures and uniform heat distribution.
In contrast, your solar-baked cookies might need extra attention. You'll want to position your solar oven to track the sun every 30 minutes and cook between 11:00 am and 3:00 pm for best results.
Don't open the oven frequently, as you'll lose valuable heat. Remember to use dark-colored cookware and proper insulation to maintain ideal baking temperatures.
Time and Heat Management
Understanding time and heat management marks an essential difference between traditional and solar cookie baking methods.
When you're using a conventional oven, you'll enjoy consistent temperatures around 350°F and quick baking times of 10-13 minutes.
Solar baking, however, requires more patience and flexibility, with baking times stretching to 3-4 hours.
Three key differences you'll need to adapt to when switching to solar baking:
- You can't count on constant temperatures, as solar ovens typically reach lower maximums and fluctuate with sun exposure.
- You'll need to monitor your cookies every 30 minutes, unlike traditional baking's set-and-forget approach.
- You must plan around weather conditions and ideal sun hours, rather than baking whenever you choose.
Successful solar baking demands understanding these timing and heat variations to achieve the best results.
Tools and Setup Variations
The tools and setup for traditional versus solar cookie baking differ considerably in both complexity and accessibility. You'll need to adapt your approach based on your chosen method.
| Equipment Type | Traditional Method | Solar Method |
|---|---|---|
| Baking Surface | Cookie sheets with parchment | Dark-colored pans |
| Heat Control | Precise oven thermostat | Reflectors & insulation |
| Mixing Tools | Electric mixers & bowls | Basic hand tools |
For traditional baking, you'll rely on standard equipment like measuring tools, cooling racks, and mixing bowls. Your kitchen setup requires ample counter space and proper storage. In contrast, solar baking needs creative solutions – you'll construct an oven using materials like pizza boxes, aluminum foil, and plastic wrap. While traditional methods offer consistency, solar baking demands patience and flexibility as temperatures fluctuate with weather conditions.
Texture and Temperature Tips
When it comes to achieving perfect cookies, mastering texture and temperature control is essential. To get the best results, you'll need to chill your dough for at least 24 hours, which enhances flavor complexity and creates a chewier texture.
The flour will hydrate properly, giving you thicker cookies with better consistency.
For solar oven baking, you'll need to adapt traditional temperatures and timing. Since solar ovens rarely exceed 80°C, your cookies might stay slightly doughy.
Consider these significant adjustments:
- Insulate your solar oven thoroughly to maintain consistent heat
- Use a thermometer to monitor temperature constantly
- Extend baking time to compensate for lower temperatures
For texture variation, you can aim for different results: chewy cookies need 14 minutes at 325°F, while crispy ones require 30 minutes at the same temperature.
Special Add-Ins for Solar Cookies
Creating unique solar cookies becomes more exciting with carefully chosen add-ins that enhance both appearance and taste.
You'll find that mini M&M's and Jelly Bellies work perfectly as hidden surprises in piñata-style cookies, while chocolate chips can double as sunspots in your solar designs.
For the perfect sun-like appearance, you can use yellow food coloring in your dough and create detailed designs with royal icing in yellow, orange, and black shades.
Don't forget to experiment with flavors – try adding almond extract or a pinch of nutmeg for unexpected depth.
If you're looking for gluten-free options, you can substitute almond flour for wheat flour.
For extra moisture and richness, incorporate sour cream into your dough or blend brown sugar with white sugar.
Storage and Serving Suggestions
Now that you've mastered the art of decorating your solar cookies with creative add-ins, proper storage becomes your next priority to maintain their freshness and appeal.
For best results, let your cookies cool completely before storing them in an airtight container or tin, away from direct sunlight and heat sources.
For long-term storage, you've got three reliable options:
- Keep them at room temperature in a sealed container with parchment paper between layers for 24-hour freshness.
- Store them in the fridge using resealable bags, though this might affect their texture slightly.
- Freeze them by first placing them on a lined baking sheet until firm, then transfer to freezer bags with the air removed.
Don't forget to label your containers with dates and cookie types for easy identification.
Frequently Asked Questions
Can I Use a Solar Oven to Bake Cookies at High Altitudes?
Yes, you can bake cookies in a solar oven at high altitudes, but you'll need to adjust your recipe, increase baking time, and guarantee proper insulation. Watch temperatures closely, as solar ovens heat differently in thin air.
What Happens if Clouds Appear Halfway Through Baking the Cookies?
If clouds appear during baking, you'll notice reduced heat in your solar oven. You'll need to extend your baking time or move the cookies to a conventional oven to guarantee they're fully cooked.
Does the Color of the Baking Pan Affect Solar Cookie Results?
Yes, your pan's color considerably affects solar baking results. You'll find dark pans absorb heat faster and bake cookies more quickly, while light-colored pans reflect sunlight and require longer baking times for similar results.
How Do Different Types of Chocolate Chips Perform in Solar Baking?
You'll get better results with chopped chocolate bars in solar baking, as they'll melt more evenly than store-bought chips. Higher cocoa butter content chips spread better during the longer, variable-temperature baking process.
Can I Stack Multiple Cookie Trays in a Solar Oven Simultaneously?
Yes, you can stack multiple cookie trays in your solar oven if you've got the right equipment. You'll need dehydrating racks and smaller pans, and make sure to rotate them every 6 minutes for even baking.
In Summary
You'll discover that sun-baked cookies offer a unique twist on Grandma's classic recipe while adding sustainable charm to your baking routine. Don't worry if your first batch isn't perfect – solar baking takes practice. Remember to store your cookies in an airtight container and serve them within a week. Once you've mastered this eco-friendly technique, you'll love sharing these conversation-starting treats with family and friends.


Leave a Reply