Maximize your kitchen's thermal efficiency by strategically placing high-density materials like concrete, granite, or thick stone countertops. You'll want surfaces at least 1.25 inches thick to optimize heat retention and distribution. Position your prep areas near south-facing windows to harness natural sunlight, and combine these thermal mass elements with proper insulation to prevent heat loss. Install smart ventilation systems with automatic airflow adjustment to maintain ideal cooking conditions. Keep your work triangle under 26 feet and guarantee 36-inch walkways for comfortable movement. These foundational steps will launch your journey toward complete kitchen temperature mastery.
Selecting Kitchen Thermal Mass Materials

When designing a kitchen with thermal mass in mind, selecting the right materials can greatly impact your space's temperature regulation and energy efficiency.
You'll want to focus on materials with high density and specific heat capacity for peak performance.
Consider concrete countertops or flooring, as they provide excellent thermal mass properties and durability. Stone surfaces, like granite or marble, aren't just aesthetically pleasing – they'll also help regulate your kitchen's temperature naturally.
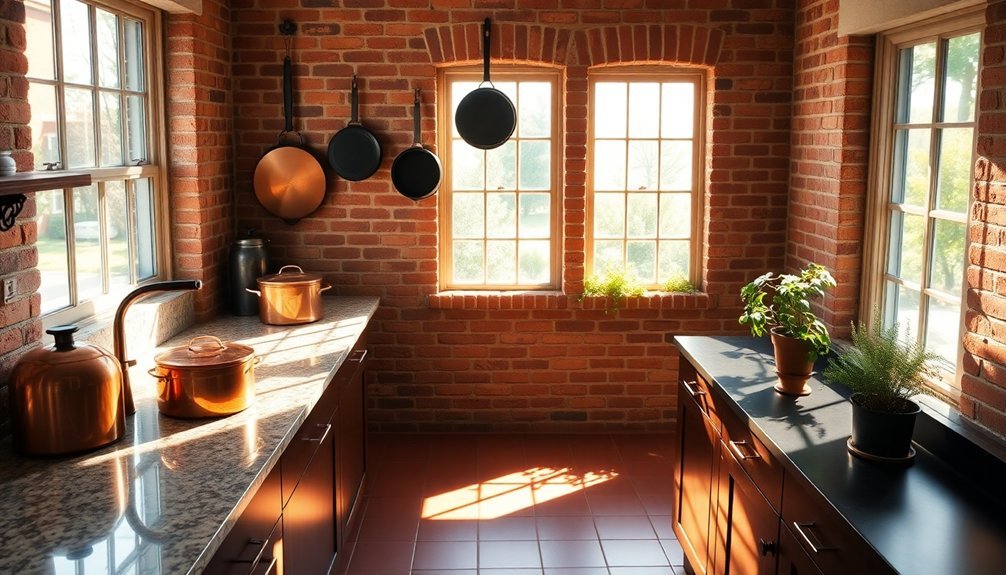
For walls, brick or adobe can create an effective thermal barrier while adding character to your space. Alumina and silica materials provide superior heat distribution and retention throughout your kitchen design.
Don't forget to pair these materials with proper insulation.
You'll need to verify your thermal mass materials are protected with appropriate insulation layers to prevent heat loss and maintain consistent temperatures.
This combination will help create a more energy-efficient kitchen environment.
Strategic Countertop Heat Distribution
Your choice of countertop material directly affects how heat moves through your kitchen surfaces, with dense options like granite and concrete offering superior thermal mass benefits.
You'll want thicker countertops (typically 1.25 to 3 inches) to maximize heat distribution and temperature regulation throughout your cooking space.
Understanding these thermal properties lets you strategically place hot items to either retain or disperse heat based on your cooking needs. Granite's exceptional heat resistance up to 1,200°F makes it an ideal choice for frequently handling hot cookware and baking equipment.
Material Selection Impacts Performance
Since countertop materials vary considerably in their heat-handling capabilities, choosing the right surface can make or break your kitchen's thermal performance.
If you're looking for maximum heat resistance, granite's impressive 1,200°F tolerance makes it ideal for direct pot placement, though you'll need to maintain its sealing regularly.
While quartz and porcelain offer moderate heat resistance up to 300°F, they'll serve you well with proper heat protection. Using solid surface countertops will limit you to temperatures not exceeding 212°F.
Quartz provides consistent performance across its engineered surface, while porcelain resists stains without requiring sealing. However, you'll want to avoid placing hot items directly on either material.
For budget-conscious renovations, remember that laminate's 150°F limit means you'll need to be extra careful with hot cookware, always using trivets to prevent damage.
Optimal Counter Thickness Guide
Three key factors determine the ideal thickness for your kitchen countertops: heat distribution, durability, and aesthetic appeal.
For best thermal performance, you'll want to take into account a thickness between 1.25" to 1.5" for natural stone or quartz surfaces. Different materials like butcher block counters require thickening between 1.5 to 2.5 inches for optimal heat management.
If you're installing a thermal mass countertop, remember that thicker surfaces (1.5 inches) provide better heat retention and distribution while offering enhanced durability.
You won't need additional support for overhangs up to 16 inches with these thicker options. However, if you prefer a modern look, thinner countertops can work well with proper support.
For areas where you'll frequently place hot cookware, opt for the 1.5" thickness to maximize heat distribution and minimize potential damage.
You can mix different thicknesses throughout your kitchen to balance thermal performance with design preferences.
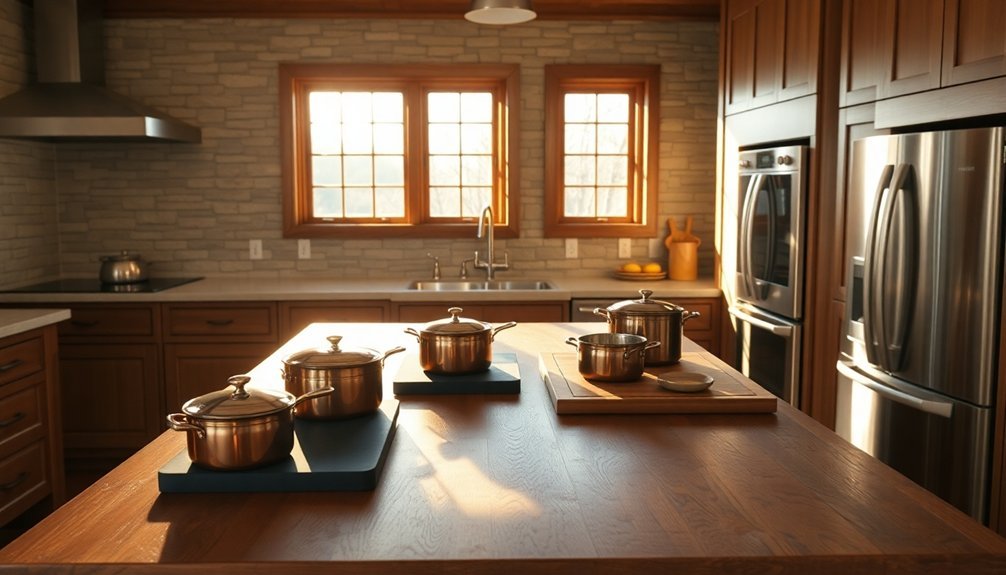
Solar Window Placement
When planning a thermal mass kitchen, proper window placement plays an essential role in maximizing solar energy efficiency. In the Northern hemisphere, you'll want to focus on south-facing windows, sizing them between 15-25% of your thermal mass area depending on your climate.
Make sure your windows have a high solar heat gain coefficient (SHGC) of 0.5 or above to capture maximum warmth.
- Position windows to allow direct sunlight to strike your masonry floors and walls
- Install operable vents in thermal storage walls to improve heat distribution
- Choose low U-factor windows to maintain better insulation during cold nights
- Add properly sized overhangs to block summer sun while allowing winter rays
Consider east and west windows carefully, as they're less effective for heating and may require additional shading strategies during summer months.
Dark Surface Heat Absorption
The role of dark surfaces in thermal mass kitchens can greatly impact your overall heat management strategy.
You'll notice that dark-colored surfaces and materials absorb considerably more heat than their lighter counterparts, which can affect both comfort and energy efficiency.
To optimize your kitchen's thermal performance, consider replacing dark surfaces with lighter, reflective alternatives where possible.
If you're a chef, opt for light-colored uniforms instead of traditional black smocks to reduce heat absorption from cooking appliances.
Position your workstations away from large, hot equipment to minimize radiant heat exposure.
Remember that matte finishes absorb more heat than glossy ones, so choose shiny, light-colored surfaces for areas near heat sources.
These adjustments will help you maintain better temperature control and improve your kitchen's overall comfort level.
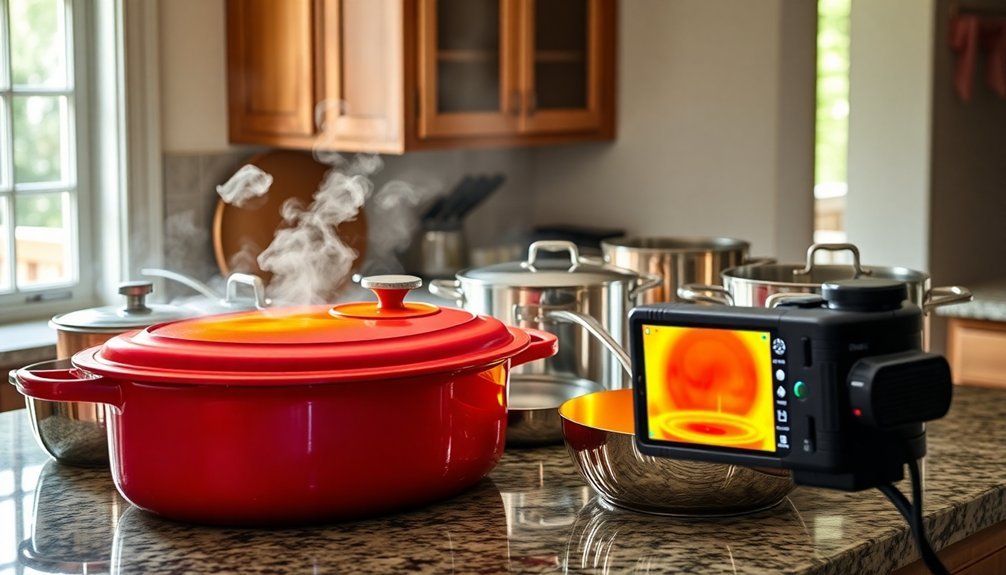
Ventilation Control Methods
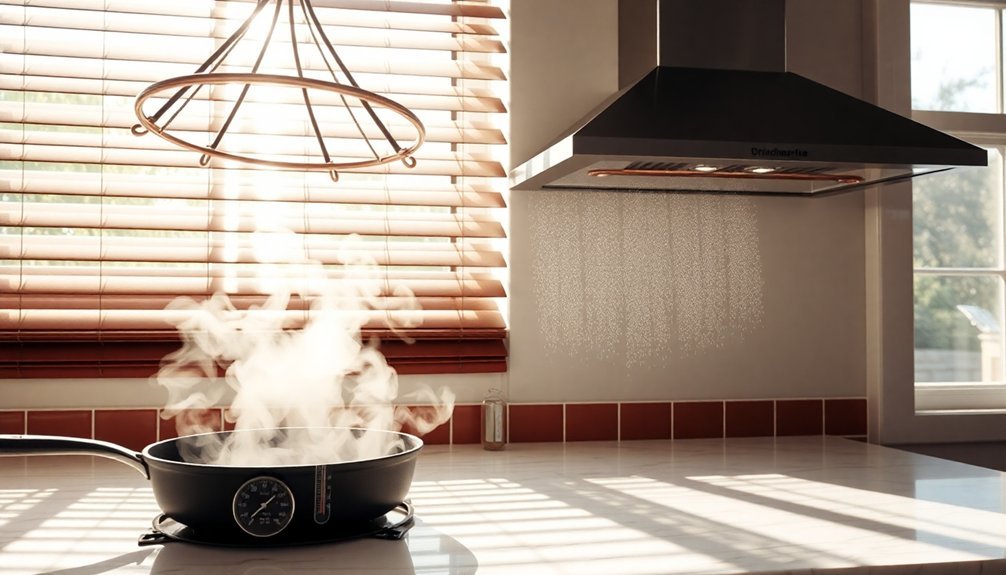
Effective ventilation control stands at the heart of any well-functioning thermal mass kitchen.
You'll need to balance both mechanical and natural ventilation systems to optimize your kitchen's thermal performance. Smart range hoods with automatic airflow adjustment and thermal monitoring will help you maintain ideal cooking conditions, while strategic window placement can enhance natural airflow patterns.
- Install a variable speed hood with at least 600 CFM capacity and WiFi-enabled controls
- Position windows to maximize stack effect ventilation and reduce mechanical system load by 25%
- Use recirculating hood systems with activated charcoal filters when outdoor exhaust isn't possible
- Implement heat recovery ventilation to cut energy costs by up to 40%
Regular maintenance of sensors and filters, combined with proper hood sizing and placement, guarantees your ventilation system operates at peak efficiency while managing your kitchen's thermal mass effectively.
Insulation Placement For Heat Retention
You'll want to start with strategic placement of insulation under your kitchen slab, ensuring complete coverage to prevent heat loss through the foundation.
Extending the insulation beyond the slab's perimeter creates an essential thermal break that blocks heat from escaping through the edges.
Protect these vulnerable perimeter zones with rigid foam insulation that wraps up the slab edge and connects seamlessly to your wall insulation system.
Strategic Under-Slab Coverage
Proper insulation placement beneath your kitchen slab acts as a critical thermal barrier, preventing valuable heat from escaping into the ground while maximizing the slab's heat retention capabilities.
You'll want to guarantee complete coverage with insulation that maintains an R-value of at least 1.9, focusing particularly on areas that receive direct sunlight through windows or glass doors.
- Position insulation to cover the entire slab area, extending slightly beyond the perimeter
- Install high-density materials like concrete or tile above the insulation, keeping thickness between 100-200mm
- Create a continuous barrier without gaps to prevent thermal bridges
- Prioritize coverage beneath areas where thermal mass materials will be most active, such as near south-facing windows
Consider your local climate conditions when determining insulation thickness, as ground temperatures can greatly impact your kitchen's thermal performance.
Perimeter Edge Protection
Building on your under-slab insulation strategy, the perimeter edges of your kitchen slab require specific attention to maximize heat retention.
You'll need to guarantee continuous insulation coverage around the entire perimeter, as unprotected edges can account for up to 62% of heat loss.
Your insulation depth requirements vary by climate zone: extend insulation to footing depth or 2 feet in Zones 1-3, 2 feet below grade in Zones 4-5, and 4 feet below grade in Zone 6.
You can use foam board, spray foam, or rigid insulation to create an effective thermal barrier.
For peak performance, consider cutting the top edge at a 45-degree angle and installing the insulation to break thermal bridges.
This approach will greatly reduce your heating consumption and prevent cold air infiltration while maintaining consistent indoor temperatures.
Seasonal Kitchen Layout Adjustments
As seasons change throughout the year, your kitchen layout may need strategic adjustments to maintain ideal efficiency and comfort.
Consider adapting your work triangle and zones based on seasonal cooking patterns while keeping the total triangle distance under 26 feet. You'll want to maximize natural light and ventilation through strategic placement of mobile prep stations and rolling carts.
- Shift your prep zone closer to windows during winter months to capture natural warmth and light
- Rearrange portable kitchen islands to optimize airflow during summer cooking sessions
- Adjust storage zones to accommodate seasonal cookware and ingredients
- Relocate frequently used items to maintain efficient 4-9 foot distances between primary work zones
Remember to keep major traffic patterns clear of your work triangle while making these seasonal modifications, ensuring walkways remain at least 36 inches wide for comfortable movement.
Frequently Asked Questions
How Does Humidity Affect Thermal Mass Performance in Kitchen Environments?
High humidity in your kitchen reduces thermal mass efficiency by slowing heat release, since moist air's higher heat capacity interferes with normal heat absorption and distribution patterns. You'll notice less effective temperature regulation.
Can Thermal Mass Materials Interfere With Wireless Kitchen Appliance Signals?
Yes, your thermal mass materials, especially those containing metal or dense components, can disrupt wireless signals. You'll notice weaker connections if your smart appliances are surrounded by thick concrete, stone, or metal surfaces.
What Impact Does Thermal Mass Have on Kitchen Fire Safety?
While thermal mass materials can help slow fire spread and maintain structural integrity during fires, you'll still need proper ventilation, fire suppression systems, and safety protocols for complete kitchen fire safety.
How Do Kitchen Thermal Mass Materials Affect Food Storage Temperatures?
Your kitchen's thermal mass materials help maintain stable food storage temperatures. Higher-mass materials like stone countertops and concrete floors absorb heat slowly, preventing rapid temperature fluctuations that could affect stored food's safety.
Does Thermal Mass Installation Affect Kitchen Plumbing Access and Maintenance?
Yes, thermal mass installations can affect your plumbing access. You'll need careful planning to avoid blocking pipes, and you should guarantee maintenance points remain accessible. Regular inspections are essential to prevent potential issues.
In Summary
You've now got the key tools to master your kitchen's thermal mass dynamics. By choosing the right materials, optimizing your countertop layout, and strategically placing windows and dark surfaces, you'll create an energy-efficient cooking space. Remember to adjust your ventilation and insulation seasonally. Put these principles into practice, and you'll see immediate improvements in your kitchen's heat distribution and energy performance.


Leave a Reply