To cook tender chickpeas using solar power, you'll need a solar oven with good heat retention and reflective surfaces. Start by soaking your dried chickpeas overnight, then place them in a dark-colored pot with a tight-fitting lid. Position your solar cooker in direct sunlight, ideally on a clear day, and adjust it throughout the day to follow the sun's path. Add enough water to cover the chickpeas, along with salt and seasonings for flavor. Expect cooking times of 4-6 hours, depending on weather conditions and your setup. This eco-friendly method not only saves energy but reveals a world of sustainable cooking possibilities.
Why Solar Cooking Works
Through the power of sustainable energy, solar cooking stands out as a transformative solution to many global challenges. You'll discover that this method not only reduces greenhouse gas emissions but also prevents deforestation by saving up to one tonne of wood per cooker annually.
When you switch to solar cooking, you're helping eliminate 5.8 million tonnes of CO2 emissions yearly – equivalent to removing millions of cars from roads.
You'll notice immediate health benefits too. Without smoke and soot from traditional fires, you're protecting yourself from respiratory illnesses and burn risks. Globally, this clean cooking method helps prevent 1.6 million deaths each year that are typically caused by indoor air pollution. The slow, even heating preserves more nutrients in your food, while the ability to pasteurize water adds another layer of safety to your daily routine.
What's particularly impressive is how solar cooking empowers communities. You're saving money on fuel costs while giving women and children more time for education and income-generating activities.
It's practical too – you can cook various dishes, from stews to baked goods, with minimal setup. Even in areas with limited sunlight, you'll find solar cooking surprisingly effective, complementing your existing cooking methods while supporting all 17 UN Sustainable Development Goals.
Choosing Your Solar Oven
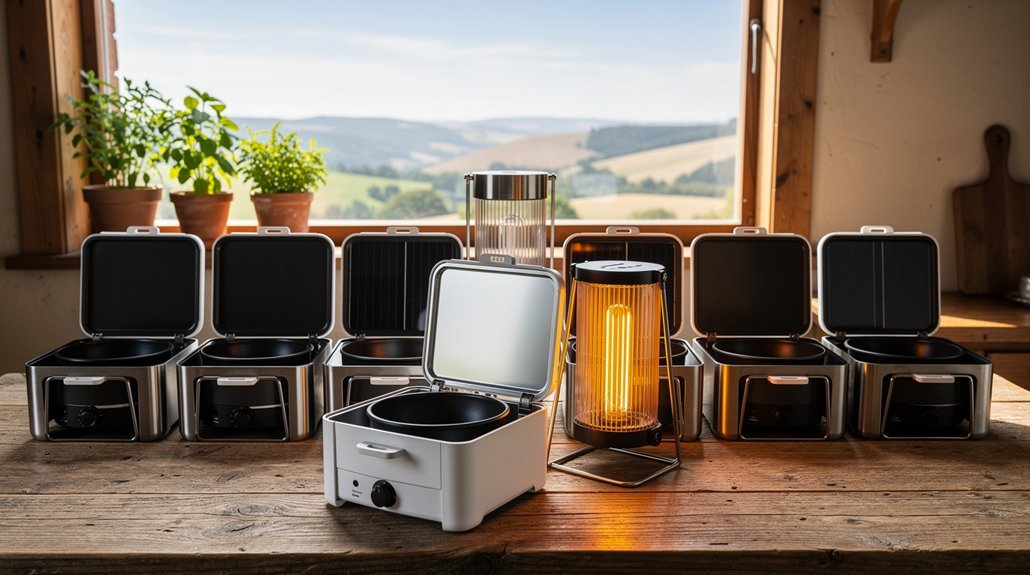
When you're ready to pick a solar oven, you'll find three main types: box cookers that use insulated boxes with reflectors ($350), vacuum tube cookers that trap light efficiently ($279-359), and parabolic dish cookers that focus sunlight directly onto your pot.
Your choice will depend on your cooking needs and budget, with larger box cookers handling 4-10 meals and compact vacuum tube models serving 2-8 portions. With parabolic cookers like the SolSource reaching temperatures of up to 340°F at the bottom, you'll get powerful cooking performance for tasks like frying and boiling.
You'll want to position your solar cooker in direct sunlight, using dark-colored cookware with lids to maximize heat absorption and retention.
Types and Basic Models
From basic box designs to high-tech vacuum tubes, solar ovens come in four main categories that each offer distinct advantages for cooking chickpeas and other foods.
Box cookers like the Sun Oven ($350) use insulated chambers and sophisticated reflector systems to cook 4-10 meals at once. They maintain impressive performance with their heat-resistant interior racking and excel at heat retention. They're great for baking and require minimal sun tracking, though they struggle with low-angle light.
Panel cookers, including models like Sunflair and HotPot, use simple reflective panels to concentrate sunlight. While they're more affordable, they're less durable and don't perform well in weak light conditions.
If you're seeking speed, parabolic dish cookers like the SolSource can reach high temperatures quickly, but they'll need frequent adjustments and maintenance.
The most versatile option is vacuum tube technology, featured in the GoSun Sport ($279) and GoSun Grill ($599). These cookers excel in low light conditions and maintain steady temperatures, with the Sport cooking meals in as little as 15 minutes. The larger Grill can handle 6-8 portions and performs well even in freezing weather or partial clouds.
Cost Vs Size Options
Today's solar oven market offers options spanning from budget-friendly $89 models to premium $599 units, with size and capacity trade-offs at each price point. You'll find compact designs like the GoSun and Sunflair perfect for portability, while larger models like the All-American Sun Oven and Solavore cater to family-sized meals. These ovens provide an excellent option for emissions-free cooking, making them environmentally responsible choices for any household.
| Price Range | Features & Capacity |
|---|---|
| $89-$165 | Medium capacity, lightweight (Sunflair) |
| $199-$287 | Large capacity, family-sized (Solavore) |
| $249-$359 | Compact size, individual portions (GoSun) |
| $389 | Large capacity, integrated case (Ugli Hybrid) |
| $599 | Premium features, large capacity (Sun Focus) |
If you're prioritizing portability, consider the Sunflair Deluxe at just over a pound, collapsing to 16x2x19 inches. For larger gatherings, the Solavore and Ugli Hybrid offer substantial cooking space. The GoSun, while compact at 24x8x5 inches stored, serves smaller portions but requires an additional investment for a carrying case. Premium models like the Sun Focus include integrated carrying cases and larger capacities, though they command higher prices. Your choice should balance your budget against your specific capacity and portability needs.
Positioning for Maximum Sunlight
Ideally positioning your solar oven can make the difference between a successful meal and undercooked food. You'll need to find a spot that receives consistent sunlight for at least 30-45 minutes each hour and adjust the oven's position throughout the day to follow the sun's path.
For the best cooking of your chickpeas, face the oven directly south to catch the earliest sunrays, and consider using an online calculator to determine the sun's altitude at different times. The optimal cooking window is typically between 10am and 4pm during summer months.
Wind can greatly impact your cooking success, so choose a sheltered location and secure your oven to prevent movement.
- Place dark, heat-absorbing cookware inside to maximize heat retention.
- Position away from trees or buildings that could cast shadows.
- Adjust the oven's angle throughout the day to maintain direct sunlight.
- Secure the reflectors to prevent rattling in the wind.
- Choose a level surface with good southern exposure.
Even in cold weather, a well-insulated solar oven can effectively cook your chickpeas if properly positioned. The outside temperature has only a moderate effect on performance, but consistent sunlight exposure remains vital for achieving tender, perfectly cooked chickpeas.
Essential Equipment and Tools
When you're ready to start solar cooking chickpeas, you'll need to select a reliable solar oven like the Solavore or Solar Oven Society models, which offer efficient heat capture and stable construction.
Your solar oven should include adjustable bases and optional reflectors to maximize sun exposure throughout different seasons and weather conditions.
Essential to your success, you'll also need proper cooking containers, particularly graniteware pots that can hold enough chickpeas and water while fitting securely in your chosen solar oven.
Solar Oven Selection Guide
Selecting the right solar oven can make the difference between perfectly cooked chickpeas and undercooked legumes. When choosing your solar oven, focus on construction quality, size, and practical features that match your cooking needs.
Look for models with high-grade reflective surfaces and proper insulation to maintain consistent temperatures for thorough chickpea cooking.
Consider these key features for ideal solar cooking of chickpeas:
- Dark-colored cooking vessels that maximize heat absorption and retention
- Sturdy construction with weather-resistant materials for outdoor durability
- Adequate cooking capacity for your typical batch size (2-4 servings recommended)
- Portable design with easy setup if you'll be cooking away from home
- Built-in temperature gauge to monitor cooking progress
Your solar oven's size should accommodate your cooking vessels while remaining practical for storage and transport. If you're cooking chickpeas regularly, consider models with tracking systems that follow the sun's movement for more efficient cooking.
Remember that while basic models work well, advanced features like double-glazed glass covers and enhanced insulation can substantially reduce cooking times and improve results, especially important for achieving that perfect chickpea tenderness.
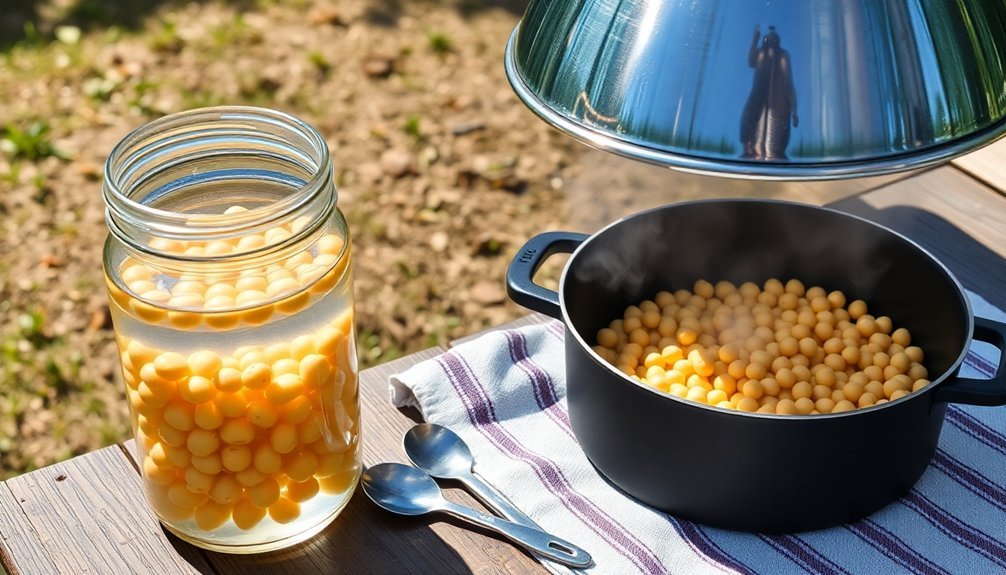
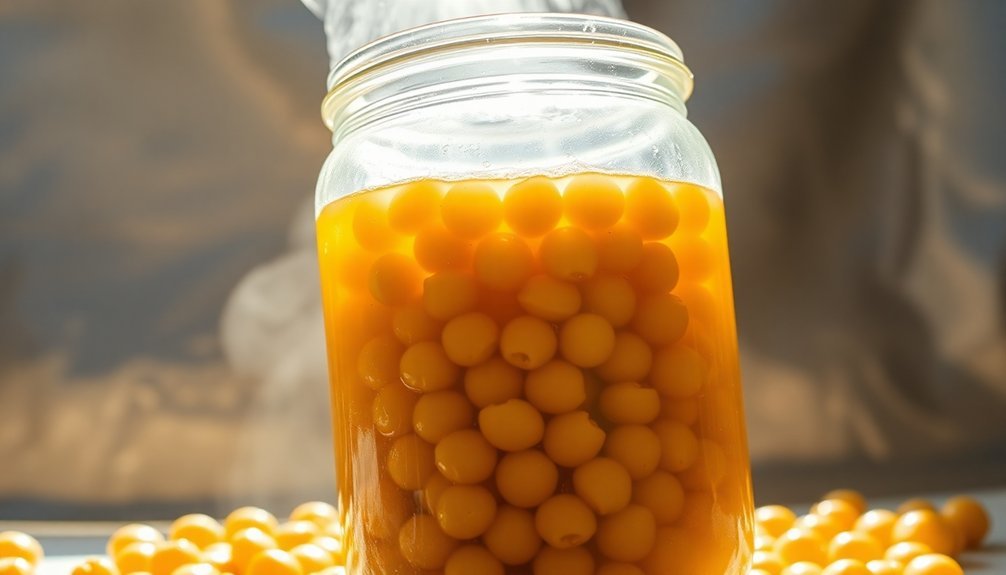
Essential Cooking Containers First
The right cooking containers make or break your solar chickpea cooking success. You'll need dark-colored pots with thin walls that efficiently absorb and transfer heat to your legumes.
Skip stainless steel or cast iron containers, as they'll reflect sunlight and heat up too slowly for effective solar cooking.
Choose small to medium-sized pots with lids to maintain consistent temperatures. Granite ware and ceramic containers work well, though you'll want to evaluate their heat retention properties.
If you're looking for a lightweight option, silicone pots are suitable, especially those designed specifically for solar ovens like the Global Sun Oven or All American Sun Oven.
If you're working with shiny containers, cover them with dark fabric to improve heat absorption. Your pot should include a tight-fitting lid and be easy to handle with pot holders.
Think about containers that come with additional accessories like steamer baskets, which can enhance your cooking options. When selecting your container, verify it fits comfortably in your solar oven and features safety elements like silicone rims to protect against glass breakage.
Preparing Raw Chickpeas
Raw chickpeas require proper preparation to transform them from hard, inedible legumes into tender, flavorful beans. You'll need to start by sorting through your dried chickpeas to remove any stones or debris that could compromise your dish.
Whether you're using a stovetop, slow cooker, or pressure cooker method, proper soaking and cooking techniques will guarantee perfect tenderness.
When preparing your chickpeas, remember these essential steps:
- Sort and rinse your chickpeas thoroughly to remove any unwanted debris
- Soak overnight (8+ hours) for stovetop cooking, or use the quick-soak method (5-minute boil + 1-hour soak)
- Use the correct water-to-chickpea ratio for even cooking results
- Add salt, bay leaf, and garlic during cooking to enhance flavor
- Monitor cooking time based on your chosen method to achieve desired tenderness
For stovetop cooking, you'll need about 2 hours of simmering time.
If you're using a slow cooker, plan for 3-4 hours on high or 6-8 hours on low.
Pressure cooking is fastest, requiring just 50 minutes for unsoaked or 20 minutes for soaked chickpeas.
Let them cool completely before storing for best results.
Setting Up Your Cooking Station
Before diving into solar cooking, proper station setup forms the foundation for successfully preparing chickpeas with the sun's energy. You'll want to select a thin, black pot as your cooking container, like the Granite Ware 9.75-inch round roaster pan, which absorbs heat efficiently and heats up quickly. Avoid cast iron pots, as they take longer to heat.
Choose a location with direct sunlight and minimal cloud cover. Look for sharp, defined shadows, which indicate the best cooking conditions. While light, wispy clouds won't impact cooking substantially, heavy cloud cover will prevent proper heating.
| Setup Component | Essential Requirements |
|---|---|
| Cooking Container | Thin, black pot for efficient heat absorption |
| Location | Direct sunlight with clear shadow lines |
| Solar Oven | Aluminum foil reflectors, plastic wrap cover |
Prepare your solar oven by lining it with aluminum foil to direct sunlight effectively. Use clear tape and plastic wrap to trap heat, and place black construction paper at the bottom for heat absorption. Add newspaper layers for insulation. Before adding chickpeas, preheat your solar cooker for up to an hour in direct sunlight, and remember to adjust its position throughout cooking to maintain maximum sun exposure.
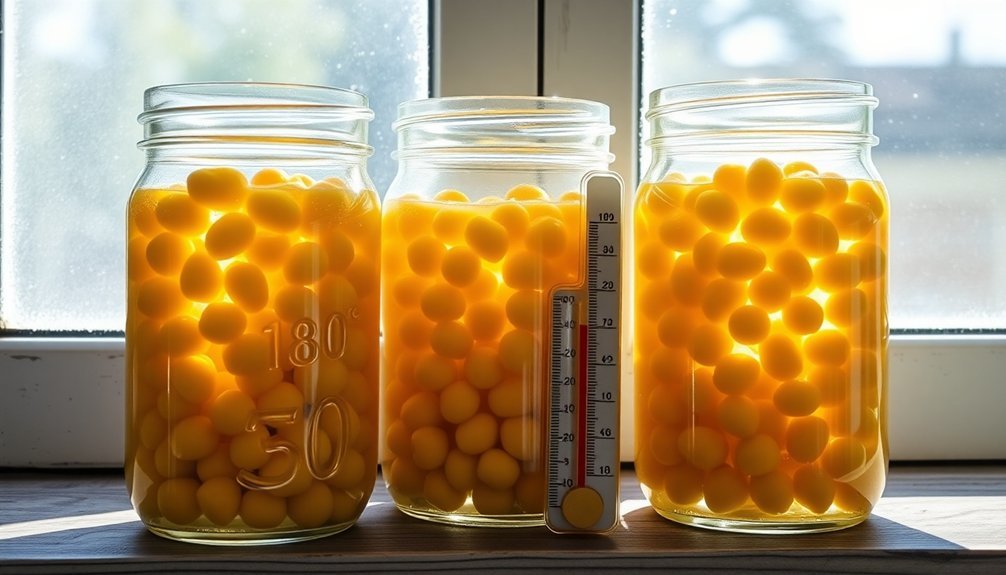
Temperature Control and Timing
Since solar ovens rely entirely on sunlight for heat generation, maintaining proper temperature control becomes critical for successfully cooking chickpeas. You'll need to preheat your solar oven for at least an hour before cooking, and guarantee it's positioned to receive maximum sunlight throughout the day.
For ideal results, you'll want to start early in the morning, as cooking chickpeas typically takes 4-8 hours depending on altitude and weather conditions.
Keep these essential timing and temperature control factors in mind:
- Adjust your oven's angle regularly to track the sun's movement
- Use reflectors to increase temperature and cooking efficiency
- Monitor for cloud coverage that might extend cooking time
- Check the chickpeas' progress every couple of hours
- Position the oven to minimize any internal shadows
You can enhance cooking times by considering the age of your chickpeas, as older beans require longer cooking periods.
If weather conditions deteriorate, you might need to complete the cooking process indoors or continue the next day.
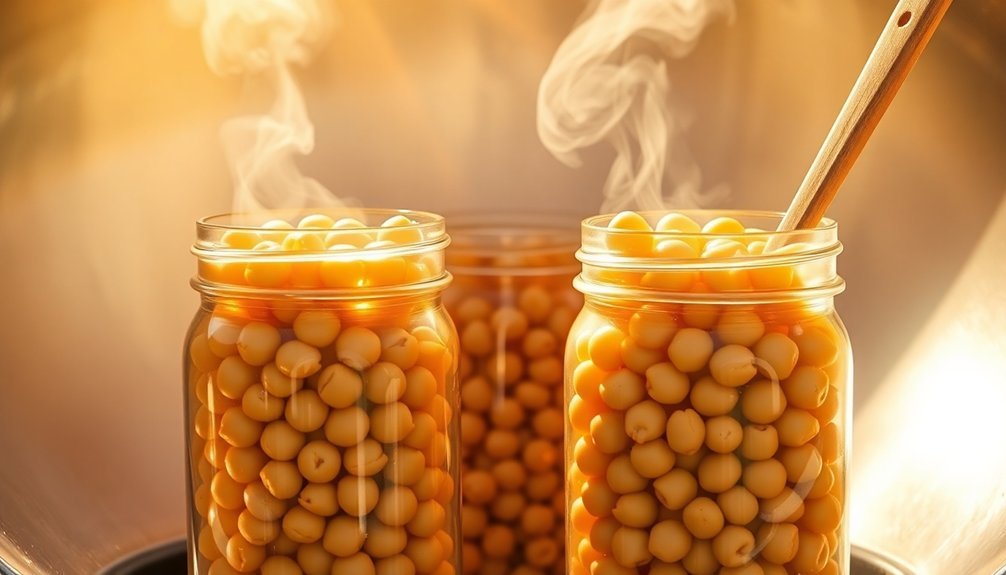
Once your chickpeas are tender, cool them promptly and store them in their cooking liquid in the refrigerator or freezer.
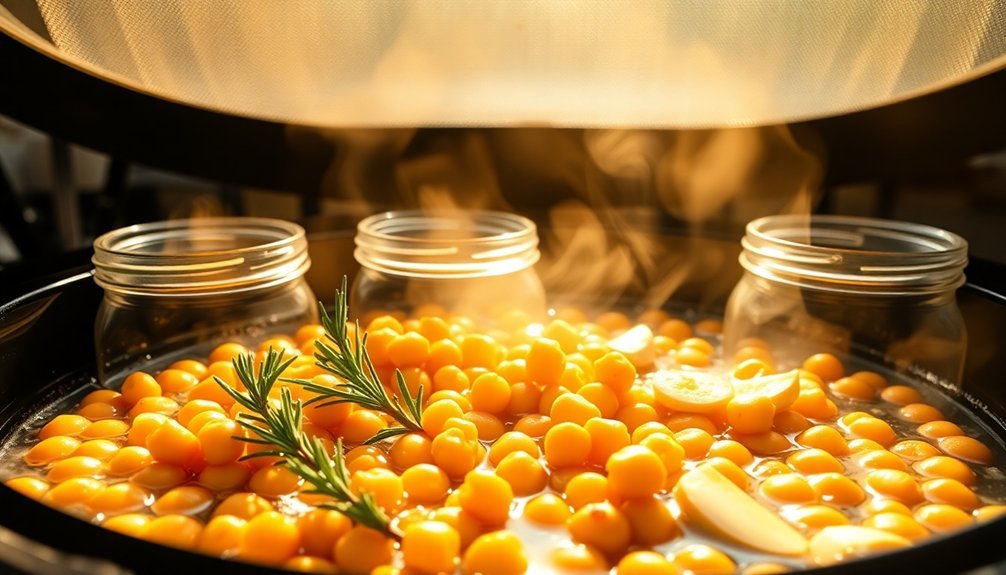
Step-By-Step Solar Cooking Process
Having mastered temperature control, let's put that knowledge into practice with a detailed cooking process.
Start by washing and sorting your dried chickpeas, then place them in a dark, thin metal pot with just enough water to cover them. Don't overfill, as excess water will slow down the cooking process.
Position your solar cooker on a level surface in direct sunlight, ensuring there's no shade. Place your pot inside a clear plastic bag or under a glass bowl to create a heat trap.
If you're using a panel cooker like the CooKit, adjust its angle based on the sun's position – higher angles for midday sun, lower for morning or afternoon cooking.
You won't need to stir the chickpeas while they cook, but you'll want to check them periodically as they near completion. Expect the cooking time to be about an hour longer than conventional methods.
Once the chickpeas are tender, carefully remove the pot using proper heat protection. Let them cool slightly before serving, or store them properly in the refrigerator for later use.
Best Weather Conditions
You'll get the best results cooking chickpeas on clear, sunny days when the UV index is 7 or higher, typically between 11 am and 3 pm.
While you can cook during any season, you'll need longer cooking times in winter months and more frequent adjustments to track the sun's lower position.
If you're cooking during spring or fall, plan ahead for shorter ideal cooking windows and consider using dark cookware to improve efficiency.
Clear Skies Matter Most
The most critical weather conditions for growing chickpeas center around clear skies and consistent temperatures. You'll need daytime temperatures between 70-80°F (21-27°C) and nighttime temperatures above 64°F (18°C) for ideal growth. Your chickpeas won't tolerate extreme temperature fluctuations, though they can handle light frost.
For successful chickpea cultivation, you'll want to guarantee these key conditions:
- Full sun exposure for 6-8 hours daily, with possible afternoon shade in hot climates
- Well-draining soil with a pH between 5.3 and 7
- Consistent but moderate watering, avoiding leaf wetness
- Protection from excessive moisture that can cause fungal diseases
- Regular monitoring of temperature patterns throughout the 100-day growing period
Your watering technique matters considerably – use drip irrigation or long-spouted watering cans to apply water directly to the soil base.
If you're in a warmer climate, you can plant chickpeas in early spring or late fall. Don't forget to implement crop rotation practices and consider adding support structures as the plants grow.
Mulching can help you maintain ideal soil moisture and temperature levels.
Seasonal Sun Intensity Tips
Maximizing sunlight exposure throughout the growing season directly impacts your chickpea harvest's success. You'll need to guarantee your plants receive 6-8 hours of direct sunlight daily while maintaining ideal temperatures between 70-80°F during the day and 65-70°F at night.
Plant your chickpeas in spring when soil temperatures reach at least 50°F, after the last frost date. If you're in zones 2-10b, spring planting works best, while zones 10b-11 favor fall planting. For colder regions, start seeds indoors 2-4 weeks before the last frost date.
| Season | Sun Requirements | Climate Considerations |
|---|---|---|
| Spring | 6-8 hours direct | Post-frost planting |
| Summer | Full sun + shade | Afternoon shade in South |
| Fall | 6-8 hours direct | Zones 10b-11 only |
| Winter | Indoor starting | 2-4 weeks pre-spring |
| Year-round | Consistent light | Prevent fungal disease |
Monitor your plants closely during intense summer heat, providing afternoon shade in southern regions to prevent overheating. You'll need well-draining soil with a pH between 5.3-7.0 and consistent moisture of about one inch per week to support healthy growth in these sun conditions.
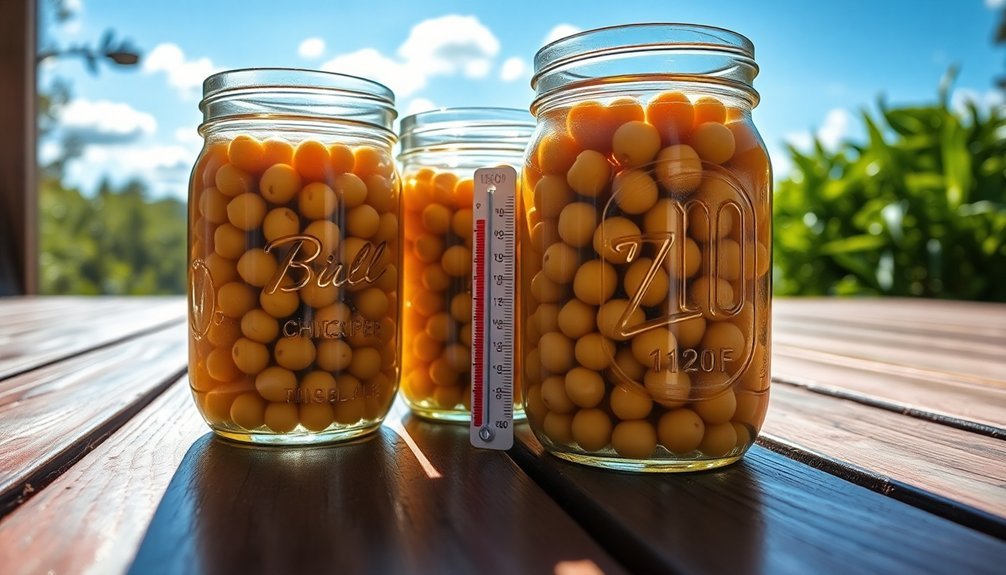
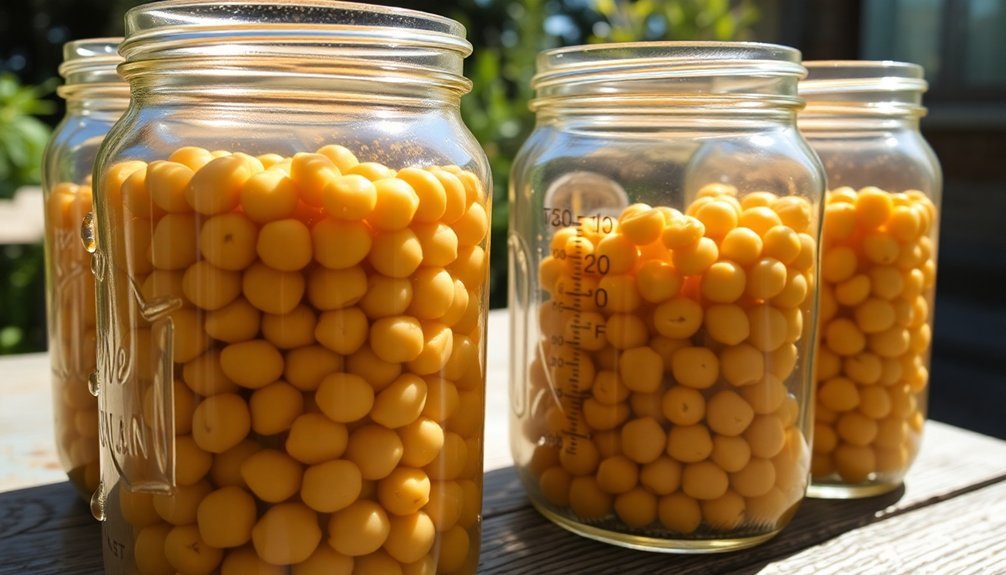
Storage and Food Safety
Proper storage and handling of chickpeas plays a crucial role in maintaining their quality and safety for consumption. You'll want to store dried chickpeas in airtight containers away from heat and sunlight, keeping their moisture content below 14% to prevent mold growth.
For cooked chickpeas, refrigerate them promptly and use within 3-5 days to guarantee food safety.
When handling chickpeas, you'll need to follow these essential safety practices:
- Store dried chickpeas in glass jars or sealed containers in a cool, dry pantry
- Keep cooked chickpeas in airtight containers and refrigerate immediately
- Check regularly for signs of spoilage like unusual odors or discoloration
- Rinse canned chickpeas thoroughly to remove excess sodium and anti-nutrients
- Cool or heat chickpeas quickly through the temperature danger zone (41°F-135°F)
If you're freezing chickpeas, portion them into serving sizes and store for up to 6 months.
Remember to soak and cook dried chickpeas thoroughly to eliminate lectins that can cause digestive issues.
For canned chickpeas, inspect the can for any dents, bulges, or rust before use, and always drain and rinse them well under cold running water.
Recipe Variations and Ideas
Versatile chickpea recipes offer countless opportunities for creative cooking and flavor exploration. You'll discover many ways to enhance your sun-cooked chickpeas by incorporating different herbs, spices, and complementary ingredients.
For Mediterranean-inspired dishes, try adding an Italian herb blend with oregano, or create a Tuscan variation using garlic and fresh basil.
If you're craving Indian flavors, blend curry powder, cumin, and coriander into your chickpeas. For extra heat, incorporate red pepper flakes or ground black pepper.
You can adapt the recipe to accommodate dietary preferences by using coconut milk or non-dairy alternatives for creaminess, and vegan parmesan for a dairy-free option. Consider swapping chickpeas with white beans or butter beans for variety.
Add sun-dried tomatoes or tomato paste to intensify the flavors.
To enhance nutrition and texture, incorporate leafy spinach, carrots, and celery. While sun cooking is the focus, you can also prepare these variations using stovetop or Instant Pot methods.
Don't forget to finish your dish with a drizzle of olive oil and fresh herbs like basil or parsley for garnish.
Troubleshooting Common Issues
When you're preparing your chickpeas for solar cooking, watch for these critical warning signs and solutions:
- If your chickpeas aren't softening evenly, remove the lid periodically to adjust the cooking speed and texture.
- For beans that are too firm, add a pinch of baking soda to help break down their structure.
- When you notice any fuzzy growth on your chickpeas, discard them immediately as this indicates mold.
- If you're experiencing inconsistent cooking results, try quick-soaking your chickpeas beforehand.
- Should your chickpeas develop an off-putting smell, verify you're storing them in a cool, dry place.
To maintain ideal results, you'll want to start with quality ingredients. Choose undamaged chickpeas and store them properly before cooking.
If you're using a solar cooker with a lid, monitor the moisture levels carefully to prevent overcooking.
Proper soaking and rinsing before cooking will substantially improve your final results.
Frequently Asked Questions
Can Solar-Cooked Chickpeas Be Used to Make Homemade Hummus?
Yes, you can make delicious hummus using solar-cooked chickpeas. They're perfect for this dish since they'll cook until tender, and when combined with tahini, lemon juice, and traditional seasonings, they'll create smooth, creamy hummus.
Do Chickpeas Cooked in Solar Ovens Retain More Nutrients?
Yes, you'll find solar-cooked chickpeas retain more nutrients because they're cooked at consistent, gentle temperatures. The minimal water usage and slower cooking process helps preserve vitamins, minerals, and beneficial antioxidants in your beans.
What Altitude Limitations Exist for Solar Cooking Chickpeas?
You'll face slower cooking times above 2,000 meters as water boils at lower temperatures. You can overcome this by using pressure-sealed canning jars or extending cooking duration to guarantee your chickpeas cook thoroughly.
Can Solar-Cooked Chickpeas Be Frozen for Later Use?
Yes, you can freeze solar-cooked chickpeas for up to 6 months. You'll want to pat them dry, freeze them in a single layer first, then transfer to airtight containers to prevent clumping.
How Does Solar Cooking Affect the Protein Content of Chickpeas?
You'll find that solar cooking doesn't substantially reduce the protein content of your chickpeas. The gentle heating process maintains their nutritional value, keeping the protein level at around 15 grams per cooked cup.
In Summary
You'll find solar-cooked chickpeas to be a game-changing addition to your sustainable cooking routine. Whether you're off-grid or simply looking to reduce your energy footprint, this method delivers perfectly tender results while harnessing free solar power. Start with small batches until you're comfortable with timing and temperature management. Once mastered, you'll wonder why you didn't try sun-powered legumes sooner.
Leave a Reply