To point your food directly at the sun, you'll need to adjust your solar cooker's angle based on your location and the time of day. For ideal cooking, aim to position your cooker perpendicular to the sun's rays, typically between 30-60 degrees from horizontal during peak hours of 10 AM to 4 PM. Start by finding your latitude and true north, then tilt your cooker steeper in winter and flatter in summer to match the sun's seasonal position. Use tools like a Sun Seeker App or magnetic angle finder for precise alignment. Understanding these angles can transform your solar cooking success.
Understanding Solar Elevation Basics
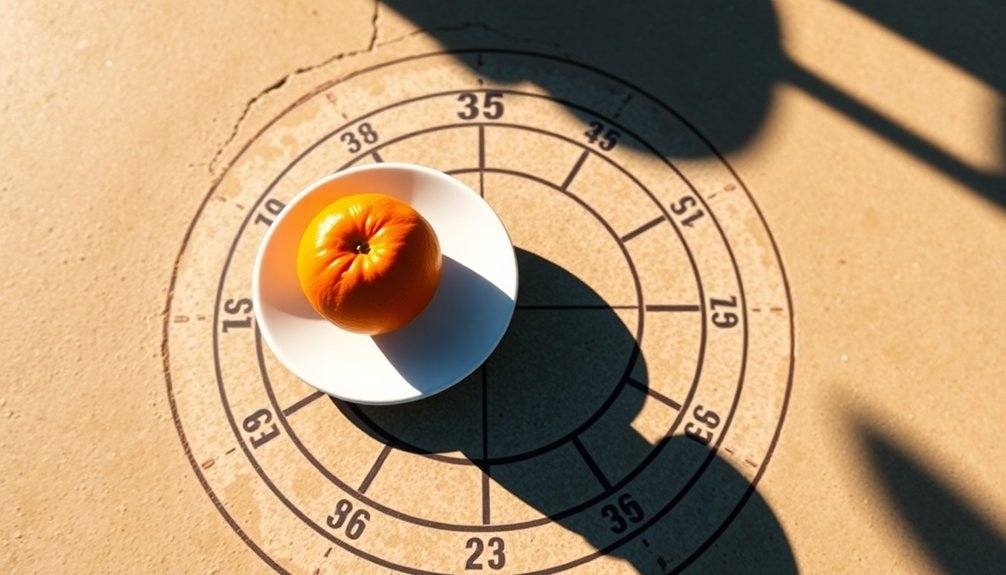
When tracking the sun's position in the sky, you'll need to understand the solar elevation angle – the sun's height measured from the horizontal plane. This angle starts at 0° during sunrise and reaches up to 90° when the sun is directly overhead.
You'll find that your latitude, the time of day, and the season all affect the sun's position. At solar noon, you can calculate the elevation angle using a simple formula: 90 plus your latitude minus the sun's declination angle. For accurate measurements, you may need to apply a time correction adjustment.
During equinoxes, the sun sits at a perfect 90° angle at the equator during solar noon.
These measurements aren't just theoretical – they're essential for practical applications. If you're setting up solar panels or planning to use solar cooking equipment, understanding elevation angles will help you optimize their placement and performance.
Finding Your Exact Location
You'll need to accurately determine your latitude and locate true north to properly position your solar cooking setup.
While GPS offers the most convenient method for finding your coordinates, you can also use Wi-Fi or cellular positioning if satellite signals aren't available. Modern smartphones combine multiple location sensors for enhanced accuracy when determining your position.
Identifying true north guarantees your solar cooker's ideal alignment, which you can establish using a magnetic compass and adjusting for magnetic declination in your area.
Determining Your Current Latitude
Determining your exact location through latitude measurements can be accomplished using two reliable celestial methods: sun angle measurements at noon and Polaris sightings at night.
For sun measurements, you'll need to wait until noon when the sun reaches its highest point. Use a vertical stick to track shadows until you find the shortest one, indicating true noon.
Then, employ a quadrant or sextant to measure the angle between the sun and horizon, using shadows for safe sighting. Remember that Earth's axial tilt affects these calculations, requiring seasonal adjustments for accuracy.
For Polaris measurements, locate the North Star using the Big Dipper as a guide. You won't need specific timing since Polaris stays fixed.
Simply measure the angle between Polaris and the horizon using your quadrant. This angle directly corresponds to your latitude, making nighttime measurements more straightforward than daytime ones.
Locating True North Position
Finding true north requires more precision than simply following a magnetic compass needle. While magnetic compasses point to magnetic north, you'll need to adjust for magnetic declination, which varies considerably across locations – from -19° in Maine to +18° in Washington state.
- For celestial navigation, you can use Polaris (the North Star) in the Northern Hemisphere or the Southern Cross in the Southern Hemisphere to find true north with accuracies below 0.05 degrees.
- Use the shadow method by marking a stick's shadow at two different times to create an east-west line.
- Point your analog watch's hour hand at the sun and bisect the angle between it and 12 o'clock to find north.
- For highest precision, consider north-finding gyros or dual-antenna GPS systems, though these come at a higher cost.
Best Times for Solar Cooking
You'll get the most out of your solar cooker between 11:00 am and 3:00 pm when the sun's rays are strongest and most direct overhead.
During these peak hours, you should adjust your cooker's angle every one to two hours to maintain ideal sun exposure and heating efficiency.
The seasons will affect your setup, requiring steeper angles during winter months and flatter positions in summer to properly catch the sun's energy.
Peak Solar Cooking Hours
The most productive hours for solar cooking fall between 10:00 a.m. and 4:00 p.m., with peak efficiency from 11:00 a.m. to 3:00 p.m.
During these hours, you'll get the strongest UV rays and highest temperatures, reaching up to 325°F in your solar cooker. To make the most of this ideal window, plan your meals accordingly and start early.
- Begin cooking breakfast or lunch dishes by 9:00 a.m. to guarantee they're ready for midday meals.
- Start dinner preparations no later than 1:00 p.m. to finish before sundown.
- Add an extra hour to your usual cooking times when using a solar cooker.
- Track the UV index for best results, aiming for values of 6 or higher, which typically occur between 12:00 p.m. and 2:00 p.m.
Seasonal Angle Adjustments
Successful solar cooking depends heavily on proper angle adjustments that shift with the changing seasons. You'll need to tilt your cooker more during winter months when the sun sits lower in the sky, ensuring your food receives direct sunlight.
If you're using a box cooker like the Global Sun Oven or SOS Sport, you'll find they're already designed with seasonal compensation in mind.
However, parabolic cookers require more frequent adjustments throughout the day, regardless of season. You can use helpful tools like the Sun Seeker App or a Johnson magnetic Angle Finder to determine the best tilt.
Your location matters too. If you're in areas with frequent clouds or fog, like Oregon or Washington, you'll face more challenges.
Lower latitudes offer better winter cooking potential due to higher solar irradiance.
Optimal Elevation Point Setup
While mastering seasonal adjustments is essential, understanding ideal sun elevation points remains equally important for effective solar cooking.
You'll achieve the best results between 11 am and 3 pm when the sun reaches its highest position in the sky. During these peak hours, position your solar oven to face direct sunlight and adjust the reflectors to capture maximum rays.
- Keep tracking the sun's movement across the sky and reposition your oven accordingly.
- Face your cooker directly at the sun, whether you're using a parabolic or box-style model.
- Maximize efficiency by tilting reflective surfaces to concentrate sunlight onto your cooking chamber.
- Choose your cooker type based on expected sun elevation – Kimono and Funnel cookers work well at low-medium elevations, while Cookits excel at medium heights.
Seasonal Sun Position Changes
As Earth travels around the Sun, its 23.5-degree axial tilt creates dramatic seasonal changes in the Sun's position and path across the sky.
During summer months, you'll notice the Sun rising in the northeast and setting in the northwest, traveling a higher arc that keeps it visible for more hours. This means longer days and more direct sunlight.
In winter, the Sun takes a lower path, rising in the southeast and setting in the southwest. You'll experience shorter days and less intense sunlight as the Sun appears lower in the sky.
During the spring and fall equinoxes, you'll see the Sun rise directly east and set directly west, with day and night lengths being equal. The Sun's noon altitude also shifts by 23.5 degrees between seasons.
Measuring Tools for Solar Angles

You'll find both basic solar compasses and digital inclinometers essential for accurately positioning solar-powered equipment.
These measuring tools help you track the sun's position and determine precise angles for ideal energy collection.
Modern digital inclinometers have largely replaced traditional compasses, offering you instant, accurate readings with built-in electronic sensors.
Basic Solar Compasses
When measuring solar angles accurately, you'll need specialized tools called solar compasses that work independently of Earth's magnetic field.
These instruments, first invented by William Austin Burt in 1835, use the Sun's apparent motion rather than magnetism for directional guidance.
To operate a basic solar compass effectively:
- Set up the instrument by adjusting the declination, latitude, and local time scales on their respective arcs.
- Level the compass using built-in spirit levels to guarantee precise readings.
- Focus the Sun's image between scribed lines on the target screen by adjusting the time dial.
- Align the sighting vanes with your target object and read the bearing from the angle scale.
The compass's precision comes from its verniers and clamp screws, which lock components in place for stable measurements.
Digital Inclinometers Today
Modern digital inclinometers have revolutionized solar angle measurements by offering precision within ± 0.1 degrees across extreme temperatures.
You'll find these devices essential for maximizing solar energy collection, as they provide real-time feedback to keep panels at ideal angles.
You can choose between single-axis inclinometers, which boost energy collection by up to 35%, or dual-axis models that achieve up to 45% increases.
These robust tools feature 360° operation capability and IP68 ratings for environmental protection.
With RS232 or RS485 interfaces and MODBUS RTU options, you'll easily integrate them into your tracking system.
You need only input the date, time, and location to achieve precise panel positioning.
These affordable devices maintain accuracy even during cloud cover, ensuring your solar tracking system operates at peak efficiency throughout changing conditions.
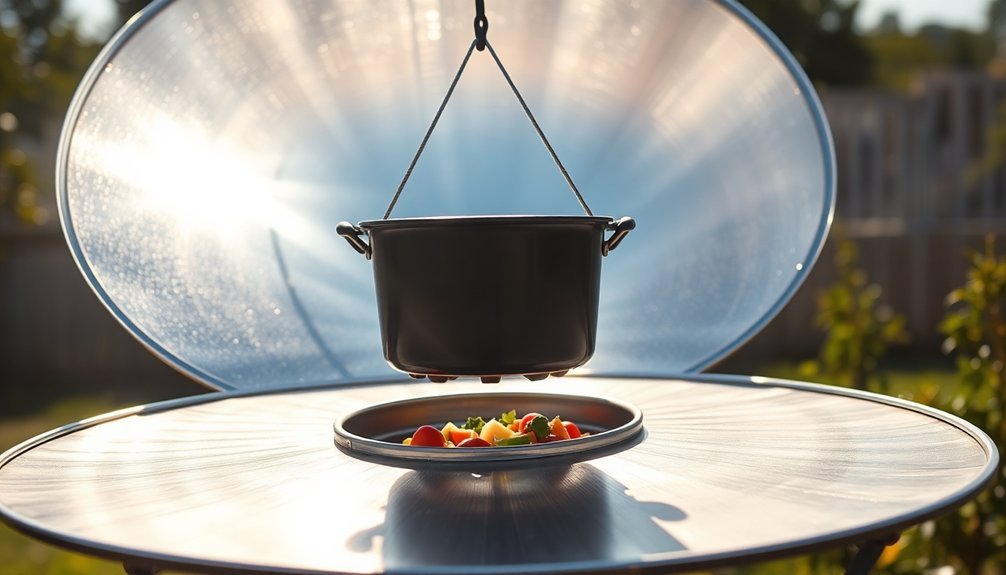
Adjusting Your Solar Cooker
Proper adjustment of your solar cooker is essential for maximizing its cooking efficiency throughout the day and across seasons. You'll need to understand how different angles affect your cooker's performance and make adjustments accordingly.
- Set your reflector panels between 30-60 degrees from the box face, with 60 degrees being typical. When the sun's overhead, lean reflectors out about 30 degrees.
- Tilt your box cooker to compensate for seasonal sun angles, especially during winter months, while being careful to prevent spills.
- Consider switching between cooker types based on the season – panel cookers work best in summer, while box or parabolic models excel in winter.
- If you're using a parabolic cooker, you'll need frequent realignment with the sun, as these models require precise positioning for maximum focus.
Sun Tracking Throughout The Day
To maintain ideal cooking temperatures, effective sun tracking throughout the day becomes essential for any solar cooking setup. You'll need to adjust your cooker's position as the sun moves across the sky, following its predictable daily path from east to west.
You can track the sun manually or use automatic mechanisms that respond to solar energy. Tools like the GoSun Dial help you align your cooker perfectly by using glare and shadow indicators.
For manual tracking, rotate your cooker around a vertical axis every 15-30 minutes to maintain best sun exposure.
Remember that the sun's height varies by season – it's higher in summer and lower in winter. You'll get the best results by positioning your cooker according to both the sun's elevation and azimuth angles, which you can determine using sun path charts or online calculators.
Optimal Cooking Angle Calculations
Calculating ideal cooking angles for solar cookers requires understanding the relationship between focal height and diameter. The best setup places the focal height at one-fourth of the diameter, maximizing your angle tolerance while maintaining efficiency.
When determining your cooker's ideal position, consider these critical factors:
- Larger target sizes increase angle tolerance but reduce concentration ratio.
- Your focal height directly impacts how much light hits the cooking surface.
- Smaller targets offer higher concentration but less forgiveness for alignment errors.
- Light spillover increases rapidly as you move away from best angles.
You'll need to balance these trade-offs based on your specific needs.
Remember that while larger cooking surfaces are more forgiving with alignment, they'll collect less concentrated solar energy – affecting your cooking performance throughout the day.
Weather Impact on Angles

Weather conditions greatly influence the ideal angles for your solar cooker throughout the year.
You'll need to adjust your cooker's angle based on seasonal sun patterns – from 67° in summer to 20° in winter, with equinoxes at 45°.
High humidity can trap heat and speed up cooking times, while low humidity allows faster moisture evaporation, requiring angle adjustments to maintain suitable temperatures.
Wind poses a particular challenge, as it can disrupt heat retention and affect your cooker's performance. You'll want to use windscreens and adjust vents accordingly.
During rain, you should shelter your solar cooker under a patio umbrella or E-Z Up shelter while maintaining the correct sun angle.
Remember that your location in either hemisphere determines whether you'll get more direct sunlight in summer or winter months.
Common Angle Positioning Mistakes
While weather patterns guide your initial angle setup, many solar cooking enthusiasts stumble on common positioning mistakes that can derail their cooking efforts.
You'll find that even small misalignments can greatly impact your cooking time and results, especially with parabolic cookers that require constant sun tracking.
- You're likely to face efficiency losses if your focal height isn't one-fourth of the aperture length – a critical ratio for peak performance.
- You might be tempted to skip seasonal adjustments, but your framework angle must match your location's latitude and change with the seasons.
- Your side mirrors need precise 20-degree tilts to capture maximum radiation over a two-hour period.
- You risk creating dangerous solar laser beams if you mishandle parabolic dishes, making proper alignment not just about cooking efficiency but safety too.
Regional Solar Cooking Differences
Depending on where you live, your solar cooking approach needs to adapt to local conditions and cultural preferences.
In regions with abundant sunshine, you'll find basic panel and box cookers work effectively. However, if you're in an area with intermittent clouds, you might want to take into account vacuum tube technology or Solar Brother's Suntube for more reliable cooking.
Your culinary traditions will also influence your choice of solar cooker. If you need to fry or grill food, a parabolic cooker is your best option.
For large-scale cooking, like in Indian institutions, specialized systems are available. You'll discover that local materials and cooking needs often determine the type of reflectors used – from aluminum foil to mirror-finish metals.
This adaptability makes solar cooking accessible across different regions and cultures.
Frequently Asked Questions
How Does Altitude Above Sea Level Affect Optimal Solar Cooking Angles?
You'll notice clearer skies and less atmospheric interference at higher altitudes, but your cooking angle won't change – it's still based on the sun's position relative to your location's coordinates.
Can Moonlight Reflection Be Used for Nighttime Solar Cooking?
No, you can't cook with moonlight reflections. The moon's reflected light is far too weak – about 400,000 times less intense than direct sunlight – to generate enough heat for cooking your food.
Do Magnetic Fields or Solar Flares Impact Solar Cooking Effectiveness?
You don't need to worry about magnetic fields or solar flares – they won't affect your solar cooking. Neither has a significant impact on how well your solar cooker works. Focus on proper sun alignment instead.
What Minimum Sun Angle Is Required for Effective Solar Cooking?
You'll need at least an 18-20 degree sun altitude for effective solar cooking. Your solar cooker will work best when the sun's higher, but you can adjust reflector panels to compensate for lower angles.
How Do Nearby Reflective Surfaces Influence Optimal Solar Cooking Angles?
Nearby reflective surfaces can boost your solar cooking by redirecting additional sunlight. You'll want to angle your cooker slightly away from these surfaces, usually 15-20 degrees, to avoid interference with primary solar exposure.
In Summary
You'll find that a 90-degree angle minus your latitude's solar elevation angle points your solar cooker directly at the sun. Remember to adjust this angle seasonally – subtract 23.5° in summer and add 23.5° in winter. For most efficient cooking, you'll want to readjust your cooker's position every 30 minutes as the sun moves across the sky.


Leave a Reply