
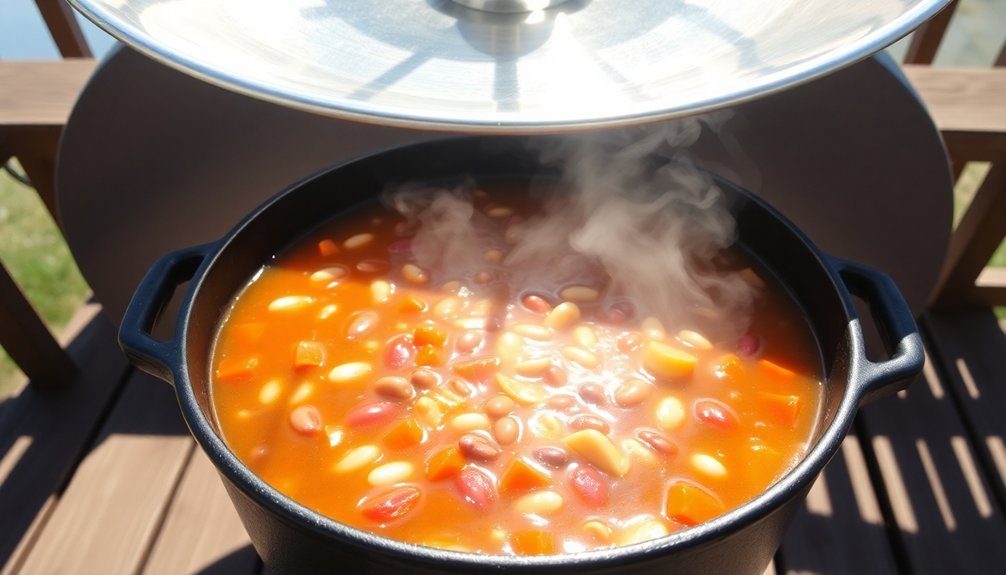
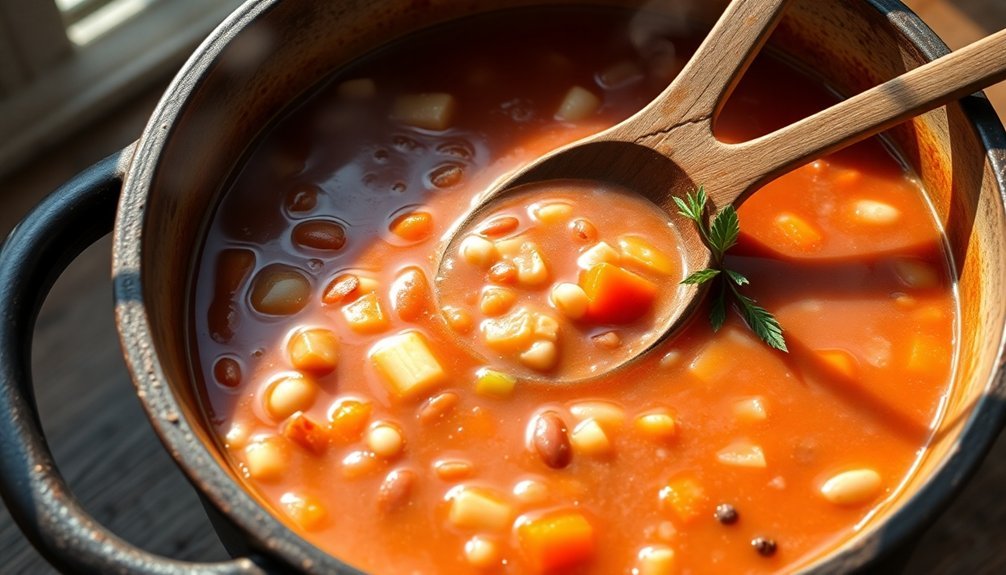
You'll love making this eco-friendly sun-cooked bean soup using just one pot and free solar energy. Start by positioning your solar cooker between 10 AM and 2 PM, when sunlight is strongest. Choose dried beans for better texture and flavor, then add aromatic vegetables like onions, carrots, and celery for depth. Season with fresh herbs such as rosemary and thyme, letting the sun's heat slowly transform your ingredients into a hearty, nutritious meal. Your soup will cook at 150-225°F, perfect for developing rich flavors while saving energy. This simple method opens up a world of sustainable cooking possibilities.
Why Solar Cooking Works
Solar cooking represents a powerful solution to multiple global challenges, combining environmental stewardship with practical benefits. When you choose to cook with solar energy, you'll harness the sun's free, renewable power while achieving impressive efficiency rates between 34.5% and 40.3%.
Your solar cooker can generate cooking power of 42.5 to 58.2 W, making it perfectly capable of preparing hearty meals.
You'll discover that solar cooking preserves more nutrients in your food, especially proteins, compared to traditional cooking methods. Plus, you're contributing to significant environmental impact – each solar cooker saves up to one tonne of wood annually and helps prevent millions of tonnes of CO2 emissions.
You won't need to worry about smoke or soot, which means better air quality and reduced respiratory health risks for your family. The method also helps pasteurize drinking water, making it safer for consumption.
The convenience factor is substantial – you can leave your solar cooker unattended while it works, freeing up your time for other activities.
You'll save money on fuel costs since solar energy is free, and you're helping reduce deforestation and environmental pollution. It's a practical cooking method that delivers both personal and planetary benefits.
Essential Kitchen Tools
You'll need two key pieces of cookware for making bean soup: a large stock pot for even heating and generous portions, and a Dutch oven if you're cooking a smaller batch.
For the smoothest results, keep your immersion blender handy to puree some of the beans directly in the pot, creating a thicker consistency. A quality Vitamix blender can also be used for extra-smooth texture if desired.
A slotted spoon and colander will help you drain and rinse your beans before cooking, ensuring the cleanest flavor in your final soup.
Essential Soup-Making Pots
The right stockpot forms the cornerstone of successful soup making, with key factors like size, material, and design determining your cooking experience.
For home cooking, you'll find a 12-quart stockpot ideal for making generous batches of bean soup, while an 8-quart version works well for smaller portions. Most stockpots achieve a rolling boil in 45-50 minutes.
Choose a stockpot with a stainless-clad aluminum base, as it'll provide excellent heat distribution and superior browning capabilities – essential for developing rich flavors in your soup.
Look for comfortable, wide handles that extend away from the pot's body, allowing you to safely maneuver even when wearing oven mitts. A tight-fitting lid with a wide handle and flared lip will make pouring easier and help retain heat during cooking.
When selecting your pot, verify it's induction-compatible and dishwasher-safe for maximum versatility and easy cleanup.
The interior should feature flush rivets and smooth surfaces to prevent food from sticking and simplify cleaning.
If you're concerned about monitoring your soup's progress, consider a tempered glass lid, though keep in mind that condensation might occasionally obstruct your view.
Kitchen Tools For Blending
Blending tools serve as indispensable companions for creating perfectly textured soups, sauces, and dips in your kitchen. For your hearty bean soup, you'll want to take into account an immersion blender, which lets you purée ingredients directly in the pot while maintaining complete control over the consistency.
When selecting your blending tool, look for one with multiple speed settings and interchangeable attachments. A quality immersion blender should handle both hot and cold ingredients, making it versatile for various recipes beyond soups. You'll appreciate having a whisk attachment for emulsifying sauces and a chopper for preparing ingredients.
If you're aiming for different textures in your bean soup, you might want to keep both an immersion blender and a food processor handy. The immersion blender will give you that silky-smooth consistency for portions of the soup, while the food processor can create coarser textures for added dimension.
These tools are typically dishwasher-safe, making cleanup a breeze. Remember, you can experiment with your blending tools to achieve various consistencies – from partially blended for a rustic feel to completely smooth for a refined presentation.
Selecting Quality Beans
Whether you're choosing fresh dried beans or canned ones, understanding the quality indicators will make a big difference in your soup's outcome.
You'll find dried beans offer more control over texture and seasoning, though canned beans can work well when you're short on time.
To keep your dried beans at their best, store them in an airtight container in a cool, dark place, and aim to use them within two years of harvest.
Fresh Vs Canned Beans
Between canned and dry beans, you'll find distinct advantages that affect both your wallet and kitchen workflow. If you're looking to save money, dry beans are your best bet, costing about $0.14 per serving compared to $0.34-$0.45 for canned beans. A family of four can save nearly $65 annually by choosing dry beans over national brand canned varieties.
While canned beans offer immediate convenience, you'll get better nutritional value from cooking dry beans at home. Home-cooked beans contain more fiber and essential minerals, and you'll have complete control over sodium levels. If you're concerned about sodium intake, consider that canned beans typically contain 200-300mg per serving, while home-cooked beans start sodium-free.
You can maximize convenience with dry beans by cooking them in bulk and freezing portions for later use. Though they require 3-24 hours for preparation, including soaking and cooking time, most of this is hands-off.
If you're short on time, keep some canned beans in your pantry for emergency meals. Just remember to look for BPA-free cans and drain and rinse the beans to reduce sodium content by about 40%.
Bean Storage Tips
Success in bean storage begins with proper selection and storage techniques. When you're choosing dried beans, look for ones that have been stored away from heat, moisture, and light. You'll want to inspect them carefully, avoiding any that are broken, discolored, or showing signs of insect damage.
To store your dried beans properly, you'll need airtight containers like mason jars or food-grade buckets with tight-fitting lids. Place them in a dark, dry area where the temperature stays at or below 70 degrees Fahrenheit. The storage area's relative humidity should remain under 15% to prevent mold growth. Adding oxygen absorbers to your storage containers will help extend the beans' shelf life.
If you're storing fresh green beans, keep them unwashed in your refrigerator at 4° to 8°C. Use a paper towel-lined tray or ventilated container to maintain proper airflow.
Before refrigerating, remove any brown or damaged beans from the bunch. You'll want to maintain high humidity while ensuring good air circulation to prevent moisture buildup that can lead to spoilage.
Aromatics and Base Ingredients
To build a flavorful foundation for your hearty bean soup, you'll start with a classic blend of aromatics and base ingredients.
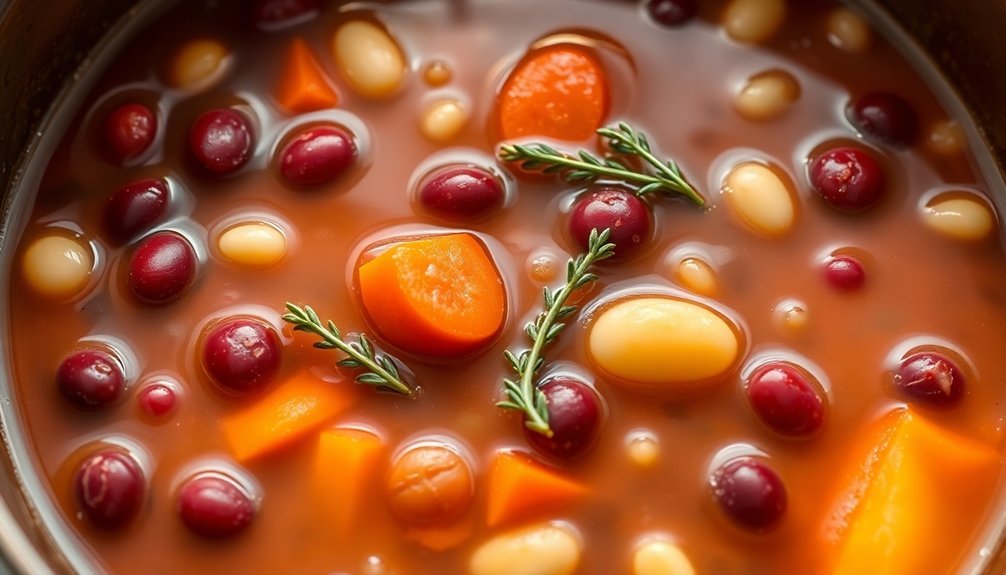
Begin by sautéing diced onions until they're softened and translucent, then add minced garlic for an aromatic boost. Incorporate diced carrots and celery, allowing them to cook until they begin to soften. If you're using mushrooms or zucchini, finely mince them and add them to the mix for extra depth.
For your base ingredients, you'll want to include chopped bell peppers and tomatoes – fire-roasted varieties work especially well for a richer flavor profile.
Add a bay leaf and your choice of fresh or dried herbs; rosemary and thyme are particularly complementary to beans. Don't forget to include red pepper flakes if you're looking to add some heat to your soup.
These foundational ingredients create layers of flavor that will enhance your bean soup.
Whether you're using white beans or a 13-bean mix, these aromatics and base ingredients will infuse your broth with a complex, satisfying taste.
Remember to remove the bay leaf before serving, as it's meant for flavor only.
Solar Cooker Setup Tips
Position your solar reflector on a level surface away from shadows, directing the front flap to catch maximum sunlight without blocking it from reaching the cooking pot.
You'll get the best cooking results between 10 AM and 2 PM when the sun's rays are strongest, so plan your bean soup preparation accordingly.
To maintain ideal temperature, prop your cooker at the correct angle using rocks or bricks, and reposition it every couple of hours to follow the sun's path.
Positioning Your Solar Reflector
Proper reflector placement can make or break your solar cooking success. To optimize your setup, start by finding a dry, level spot in direct sunlight where shadows won't interfere with your cooking. Position your reflectors so they'll capture maximum sunlight throughout the cooking period, and guarantee they don't block direct sunlight from reaching the pot.
You'll want to use the "eyeballing" method to get started: look at the reflective surface and adjust until you can see the target area reflected in your eye. This simulates the sun's perspective. For more precision, use a protractor to measure the angles, making sure your incoming and outgoing angles match. Don't forget to account for the sun's position – both altitude and azimuth matter.
As the day progresses, you'll need to monitor and adjust your setup. Consider using weights or clamps to secure your reflectors, especially on windy days.
If you're using multiple reflectors, position them to capture sunlight from different angles without interfering with each other. Remember to place your pot at the focal point where the reflected rays converge for maximum heating efficiency.
Choose Best Cooking Times
During peak sunlight hours between 10:00 a.m. and 2:00 p.m., your solar cooker will perform at its finest.
You'll want to start your bean soup during this prime window when the sun's intensity is highest, guaranteeing faster and more efficient cooking.
Don't attempt to start cooking early in the morning or late afternoon, as the reduced sunlight will greatly slow down the process.
Plan your cooking schedule according to seasonal variations and weather conditions.
Clear, sunny days will cook your soup faster than hazy ones, so you'll need to adjust your timing accordingly.
While outdoor temperature affects cooking, direct sunlight is the most critical factor.
You'll find that wind can slow down your cooking time, so secure your cooker with weights if necessary.
Keep in mind that the quantity of beans and the thickness of your pot will influence cooking duration.
To maximize efficiency, use a wire stand to elevate your pot and guarantee even heat distribution.
Position your cooker on level ground with unobstructed sun exposure, and utilize aluminum foil reflectors to concentrate more sunlight.
If you're cooking during winter months, you may need to extend your cooking time due to less intense sunlight.
Maintaining Optimal Temperature
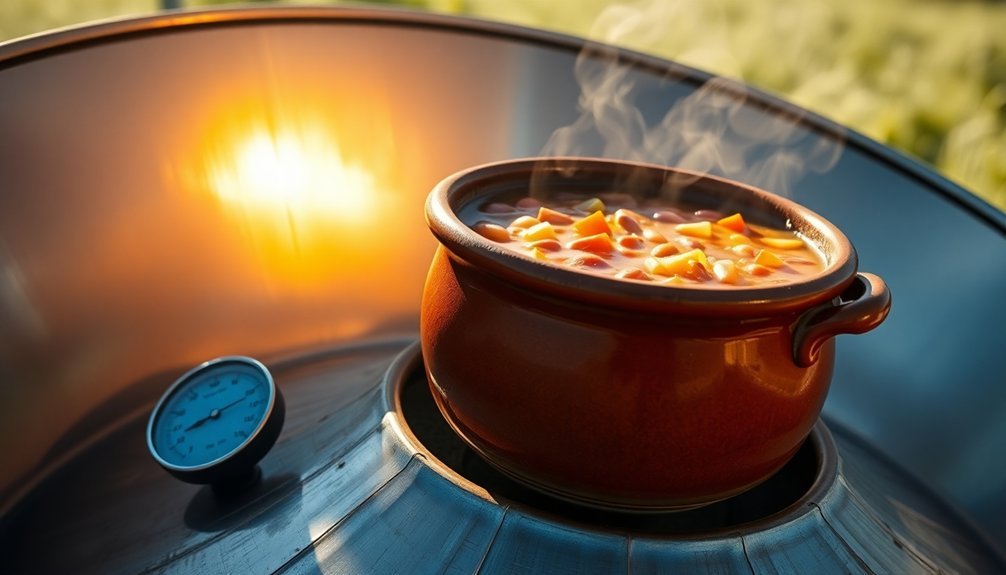
Now that you've planned your cooking schedule, maintaining the right temperature will make or break your solar cooking success. Position your solar oven to directly face the sun and check the shadows on all sides to ascertain it's perfectly aligned.
You'll need to adjust the oven's position every 30-45 minutes to track the sun's movement across the sky.
Select a sheltered spot that's protected from wind, and secure your oven with heavy stones if necessary. For your bean soup, you'll want to use a dark-colored pot with a tight-fitting lid, placing it on a pot stand to create an insulating air layer underneath.
Enclose the pot in a clear plastic bag to trap heat effectively.
Monitor your oven's temperature with a reliable thermometer, aiming for 150-225°F. To maximize heat retention, add layers of insulation around the cooking cavity using crumpled newspaper or dry leaves.
Adjust your reflective panels based on the sun's position, and ascertain all glazing materials are firmly sealed to prevent heat escape.
If you notice temperature fluctuations, check for gaps in the insulation or misalignment with the sun's rays.
Morning Preparation Steps
Getting your bean soup started right means tackling four essential morning prep tasks.
First, you'll need to handle your ingredients by rinsing and sorting the beans, removing any debris or stones. While you're at it, dice your onions, jalapenos, carrots, and celery, mince the garlic, and measure out your spices like cumin, paprika, and oregano. Don't forget to prep any ham or protein you're using.
Next, make certain your equipment's ready to go. You'll want your Dutch oven or Instant Pot clean and accessible, along with your immersion blender or countertop blender. Keep colanders, strainers, and all necessary utensils within reach. Set out any garnishes you'll use later.
For the liquid components, measure out your vegetable or chicken broth, and prepare any additional liquids like tomato sauce. Keep extra water handy for adjusting consistency.
Finally, set up your cooking area properly. Clear your workspace, position your cooking pot securely, and arrange all ingredients and equipment where you can easily reach them. Make sure your stove or Instant Pot's set to the right temperature or pressure setting.
Monitoring Solar Cooking Temperature
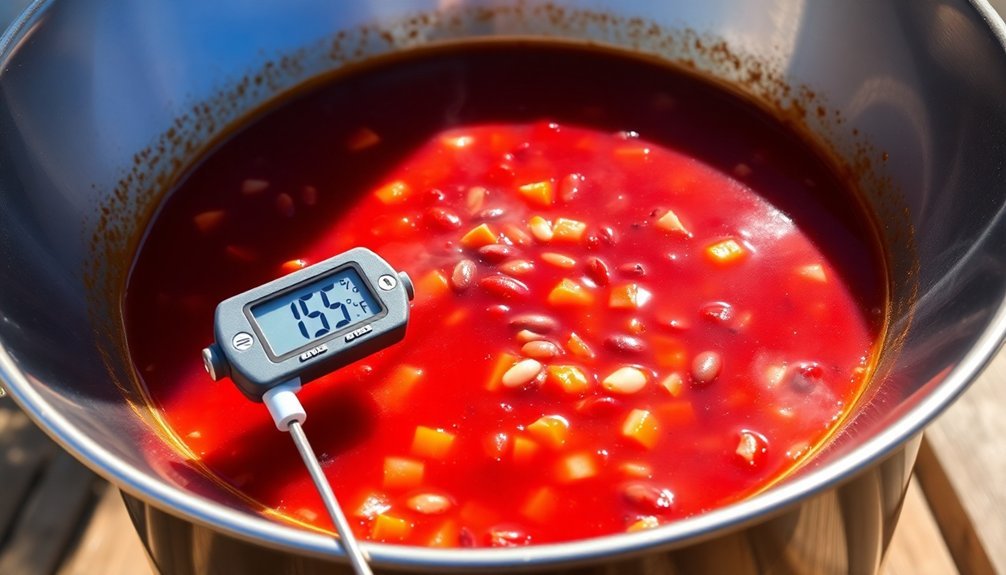
Successful solar cooking relies on precise temperature monitoring through modern technology and smart sensors. You'll need to position thermocouples at different points in your solar oven to track heat distribution patterns and guarantee your bean soup cooks evenly.
Using a buffered probe sensor will give you more accurate readings than measuring air temperature alone. Set up your monitoring system to send alerts when you need to reposition the oven or adjust the reflector angles.
Modern solar cooking apps can help you track temperature changes and suggest ideal placement times based on your location. You'll want to monitor solar irradiance levels using tools like pyranometers to predict temperature fluctuations and adjust cooking times accordingly.
Keep an eye on your data logging system to identify hot spots and cold areas in your oven. This information helps you position your bean soup pot for peak cooking results.
When clouds pass or the sun's angle changes, you'll need to track heat retention rates and make necessary adjustments. Remember to calibrate your temperature sensors regularly to maintain accuracy throughout the cooking process.
Adding Fresh Herbs
Fresh herbs transform a basic bean soup into a vibrant, aromatic dish bursting with flavor. Start by removing tough stems from rosemary and thyme, then coarsely chop them to release their essential oils. Add these hearty herbs early in the cooking process, allowing them to simmer for at least 30 minutes to infuse their robust flavors throughout your soup.
For a well-rounded flavor profile, combine your herbs with aromatic vegetables like carrots, celery, and onions. You'll want to sauté them in olive oil along with minced garlic before adding the remaining ingredients. Save delicate herbs like dill, parsley, or basil for the final 10-15 minutes of cooking to preserve their fresh taste and bright color.
- Use rosemary and thyme sprigs whole for easy removal after cooking
- Grate or finely chop herbs for even distribution throughout the soup
- Balance herb flavors with Italian seasoning and sweet paprika
- Add a splash of white wine vinegar to enhance herbal notes
- Consider substituting cilantro or basil for dill and parsley to create different flavor combinations
Adjusting Seasonings and Thickness
With your herbs now perfectly balanced, the final steps involve fine-tuning your soup's seasoning and consistency.
You'll want to wait until the end of cooking to add salt, as adding it too early can affect how your beans cook. Since ham and broth can be salty, add salt gradually in small amounts, tasting as you go.
For thickness, let the beans cook until they're just starting to soften before adding other ingredients, which typically takes 2-3 hours.
You can control the consistency by adjusting the amount of liquid – add more broth or water if it's too thick, or simmer longer to reduce if it's too thin. The vegetables you've added, including onions, carrots, and celery, will naturally help thicken the soup as they soften.
If you're using tomatoes or tomato sauce, add them towards the end of cooking to avoid interfering with bean softening.
They'll help thicken your soup while adding flavor. You can also add vinegar at the very end to balance the flavors, and if you need extra heat, incorporate cayenne pepper or Tabasco sauce to taste.
Serving and Garnishing Options
From simple garnishes to hearty sides, serving options can transform your bean soup into a complete meal. You'll find that crusty bread or buttermilk drop biscuits make perfect companions, soaking up the flavorful broth while adding textural contrast.
For a lighter approach, pair your soup with a fresh kale or arugula salad, which will cut through the richness while adding nutritional value.
Consider elevating your bean soup with roasted vegetables like broccoli or sweet potatoes, which complement the hearty nature of the dish. For protein enthusiasts, a classic grilled cheese sandwich or smoky bacon can turn your soup into a more substantial meal.
Don't forget to finish with fresh garnishes that'll enhance both presentation and flavor.
- Top with a dollop of Greek yogurt or sour cream for creamy coolness
- Sprinkle fresh parsley or coriander for a burst of color and flavor
- Add diced avocado for richness and healthy fats
- Include hot sauce or fresh chilies if you enjoy heat
- Serve alongside cornbread for a classic, satisfying combination
Storage and Reheating Methods
Properly storing and reheating your bean soup guarantees you'll enjoy its flavors for days or even months to come. You can store your freshly cooked soup in covered, non-metal containers in the refrigerator for 3-4 days.
For longer storage, freeze portions in freezer-safe containers or resealable bags for up to 12 months.
When freezing, divide your soup into smaller portions of 1-2 cups for easier reheating later. Use a canning funnel to fill freezer bags, then lay them flat on a rimmed baking sheet to freeze.
Once frozen, you can stack the bags vertically to maximize freezer space. This flat-freezing method also speeds up thawing when you're ready to enjoy your soup again.
To reheat, transfer frozen soup to the refrigerator overnight. When you're ready to serve, warm it gently on the stovetop over medium heat, stirring occasionally.
If your soup has thickened during storage, simply add a splash of broth or water until you reach your desired consistency. Make sure your soup is heated through completely before serving, ensuring the beans are tender and warm.
Sun Cooking Weather Considerations
Successful sun cooking relies heavily on ideal weather conditions and timing. You'll need clear skies and strong sunlight between 11 AM and 3 PM to effectively cook your bean soup.
Even on cold days, as long as the sun is bright and unobstructed, you can achieve temperatures between 200-300°F in your solar oven.
Position your solar oven where the sun will be directly in front of it halfway through your cooking time. Remember that clouds can slow down cooking, but won't completely halt it unless the sky becomes heavily overcast.
During winter months, plan for shorter cooking windows of about 5 hours, while summer offers up to 13 hours of cooking time in southern latitudes.
- Check that the sun's shadow is shorter than object height – this indicates prime sun position
- Preheat your oven to at least 140°F, ideally 200°F, before adding your bean soup
- Adjust the oven's position every 1-2 hours to maintain direct sunlight exposure
- Use reflectors to maximize sunlight capture and maintain consistent temperature
- Monitor internal temperature with an oven thermometer throughout the cooking process
Frequently Asked Questions
Can I Substitute Meat-Based Broths for Vegetable Broth in This Recipe?
Yes, you can substitute meat-based broths for vegetable broth using a 1:1 ratio. You'll get a richer, more savory flavor, but remember it won't be vegetarian anymore and you'll need to adjust seasonings.
How Long Will This Soup Stay Fresh in the Freezer?
You can keep your soup fresh in the freezer for up to 6 months, but you'll get the best quality if you consume it within 2-3 months. Just guarantee it's stored in airtight containers.
Is It Safe to Leave Beans Cooking Unattended in a Solar Cooker?
You shouldn't leave beans unattended in a solar cooker. Monitor temperatures regularly to guarantee they stay above 140°F, and check for cloud cover. If temperatures drop into the danger zone, bacteria can grow.
What Alternative Cooking Method Should I Use on Cloudy Days?
You can use a hay box oven for slow-cooking on cloudy days. It's perfect for beans since you'll just need to preheat your food, place it in the insulated container, and let it cook safely unattended.
Can I Add Wine to This Recipe While Solar Cooking?
You can definitely add wine while solar cooking! Just don't overdo it – add about 1/2 cup of wine early in the cooking process. It'll enhance flavor while the moderate temperatures help preserve the wine's taste.
In Summary
You've now mastered the art of solar cooking a hearty bean soup that's both eco-friendly and delicious. Whether you're serving it immediately or saving it for later, you'll find this method creates deep, rich flavors while saving energy. Don't forget to check the weather forecast before planning your solar-cooked meals, and you'll soon be impressing friends with your sustainable cooking skills.


Leave a Reply