To create a windproof sun oven setup, you'll need to focus on strategic positioning and proper anchoring. Start by selecting a level, firm location that's protected from winds exceeding 35 MPH and receives 30-45 minutes of direct sunlight each hour. Secure your oven using T-shaped alignment legs and wire stakes, then add stability with weighted flaps, sandbags, or rocks around the base. Create guy lines at 120-degree angles from reflector attachment points, and maintain a low center of gravity. Use bungee cords and anchor bolts to fasten the oven to a plywood base. There's much more to explore about maximizing your sun oven's wind resistance and performance.
Choosing the Perfect Location
When setting up your Sun Oven, choosing the right location can make the difference between a successful cooking session and a frustrating experience. Look for a spot that receives direct sunlight for at least 30-45 minutes each hour, free from shadows cast by trees or buildings.
Select an area protected from strong winds, using natural barriers when possible. You'll want to avoid areas where gusts exceed 35 MPH, as this can greatly impact your cooking. A T-Leg with stakes can provide additional stability in windy conditions.
The ground should be level and firm enough to support your oven's weight. If needed, use stakes for added stability on uneven terrain.
Ensure you can easily access your Sun Oven for adjustments throughout cooking. Keep it away from flammable materials and position it where you can monitor it regularly.
Remember to take into account the sun's movement across the sky to maintain ideal exposure.
Essential Stabilization Tools
You'll need basic anchoring tools like the T-shaped alignment leg and wire stakes to secure your sun oven against wind gusts up to 35 MPH.
For heavy-duty stability in stronger winds, rely on the thumbscrew-locked reflectors and weighted flaps that can hold bricks or rocks. Getting sunlight above 50°F is crucial for optimal performance when using these stabilization features.
The combination of these stabilization tools with properly secured latches on the glass door guarantees your solar cooking won't be interrupted by unexpected weather changes.
Basic Anchoring Equipment Needed
To properly stabilize a sun oven against strong winds, several essential anchoring tools are necessary.
You'll need sturdy stakes and strong ropes or twine, along with rope tensioners to maintain tight anchorage. Similar to how clear plastic wrap creates an effective window seal in DIY solar ovens, these items work together to secure your oven firmly to the ground.
Don't forget to include weighted objects like rocks or sandbags as backup stabilization.
You'll also want anti-slip mats with high friction coefficients to prevent sliding, ensuring they're sized appropriately for your oven's base.
If your sun oven comes with adjustable legs, you'll need to verify they've functional locking mechanisms.
Remember to gather these tools before setting up your oven, as proper anchoring equipment is vital for safe and effective solar cooking in windy conditions.
Heavy-Duty Support Materials
Selecting the right heavy-duty support materials guarantees your sun oven remains stable in challenging weather conditions.
You'll need real wood for the main construction, focusing on rectangular pieces that provide maximum structural integrity. Add 3/8 inch square wood dowels as reinforcement points throughout the oven.
For insulation, pack your oven with green fiber blend materials like ground newspaper, cardboard, or sawdust.
Seal all gaps using FDA-rated, high-temperature caulk that can withstand over 500°F. Install real glass panels for the top and front, along with a large glass mirror reflector to maximize sun exposure. Consider using binder clips and weights to prevent the oven from tipping over in strong winds.
Secure all reflective surfaces, including aluminum foil tape on side panels, to prevent wind damage.
Remember to maintain a low center of gravity in your design to handle winds up to 40mph.
Basic Ground Anchoring Methods
Your Sun Oven's stability starts with proper stake and wire placement through the alignment leg base for essential anchoring.
You'll find that strategic brick placement around the oven's base creates additional support, especially on uneven terrain.
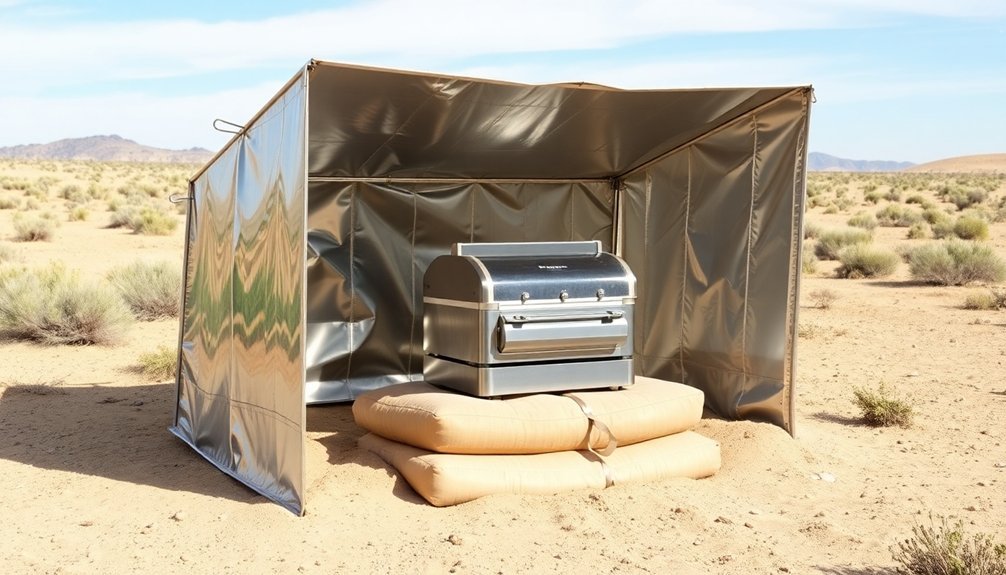
For maximum wind resistance, you can supplement these methods by carefully positioning heavy objects like sandbags or weighted containers against the oven's base without blocking sunlight access.
Stakes and Wire Placement
When setting up your Sun Oven in windy conditions, proper anchoring becomes essential for safe and effective operation. Insert the included wire stakes through the alignment leg base holes on both sides of the oven, angling them into the ground for maximum stability.
For enhanced security, especially in winds exceeding 35 MPH, combine stakes with additional anchoring methods. You can attach bungee cords to the wood collar by drilling small holes, or create guy lines using wire or string. Secure these to nearby stable objects or ground anchors.
Don't forget to position stakes on both sides for balanced support, particularly when using the oven on uneven terrain.
Make sure to tighten all thumbscrews on the reflectors and check your anchoring system regularly to maintain stability throughout your cooking session.
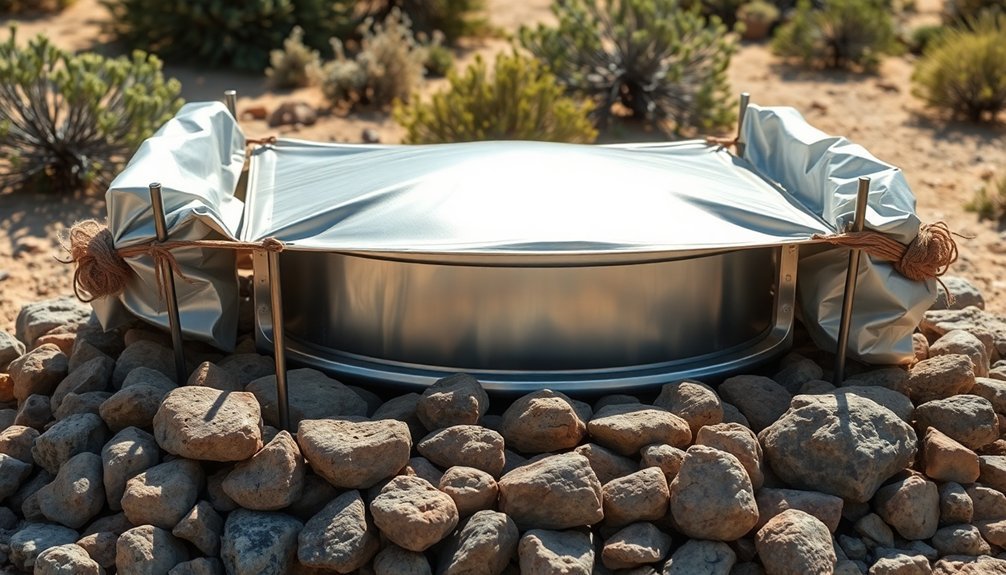
Brick Bracing Techniques
Basic brick bracing provides a reliable foundation for anchoring your Sun Oven in moderate to heavy winds.
You'll want to use sleeve or wedge anchors placed strategically around your oven's base to create secure attachment points in the brick masonry.
When installing the anchors, place them in solid sections of brick rather than hollow areas for maximum stability.
Make sure you're maintaining proper joint thickness and embedment depth – you'll need at least twice the anchor length surrounded by solid material.
For enhanced security, consider using stitch-ties or mechanical repair anchors with dual expansion grips, especially if you're dealing with multiple brick layers.
These specialized ties will allow for thermal movement while keeping your oven firmly in place.
Avoid wire mesh screens near the anchor points as they can restrict proper grout flow and compromise stability.
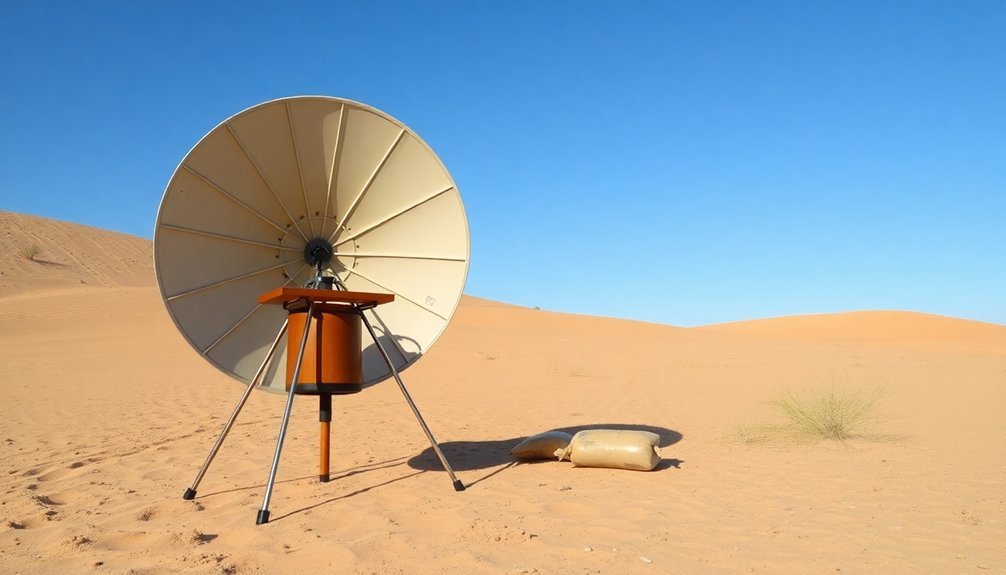
Anchoring With Heavy Objects
While brick bracing offers a permanent solution, anchoring your Sun Oven with heavy objects provides a flexible alternative for various ground conditions.
You'll need to adapt your anchoring method based on your soil type and the level of stability required.
For sandy or soft ground, you can use a deadman anchor system by burying a sturdy plate or rod horizontally and attaching it to your oven with a cable. This method works particularly well because it creates tension against the buried component.
If you're dealing with harder soil, consider using weighted objects like sandbags or concrete blocks placed strategically around the oven's base.
Position these weights to counteract prevailing wind directions while ensuring they don't cast shadows on your oven's reflective surfaces during cooking hours.
Reflector Positioning and Security
To achieve ideal cooking performance with your sun oven, proper reflector positioning and security measures are essential. Position your cooker on level ground between 11:00 am and 3:00 pm, when solar intensity peaks. Adjust the top reflector to direct rays toward the opposite side of your cooking vessel, creating a concentrated heat zone.
- Check shadows every 15-30 minutes and realign panels to maintain efficiency.
- Use stones or bricks along the sides for stability on windy days.
- Secure front panel flaps with clothespins to maintain structure.
- Clean reflector surfaces regularly for maximum efficiency.
- Set up additional wind barriers when needed.
For precise angle measurements, use a protractor or printed template.
You'll need to make seasonal adjustments to account for the sun's changing elevation throughout the year.
Wind Speed Safety Limits
You'll need to carefully monitor wind conditions when using your Sun Oven, as it's designed to operate safely in winds up to 35 MPH.
If you notice wind speeds climbing above this threshold, you should immediately stop cooking and secure your oven to prevent damage or instability.
Even when operating within safe wind limits, you'll get the best results by using the included stakes and alignment features to keep your oven stable and properly positioned.
Maximum Safe Operation Speeds
Although cooking with a Sun Oven offers remarkable versatility, it's essential to respect its wind speed limitations for safe operation.
You'll need to keep wind speeds under 35 MPH to guarantee your Sun Oven functions safely and efficiently. When conditions are windy but within safe limits, you can take several steps to maintain stability and peak cooking performance.
- Secure the T-shaped alignment leg with included wire stakes
- Lock reflectors in place using the built-in notches and thumbscrews
- Monitor and adjust the oven's position every 30 minutes
- Use woodworking clamps to secure the oven if using on a table
- Consider alternative cooking methods when winds exceed 35 MPH
When To Stop Cooking
Knowing exactly when to stop using your Sun Oven during windy conditions can make the difference between a successful meal and a potential safety hazard.
You'll need to cease cooking operations when wind speeds exceed 35 MPH, as this creates unsafe conditions that can destabilize your oven.
Watch for signs that wind is affecting your cooking temperatures. If you notice temperatures dropping from normal cooking ranges (700°F) to around 300°F, you'll need to take immediate action.
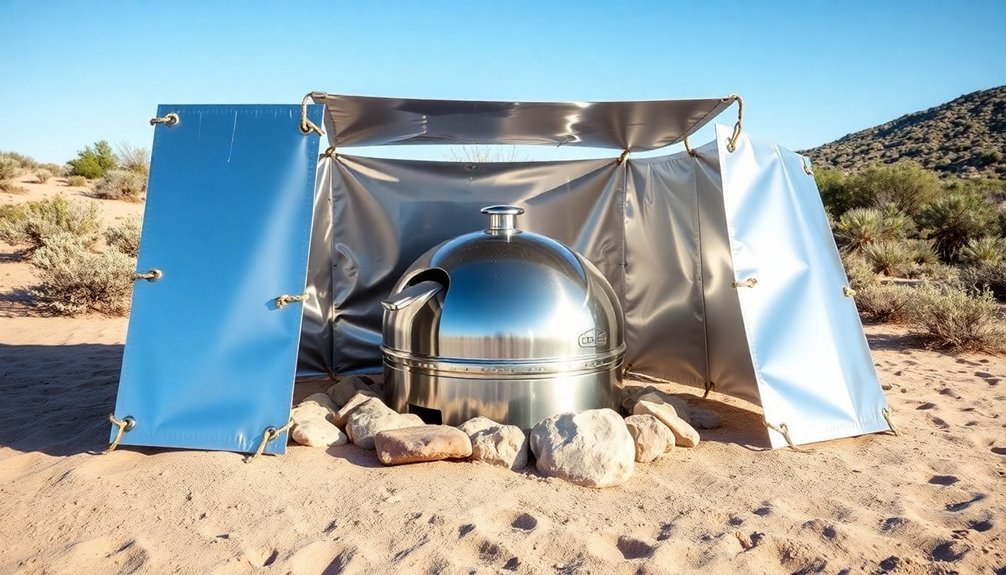
Set up a wind break using transparent barriers or natural shelter, and guarantee your oven is properly secured with stakes and the T-Leg alignment system.
If you can't maintain safe cooking temperatures despite these measures, it's time to stop cooking and move your food to an alternative heat source to prevent food safety risks.
Heavy Object Placement Strategy
Strategic placement of heavy objects forms the cornerstone of a wind-resistant Sun Oven setup. When you're positioning your Sun Oven, focus on creating a stable foundation that can withstand gusts up to 35 MPH.
Place heavy objects strategically around your setup while maintaining clear access to adjust the alignment leg and reflectors.
- Use C-clamps to secure the T-leg firmly to your table or platform
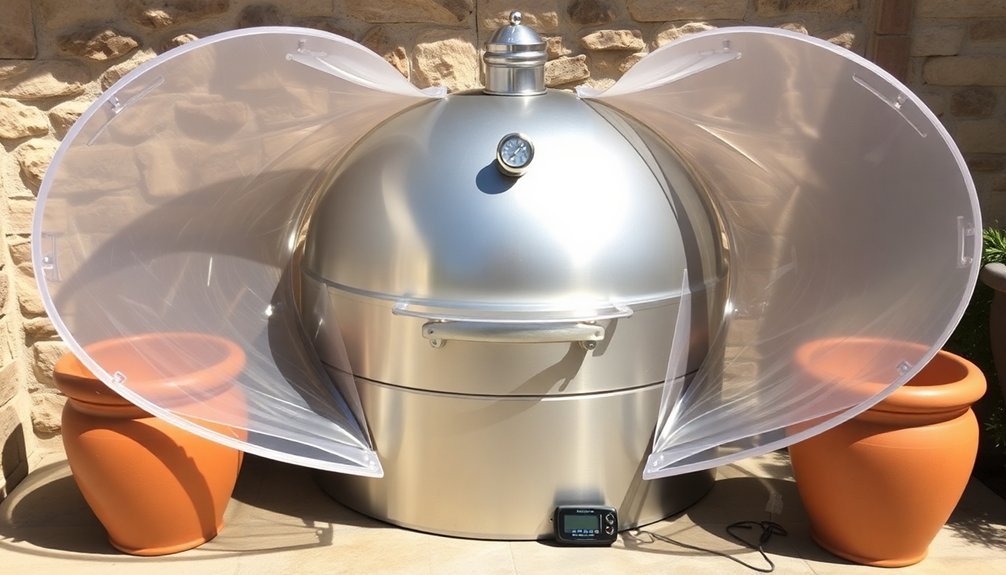
- Position recycled glass panels as transparent windbreaks
- Stack weighted objects at the base of natural wind barriers
- Anchor the alignment leg with wire stakes driven deep into the ground
- Place heavy blocks behind the oven while maintaining full reflector movement
Remember to keep the area around your Sun Oven clear enough to make regular 30-minute adjustments for ideal sun alignment while maintaining your wind protection strategy.
Guy Line Installation Tips
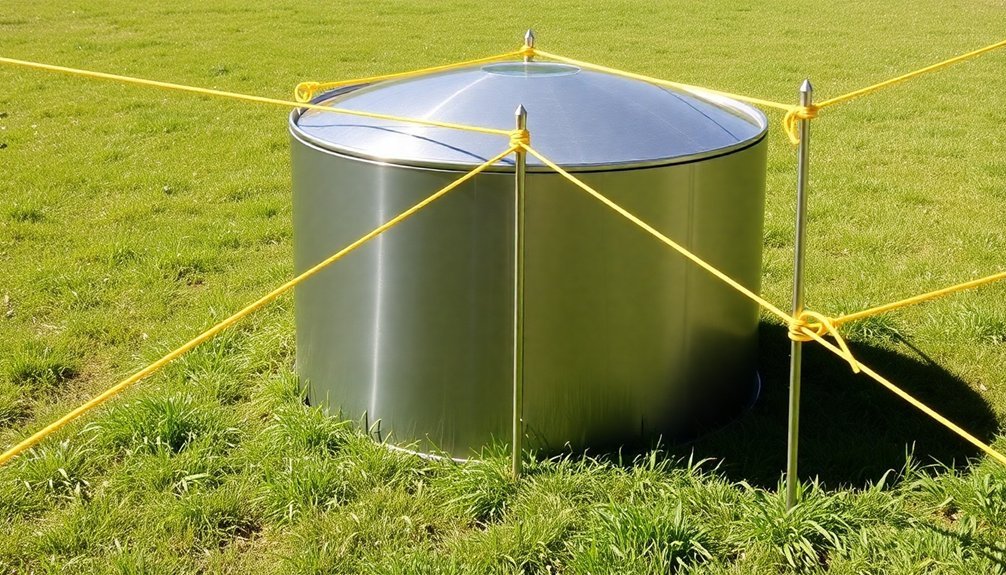
Three properly installed guy lines can greatly enhance your Sun Oven's stability in windy conditions. Start by securing them to the oven's frame near the reflector attachment points, ensuring they don't interfere with the reflectors' movement or sun alignment.
To maximize effectiveness, position your guy lines at 120-degree angles from each other and stake them firmly into the ground beyond the T-Leg's position. Make sure they complement your existing stability measures, including the T-Leg and its wire stakes.
Don't overtighten the lines – they should provide steady support while still allowing you to make 30-minute sun tracking adjustments.
Keep the guy lines below 35 MPH wind resistance limits, and regularly check for any loosening or wear.
Remember to maintain easy access to your oven's glass door for cooking operations.
Seasonal Setup Adjustments
As the seasons change throughout the year, your Sun Oven requires specific adjustments to maintain ideal performance and durability. Each season presents unique challenges that demand attention to different aspects of your setup.
- Spring needs waterproofing and wind direction adjustments to handle rain and gusty conditions.
- Summer calls for enhanced ventilation and heat management through reflective materials.
- Fall requires additional insulation and wind protection as temperatures drop.
- Winter demands maximum heat retention and snow protection strategies.
- All seasons need specific sun angle adjustments to optimize solar gain.
You'll want to pay special attention to seasonal maintenance tasks, including regular cleaning and thorough inspections.
Don't forget to adjust your oven's positioning to match the sun's changing path across the sky, and implement appropriate insulation measures as temperatures fluctuate throughout the year.
Multiple Bracing Techniques Combined
Combining multiple bracing methods provides the most reliable protection against unpredictable wind conditions when using your Sun Oven.
You'll get the best results by using stakes through the alignment leg holes while also placing bricks or cinder blocks against the sides and back of your oven. For maximum stability, secure the unit with bungee cords attached to anchors in a plywood base.
Don't forget to lock your reflectors with the thumbscrew notch and properly adjust the T-shaped alignment leg.
If you're setting up on a table, add C-clamps to secure the T-leg. This all-encompassing approach will protect your oven in winds up to 35 MPH.
When the leveling leg is fully extended, you'll want to pay extra attention to bracing the back leg for added stability.
Weight Distribution Guidelines
Proper weight distribution stands at the core of a stable Sun Oven setup. You'll need to carefully balance your oven's weight to prevent tipping, especially in windy conditions.
Start by placing your oven on a flat surface and use the built-in leveling leg to achieve perfect balance.
- Position weights evenly around the base for maximum stability
- Keep the center of gravity low by avoiding top-heavy configurations
- Place heavier cooking pots toward the bottom of the oven
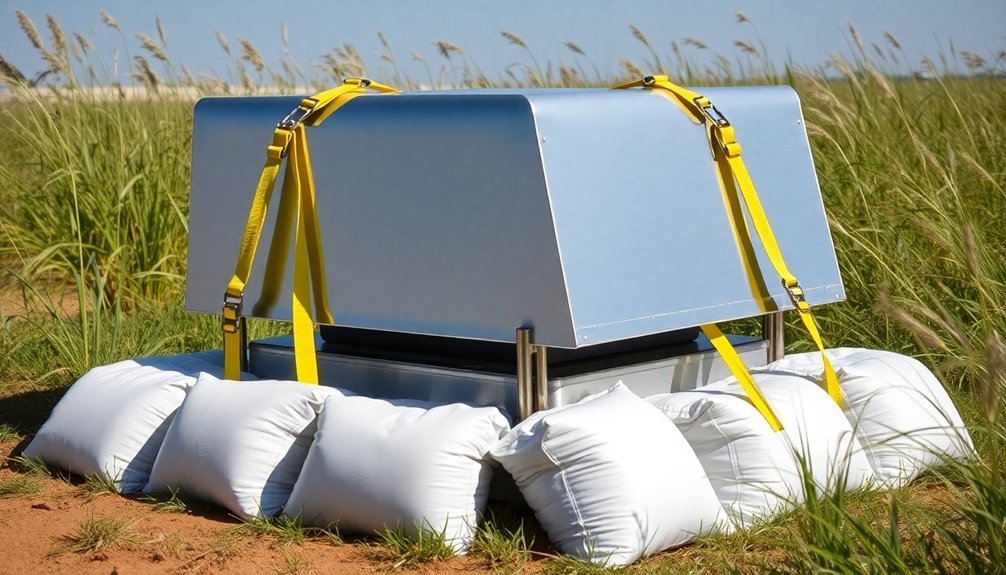
- Add rocks or sandbags strategically around the base in strong winds
- Use the leveling tray with trivets for ideal weight support
When using larger pots, remove the leveling tray and substitute it with sturdy trivets. This adjustment maintains stability while ensuring proper airflow for even cooking.
Remember to check the weight distribution each time you adjust the oven's position.
Panel Cooker Stabilization Methods
While stable weight distribution helps secure your Sun Oven, panel cookers need specific stabilization techniques to withstand wind challenges.
You'll want to employ multiple methods for the best results. Start by placing bricks or cinder blocks around your cooker's sides and back, then add guy lines using rope or bungee cords anchored to the ground at multiple points.
For lightweight models like the CooKit, use clothespins to secure flaps and set up in a shaded area during assembly.
Consider placing your cooker on a plywood base with anchor bolts, or nestle it inside a large bucket for added protection.
Don't forget to position your pot on a stable stand using stones or a wire rack, which creates an insulating air layer while enhancing stability.
Anchoring During Strong Winds
To safeguard your Sun Oven against powerful gusts, you'll need a thorough anchoring strategy that combines multiple securing methods.
Start by placing bricks or cinder blocks firmly against all sides of your oven, including the back leg. For enhanced stability, create a solid foundation using a plywood base with anchor bolts, then secure your oven with bungee cords.
- Install a transparent wind break using recycled glass door panels
- Position heavy blocks on all sides of the oven
- Attach bungee cords to pre-drilled holes in the wood collar
- Secure the oven to a plywood base with anchor bolts
- Create multiple anchor points for even weight distribution
This multi-layered approach guarantees your Sun Oven stays firmly in place even during strong wind conditions, maintaining consistent cooking temperatures and preventing any risk of tipping.
Frequently Asked Questions
Can the Sun Oven Be Used Safely on a Balcony or Deck?
Yes, you can safely use your sun oven on a balcony or deck if you'll keep it level, away from flammable materials, secure from wind, and follow basic safety precautions like using protective gear and monitoring closely.
How Does Humidity or Salt Air Affect the Sun Oven's Metal Components?
You'll need to protect your Sun Oven's metal parts as humidity causes condensation and reduces efficiency, while salt air accelerates corrosion. Regular cleaning and maintenance, plus protective coatings, will help prevent these damaging effects.
What's the Best Way to Transport a Sun Oven While Maintaining Stability?
Use the built-in carrying handle while keeping reflectors folded and secured with the webbing strap. Hold the oven upright, and don't tilt excessively. You'll want to engage the thumbscrew for extra stability.
Does Paint or Rust Protection Spray Interfere With the Sun Oven's Performance?
No, if you use matte black paint or thin rust protection, they won't hurt your sun oven's performance. Just avoid shiny finishes that reflect heat, and make certain you're using high-temperature-rated products for best results.
Can Snow Accumulation Damage the Reflectors if Left Outside Overnight?
While snow itself won't damage your reflectors if they're lying flat, it's best to store your Sun Oven indoors overnight. This protects not just the reflectors but all components from unnecessary moisture exposure.
In Summary
You'll find that securing your sun oven against wind doesn't have to be complicated. By combining proper location selection, effective anchoring methods, and smart weight distribution, you've got a stable cooking setup that'll withstand moderate breezes. Remember to check wind speeds regularly and don't hesitate to pack up if conditions become unsafe. With these techniques mastered, you're ready to harness solar cooking power confidently.


Leave a Reply