To achieve faster oven results, you'll need precise temperature control and smart preheating strategies. Start by preheating your oven for at least 15 minutes before baking, and use an oven thermometer placed in the center for accurate readings. Don't open the door unnecessarily, as this causes significant heat loss. Utilize your oven's zones strategically – delicate items work best on lower shelves while hearty dishes do well up top. Keep your oven clean for improved efficiency, and consider using heat-retaining accessories like baking stones for temperature stability. The secrets to perfect temperature control go far beyond these basics.
Understanding Solar Oven Heat Patterns
When you're working with a solar oven, understanding how heat patterns develop is vital for successful cooking.
You'll need to position reflective materials like aluminum foil to focus sunlight effectively into your cooking area. The sun's rays should hit your transparent cover perpendicularly at noon for ideal results.
Your oven's insulation plays an important role in maintaining consistent temperatures. Use black surfaces inside to absorb sunlight, and seal openings with plastic wrap to prevent heat loss. Your solar oven can reach up to 200 degrees when properly constructed and positioned.
You'll want to monitor internal temperatures with a thermometer and adjust reflectors throughout the day to enhance energy capture.
Remember that external factors affect performance considerably. You'll get the best results on sunny days above 75°F.
Consider your latitude and seasonal changes when adjusting your reflector angles and oven orientation.
Optimal Temperature Range Basics
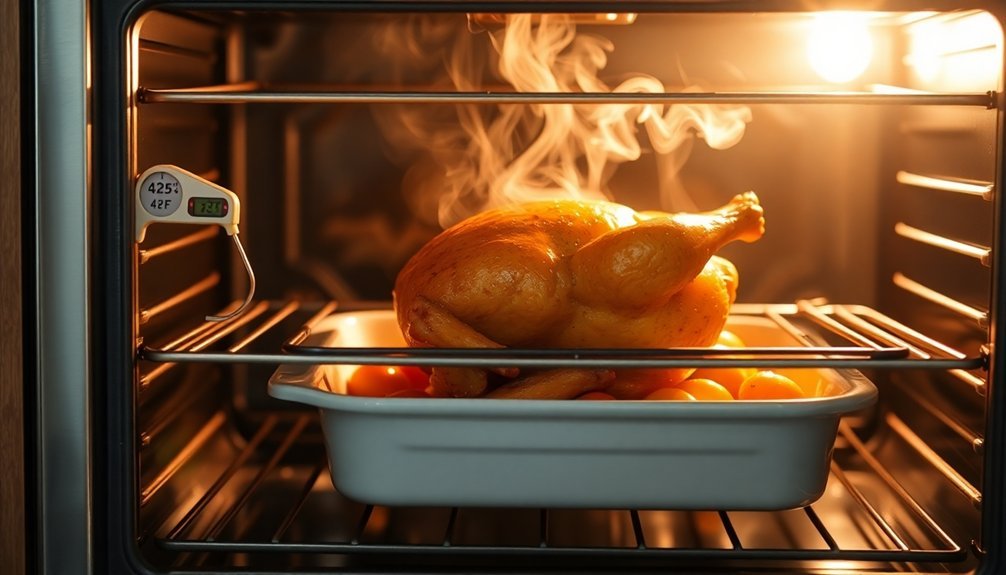
You'll get the best results from your oven when you understand the ideal temperature ranges for different baked goods, from breads needing 400°F to delicate items like cheesecake requiring just 150°F.
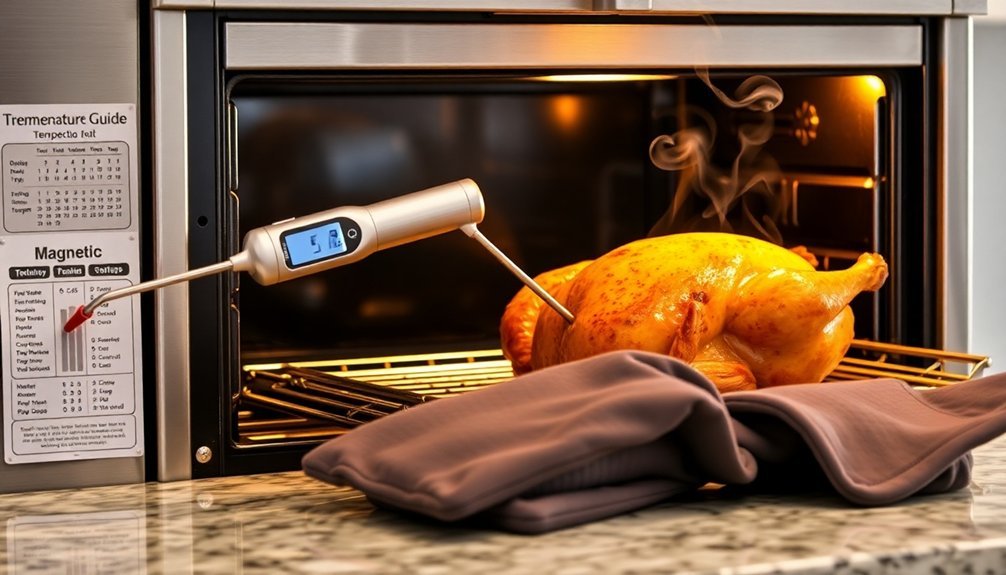
For consistently perfect results, use instant-read thermometers to verify your baked goods have reached their proper internal doneness temperatures.
Your oven's digital display should be regularly calibrated against an independent thermometer to guarantee accurate readings and consistent results.
To maximize preheating efficiency, give your oven at least 15 minutes to reach the target temperature before baking, and don't open the door unnecessarily during the process.
Temperature Ranges for Baking
Understanding ideal temperature ranges is essential for successful baking, as different treats require specific heat levels to achieve their perfect texture and doneness.
You'll need to maintain 375-400°F for cookies if you want crispy edges, while cakes and sweet breads perform best at 325-350°F to allow proper caramelization.
For internal temperatures, you should aim for 180°F when baking chocolate chip cookies, while cheesecake needs only 150°F. Using an oven thermometer test will help ensure your oven's actual temperature matches what you've set it to.
Rich-dough breads require 180-190°F, and lean-dough breads need slightly higher temperatures at 190-210°F.
When baking quick breads, muffins, or scones, target 200-205°F for the perfect result.
Remember that delicate desserts like crème brûlée and flan need lower internal temperatures, around 170-175°F, to maintain their signature creamy texture.
Calibrating Your Digital Display
Accurate digital displays are essential for maintaining proper baking temperatures, yet many ovens can display incorrect readings by up to 25 degrees. To calibrate your digital display, you'll need an oven thermometer and your owner's manual.
| Step | Action | Time |
|---|---|---|
| 1 | Place thermometer on center rack | 1 min |
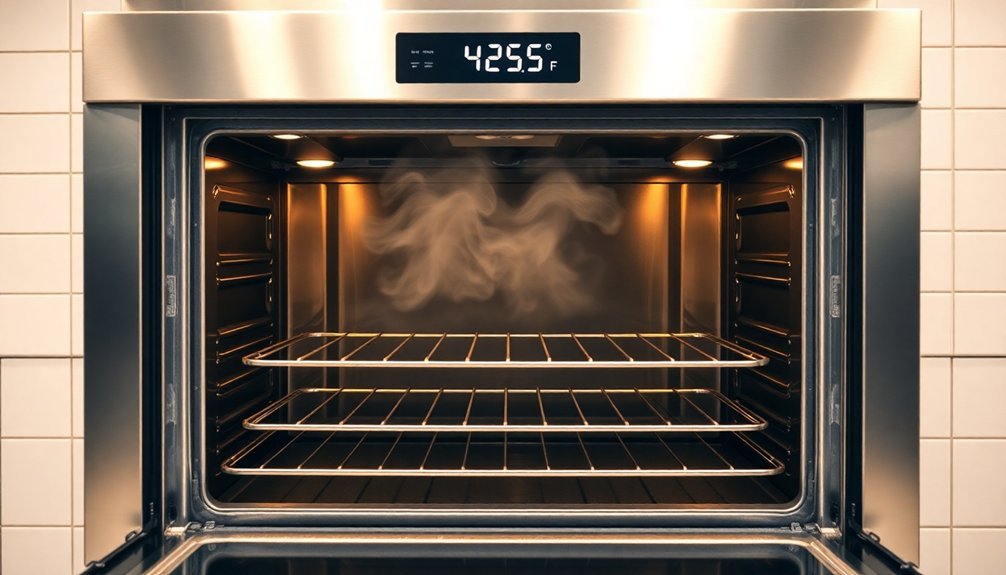
| 2 | Preheat to 350°F without opening | 15 min |
| 3 | Adjust calibration settings | 5 min |
Center your oven-safe thermometer on the middle rack and set the temperature to 350°F. Don't open the door during preheating. Once preheated, check if the thermometer reading differs by 15 degrees or more. If it does, access your oven's calibration settings through the control panel. Make adjustments using the arrows or menu prompts, then save your settings. Retest to verify accuracy. For optimal results, remember that regular testing checks can help maintain your oven's accuracy over time.
Preheating Time Maximization
Since preheating plays an essential role in cooking success, maximizing your oven's preheating efficiency can greatly impact your meal preparation.
You'll want to allow 10-15 minutes for reaching 400°F, or 15-20 minutes for 425°F, depending on your oven's size and model.
To improve preheating, take advantage of your oven's 'Rapid Preheat' feature if available, and keep the firmware updated.
Position your racks before starting and avoid overcrowding, which can obstruct proper heat circulation.
You'll also benefit from maintaining a clean oven, as buildup can affect heating efficiency. Quick post-cooking wipedowns and regular deep cleaning every few months will guarantee peak performance.
Consider using heat-retaining accessories like baking stones to enhance temperature stability once you've reached your target temperature.
Preheating Your Solar Oven
Position your solar oven in a spot that gets direct sunlight, ideally between 11 am and 3 pm when the sun's rays are strongest.
You'll want to start preheating at least an hour before cooking, though you can achieve 300°F in just 20 minutes on clear days.
Keep track of the internal temperature with a thermometer and adjust the oven's position every 30 minutes to maintain peak sun exposure.
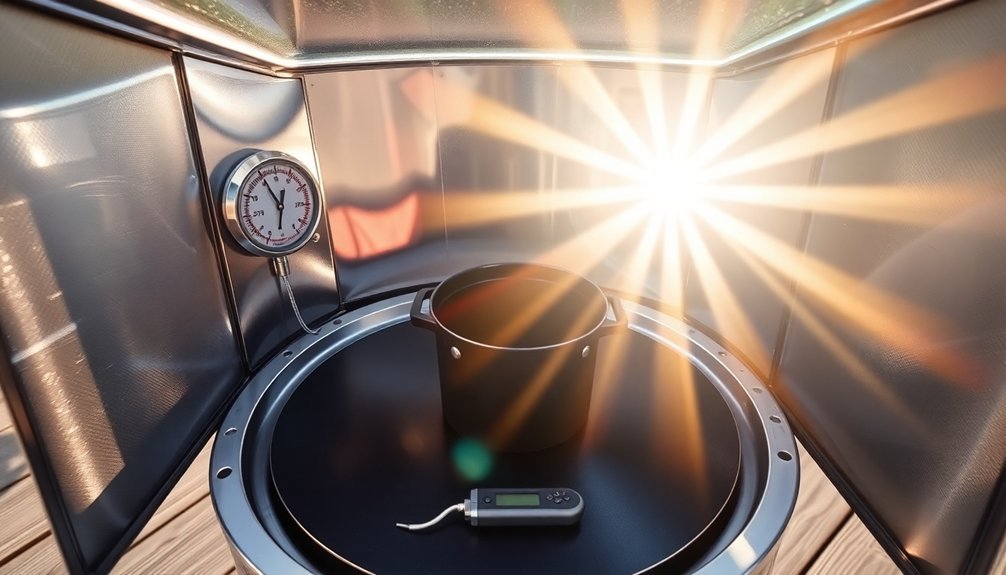
Position for Maximum Exposure
Achieving maximum sun exposure is essential when preheating your solar oven. Stand behind your oven and align it so the shadow falls directly behind, ensuring it faces the sun. You'll want to adjust the reflectors to bounce sunlight efficiently into the cooking chamber while eliminating any gaps where heat could escape.
| Time Interval | Action Required | Purpose |
|---|---|---|
| Every 10 min | Stir liquids | Even heating |
| Every 15 min | Rotate food | Uniform cooking |
| Every 30 min | Realign oven | Track sun |
| Every 60 min | Check seals | Maintain heat |
Keep the interior free of shadows and maintain proper insulation by checking seals and gaskets. You'll get the best results by using aluminum foil on reflectors and keeping the glass door clean. Don't forget to monitor the internal temperature with a thermometer for best cooking performance.
Optimal Setup Time Guidelines
Proper preheating of your solar oven is essential for reaching ideal cooking temperatures. You'll want to preheat for at least an hour, though you can reach 300°F in about 20 minutes on clear days.
For best results, place your oven in direct sunlight between 11am-4pm, and realign it every 30 minutes to maintain ideal temperature.
Keep these important setup guidelines in mind:
- Clean your reflectors and glass door with hot soapy water before first use
- Always close and latch the glass door during preheating
- Position the oven in a wind-protected area with full sun exposure
- Monitor internal temperature with a thermometer until it reaches cooking levels
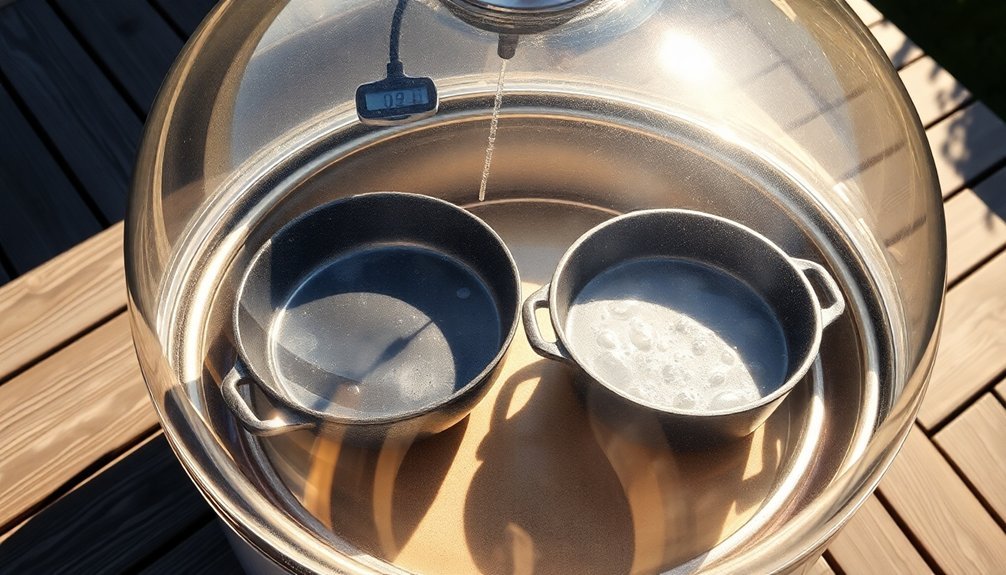
Temperature Monitoring Basics
Monitoring your solar oven's temperature during preheating guarantees reliable cooking results.
You'll need an oven thermometer or infrared thermometer with a laser pointer to track internal temperatures accurately. Most Sun Ovens should reach 300°F within 20 minutes on a clear day.
Stand behind your oven and align it so the shadow falls directly behind it. Keep the cover zipped to trap heat, and refocus every 30 minutes to maintain ideal temperatures.
For best results, adjust the reflector flap to maximize sunlight absorption and guarantee there aren't any shadows inside the cooker. Track your temperature readings over time to understand how weather conditions affect performance.
Don't forget to use black cooking pots or black paper as heat sinks to boost efficiency.
Temperature Monitoring Methods
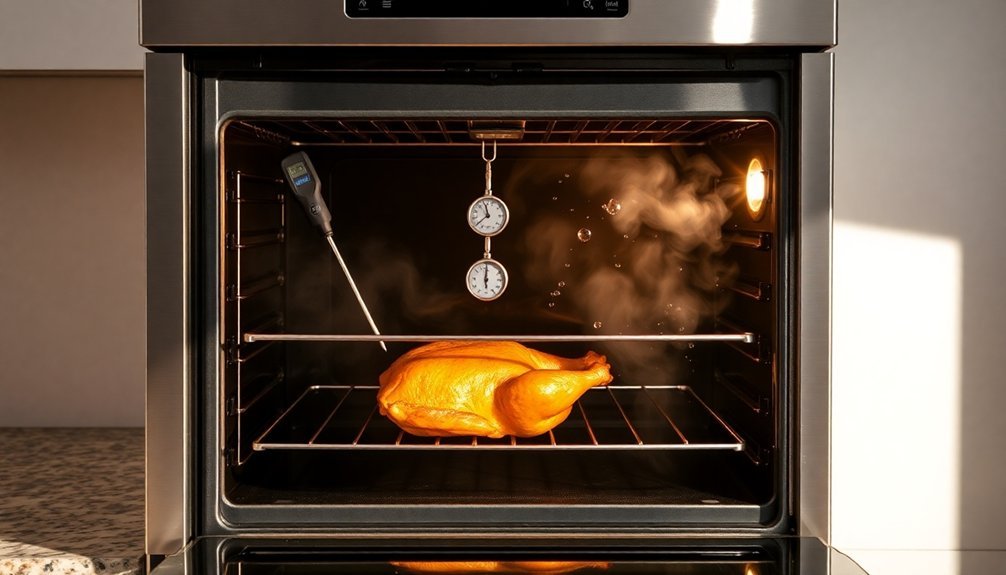
How you measure your oven's temperature can make or break your cooking results. You'll need to use reliable tools and methods to guarantee accurate readings. Place an oven thermometer in the center of your oven and compare its reading with your set temperature.
For more precise measurements, consider using advanced tools like an air probe with a ChefAlarm and grate clip.
- Check your oven's temperature at least once yearly
- Record the maximum and minimum temperatures to understand temperature swings
- Use a Square DOT if you want automatic temperature averaging
- Follow your oven's manual for proper calibration steps
When you're adjusting settings, make small increments until the displayed temperature matches your thermometer reading.
Don't forget to document your adjustments – it'll help you track your oven's performance over time.
Solar Position Impact
You'll notice significant temperature changes in your solar oven from morning through noon, with ideal cooking conditions occurring between 11:00 am and 3:00 pm when the sun's rays are most direct.
Your cooking times will vary by season, with summer offering longer periods of intense sunlight compared to shorter cooking windows in winter.
For best results, position your oven's window to face south, adjusting the angle every 30 minutes to maintain perpendicular exposure to the sun's rays.
Morning-Noon Temperature Fluctuations
Solar ovens experience significant temperature variations between morning and noon hours, with peak performance occurring between 11:00 am and 3:00 pm when UV rays are most direct.
You'll need to adjust your oven's position every 30 minutes to maintain ideal cooking temperatures, which can range from 150°F to 400°F depending on alignment and insulation quality.
To maximize your solar oven's performance during morning-to-noon shifts:
- Line your oven with black construction paper and crumpled newspapers to enhance heat retention
- Position reflective surfaces at a 30-degree angle to capture maximum sunlight
- Keep all seals airtight to prevent heat loss as temperatures fluctuate
- Monitor internal temperature with a thermometer to guarantee it stays above 180°F for safe cooking
Seasonal Sunlight Exposure Effects
Beyond daily temperature shifts, seasonal changes greatly impact your oven's performance throughout the year.
During summer months, you'll benefit from longer days and more intense sunlight, as the sun sits higher in the sky. This means you can achieve ideal cooking temperatures more quickly and maintain them for extended periods.
To maximize your oven's efficiency across seasons, you'll need to adjust its angle to match the sun's position. If you're in higher latitudes, you'll experience more dramatic seasonal variations, requiring more frequent adjustments.
While outdoor temperatures don't greatly affect well-insulated ovens, proper insulation becomes vital for maintaining consistent heat.
Consider using dark-colored cookware to enhance heat absorption, and verify your oven's seals are intact to retain heat effectively, regardless of the season.
Window Placement Considerations
When designing your oven's placement, window position plays an essential role in maximizing solar efficiency.
You'll want to take into account how natural light affects your kitchen's temperature throughout the day, as proper window orientation can greatly impact your oven's energy consumption and performance.
- South-facing windows provide maximum sunlight exposure, helping maintain consistent kitchen temperatures and reducing the need for artificial lighting.
- North-facing windows offer diffused light that won't create harsh glare or unwanted heat while you're cooking.
- Strategic window placement helps regulate indoor temperatures, making it easier to maintain precise oven settings.
- Understanding the sun's daily path allows you to optimize your kitchen's layout and minimize interference with temperature-sensitive baking processes.
Think about using adjustable window treatments to control sunlight exposure based on seasonal changes and cooking needs.
Weather Effects on Cooking
The success of your baked goods depends heavily on the weather around you, as temperature and humidity can greatly impact the baking process.
During humid conditions, you'll need to reduce liquid ingredients by about a quarter and store dry ingredients in your fridge to prevent moisture absorption. On warm days, your butter will melt faster, so it's crucial to chill your dough and use cold liquids.
If you're baking at high altitudes, you'll notice your goods rise faster but can easily collapse. You'll need to adjust leavening agents and other ingredients to maintain proper structure.
In cold, dry weather, add more moisture to prevent crumbly textures. Remember to keep checking room temperature and humidity levels, as they'll affect how your ingredients behave during mixing and baking.
Adjusting Cooking Times
Much like weather conditions affect your baking, precise timing affects your cooking results. When adjusting cooking temperatures, you'll need to calculate the percentage difference between original and new temperatures to modify your timing accordingly. For example, if you're increasing from 400°F to 450°F, multiply your cooking time by 0.89.
Here's what you'll want to remember when adjusting cooking times:
- Leave a safety margin by checking food slightly earlier than your calculated time
- Account for heat loss when opening the oven door, adding 5-15 minutes for temperature recovery
- Consider shelf position, as top shelves cook faster than bottom ones
- Factor in your oven type – convection ovens need 25% less time and 25°F lower temperature
Remember to adjust proportionally when cooking multiple items at different temperatures, using the most delicate item's requirements as your baseline.
Heat Retention Strategies
Maintaining ideal heat retention in your oven requires both proper technique and the right equipment. When you're keeping food warm, use your oven's "keep warm" setting between 170°F and 200°F, or set this temperature manually.
Make sure hot foods stay above 140°F to prevent bacterial growth.
Choose cookware that retains heat effectively, such as cast iron, ceramic, or stainless steel, and always use oven-safe lids to lock in moisture.
You'll want to minimize heat loss by avoiding frequent door openings and ensuring your oven is properly sealed.
For foods that tend to dry out, place a pan of boiling water in the oven or cover them with aluminum foil.
Remember to adjust temperatures based on what you're warming – meats need higher temperatures than baked goods.
Temperature Control Accessories
Beyond basic heat retention techniques, modern temperature control accessories offer precise management of your oven's environment.
You'll find these tools essential for maintaining exact temperatures and monitoring your cooking progress without opening the door.
Key temperature control accessories you can rely on include:
- Digital controllers with 0.1-degree resolution and dual display showing both target and actual temperatures
- Temperature probes with 10-foot cables that let you monitor food without heat loss
- Programmable timers with audible alarms for precise cooking intervals
- Built-in safety features including overheating protection and sensor error detection
These accessories work together to give you professional-level control over your cooking environment.
You'll appreciate how they eliminate guesswork while ensuring consistent, repeatable results in all your cooking projects.
Seasonal Temperature Variations
While seasonal changes can greatly impact your oven's performance, understanding these variations will help you maintain consistent cooking results year-round.
You'll notice your oven might heat differently during cold winter months compared to warm summer days, requiring adjustments to cooking times and temperatures.
Keep in mind that humidity levels and air circulation affect how your oven performs. During humid seasons, you'll need to account for longer cooking times, while drier conditions may require temperature adjustments.
If you're cooking multiple dishes, use different oven zones strategically – place delicate items on lower shelves and heartier dishes up top.
For ideal results, calibrate your oven using a thermometer at 350°F, especially when seasons change.
Remember that seasonal ingredients also influence cooking times, so adapt your recipes accordingly.
Quick Temperature Recovery Tips
Temperature recovery in ovens directly impacts your cooking success, much like the seasonal adjustments we discussed.
You'll find that maintaining consistent temperatures requires strategic approaches, especially when you need to recover heat quickly after opening the oven door.
- Place cast iron pans or foil-wrapped bricks on your lower rack as thermal mass – they'll help your oven bounce back to temperature faster and maintain stability.
- Use your convection setting when appropriate, as it helps distribute heat more evenly and speeds up temperature recovery.
- Monitor temperatures with an oven thermometer to ascertain you're hitting your target temperatures accurately.
- For bread baking, leverage Dutch ovens to maintain steady temperatures and create the perfect environment for your loaves, even when the oven temperature fluctuates.
Frequently Asked Questions
How Do Different Pan Colors Affect Oven Temperature Absorption and Cooking Speed?
Your dark pans will absorb heat faster and cook food quicker, leading to darker edges and bottoms. Light-colored pans reflect heat better, giving you more even baking and reducing the risk of burning.
Can Using Multiple Temperature Probes Improve Accuracy in Large Ovens?
Yes, you'll get better accuracy with multiple probes in large ovens. They'll help you identify hot spots, monitor different zones simultaneously, and guarantee more uniform cooking through averaged temperature readings across the space.
Does Altitude Affect How Quickly an Oven Reaches Target Temperature?
Yes, you'll notice your oven heats faster at higher altitudes due to thinner air and lower air pressure. However, you'll need to adjust target temperatures upward by 15-25°F to achieve proper cooking results.
What Impact Does Voltage Fluctuation Have on Maintaining Consistent Oven Temperatures?
Your oven's temperature consistency will suffer from voltage fluctuations, as they'll disrupt thermostat readings and heating element performance. You'll notice uneven heating, frequent temperature swings, and potential damage to electronic control components.
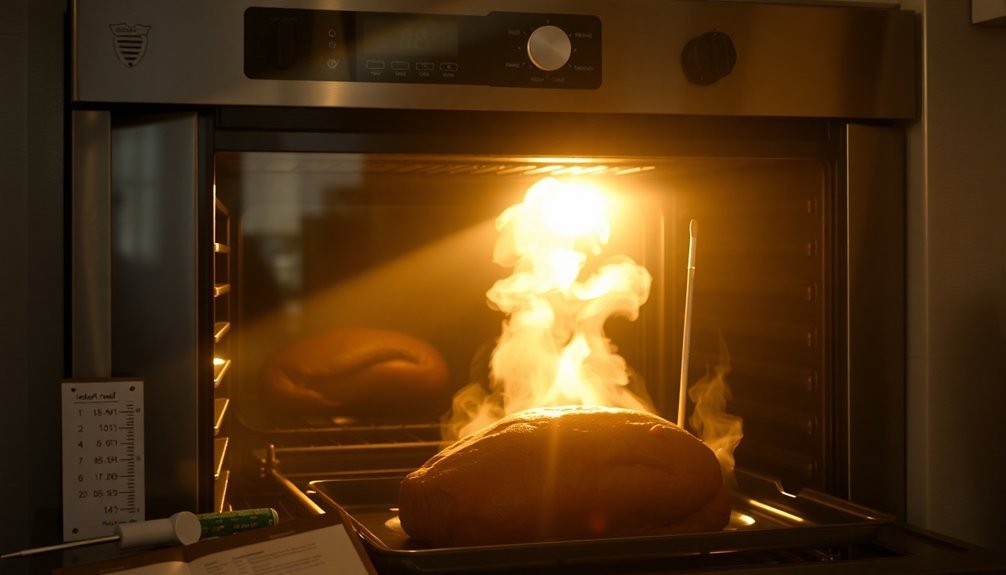
How Does Steam Affect Temperature Readings When Baking Bread?
When you're baking bread, steam will affect your temperature readings by slowing heat transfer and delaying surface temperature rise. You'll need to account for this moisture effect to get accurate measurements of your bake.
In Summary
You'll find that mastering solar oven temperature control comes down to preparation and awareness. Keep your oven oriented to track the sun, use proper insulation, and monitor temps consistently. Don't forget to account for seasonal changes and weather patterns. With these temperature management strategies and the right accessories, you'll achieve reliable cooking results from your solar oven year-round.


Leave a Reply