
For ideal solar oven performance, you'll want to position your reflectors at specific angles throughout the day. The classic 60-degree setup works best for general cooking, while 45-90 degrees accommodates winter sun variations. Your top reflector should sit at 60 degrees for maximum efficiency, with side reflectors positioned between 45-90 degrees depending on season. In summer, maintain 60-67.5 degrees, but increase to 90 degrees during winter months. For morning light, start at 45 degrees and adjust every 15 minutes to track the sun. For parabolic reflectors, align at 62cm focal length. These fundamental angles are just the beginning of mastering your solar cooking journey.
The Classic 60-Degree Setup
When setting up a reflector oven at the classic 60-degree angle, proper positioning is essential for ideal cooking results.
Place your oven about 8 inches from a teepee-style fire that's built to match your cooking shelf's height. You'll want to ascertain the oven sits on level ground, using rocks or firewood to stabilize if needed.
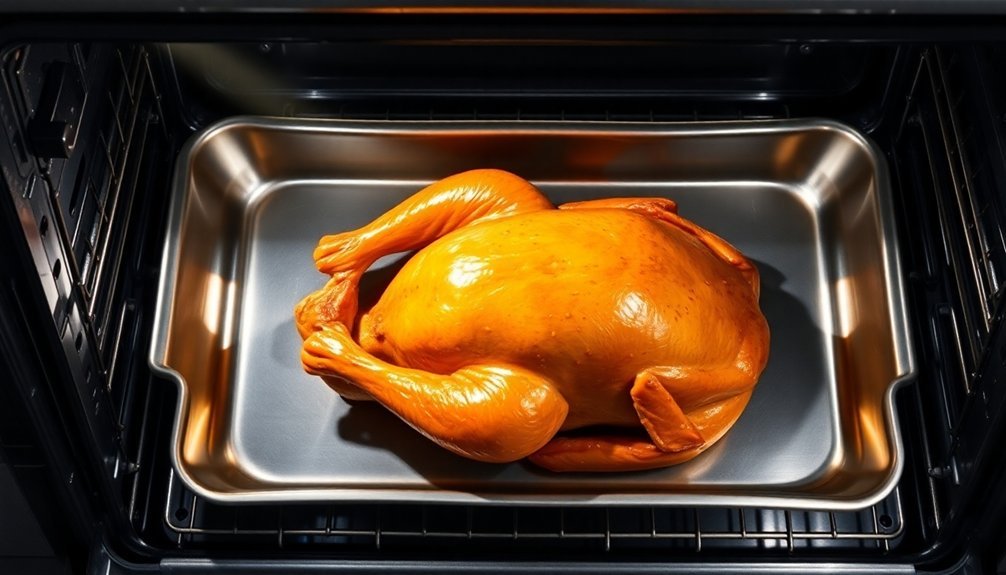
To test if you've achieved the right temperature at this angle, hold your hand in front of the oven. If you can keep it there for 6 seconds, you're at roughly 300°F – ideal for most baking tasks.
Monitor the browning pattern of your food; if it's cooking unevenly, rotate the pan. Using small-diameter wood will help maintain consistent heat output. Remember to check through the back flap after five minutes, and adjust the oven's position forward or backward to control the heat.
Winter Sun Angle Adjustments
While the classic 60-degree angle works well during warmer months, winter brings unique challenges that require specific adjustments to your reflector oven setup.
You'll need to take into account the sun's lower position in the sky and adjust your reflectors accordingly, typically between 45 and 90 degrees.
For peak winter performance, you'll want to use ray tracing to guarantee sunlight hits your oven's transparent cover directly between 10:00 a.m. and 2:00 p.m.
Your location matters too – if you're in a higher latitude region, you'll need steeper angles to capture the more acute winter sunlight effectively.
Keep your reflectors clean and check their alignment regularly. Using multiple reflector panels with varied angles helps maximize sun capture when the sun is low in the winter sky.
You can test the effectiveness of your setup by photographing the illuminated area or using photoresistances to measure energy collection across the cover surface.
Top Reflector Positioning
Since proper positioning of your top reflector greatly impacts cooking efficiency, understanding the ideal angle range is essential.
You'll want to set your top reflector between 45 and 90 degrees, with 60 degrees being a proven sweet spot for most solar ovens. If you're using a longer reflector, opt for a more acute angle; shorter reflectors work better with shallower angles.
To find the perfect position, check that sunlight from the top edge of your reflector reaches the opposite side of the glazing when pointed at the sun. Similar to traditional ovens where heat rises upward, this principle helps maximize your reflector's effectiveness.
Don't exceed 90 degrees, as this will shade your window, and avoid angles below 45 degrees, which reflect light back toward the sun.
For best results, you can adjust your reflector throughout the day as the sun's position changes.
Box Oven Side Angles
You'll achieve peak performance from your box oven's side reflectors by positioning them between 45 and 90 degrees, with 60 degrees serving as an effective standard angle.
Your reflectors need sturdy support to maintain their position while capturing maximum sunlight, typically using hinges or adjustable brackets at the connection points.
For the best year-round results, you should adjust these angles seasonally to account for the sun's changing position, particularly when it sits lower in the winter sky.
Optimal Side Angle Range
When designing a solar box oven, getting the side reflector angles right can make or break your cooking performance. You'll want to position your reflectors between 45 and 90 degrees, with 60 degrees being an effective sweet spot for most designs.
| Angle Range | Performance | Best Use Case |
|---|---|---|
| 30-45° | Poor | Wastes energy |
| 45-60° | Good | Morning/Evening |
| 60-75° | Excellent | Midday cooking |
| 75-90° | Good | High noon |
| >90° | Poor | Creates shade |
Don't go below 45 degrees, as you'll reflect light back toward the sun instead of into your oven. Similarly, angles above 90 degrees will shade your window. If you're unsure, setting your reflectors at 67.5 degrees provides a reliable compromise that works well in most situations.
Structural Support Considerations
Getting the right angles for your reflectors is only part of the equation – they need proper structural support to maintain those angles throughout the cooking process.
You'll want to focus on creating a stable foundation that keeps your reflectors positioned correctly while cooking.
- Secure all reflector panels firmly to your box using strong minion duct tape, ensuring they'll maintain their 30-60 degree flexibility range for ideal sun capture.
- Reinforce the bottom of your oven with multiple aluminum foil layers to concentrate heat effectively.
- Place your box oven on a completely level surface with the flap opening laid flat for maximum stability.
- Add interior support pieces and tape all corners smoothly to prevent any structural weakness that could compromise your chosen angles.
Seasonal Angle Adjustments
As the sun's position shifts throughout the year, seasonal adjustments to your box oven's side angles become essential for maintaining ideal cooking performance. You'll need to modify your reflector angles to keep the sun's rays hitting your oven's transparent cover at less than 15 degrees during noon, especially in intertropical zones.
| Season | East Side | West Side | Adjustment Tip |
|---|---|---|---|
| Summer | 60° | 60° | Check noon shadows |
| Fall | 65° | 65° | Orient from behind |
| Winter | 70° | 70° | Use shadow lines |
| Spring | 65° | 65° | Match reflection angles |
Instead of looking directly at the sun, use the shadows created by your cooker to make adjustments. Approach from behind to check east/west orientation, and touch the box to determine where shadow lines cross for proper up/down positioning. Remember, both left and right reflectors should be set to equal angles for best performance.
Parabolic Reflector Sweet Spot
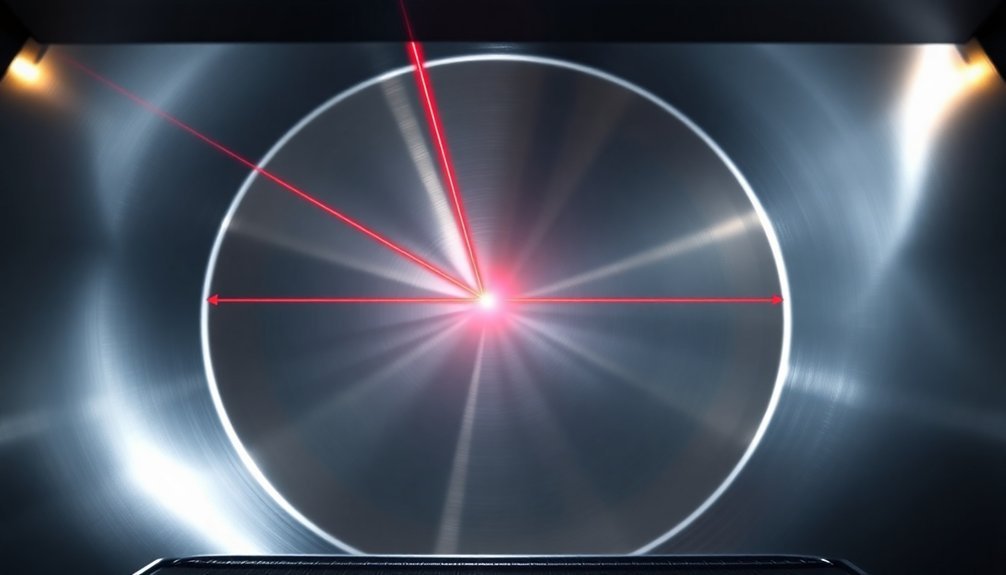
You'll find the sweet spot for your parabolic reflector by placing the target precisely at the calculated focal length, which for a typical 200cm reflector falls around 62cm from the curve.
When you position the reflector at a 60-degree angle and align it properly with the sun's rays, you'll create an ideal concentration of heat at your target zone.
Your reflector's curved design will perform best when you maintain this precise geometric relationship and adjust the angle every 15 minutes to track the sun's movement.
Maximizing Heat Concentration Points
Finding the perfect sweet spot for heat concentration in a parabolic reflector depends on precisely calculating and maintaining the focal point. For a parabola defined by y = 0.004x², you'll need to position your receiver exactly 62 cm from the reflector to capture maximum heat.
Regular adjustments every 15 minutes will keep the sun's rays properly focused as they move across the sky.
- Position your reflector's angle perpendicular to the sun's rays for ideal performance
- Place your black receiver tube or cooking pot at the calculated focal length (62 cm)
- Make certain your reflective surface uses high-reflectance materials like adhesive mirrors
- Maintain proper alignment between 10:00 a.m. and 2:00 p.m. for best results
With correct positioning, you can achieve temperatures ranging from 65°C for baking to 400°C for grilling.
Curved Design Performance Factors
While perfecting a parabolic reflector's curve requires precision, understanding key performance factors will help you achieve ideal heat concentration.
You'll want your reflector's center to be illuminated more intensely than its edges, with about 10-11 dB difference for peak performance.
Your reflector's surface must closely follow the parabolic contour to guarantee maximum efficiency.
For best results, position your target at the focal point where all reflected rays converge.
If you're using wire mesh for your reflector, make sure the mesh spacing is minimal to prevent heat loss.
Pay attention to spillover and phase errors, as these can greatly reduce your oven's effectiveness.
You'll also need to match your feed pattern to your reflector's design to achieve efficient energy transfer and minimize heat loss.
Summer Solstice Reflector Settings
Because the sun reaches its highest point during the summer solstice, your solar oven's reflectors need specific adjustments to enhance efficiency.
You'll want to position your reflectors at a less steep angle compared to other seasons since the sun's rays arrive more directly. The ideal angle typically falls between 45 and 90 degrees, with 60 degrees being a practical sweet spot for most setups.
- Set your reflector angle to approximately 60 degrees using a protractor for accuracy.
- Orient your oven's window perpendicular to incoming sunlight for maximum transmission.
- Adjust your reflectors throughout the day to track the sun's movement.
- Position the reflector to guarantee direct contact with beam radiation, avoiding any shadows or backward reflection.
Remember to account for atmospheric conditions by making minor adjustments based on cloud cover and air quality.
Multiple Reflector Configuration
You'll want to position your upper and lower reflectors at parallel 45-degree angles to create a concentrated heat tunnel for your oven.
Your side reflectors should work in harmony with the upper-lower setup, angling inward to direct additional heat toward the center of your cooking space.
When you're coordinating multiple reflectors, remember to maintain even spacing between them to prevent unwanted heat concentration and guarantee balanced thermal distribution.
Upper-Lower Reflector Positioning
When positioning multiple reflectors in an oven setup, the precise alignment of both upper and lower components plays an essential role in achieving ideal heat distribution.
You'll want to adjust the angle between the main body and rear reflecting portions to control radiation flow. The curved segments should surround your heating element, focusing energy downward toward the rack while maintaining even distribution.
- Position your upper reflector's curved segments at varying focal lengths to guarantee uniform heat across the entire cooking surface.
- Adjust your rear reflecting portion to capture and redirect heat that would otherwise escape.
- Set multiple reflectors facing each other when using a camping setup to maximize heat reflection.
- Configure both upper and lower reflectors to compensate for variables like air temperature and wind conditions.
Side Reflector Coordination
Building on proper upper and lower reflector placement, coordinating side reflectors in a multiple-reflector setup requires careful attention to angular relationships.
You'll want to position your side reflectors at approximately 60 degrees from the box opening, though you can adjust them between 30-60 degrees to track the sun's movement throughout the day.
For peak performance, you'll need to coordinate all reflectors to work together. You can adjust each side panel independently to maximize sun capture from different angles.
If you're using a design with multiple adjustable panels, you'll find more flexibility in targeting the sun's rays, though this requires more frequent positioning checks.
Keep the reflective surfaces clean and shiny to maintain their effectiveness, whether you're using aluminum panels or metallized materials.
Morning Light Optimal Angles
Understanding ideal angles for morning light exposure requires precise timing and positioning right after sunrise.
To enhance your oven's reflectors during these early hours, you'll need to account for the sun's low angle and its warm, soft lighting characteristics. Position your reflectors to capture the elongated shadows and dramatic dimensions that morning light creates.
- Adjust reflectors between 2-10 minutes after sunrise for peak exposure timing
- Angle reflectors to maximize direct light exposure while avoiding window or windshield filtering
- Set reflectors at a 45-degree angle to capture the sun's natural low positioning
- Fine-tune positioning to harness morning's serene qualities before daily activities begin
Remember to regularly check your reflector angles as the sun's position changes throughout the morning hours.
This attention to detail will help guarantee consistent and effective light reflection.
Seasonal Angle Variations
Seasonal changes demand strategic adjustments to your oven reflector angles throughout the year. You'll need to modify your reflector positions to account for the sun's varying declination angles between winter and summer solstices. For ideal performance, keep the angle between your oven cover and sun rays at 15° or less at noon.
| Season | Recommended Adjustments |
|---|---|
| Summer | Position reflectors at 60-67.5° |
| Fall | Adjust cover inclination upward |
| Winter | Increase reflector angles to 90° |
| Spring | Return to moderate angles |
Your east and west reflectors should be positioned based on mean values that capture maximum sunlight between 10:00 a.m. and 2:00 p.m. Remember to adjust your oven's base angle seasonally – you'll typically need a 30° difference between summer and winter positions for best results.
Equinox Positioning Guide
When positioning your solar oven during equinoxes, proper reflector alignment becomes critical for maximizing cooking efficiency.
You'll need to align the reflector's axis in a north-south direction, parallel to Earth's axis, while maintaining a 32-degree angle from vertical for ideal sunlight capture.
- Orient your reflector-frame to match the equinox position, allowing for elastic deformation as you'll need to adjust it every few days.
- Set your reflector paddles at proper angles using the half-angle calculation method, assuming parallel sunlight.
- Keep your concentration factor around 5:1 by carefully sizing your reflector paddles.
- Position the shiny side of the foil outward and minimize tape usage on the reflective surface.
Remember to adjust your reflector angles throughout the day to maintain consistent cooking temperatures and even heat distribution.
Frequently Asked Questions
How Often Should Reflector Angles Be Adjusted Throughout a Single Cooking Day?
You'll need to adjust your reflectors about every hour, rotating them 10 degrees to follow the sun's movement. During peak hours (10 AM-2 PM), you can make less frequent adjustments.
Can Reflective Paint Be Used Instead of Mirrors for Solar Oven Reflectors?
You shouldn't use reflective paint for solar oven reflectors. It's considerably less effective than mirrors, aluminum foil, or Mylar tape. The paint's low reflectivity and tendency to degrade will reduce your oven's cooking performance.
Do Weather Conditions Like Humidity Affect the Optimal Reflector Angle?
No, humidity and weather don't affect your ideal reflector angles. You'll still want to position them based on the sun's location. Weather conditions impact overall efficiency but won't change the perfect angle settings.
What Material Works Best for Making Adjustable Reflector Hinges?
You'll want to use 17-7PH stainless steel for your adjustable reflector hinges. It's durable enough to handle temperatures up to 600°F while providing excellent corrosion resistance and maintaining strength for repeated adjustments.
How Do Different Colors of Cooking Pots Impact Reflector Angle Efficiency?
You'll get the best reflector efficiency with dark-colored pots since they absorb more heat. It doesn't matter what angle you set your reflectors at – lighter pots won't absorb heat as effectively regardless.
In Summary
You've now learned the key angles for maximizing your solar oven's efficiency throughout the year. By following these position guidelines, you'll capture more sunlight and achieve higher cooking temperatures. Don't forget to readjust your reflectors based on seasonal changes and time of day. Remember, proper angle positioning can mean the difference between a perfectly cooked meal and undercooked food. Keep experimenting to find what works best in your location.


Leave a Reply