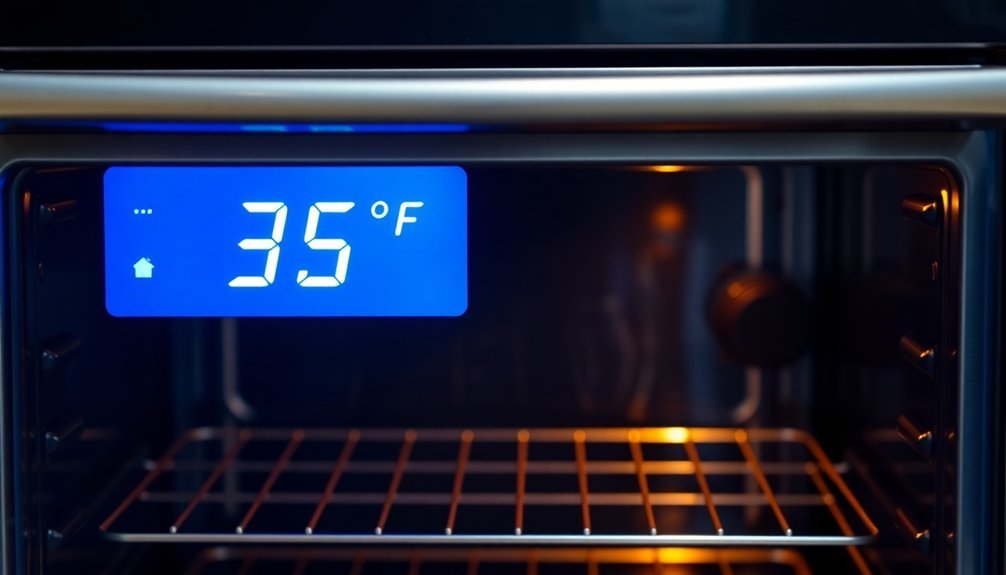
Your solar oven needs to reach at least 180°F (82°C) before you start cooking, but the ideal preheating temperature depends on your recipe and cooking method. For most standard cooking tasks, you'll want to preheat to 325-375°F (160-190°C). High-temperature tasks like roasting and baking require 400-450°F (204-232°C). Keep in mind that factors like wind, location, and time of day can affect how quickly your oven reaches these temperatures. Using a thermometer to verify the temperature is essential, as solar ovens can vary markedly in their heating patterns. Understanding these temperature ranges will help you master the art of solar cooking.
Understanding Solar Oven Heat Patterns

Several key factors influence how solar ovens capture and maintain heat, making it essential to understand their unique heat patterns. You'll need to take into account both direct and diffuse solar radiation, while guaranteeing proper insulation to maintain consistent temperatures. The oven achieves excellent thermal efficiency with 3 inches of fiberglass insulation along the sides and bottom.
The design of your reflectors substantially impacts performance, as they can concentrate solar energy up to five times with the right configuration.
You'll achieve the best results by adjusting your oven's orientation throughout the day to track the sun's movement. The temperature range you can expect varies from 210°F to over 800°F, depending on your oven's design and environmental conditions.
To maximize efficiency, you'll want to use double glazing and minimize the number of times sunlight reflects before entering the cooking chamber.
When you're using a solar oven, protect it from wind and think about your geographical location, as areas closer to the equator offer more consistent cooking conditions.
You'll find that smaller food portions cook more evenly, and regular maintenance of your oven's surfaces guarantees the best heat capture. By understanding these patterns, you can better predict cooking times and achieve more reliable results.
Basic Temperature Ranges
You'll find that moderate oven temperatures (350-375°F) work best for most basic cooking tasks like baking cakes and breads.
Historically, cooks determined these temperatures by seeing how long it took for white paper to brown in their ovens.
Understanding the hotter ranges (400-450°F) becomes vital when you're roasting meats or creating crispy crusts.
Before starting any recipe, it's imperative to check your oven's actual temperature with a reliable thermometer, as most ovens can vary by 10-55°F from their displayed settings.
Moderate Heat for Basics
Most kitchen tasks rely on moderate heat ranges, typically falling between 325°F and 375°F (160-190°C). You'll find these temperatures ideal for baking cakes, roasting meats, and preparing dishes that require even cooking throughout.
The moderate heat range facilitates the Maillard reaction, which creates appealing browning and enhances flavor without burning your food's exterior. Conventional ovens may require rotating your baking trays halfway through cooking to ensure even results.
When you're baking cakes or cupcakes, you'll want to set your oven to 350-375°F (180-190°C). For roasting meat and poultry or preparing low-and-slow meals like stews, aim for 325-350°F (160-180°C). These temperatures are particularly essential for dishes with high sugar content, as they prevent rapid browning while ensuring thorough cooking.
It's important to note that your oven's actual temperature may vary by up to 90 degrees from what's displayed. You'll need to understand these variations and adjust accordingly. If you're working with vintage recipes that use terms like "moderate oven" or "slow oven," you'll need to convert these to modern temperature equivalents.
Using an oven thermometer can help you maintain accurate temperature control and achieve consistent results.
Hot Settings Matter Most
Understanding high-temperature settings is essential for achieving ideal cooking results. When you're cooking at high temperatures between 400-500°F (204-260°C), you'll need to be particularly attentive to your food, as these settings can quickly cook or even burn your dishes.
For fast roasting or very hot oven baking, you'll want to aim for 450-475°F, which is perfect for dishes like roasted vegetables and meats. In vintage recipes from the 1930s and 1950s, these temperatures were often described as extremely hot oven settings.
You'll find that different cooking tasks require specific temperature ranges. A hot oven (400-425°F) works well for many savory dishes, while a very hot oven (450-475°F) is ideal for dishes that need quick cooking or crispy exteriors.
When you're using these higher temperatures, it's vital to use an oven thermometer to verify accuracy, as even modern ovens can sometimes be imprecise.
Remember that cooking time and temperature work together. While higher temperatures cook food faster, they can also lead to uneven results if you're not careful.
For best results, you should always preheat your oven completely before adding your food and adjust cooking times accordingly when using different temperature settings.
Essential Temperature Safety Checks
For safe and effective cooking, mastering essential temperature ranges is crucial to your success in the kitchen. You'll need to understand different temperature settings to achieve the best results for various cooking methods.
When you're working with a moderate oven temperature (350-375°F/180-190°C), you'll handle most of your everyday baking and roasting needs. For slower cooking methods that require gentler heat, you'll want to use the slow oven range (300-325°F/150-160°C). When cooking multiple dishes, increase cooking time by 15% to ensure thorough doneness.
- Super slow cooking at 200°F (90°C) works best for dishes requiring extended cooking times and minimal heat.
- Moderate temperatures between 350-375°F (180-190°C) are your go-to range for most standard recipes.
- Hot oven settings at 400-450°F (200-230°C) deliver quick results for foods that need high heat.
- Very hot temperatures of 450-500°F (230-260°C) are reserved for specific recipes requiring intense heat.
Remember to let your oven preheat for at least 10 minutes, even if it doesn't have a temperature indicator. You'll want to verify the temperature has reached the correct level before starting to cook, as oven temperatures can vary substantially between units.
This attention to temperature control guarantees food safety and even cooking results.
Weather Impact on Preheating

You'll notice changes in your oven's preheating behavior during different weather conditions, as humidity levels can markedly affect baking times and temperatures.
When humidity is high, you're likely to need longer preheating times since moisture in the air impacts heat distribution and absorption.
As seasons change, you should adjust your standard preheating times to account for variations in both room temperature and humidity levels, ensuring consistent baking results throughout the year.
Humidity Changes Baking Times
Weather conditions, especially humidity levels, play a significant role in how quickly your oven preheats and how long your food needs to bake. When you're dealing with high humidity, you'll notice that baking times increase, and your baked goods may flatten more quickly. This happens because moisture in the air affects how ingredients behave and how heat transfers in your oven.
To maintain consistent baking results during humid conditions, you'll need to make several key adjustments to your normal baking routine. Reducing liquid ingredients and increasing bake times by 3-5 minutes can help counteract humidity's effects.
You'll also want to keep your kitchen environment controlled by using air conditioning and proper ventilation.
- Store your dry ingredients in the refrigerator or freezer to prevent clumping
- Use chilled liquid ingredients to slow down fat melting
- Close windows and run your AC while baking to reduce moisture
- Add extra baking time in 3-minute increments until done
If you're baking at high altitudes, you'll face additional challenges as baked goods rise faster and lose moisture more quickly. You'll need to adjust leavening agents, sugar, and flour proportions while monitoring temperature and cooking time more closely.
Seasonal Temperature Adjustments
Seasonal changes can substantially affect your oven's performance and preheating requirements throughout the year. You'll need to pay attention to how temperature and humidity variations impact your oven's thermostat accuracy, as these environmental factors can lead to inconsistent cooking results if not properly addressed.
To maintain accurate preheating, you should regularly check and calibrate your oven's temperature settings. Start by preheating your oven to 350°F (175°C) and using an oven thermometer to verify the actual temperature.
If you notice discrepancies, you'll need to access your oven's calibration mode following the user manual's instructions and make adjustments in small increments.
Pay special attention during extreme weather changes, as these conditions can cause thermostat drift. You'll want to check calibration more frequently if you're a regular baker or if cooking precision is vital to your recipes.
Don't forget that new ovens also require initial calibration to guarantee accuracy from the start. By maintaining proper calibration throughout the seasons, you'll avoid the frustration of overcooked or undercooked meals and achieve consistent results in your cooking.
Seasonal Temperature Variations
Understanding how ambient temperatures affect your oven's performance can make a significant difference in your cooking results throughout the year. Your oven may experience temperature fluctuations of up to 30°F as it cycles on and off, and these variations can become more pronounced during different seasons.
You'll need to be particularly mindful of maintaining consistent temperatures for baking and roasting, regardless of the seasonal changes in your kitchen's ambient temperature.
To maintain ideal oven performance across seasons, consider these essential points:
- Monitor your oven's temperature regularly using a reliable oven thermometer, as seasonal changes can affect calibration.
- Adjust cooking times rather than temperatures when needed – stick to recipe-specified temperatures but extend or reduce cooking duration based on results.
- Pay special attention to yeast-based recipes, as room temperature affects dough rising before it even enters the oven.
- Keep standard temperature ranges in mind: 325°F-350°F for slow cooking, 350°F-375°F for most baking, and 375°F-400°F for cookies and similar items.
Regular maintenance and calibration checks will help guarantee your oven performs consistently throughout the year, regardless of seasonal temperature variations.
Time of Day Considerations

Your oven's energy consumption can cost you more during peak hours, typically between 4 PM and 9 PM when utility rates are highest.
You'll notice that running your oven during hot afternoon hours might increase your kitchen's temperature and make your air conditioning work harder, leading to higher overall energy costs.
To maximize efficiency, you can schedule your baking for early morning or late evening hours when energy rates are lower and outdoor temperatures are cooler.
Peak Energy Cost Hours
When planning to use your oven, timing can notably impact your energy costs, especially during peak hours between 4 PM and 9 PM daily. During these hours, energy demand reaches its highest levels, resulting in increased rates, particularly if you're on a Time-of-Use (TOU) pricing plan.
Your electric oven, which typically uses 2,800 watts, can substantially affect your monthly energy bills when used during these premium-rate periods.
To maximize your energy savings while using your oven, consider these strategic approaches:
- Schedule your baking and roasting before 4 PM or after 9 PM when energy rates are lower.
- Use alternative cooking methods like slow cookers or microwaves during peak hours.
- Combine multiple dishes to cook simultaneously when you must use the oven during peak times.
- Preheat your oven during off-peak hours if possible, then begin cooking as peak hours start.
Hot Weather Oven Impact
Throughout the hot summer months, using your oven can substantially impact your home's comfort level and cooling costs. You'll want to plan your baking and roasting activities during cooler hours, particularly early morning, to minimize heat buildup and reduce strain on your air conditioning system.
| Time of Day | Impact | Best Uses |
|---|---|---|
| Early Morning | Minimal heat buildup | Batch cooking, baking |
| Mid-Day | Maximum heat impact | Avoid oven use |
| Evening | Moderate heat impact | Quick-cooking items |
When you must use your oven, keep the door closed to prevent heat escape and utilize cookware that retains heat well, such as cast iron or ceramic dishes. You'll reduce overall cooking time by taking advantage of residual heat. Consider alternatives like slow cookers, toaster ovens, or outdoor grilling during peak heat hours. If you're using your oven, maximize efficiency by cooking multiple dishes at similar temperatures and preheating only when necessary. You can also improve your kitchen's comfort by ensuring proper maintenance of your refrigerator's condenser coils, using ceiling fans for air circulation, and keeping blinds closed during the hottest parts of the day.
Proper Positioning for Maximum Heat
Proper positioning of oven racks plays a crucial role in achieving ideal cooking results. You'll want to adjust your rack placement based on your specific cooking needs and the type of dish you're preparing.
When using the top rack, you'll get direct heat exposure, making it perfect for broiling and toasting, while the middle rack provides even heat distribution ideal for most baking tasks.
For maximum heat efficiency, consider these essential rack positions:
- Place items on the top rack when you need quick browning or crisping, but remember to monitor closely to prevent burning.
- Use the middle rack for most general baking needs, including cakes, cookies, and casseroles, as it offers the most consistent heat distribution.
- Position items on the bottom rack when roasting meats or baking crusty breads and pizzas, as it provides faster cooking times.
- Space racks evenly when cooking multiple dishes to facilitate proper air circulation.
Remember to consult your oven's manual for specific placement recommendations, as different models may have varying heat distribution patterns.
You'll achieve the best results by matching your rack position to your cooking method and adjusting as needed throughout the cooking process.
Temperature Indicators and Measurement

Understanding your oven's temperature indicators and measuring capabilities goes hand-in-hand with ideal rack positioning.
You'll find that ovens can display temperatures in different ways, using either standard temperature readings, hi/lo settings, or gas mark equivalents. For accurate cooking, you'll need to know that Gas Mark 2 equals 300°F, Mark 4 is 350°F, and Mark 6 corresponds to 400°F.
It's essential to recognize that your oven's actual temperature might differ from what's shown on the dial. You'll want to invest in an oven thermometer to guarantee accuracy, as temperature discrepancies are common, especially in older models.
When you're working with a recipe that calls for specific temperatures, you'll need to know if your oven runs hot or cold to make necessary adjustments.
Modern ovens often include preheating indicators that'll let you know when the desired temperature is reached. However, don't rely solely on these signals.
You should verify the temperature with a thermometer, particularly when baking delicate items that require precise heat levels. Remember that cooking time and temperature work together – if you adjust one, you'll need to modify the other accordingly.
Optimal Preheating Duration
Getting your oven up to the right temperature takes time, and knowing the ideal preheating duration is crucial for successful cooking. For standard recipes at 350°F (175°C), you'll need to allow 10-15 minutes for your oven to reach the desired temperature.
If you're cooking at higher temperatures, like 425°F (220°C), plan for 15-20 minutes of preheating time.
Your oven's preheating duration depends on several factors, including its size, type, and efficiency. Gas ovens typically heat up faster than electric ones, while convection ovens preheat more quickly than conventional models due to their fan-assisted heating system.
- Remove unused racks before preheating to reduce heating time and improve efficiency.
- Position necessary racks properly before turning on the oven to guarantee even heat distribution.
- Avoid opening the oven door during preheating, as this causes significant heat loss.
- Consider using rapid preheat features if your oven has them.
To streamline your preheating process, remember that factors like cold room temperatures, hidden bake elements, and lower voltage installations can extend preheating times. For the best results, always preheat to the specific temperature required by your recipe.
Heat Retention Techniques

Heat retention mastery can make or break your cooking results. To maximize your oven's efficiency, you'll need to understand essential techniques that keep heat where you want it – inside your food and cooking vessels.
Start by selecting appropriate cookware that matches your cooking method. Use oven-safe saucepans for liquids and heavy-duty baking sheets for even heat distribution.
When you're looking to maintain temperature, wrap your food in aluminum foil – it's an excellent barrier against heat loss and helps retain moisture.
You'll find that low-temperature cooking (200°F to 250°F) works best for keeping food warm without overcooking.
If you're dealing with limited fuel or want to save energy, consider thermal cooking methods like haybox cooking or using a Wonder Oven. These techniques use insulation to continue cooking food after the initial heat application.
For extended heating periods, take advantage of vacuum-insulated containers or foam-based units. They're particularly effective for slow cooking and emergency situations where fuel conservation is vital.
Remember to adjust your cooking times accordingly when using these heat retention methods – they'll often require longer periods but use less energy substantially.
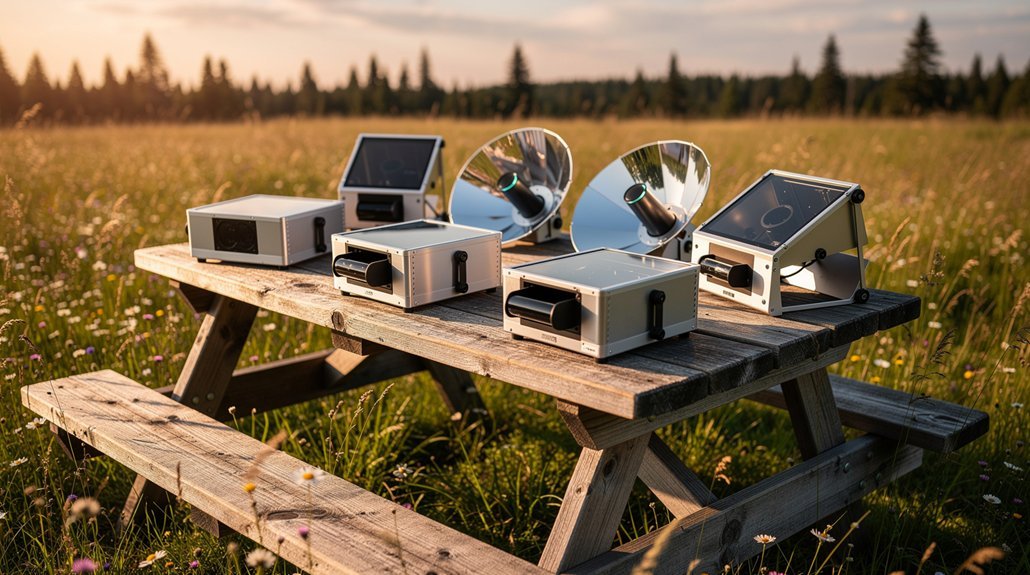
Temperature Zones in Solar Ovens
Solar ovens operate across distinct temperature zones, from gentle 150°F slow-cooking regions up to intense 400°F focal points.
You'll find that your solar oven's performance depends heavily on its design, insulation quality, and how effectively it concentrates sunlight. With proper construction and dark-colored cookware, you can achieve ideal cooking temperatures between 325°F and 350°F.
To maximize your solar oven's temperature potential, you'll need to examine several key factors. Weather conditions and geographic location play vital roles, as do seasonal variations and the time of day you're cooking. The use of reflector panels and proper insulation can help you maintain consistent temperatures throughout your cooking session.
- Low zone (150°F): Perfect for slow-cooking stews and tender meats
- Moderate zone (180°F): Ideal for basic baking and general cooking needs
- High zone (250°F): Suitable for most standard recipes and bread baking
- Very high zone (350°F+): Achievable with sophisticated designs and favorable conditions
You'll get the best results by regularly adjusting your oven to track the sun's movement and using dark-colored pots that absorb heat more efficiently. More advanced parabolic designs can even reach temperatures exceeding 800°F.
Adjusting for Different Cooking Methods

Depending on your cooking method, you'll need to adjust your oven's temperature considerably to achieve ideal results. For standard baking of sweets, cakes, and cookies, set your oven to 350°F (180°C).
However, if you're working with recipes high in sugar or containing butter and eggs, you'll want to lower the temperature to prevent excessive browning.
When roasting, you'll typically use higher temperatures around 400°F (200°C) to achieve a crispy exterior on vegetables and meats. For large roasts, reduce the temperature to between 250°F and 375°F to guarantee even cooking without burning. Don't forget to use a meat thermometer to check for doneness.
If you're using a convection oven, you'll need to adjust your temperatures differently than with a conventional oven. Reduce the temperature by about 25°C (45°F) when using convection, as the circulating air cooks food more efficiently. You'll also notice shorter cooking times with convection ovens.
When cooking multiple items simultaneously, set your oven to the temperature required for the most delicate item and adjust cooking times accordingly. For keeping food warm, maintain temperatures between 145°F and 190°F.
Safe Temperature Guidelines
Understanding safe temperature guidelines goes hand-in-hand with proper oven settings. When you're cooking various foods, specific internal temperatures are vital for food safety.
Your oven needs to be hot enough to bring foods to their required safe temperatures while avoiding the dangerous range between 41°F and 135°F, where bacteria thrive.
For maximum food safety, you'll want to guarantee these minimum internal temperatures:
- Heat poultry, stuffed dishes, and leftovers to 165°F – this temperature kills harmful bacteria and guarantees your food is safe to eat.
- Cook ground meats to 160°F – this higher temperature is necessary because grinding spreads any bacteria throughout the meat.
- Prepare whole cuts of beef, pork, lamb, and seafood to 145°F – these foods are safe at slightly lower temperatures.
- Maintain hot-held foods at 135°F or above – this keeps ready-to-eat items out of the danger zone.
You'll need to use a food thermometer to verify these temperatures accurately. Remember, your food shouldn't stay in the danger zone (41°F-135°F) for more than 4 hours total, including preparation, cooking, and serving time.
Frequently Asked Questions
Why Does My Oven Make Clicking Sounds When Preheating?
Your oven clicks during preheating because it's switching between heating elements for even cooking. You'll hear these sounds when the metal expands and contracts. It's usually normal, but loud clicking might indicate worn elements.
Should I Adjust Cooking Temperature When Using Dark or Light Baking Pans?
You'll need to lower your oven temperature by 25 degrees when using dark baking pans, as they absorb heat faster. Light-colored pans don't require adjustment since they distribute heat more evenly during baking.
Can I Use Multiple Racks Simultaneously Without Affecting Cooking Temperature?
Yes, you can use multiple racks simultaneously, but guarantee proper spacing between pans and oven walls. Position racks in the upper and lower thirds, rotate pans halfway through, and allow at least an inch for airflow.
Does Keeping Oven Light on Impact Overall Temperature Accuracy?
No, your oven's light won't substantially affect temperature accuracy. The bulb generates minimal heat, and modern ovens are well-insulated. You can safely keep it on to monitor your food while cooking.
How Much Electricity Does Preheating an Oven Typically Consume?
Your oven typically consumes about 0.75 kilowatt-hours during a 15-minute preheat, using roughly 3,000 watts. If you're preheating to 400°F, you'll use approximately $0.09-0.15 worth of electricity.
In Summary
You'll find that solar ovens generally need to reach 350°F for ideal cooking, but this varies based on weather and season. Don't forget to check your oven's temperature gauge before starting, and adjust your cooking time accordingly. If you're cooking on cloudy days, you'll want to allow extra preheating time. Remember to maintain proper heat zones by positioning your food correctly and using heat retention materials effectively.

Leave a Reply