When you're roasting meat outdoors, cooking times vary based on your cut and weather conditions. In a solar oven, whole chickens typically take 3-7 hours, while smaller cuts and ground meats need 2-2.5 hours. Fish cooks fastest at just 1-1.5 hours. You'll need to adjust these times for factors like temperature, humidity, and altitude – cold weather slows cooking while humidity can speed it up. For safety, use a reliable meat thermometer to guarantee proper internal temperatures: 145°F for whole cuts and 160°F for ground meats. There's much more to mastering outdoor roasting than just timing.
Selecting Meat for Solar Cooking
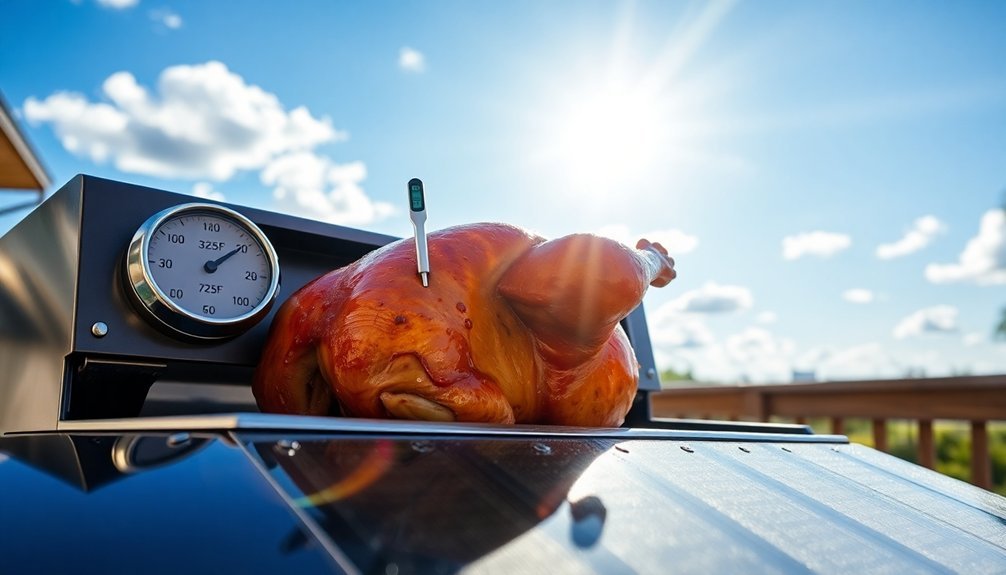
When choosing meat for solar cooking, you'll need to take into account both the cut size and cooking duration to guarantee the finest results. Whole chickens and large cuts require 3-7 hours, while smaller pieces and ground meats cook in 2-2.5 hours. Fish cooks the quickest at 1-1.5 hours.
Select your meat carefully and prepare it properly by removing packaging, rinsing with cold water, and patting it dry. Season liberally with herbs like rosemary, black pepper, or sea salt. For enhanced flavor, brown the meat on the stovetop before transferring it to your solar oven.
Use cast iron cookware for maximum heat retention, and avoid aluminum foil as it deflects heat. Solar cooking works best when conducted between 11 AM and 3 PM for optimal sunlight exposure.
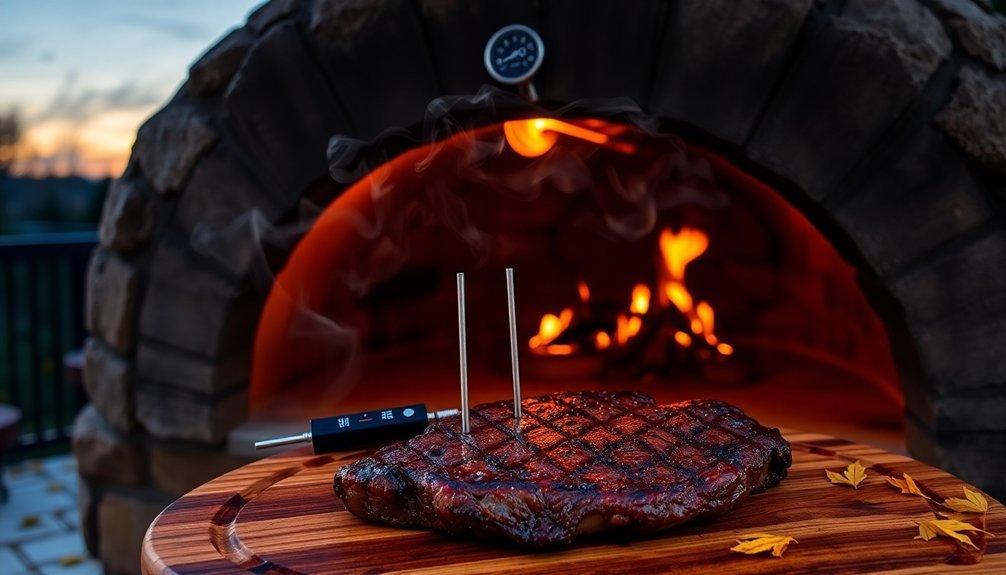
Always monitor internal temperatures with a reliable thermometer to guarantee food safety.
Weather Impact on Cooking Times
Although weather conditions considerably affect cooking times, you can still achieve excellent results by adjusting your approach accordingly. Cold, snowy weather slows down ignition and requires more fuel, while hot conditions make your grill run hotter than the set temperature. Grills will need increased pellet usage during winter months to maintain consistent temperatures.
Humidity and rain can speed up cooking as moisture evaporates more slowly from food.
For consistent results in varying weather, remember these key adjustments:
- Always cook to temperature rather than time, especially in extreme weather
- Use an insulation blanket in freezing temperatures to maintain heat
- Position your grill away from direct sunlight in hot weather and out of strong winds in blustery conditions
At high altitudes, you'll need to adjust cooking temperatures downward since water boils at lower temperatures and moisture evaporates more quickly.
Solar Oven Temperature Control
Successfully controlling temperature in a solar oven requires precise positioning and constant monitoring throughout the cooking process.
You'll need to adjust your oven every 30-45 minutes to track the sun's movement and maintain ideal heat collection. Use a reliable thermometer to guarantee temperatures stay between 150-225°F for safe cooking.
To maximize heat retention, you'll want to insulate your cooking cavity with multiple layers of materials like crumpled newspaper or spun fiberglass. Properly designed solar box cookers can reach temperatures of up to 400°F during operation.
Use dark-colored, lidded cookware and verify your glazing material is securely attached to prevent heat loss.
For precise temperature readings, install Type-K thermocouples or use a digital thermometer with a probe to monitor internal food temperatures.
Position your oven in a sheltered spot to protect it from wind interference.
Meat Preparation for Outdoor Roasting
Proper preparation of your meat before outdoor roasting can make the difference between a tough, dry result and a perfectly cooked masterpiece.
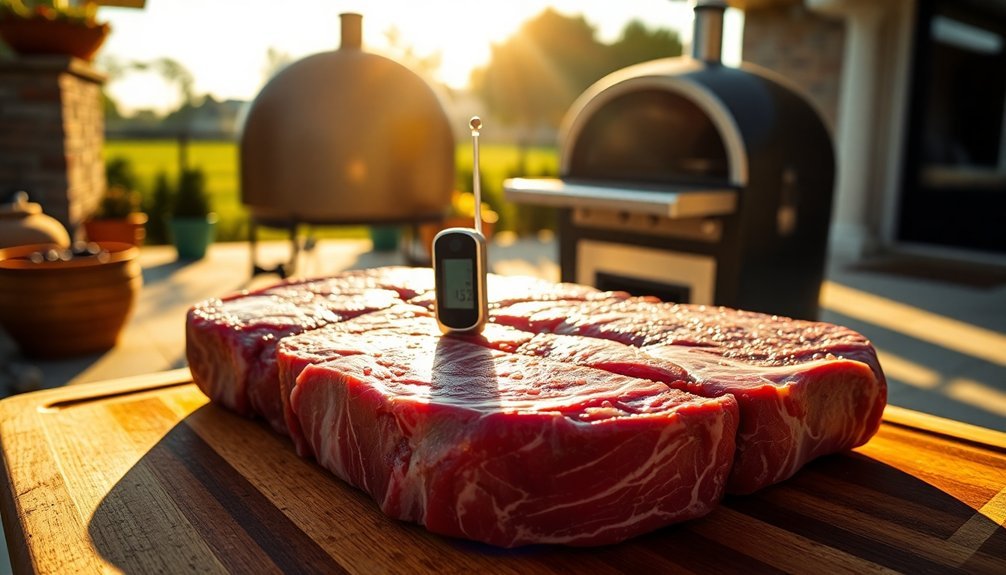
You'll want to start by selecting the right cut for your desired doneness – lean cuts work best for high-heat searing followed by low-temperature roasting. Before cooking, rinse and pat your meat dry with paper towels to guarantee even browning. For optimal results, use a meat thermometer to monitor the internal temperature throughout the cooking process.
For the best results, follow these essential preparation steps:
- Season your roast the night before and let it rest in the refrigerator to enhance flavor and promote better browning.
- Place the meat on a wire rack to allow air circulation and slight drying before cooking.
- Brush the surface with oil just before roasting to prevent the meat from drying out.
Altitude Effects on Roasting Duration
When you cook at high altitudes above 3,000 feet, you won't need to adjust your oven-roasting times since they remain consistent regardless of elevation.
You'll find that while boiling points and moist-heat cooking methods require significant time increases at higher altitudes, the dry heat of oven roasting maintains its sea-level timing and temperature requirements.
If you're concerned about moisture loss at higher elevations, you can simply cover your roasting pan to keep the meat from drying out too quickly.
Pressure Changes Impact Time
Although cooking times remain relatively stable at sea level, altitude changes can considerably impact how long it takes to roast your meat.
As you cook at higher elevations, you'll need to account for pressure differences that affect moisture retention and cooking duration.
While oven temperatures don't need adjustment for altitude, you'll want to monitor your meat more carefully due to faster liquid evaporation.
Here's what you need to know about pressure changes:
- At 5,000 feet, water boils at 203°F instead of 212°F
- Moisture evaporates up to 25% faster at high altitudes
- You'll need to increase cooking time by approximately 25% above 3,000 feet
Using a meat thermometer becomes essential at higher elevations to guarantee your roast reaches safe internal temperatures while maintaining ideal moisture levels.
Temperature Adjustments By Height
Despite common misconceptions about high-altitude cooking, oven temperatures for roasting meat don't require adjustment at different elevations.
You can follow sea-level cooking instructions for both temperature settings and timing when you're roasting meat outdoors at any altitude.
While high altitudes do affect some cooking methods, like boiling and simmering, they won't impact your oven-roasting process.
You won't need to extend cooking times or modify temperatures to achieve the desired results. The texture and moisture of your roasted meats will remain consistent regardless of elevation changes.
Remember to use a food thermometer to check the internal temperature of your meat, just as you'd at sea level.
This practice guarantees your food reaches the proper doneness, no matter where you're cooking.
Essential Solar Cooking Equipment
You'll need a basic box-style or parabolic solar oven equipped with reflective surfaces and a clear lid to effectively roast meat using the sun's energy.
Your temperature monitoring tools should include both an oven thermometer and a meat probe to guarantee proper cooking temperatures are maintained throughout the process.
Essential reflective materials for your solar oven setup include aluminum foil or polished metal sheets to maximize heat capture and direct sunlight onto your cooking vessel.
Basic Solar Oven Types
Four main types of solar ovens offer different approaches to harnessing the sun's energy for cooking: panel cookers, box cookers, parabolic cookers, and tube cookers.
Each type has distinct features that make it suitable for different cooking needs.
Panel cookers use reflective surfaces and can reach up to 300°F, while box cookers feature insulated walls with a glass top for efficient heat retention.
Parabolic cookers focus sunlight intensely for high-temperature cooking, and tube cookers excel in various weather conditions.
For ideal solar cooking results, consider these key differences:
- Temperature range: Tube cookers reach the highest at 480°F, while others typically max out at 300°F.
- Weather adaptability: Tube cookers work in cloudy conditions, while others need direct sunlight.
- Mobility: Panel cookers are most portable, while parabolic models are least transportable.
Temperature Monitoring Tools
When cooking with solar ovens, reliable temperature monitoring tools serve as essential equipment for achieving consistent results.
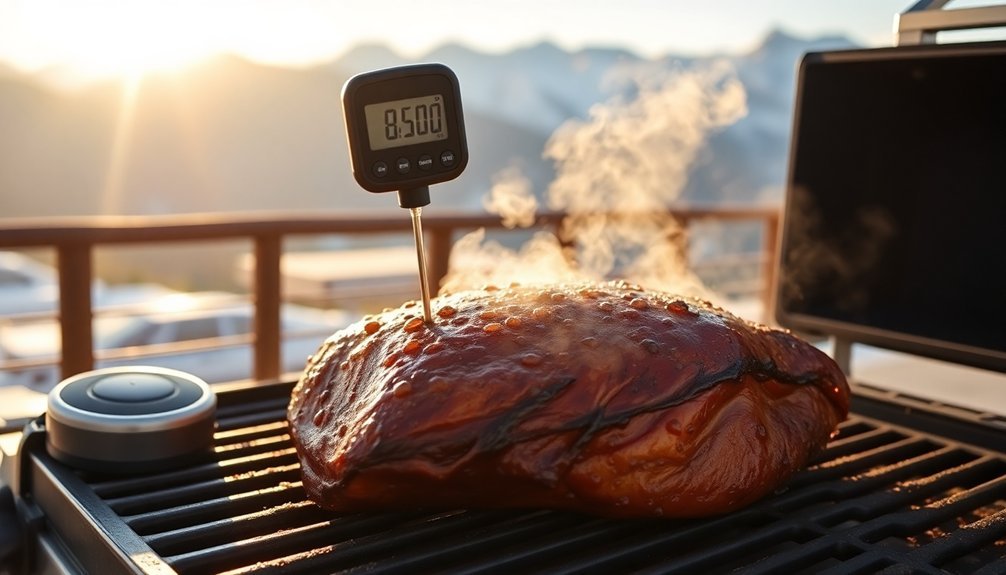
You'll need a good thermometer to monitor both the oven's internal temperature and your food's doneness. Digital thermometers offer quick, precise readings, while probe models let you track internal meat temperatures without opening the oven and losing heat.
For best results, you'll want to place your thermometer in the thickest part of the meat, avoiding bones and fat pockets.
Consider investing in a wireless thermometer with remote monitoring capabilities, which allows you to check temperatures without approaching the solar oven. Look for models with data logging features to track temperature patterns throughout your cook time.
Remember to calibrate your thermometer regularly using ice water or boiling water methods to maintain accuracy.
Reflective Materials Needed
Selecting the right reflective materials stands as an essential first step in building an effective solar cooker. You'll want to use aluminum foil tape as your primary reflective surface since it boils water almost twice as fast as radiant barrier and maintains its reflectivity over time.
While aluminized polycarbonate film might seem appealing, avoid it as it scratches easily and degrades quickly.
For ideal cooking performance, you'll need:
- Four reflective panels to maximize sunlight capture and heat concentration
- Curved surfaces, especially for parabolic designs, to focus sunlight onto a precise cooking point
- Clean, well-maintained reflective surfaces to guarantee maximum efficiency
Remember to keep your reflective surfaces spotless, as dirt and grime notably reduce their effectiveness in concentrating sunlight for cooking.
Safe Internal Temperature Guidelines
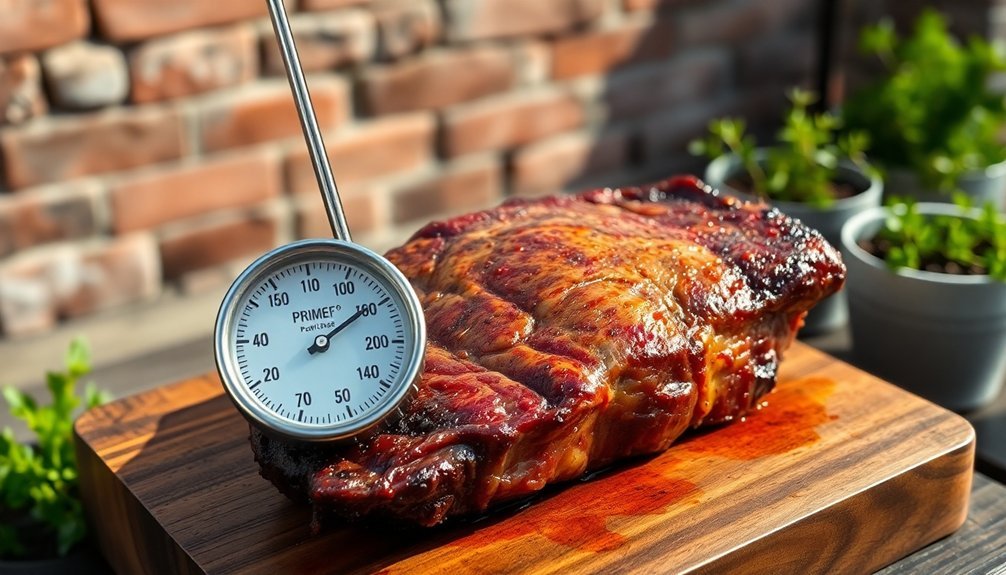
Mastering safe internal temperatures is essential for perfectly cooked, food-safe meat. You'll need to verify whole cuts of beef, lamb, and goat reach 145°F (63°C), while ground versions must hit 160°F (71°C). For medium-rare steaks and roasts, aim for 135°F (57°C).
When you're cooking a ribeye roast, timing varies by weight. A 3-4 pound cut needs 1-1/2 to 2 hours at 350°F for medium-rare. For eye of round roasts, calculate 20-22 minutes per pound at 325°F.
Remember that ground meat requires higher temperatures because bacteria can be mixed throughout, unlike whole cuts where contaminants typically stay on the surface.
Don't skip the resting period – let your meat rest for at least 3 minutes after cooking to verify food safety and ideal juiciness.
Frequently Asked Questions
How Does Wind Affect the Temperature Stability of an Outdoor Roasting Setup?
Wind disrupts your roasting temperature by carrying away heat, making it harder to maintain consistent temps. You'll notice more fluctuations, longer preheating times, and uneven cooking if you don't shield your setup properly.
Can Marinating Time Be Reduced When Cooking Meat Outdoors?
You shouldn't reduce marinating times just because you're cooking outdoors. Stick to recommended times based on your cut of meat and marinade type to guarantee proper flavor development and food safety.
Should Cooking Time Be Adjusted When Using Different Fuel Sources Outdoors?
Yes, you'll need to adjust cooking times based on your fuel source. Gas provides consistent heat, while charcoal and wood can fluctuate. Monitor internal temperatures closely and account for weather conditions affecting heat distribution.
Does Meat Develop a Different Flavor Profile When Roasted Outdoors?
Yes, you'll notice distinct flavors when roasting meat outdoors. Smoke from wood or charcoal, combined with open-air circulation, creates unique taste profiles that you can't replicate in indoor ovens. Your seasonings intensify differently too.
How Often Should the Meat Be Basted When Cooking in Outdoor Conditions?
You'll need to baste your meat every 15-20 minutes in hot or windy conditions, and every 30-40 minutes in cooler weather. Check environmental factors and adjust accordingly to maintain moisture and flavor.
In Summary
Your success with solar oven roasting depends on several key factors. You'll find that cooking times vary greatly based on weather conditions, altitude, and meat thickness. While traditional oven temperatures remain constant, you can expect solar cooking to take 1.5-2 times longer. Remember to check meat doneness with a thermometer and maintain proper food safety temperatures regardless of your outdoor cooking method.


Leave a Reply