To master moisture control in your oven, start by placing a water pan on the bottom rack for essential steam generation. You'll want to use lava rocks or metal objects to enhance steam production without boiling water. Position your lids strategically – tight-fitting ones trap moisture while vented lids allow controlled evaporation. Try combining moisture-rich ingredients like butter with oil, and use multiple eggs to boost moisture content. Don't forget to swap baking tiers midway through and quickly replace lids. Monitor temperatures regularly and adjust dampers for precise airflow control. These fundamental techniques are just the beginning of your journey to professional-quality bakes.
Steam Generation Using Natural Methods

When it comes to generating steam naturally in your oven, several effective methods can help you achieve the perfect moisture balance for your baked goods.
You'll want to start by preheating your oven to 450-475°F and placing a pan of water on the oven floor or a higher rack. For enhanced steam generation, you can add lava rocks or metal objects to increase the heated surface area, but never when the water is near boiling to avoid dangerous splashing.
Consider using a cast iron skillet for better heat retention, and spray a fine water mist into the oven cavity to boost humidity. This gentle cooking approach preserves natural flavors while keeping your baked items moist.
You can also place ice cubes in the pan to create a slower, more sustained steam release. Just make sure your steam isn't blocked by baking stones or other obstacles in the oven.
Optimal Lid Placement During Cooking
For the best results with moisture control, you'll want to carefully time your lid placement to trap or release steam at essential cooking stages.
Your choice of lid type, from glass to metal to silicone, will impact how effectively moisture is contained and how easily you can monitor your food's progress. Consider placing dishes that need extra moisture retention on the middle rack position for the most even heat distribution and consistent results.
When using lids for steam control, remember that tight-fitting covers create more intense moisture while vented lids allow for controlled evaporation while still protecting your dish.
Lid Timing For Steam
The strategic use of pot lids can make or break your steaming results. You'll want to keep your lid firmly in place throughout most of the cooking process to trap essential steam and reduce cooking time. Don't lift the lid unnecessarily, as this releases valuable steam and extends cooking duration. It's crucial to monitor water levels during prolonged steaming sessions to maintain consistent results.
| Timing Phase | Keep Lid On | Remove Lid |
|---|---|---|
| Initial Boil | Yes – speeds up boiling | No |
| Main Cooking | Yes – maintains steam | Only to check food |
| Final Stage | Optional – based on moisture needs | If reducing liquid |
When steaming multiple tiers, you'll need to swap levels halfway through cooking. Remember to quickly replace the lid after any necessary adjustments to maintain steam circulation. For covered dishes like steamed puddings, you're creating a dual-barrier system that prevents excess moisture from saturating your food.
Cover Types And Effects
Successful cooking often hinges on selecting the right cover for your dish. You'll want to choose materials that match your cooking method – microwavable paper towels for microwave use, aluminum foil for oven baking, and tight-fitting lids for stovetop cooking.
When using aluminum foil in the oven, place it loosely to allow some steam escape while still protecting your dish from over-browning.
For microwave cooking, BPA-free plastic wrap or paper towels will prevent splatters while letting excess steam vent. If you're braising meat, use an oven-safe lid to trap moisture and create tender results.
Don't use plastic covers for high-heat cooking, as they can melt and contaminate your food.
Also, avoid covering food while deep-frying, as trapped steam can cause dangerous oil eruptions.
Water Pan Positioning Strategy

Inside your solar oven, proper water pan positioning plays an essential role in achieving ideal cooking results. You'll want to place a dark-colored pan at the bottom of your oven to maximize heat absorption while ensuring it doesn't block sunlight or ventilation.
| Position | Purpose | Key Consideration |
|---|---|---|
| Bottom | Heat absorption | Use dark pan color |
| Non-blocking | Air circulation | Leave space for vents |
| Center-aligned | Even distribution | Monitor multiple dishes |
| Below food | Steam control | Allow escape routes |
| Strategic angle | Temperature regulation | Match sun position |
To prevent excess moisture, leave some latches unhooked or insert a small twig between the cover and box. You'll need to monitor the water level and adjust the oven's angle throughout cooking. For peak efficiency, pre-heat your oven with the water pan before adding food, and position it to complement your reflectors' sunlight direction.
Managing Airflow In Solar Ovens
To effectively control moisture in your solar oven, you'll need strategic damper placement near the top and bottom of your unit, allowing for precise control of air movement.
Natural ventilation patterns work best when you position your dampers to create a gentle upward flow, which helps carry excess moisture away from your food without letting too much heat escape.
Your dampers should be adjustable and properly sealed when closed, helping you maintain the perfect balance between moisture removal and heat retention based on your specific cooking needs.
Damper Placement And Design
Proper damper placement plays an essential role in managing airflow through your solar oven's cooking chamber. You'll need to guarantee your dampers work alongside high-quality seals and moisture barriers to prevent water vapor from compromising the insulation materials.
To maximize efficiency, surround your cooking cavity with insulation like cellulose, rockwool, or crumpled newspaper on all sides except the glazed surface. Make sure you've installed a reliable vapor barrier on the innermost surface to protect structural materials.
When positioning your dampers, consider how they'll affect heat retention – you don't want to lose precious warmth through conduction. Remember that shallower boxes typically maintain higher temperatures due to reduced heat loss area.
For best results, you'll want to measure temperatures regularly to confirm your damper system is performing effectively.
Natural Ventilation Patterns
Understanding natural ventilation patterns helps you achieve ideal cooking results in your solar oven.
Position your cooking rack at least two inches above the reflective surface to create proper airflow around your food. You'll want to confirm your transparent window is properly sealed while still allowing for controlled air circulation to prevent excess steam buildup.
Keep track of the sun's movement throughout the day and adjust your reflectors accordingly. You'll need to reposition the oven every hour or two to maintain peak temperatures.
The box's configuration plays a vital role – use quality insulation materials on all sides except the glazed top to trap heat effectively.
Remember to enhance your solar collection area by keeping the box depth minimal and verifying your window faces the sun directly for maximum energy absorption.
Timing Your Steam Release

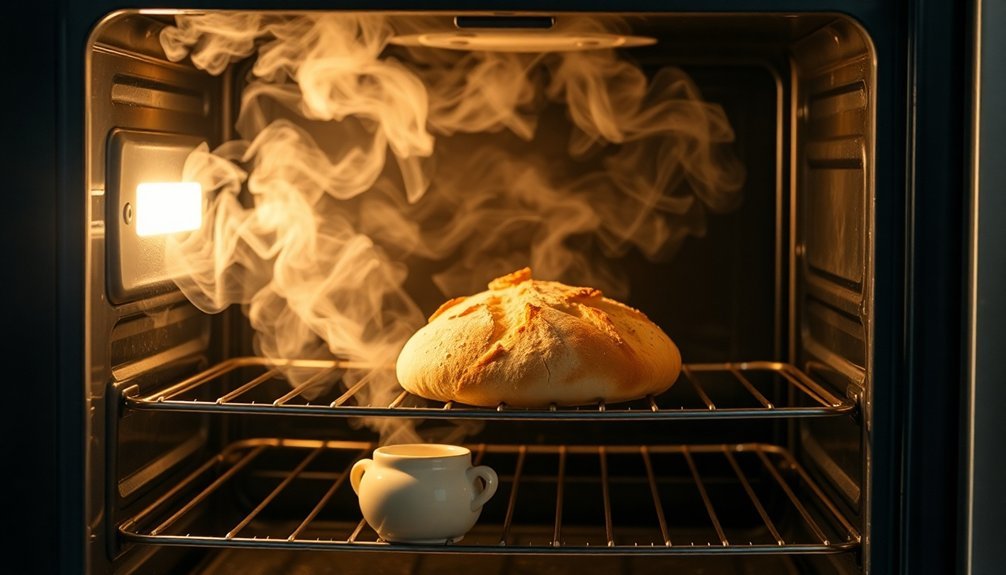
When baking artisan bread, releasing steam at the right moment can make the difference between a tough, leathery crust and one that's perfectly crisp.
You'll want to maintain steam during the first 20 minutes of baking, which allows for maximum oven spring and proper crust development.
If you're using a Dutch oven or cloche, remove the lid after this initial period. For those using water pans or damp towels, take them out once you notice the crust beginning to color.
The second half of your bake should be in a dry environment to achieve that desirable crispy exterior.
Don't let steam linger too long – it'll prevent proper crust formation and could leave you with a chewy texture instead of the satisfying crackle you're aiming for.
Moisture-Rich Ingredient Combinations
The strategic combination of moisture-rich ingredients can transform your baked goods from ordinary to exceptional. When you're mixing your batter, remember that dairy products like buttermilk and sour cream work as natural stabilizers while balancing sweetness.
They'll also interact with your leavening agents to create that perfect, tender crumb you're after.
- Combine butter with oil to achieve ideal moisture retention
- Add instant pudding mix for enhanced richness and moisture
- Use multiple eggs to boost moisture content and structure
- Include dairy products to activate leavening agents properly
Don't forget that proper moisture control isn't just about adding wet ingredients. It's about creating the right chemical reactions in your batter.
You'll find that using multiple moisture-rich ingredients works better than relying on just one, especially in recipes like Bundt cakes and chocolate desserts.
Temperature Zones For Humidity Control

Mastering moisture-rich ingredients is just one piece of the baking puzzle – your oven's temperature zones play an equally important role in humidity control.
Understanding how temperature affects moisture is vital: warmer air holds more moisture than cooler air.
If you're using a natural convection oven, you'll experience higher humidity levels (90-95%) at elevated temperatures.
In contrast, forced convection ovens typically maintain 30-60% relative humidity at lower temperatures.
You can control these zones by adjusting fans, dampers, and steam injection systems.
The temperature zones you choose directly impact your results.
Higher humidity levels will extend baking time but can increase volume and create lighter crusts.
For crustier breads, you'll want lower humidity levels.
Custom ovens can maintain specific zones (like 135°F with >40% RH) for precise results.
Frequently Asked Questions
How Does Altitude Affect Moisture Control Techniques in Baking?
You'll need to add more liquid and decrease bake times at high altitudes, as lower air pressure speeds up evaporation. Adjust leavening agents and monitor humidity to prevent your baked goods from drying out.
Can Humidity Levels Impact Yeast Activity During the Baking Process?
Yes, humidity notably impacts your yeast's activity. When it's humid, you'll notice faster fermentation and proofing as yeast becomes more active. You'll need to adjust proofing times to prevent over-fermentation in high-humidity conditions.
Does Oven Door Material Affect Moisture Retention Differently?
Yes, your oven door's material greatly impacts moisture retention. If you're using firebrick, you'll retain more moisture than with soapstone, while modern RollSeal doors provide the best control through their airtight sealing technology.
What Role Does Preheating Play in Maintaining Optimal Humidity Levels?
When you preheat, your oven establishes stable humidity levels and evaporates residual moisture. It'll also calibrate humidity sensors and prepare the chamber for ideal steam distribution before you start baking your items.
How Do Different Baking Stone Materials Influence Moisture Distribution?
Your stone's material composition won't directly absorb moisture from pizza dough. Instead, materials like cordierite and FibraMent distribute heat evenly, while their porous surfaces allow steam to escape during baking.
In Summary
You'll find these seven moisture control techniques transform your baking from good to exceptional. By mastering steam generation, lid placement, water pan positioning, and airflow management, you're now equipped to tackle any recipe with confidence. Whether you're working with a conventional, solar, or convection oven, these humidity control strategies will help you achieve the perfect texture and moisture balance every time.


Leave a Reply