A damaged oven door seal requires either cleaning, repair, or full replacement to maintain proper cooking temperatures. If you notice slow heating times, uneven cooking, or heat escaping around the door, you'll need to take action. Start by cleaning the seal with mild soap and water to remove built-up grease and debris. For minor damage, you can try repositioning or reattaching loose sections. If the seal shows significant wear like cracks or deformation, you'll need to replace it with a high-heat resistant material like silicone or EPDM. Proper maintenance and timely repairs will keep your oven running efficiently, and there's much more to learn about the repair process.
Understanding Solar Oven Door Seals
When it comes to solar oven efficiency, a properly functioning door seal plays a significant role in maintaining ideal cooking temperatures. The seal traps heat inside your oven through the greenhouse effect, ensuring temperatures stay high enough for effective cooking. Under optimal conditions, a well-sealed solar oven can reach up to 350°F in just 15 minutes.
You'll find that most solar oven seals are made from high-heat-resistant materials like silicone, EPDM, or Neoprene, which can withstand temperatures up to 500°F. These materials are specifically chosen for their flexibility, durability, and food-safe properties.
Your seal needs to work alongside the oven's reflectors to maximize heat concentration while preventing any loss through gaps or cracks.
Glass covers with proper seals are your best option, though alternatives like Lexan can provide a cost-effective solution. Whatever material you choose, it must prevent melting and off-gassing for safe cooking.
Common Signs of Seal Damage
Identifying a damaged oven door seal early can prevent energy waste and cooking mishaps. You'll notice visible signs like cracks, tears, or deformed sections in the gasket. Look for burn marks or discoloration around the oven door.
Your cooking experience will signal problems too. If food takes longer to cook, preheats slowly, or cooks unevenly, your seal might be failing. A failing seal means your oven is working much harder to maintain temperature. Watch for heat escaping around the door and increased energy bills.
Check for operational red flags: smoke or steam leaking from unusual spots, the door not closing properly, or excessive heat when you run your hand along the seal.
You might also notice your kitchen getting unusually warm during baking. If the door sticks or won't close correctly, it's time to inspect the seal's installation.
Tools Needed for Repair
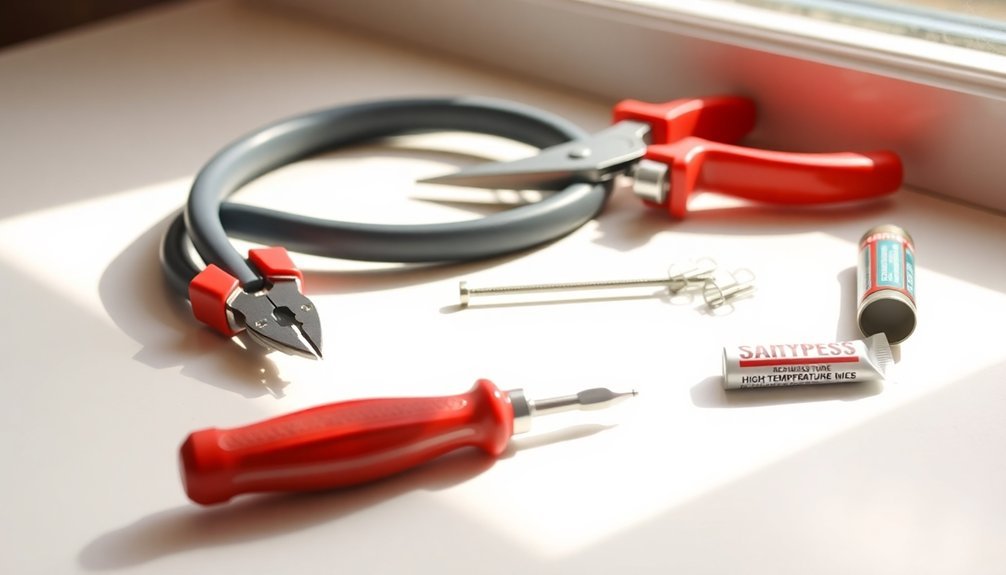
You'll need basic hand tools like a flathead screwdriver and pliers to safely remove the old seal and install the new one.
Keep cleaning supplies handy, including mild soap, water, and a clean cloth to prepare the surface for the replacement seal.
Don't forget safety items such as oven mitts and safety gloves to protect your hands while working with the oven door and components. Needle nose pliers are especially essential for removing and installing T pins during the repair process.
Basic Hand Tool Requirements
The right tools make all the difference in successfully repairing an oven door seal.
You'll need several basic hand tools to complete this repair effectively. Start with both Phillips and flathead screwdrivers, which are essential for removing various fasteners and detaching the old seal.
Include needle-nose pliers for handling small components and a set of nut drivers for different-sized bolts.
An adjustable wrench is vital for tackling various fastener sizes, while a socket set helps you work with nuts and bolts in tight spaces.
Don't forget locking pliers and fine tweezers for gripping delicate parts. A putty knife can help you gently release locking tabs without damaging surfaces.
Keep channel lock pliers handy for additional gripping power when dealing with stubborn components.
Cleaning Equipment List
Proper cleaning equipment stands essential for a successful oven door seal repair. You'll need specific tools for each phase of the cleaning process, from initial surface preparation to final sealant application. Here's your thorough cleaning supply checklist:
| Basic Supplies | Cleaning Agents | Special Tools |
|---|---|---|
| Soft Cloths | Mild Soap | Sealant Gun |
| Damp Sponges | Dish Soap | Screwdrivers |
| Dry Towels | Non-abrasive Cleaner | Craft Knife |
| Scrubbing Pads | Silicone Sealant | Clamps/Bricks |
For surface preparation, you'll want to use gentle cleaning agents like Miele products or similar alternatives that won't damage the oven's finish. When dealing with old sealant removal, keep your cleaning supplies within reach to immediately wipe away any debris. Remember to have fresh cloths ready for the final cleaning stage before applying new sealant.
Safety Protection Items
Essential safety protection items form the foundation of any oven door seal repair project.
Before you begin working on your oven, you'll need to gather proper safety equipment to protect yourself from potential hazards like electrical shock, burns, and sharp edges.
- A pair of protective gloves to shield your hands while handling the oven components and working with the seal's fasteners.
- Safety glasses to guard your eyes against debris during the removal process and potential chemical splashes from cleaning agents.
- Adequate ventilation in your work area, especially if you're using cleaning products or silicone sealant.
- Access to your electrical panel to shut off power at the circuit breaker, or guarantee you can easily unplug the oven from its power source.
Safety Precautions Before Starting
Before you start working on your oven door seal, you'll need to gather all necessary tools and equipment in a clean, well-lit workspace.
You must disconnect the oven's power supply and let it cool completely to prevent electrical shock or burns.
Make sure you're wearing appropriate safety gear, including gloves and safety glasses, while keeping your work area free from any flammable materials.
Equipment and Tool Readiness
Safe repair of an oven door seal requires three key preparations: gathering the right tools, ensuring proper lighting, and wearing protective gear.
You'll need a replacement seal specific to your oven model, along with basic tools like screwdrivers and pliers. Keep cleaning supplies handy, including mild soap, non-abrasive cleaners, and soft cloths.
- Collect specialized tools first – you'll need a flathead screwdriver, pliers, and model-specific screws or clips for securing the new seal.
- Prepare cleaning materials – mild soap, soft cloths, and non-abrasive cleaners to remove grease and debris.
- Get safety equipment ready – protective gloves are essential when handling sharp edges or glass.
- Have backup materials on hand – high-temperature silicone sealant and a sealant gun for temporary fixes if needed.
Power and Heat Safety
With your tools and equipment ready, proper safety measures must be taken before starting any oven door seal repair. First, unplug your oven and switch off its circuit breaker to prevent electrical accidents. Wait until it's completely cool before beginning work, as residual heat can cause burns.
| Safety Area | Primary Action | Key Reminder |
|---|---|---|
| Power | Unplug oven | Check breaker too |
| Heat | Wait to cool | Use protective gloves |
| Workspace | Clear area | Keep kids/pets away |
Ensure your work area is well-lit and ventilated, especially if you'll be using cleaning products. Don't forget to read your oven's manual for model-specific safety guidelines. You'll want to maintain a clear workspace and watch for sharp edges on tools or oven components throughout the repair process.
Removing the Old Gasket
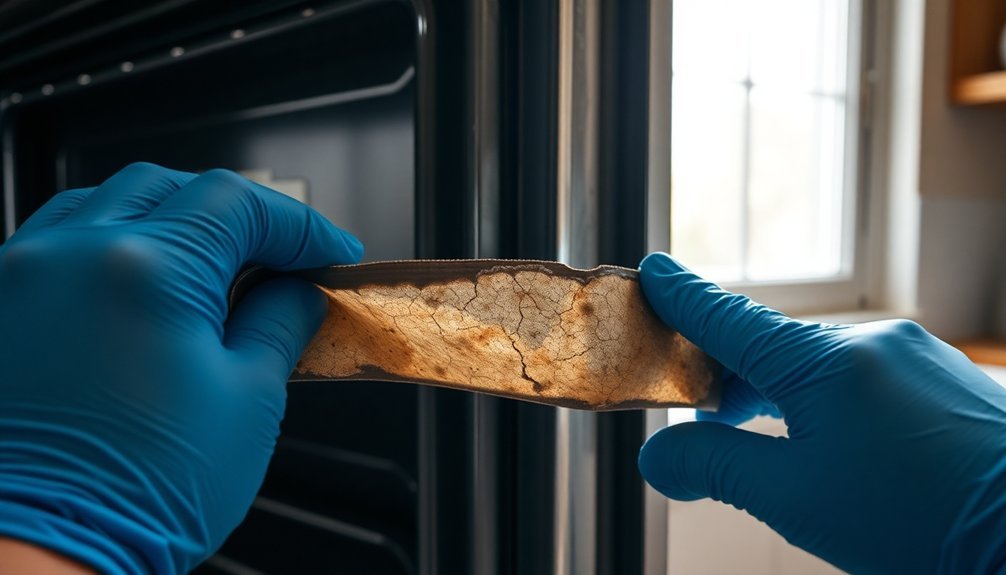
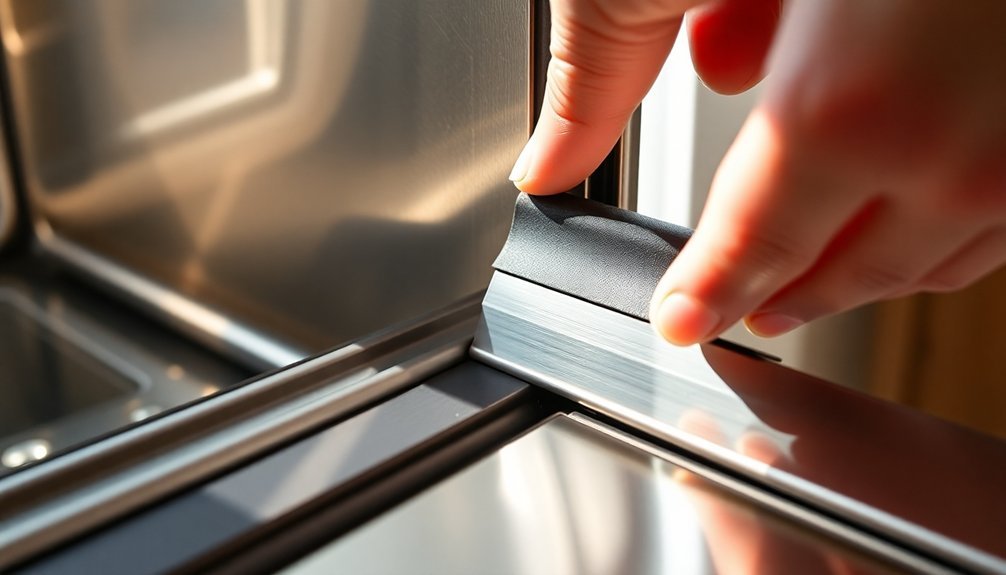
Proper removal of your old oven door gasket starts with locating it around the perimeter of the door frame or oven cavity.
You'll need to identify how it's secured – whether by clips, screws, or friction-fit. Once you've determined the attachment method, carefully detach the gasket using appropriate tools like a flathead screwdriver or pliers.
- If your gasket uses T-pins or arrowhead fasteners, pull them out completely with pliers.
- For screw-mounted gaskets, remove all screws and set them aside for reuse.
- When dealing with clip-mounted gaskets, gently pry them loose from their mounting points.
- For friction-fit gaskets, carefully work the seal out of its channel or groove.
After removing all fasteners, pull the old gasket away completely and clean the mounting area before installing the new seal.
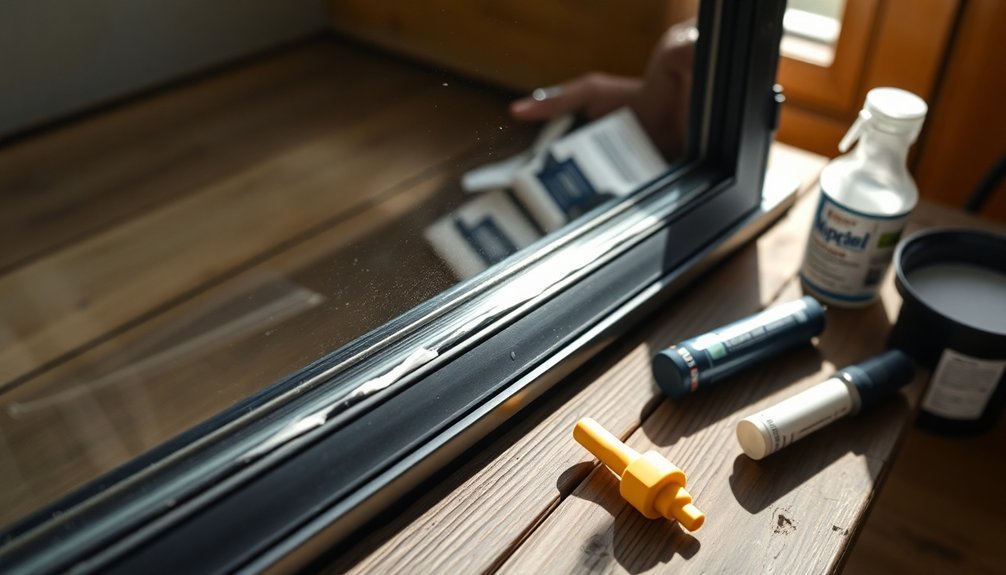
Cleaning the Seal Channel
The seal channel must be thoroughly cleaned before installing a new gasket to affirm proper adhesion and function. You'll need warm soapy water, a soft cloth, and a gentle touch to avoid damaging the channel. Don't use harsh chemicals or abrasive materials that could compromise the surface.
| Step | Action | Purpose |
|---|---|---|
| 1 | Wipe with damp cloth | Remove loose debris |
| 2 | Clean with soapy water | Dissolve grease and grime |
| 3 | Dry thoroughly | Prevent moisture issues |
After cleaning, inspect the channel carefully for any remaining adhesive residue or damage. You'll want to ascertain it's completely dry and free from debris before installing the new gasket. Test the channel's surface by running your finger along it – it should feel smooth and clean without any sticky spots or rough patches.
Measuring for Replacement Parts
You'll need precise measurements of both the width and length of your existing oven door seal to guarantee a proper fit for the replacement.
Check the corners to determine if they're rounded or square, as this affects which type of replacement gasket you'll need.
When measuring the edges, make sure to account for any clips or mounting points that secure the seal to the door frame.
Accurate Width and Length
Accurate measurements serve as the foundation for a successful oven door seal replacement.
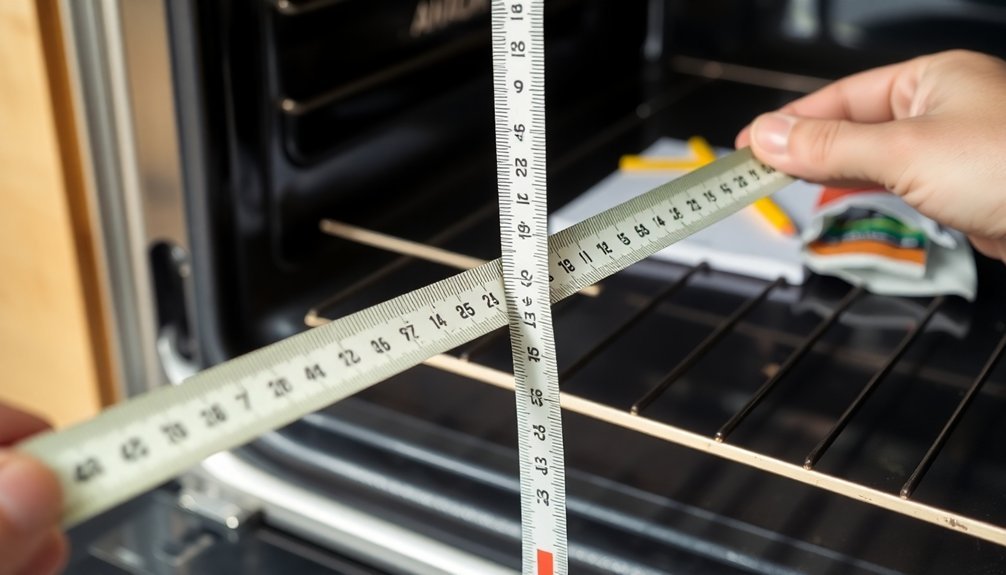
You'll need to measure the width of your existing seal while it's lying flat and unstretched on a surface. Using a tape measure, determine the full length of each side, ensuring you note whether it's a 3-sided or 4-sided gasket.
- Place your tape measure flush against the seal, locking it in place for precise measurements.
- Record the width and length separately, keeping measurements within 1/4 inch accuracy.
- Cut your replacement seal slightly shorter than the measured length to allow for proper stretching.
- Match your measurements to the manufacturer's guidelines, considering the specific profile and material type needed for your oven model.
Remember to measure twice and cut once to avoid costly mistakes during installation.
Corners and Edge Placement
Following precise measurements, proper corner and edge placement becomes the next critical step in replacing your oven door seal. You'll need to identify whether your oven requires rounded or 90-degree corner seals, as using the wrong type will result in poor sealing. When installing, make sure the metal connectors' hooks face downward and properly grip the seal's barbs.
| Corner Task | What You'll Need |
|---|---|
| Measuring | Tape measure |
| Corner Type | Check if rounded or 90° |
| Groove Check | Look for existing holes |
| Metal Clips | Verify hook direction |
| Final Fit | Test seal tautness |
Once you've determined your corner type, measure between the holes and grooves on your oven cavity both vertically and horizontally. Don't stretch the seal during measurement, and remember to subtract the manufacturer's specified reduction before cutting.
Selecting the Right Seal Material
When selecting a replacement seal for your oven door, the material choice can make or break its performance. For high-temperature cooking, silicone and Viton are your best options, with silicone withstanding up to 500°F and Viton handling up to 400°F consistently.
Both materials offer excellent durability and bounce-back properties, though silicone's resistance to cracking makes it particularly reliable.
- Choose silicone for the longest lifespan and best heat resistance, despite its higher cost
- Select Viton if you need chemical resistance combined with high-temperature performance
- Consider EPDM for moderate temperature ranges and excellent UV resistance
- Avoid PVC seals, as they'll fail quickly due to their low heat tolerance of only 158°F
Remember that proper material selection guarantees your oven maintains efficient operation and safety.
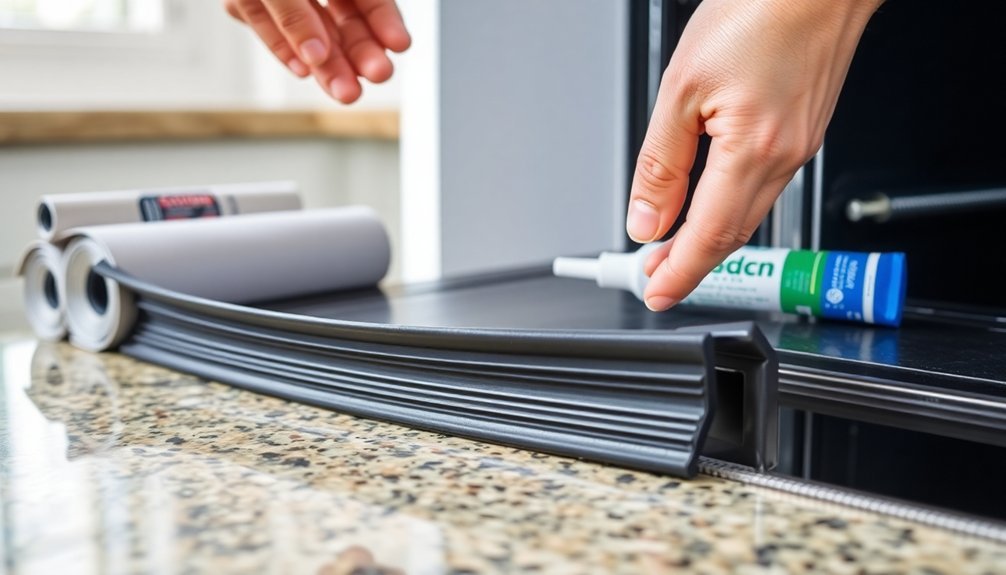
Installing the New Gasket
With the right seal material selected, proper installation becomes your next key step.
Before you begin, unplug the oven and let it cool completely. Remove the old gasket, taking note of how it's attached, and clean the mounting area thoroughly with mild soap and water.
Align your new gasket with the door's groove or track, then press it firmly into place. If your gasket has pins, start from one end and insert them into the door openings until they click.
You'll need to tuck the ends into the oval openings using needle-nose pliers. Work your way around the entire perimeter, ensuring there aren't any gaps or loose sections.
If the new gasket feels tight, lock your oven door overnight to help it set properly into position.
Testing Seal Effectiveness
Once you've installed the new gasket, proper testing guarantees it's functioning correctly and safely. To ascertain your oven seal is working effectively, perform both visual and physical inspections. Run your hand along the seal while the oven is operating to check for escaping heat, and use the dollar bill test around the door's perimeter to verify proper resistance.
- Examine the seal for visible damage, including cracks, tears, or signs of wear.
- Check for consistent resistance when closing the door.
- Monitor the oven's heating efficiency and cooking times.
- Look for any hot air leaks, which could indicate a faulty installation.
A properly functioning seal will maintain consistent temperatures, prevent energy waste, and guarantee safe operation by containing heat and steam within the oven cavity.
Maintaining Your Solar Oven Seal
Regular maintenance of your solar oven seal protects its functionality and extends its lifespan. To keep your seal in prime condition, clean it regularly with mild soap and water, avoiding harsh chemicals that could damage the material.
After cleaning, make certain you dry the area thoroughly to maintain proper adhesion.
Check your seal periodically for signs of wear, including cracks, tears, or separation from the frame. If you notice any damage, don't wait to address it.
You'll also want to wipe down the seal after spills to prevent grease and debris build-up.
When you're not using your solar oven, store it in a protected area to shield the seal from UV rays and harsh weather.
This preventive care will help you avoid premature seal replacement and maintain peak cooking efficiency.
Frequently Asked Questions
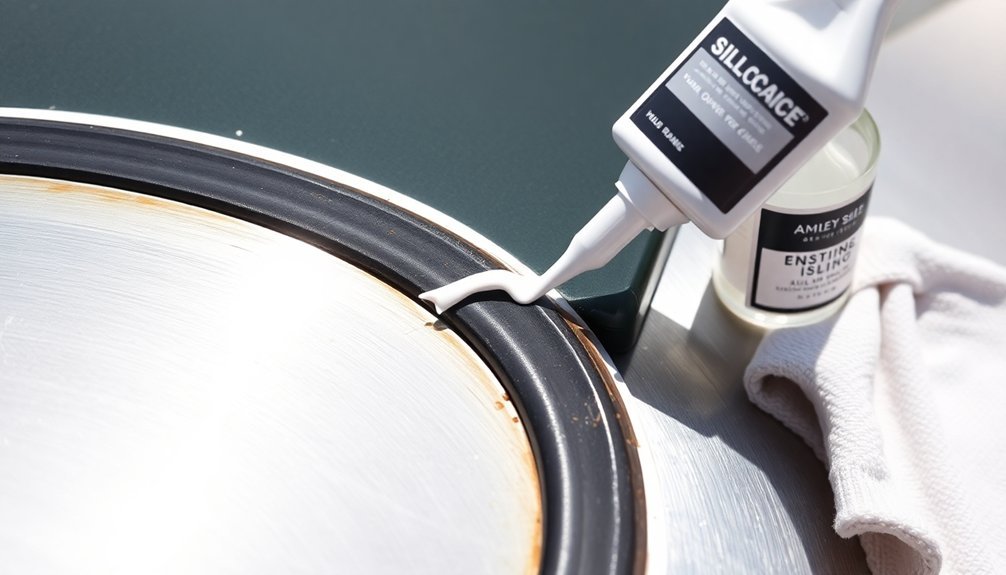
Can I Use Silicone Caulk as a Temporary Fix for My Oven Seal?
Yes, you can use high-temperature silicone caulk as a temporary fix for your oven seal, but you'll need to guarantee it's heat-resistant and properly applied. It's not a permanent solution though.
How Often Should I Replace My Oven Door Seal?
You'll typically need to replace your oven door seal every 3-4 years, but check for signs of wear regularly. If you notice uneven cooking, heat escape, or visible damage, don't wait to replace it.
Why Does My Oven Seal Keep Falling off After Replacement?
Your oven seal keeps falling off likely due to incorrect installation, using the wrong type of seal, or poor adhesion. Make sure you're using the right model seal and following proper installation steps carefully.
Will a Damaged Oven Seal Affect My Energy Bills?
Yes, your damaged oven seal will considerably increase your energy bills. You'll waste energy as heat escapes, forcing your oven to work harder and longer to maintain temperature. This leads to higher utility costs.
Can Extreme Temperatures Permanently Damage or Warp My Oven Seal?
Yes, high temperatures can permanently damage your oven seal. When exposed to extreme heat, the seal's material undergoes irreversible chemical changes, leading to hardening, warping, and loss of function, reducing its effectiveness over time.
In Summary
Now that you've replaced your solar oven door seal, you'll notice improved efficiency and temperature control. Keep an eye on the new gasket's condition by checking for wear every few months. Clean it regularly with mild soap and water, avoid harsh chemicals, and don't slam the door. With proper maintenance, your new seal should last several years before needing another replacement.


Leave a Reply