To maximize your oven-dried herbs' shelf life up to 12 months, store them in airtight glass containers like Mason jars or ceramic vessels with tight-fitting lids. You'll want to place your containers in a cool, dark pantry or cabinet away from heat sources, sunlight, and moisture. Keep herbs whole and only crumble them just before use to retain their flavors and aromatic compounds. Don't forget to label each container with the herb name and storage date for easy tracking. Always verify your herbs are completely dry and crispy before storage – they should crumble easily and stems should snap cleanly. These essential steps lay the foundation for proper herb preservation techniques.
Oven Temperature for Drying Success
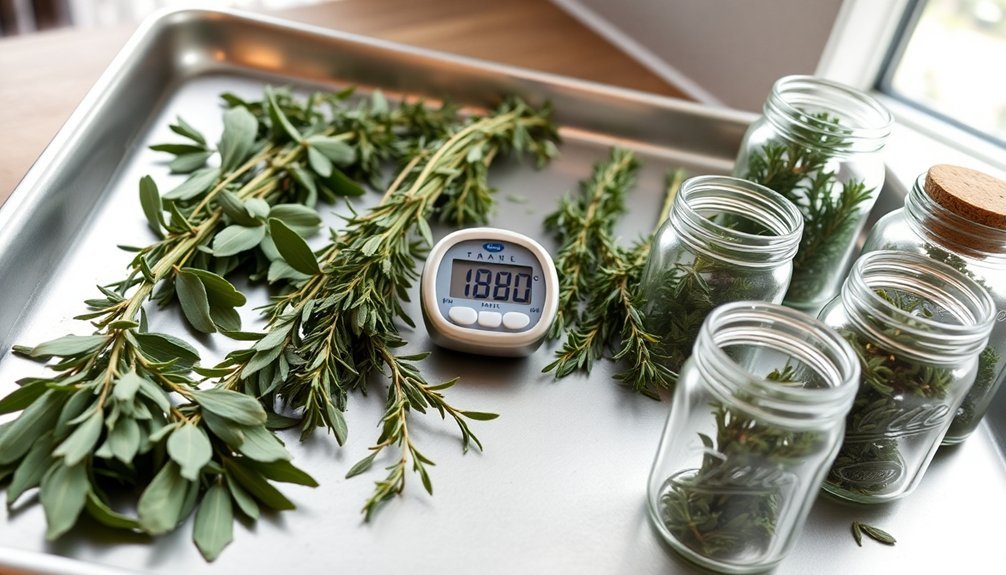
When drying herbs in your oven, maintaining the correct temperature is crucial for preserving their essential oils and flavors. You'll want to set your oven to its lowest possible setting, ideally 170°F, though 200°F works if that's your oven's minimum temperature.
Keep in mind that ovens can vary by 5° to 10°, so monitor the process closely.
If you have a convection oven, you're in luck – it'll dry your herbs more quickly and evenly than a conventional oven.
For the best results, you can preheat the oven to your chosen temperature, then turn it off before placing the herbs inside. Alternatively, keep the oven at its lowest setting and check every 30 minutes. Fresh oregano typically requires just 15 minutes of drying in the oven.
Remember to prop the door slightly open to guarantee proper air circulation.
Preparing Herbs Before Storage
Before you store your oven-dried herbs, you'll need to guarantee they're completely clean and free from damaged leaves or debris.
Sort through your dried herbs carefully, removing any discolored pieces or stems that might affect the quality of your stored collection. Using a salad spinner or towels can help ensure your herbs are properly dried if you've washed them.
Make certain your herbs are fully dried and moisture-free by testing if they crumble easily between your palms, as any remaining moisture can lead to mold during storage.
Clean and Sort First
Proper preparation of fresh herbs requires three essential steps before oven drying begins. First, you'll need to harvest your herbs early in the morning after the dew dries but before the day's heat sets in. This timing helps preserve the essential oils and peak flavors.
After harvesting, follow these critical cleaning steps:
- Wash your herbs under cold running water using a gentle spray to remove dirt and insects.
- Shake off excess water and pat the herbs dry with absorbent towels.
- Strip leaves from the stems, focusing on the top 6 inches.
- Remove all blossoms to guarantee the best leaf quality.
Once cleaned and sorted, lay your herbs in a single layer on parchment-lined baking sheets, making sure leaves don't touch each other. This arrangement guarantees even drying and prevents moisture from becoming trapped. Frequent pruning of your herb garden ensures manageable herb growth and a steady supply for drying.
Remove Moisture Completely
Successfully removing all moisture from your herbs marks the difference between long-lasting, flavorful seasonings and spoiled batches prone to mold.
You'll need to choose between several effective drying methods depending on your time and resources.
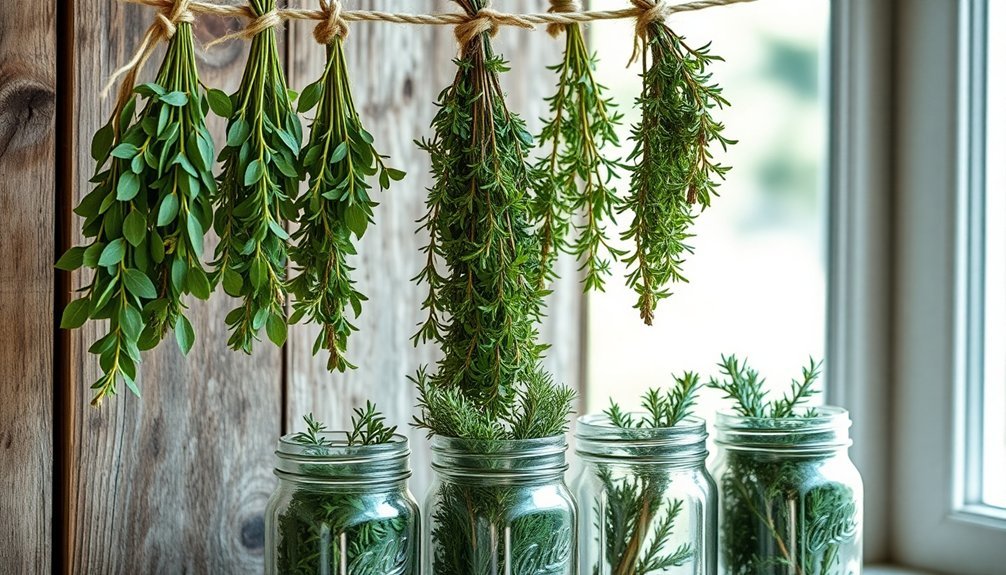
For air drying, bundle small clusters of herbs with rubber bands and hang them in a well-ventilated area. Cover with a perforated paper bag to keep dust away.
If you're short on time, use your microwave at high power for 2-3 minutes per cup, checking every 30 seconds to prevent burning.
The oven method offers reliable results – set it to its lowest temperature (under 180°F), spread herbs on a parchment-lined baking sheet with a cooling rack, and leave the door slightly open. A dehydrator will give excellent results when set between 95-110°F for herb drying.
Your herbs are ready when they're completely crisp, which can take anywhere from 2 hours to overnight.
Essential Storage Container Types
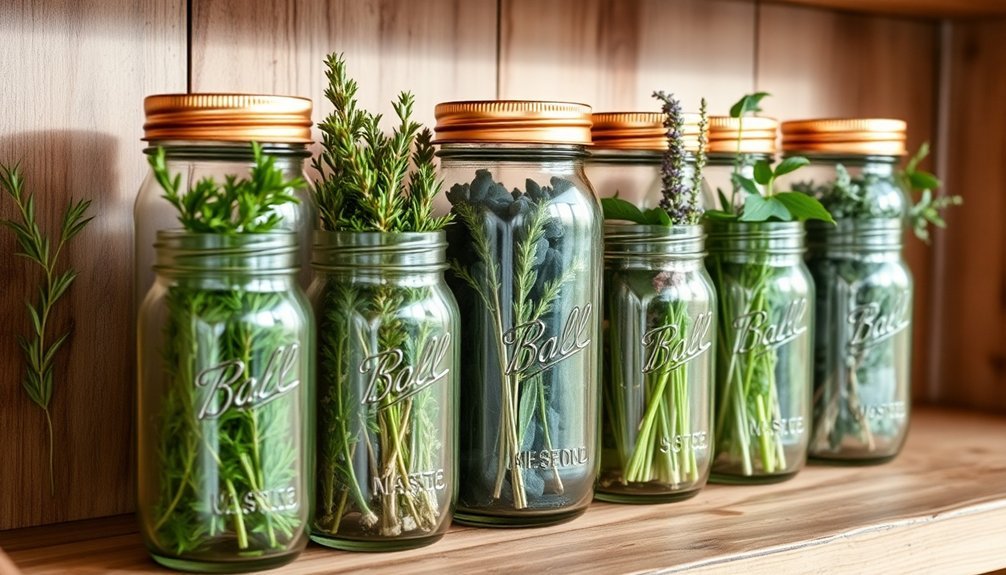
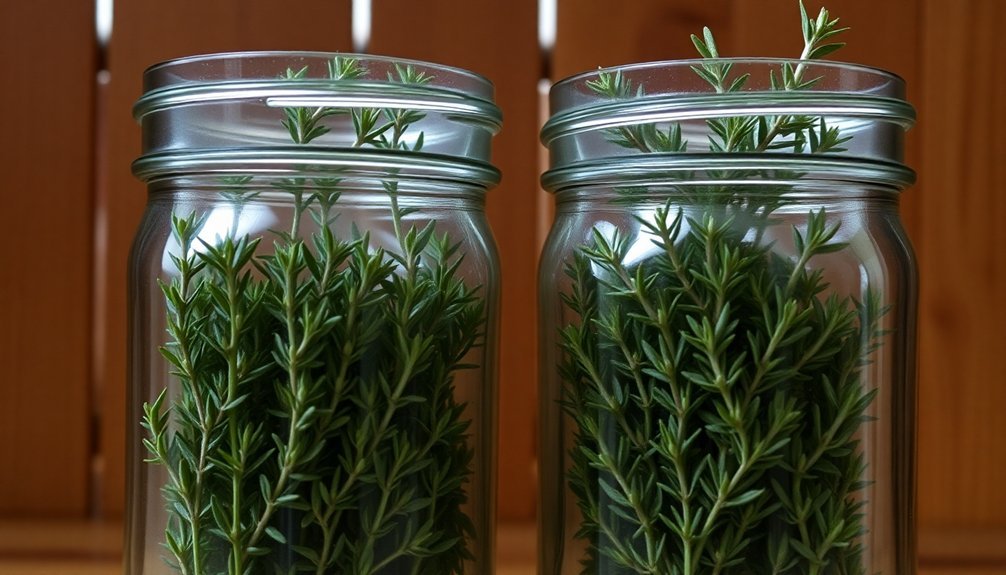
When storing your oven-dried herbs, Mason jars serve as your best option by providing an airtight seal and protection against moisture and light.
You'll get even better results by using a vacuum sealer with your Mason jars, which removes excess air and extends the shelf life of your herbs considerably.
Metal tins can work as a convenient alternative to glass, especially for storing small quantities, though they should have tight-fitting lids and be kept in a cool, dark place.
Mason Jars For Herbs
Mason jars stand as one of the most reliable storage solutions for dried herbs, offering both practical and protective benefits.
You'll find these versatile containers preserve your herbs' freshness for up to three years while preventing nutrient loss from oxygen exposure.
For peak storage in mason jars:
- Confirm your herbs are completely dry before storing to prevent mold growth.
- Use a wide-mouth funnel for easy filling and an airtight lid for freshness.
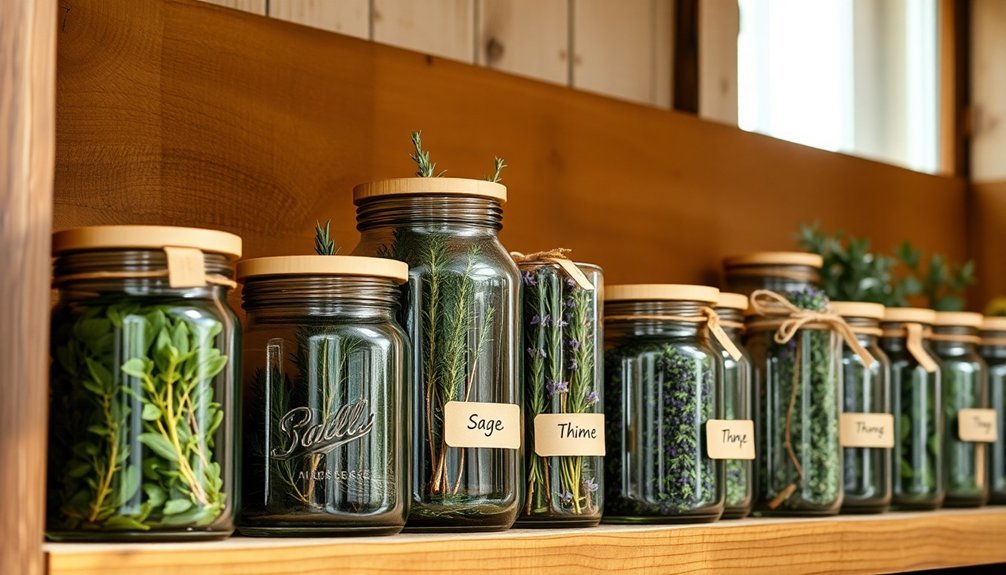
- Label clearly to distinguish between similar-looking herbs.
- Store in a cool, dark place away from heat and humidity.
You'll appreciate that mason jars are chemically inert, preventing any unwanted flavors from leaching into your herbs.
They're also incredibly durable, easy to clean, and can be reused multiple times, making them an eco-friendly choice for your herb storage needs.
Vacuum-Sealed Storage Solutions
Protecting your dried herbs through vacuum-sealed storage offers unmatched preservation benefits compared to traditional storage methods.
You'll maximize your herbs' shelf life by removing oxygen that causes spoilage and bacterial growth, while preserving their essential flavors and potency.
For delicate herbs like basil and cilantro, you'll want to use vacuum-sealed bags in the fridge for up to 3 weeks, or freeze them for 6-12 months.
Woody herbs such as rosemary and thyme can last up to a month in the fridge or 1-2 years when frozen.
To guarantee ideal storage, use proper vacuum-sealed containers, remove all air, and store them in cool, dark locations.
Don't forget to label and date your containers for easy tracking.
This method works exceptionally well for both fresh and oven-dried herbs.
Metal Tins Benefits
Metal tins stand as one of the most reliable storage solutions for your oven-dried herbs.
They're engineered to create an airtight environment that prevents oxidation while blocking harmful UV rays and moisture. You'll find these containers particularly effective in maintaining your herbs' integrity, as they protect against external contaminants and temperature fluctuations.
- They're exceptionally durable, made from corrosion-resistant steel that'll withstand years of use.
- You'll appreciate their eco-friendly nature, as they're both reusable and 100% recyclable.
- They're perfect for organizing your dried herbs, with surfaces that are easy to label.
- You can stack them efficiently in your pantry or cupboard, saving valuable storage space.
When you're storing your oven-dried herbs in metal tins, remember to keep them in a cool, dark place for ideal preservation.
Optimal Environmental Storage Conditions
To maximize the shelf life of your oven-dried herbs, proper environmental storage conditions are essential.
You'll want to keep your herbs in a cool, dry area away from heat sources like stoves and ovens. Choose a dark storage space, such as a pantry or cupboard, to protect the herbs from sunlight that can degrade their nutrients and color.
Low humidity is vital, so avoid storing your herbs near bathrooms, sinks, or any water sources that could introduce moisture.
You'll need airtight, vapor-proof containers – ceramic jars or darkened glass containers work best. Make sure they're properly sealed to prevent air and moisture from entering.
Don't forget to label each container with the herb's name and date.
These conditions will help maintain your herbs' flavor, potency, and quality over time.
Maintaining Herb Quality Over Time
Once you've properly dried your herbs, maintaining their quality requires consistent attention to several key factors.
Your herbs' flavor, aroma, and potency depend on how well you monitor and protect them during storage.
To maximize your herbs' shelf life and preserve their essential qualities:
- Store whole herbs rather than crushed ones, as they'll retain their oils and flavors longer.
- Check your stored herbs regularly for any signs of moisture or mold development.
- Monitor their aroma strength – if it's weak, they're past their prime.
- Use within one year for best results, though they can last up to three years.
Remember to keep your herbs in freezer jars or heavy-duty aluminum foil to prevent their strong aromas from transferring to other foods in your storage space.
Organizing Your Dried Herb Collection
While proper storage containers protect your dried herbs, an organized system guarantees you'll actually use them effectively.
Consider arranging your herbs alphabetically or grouping them by cuisine type for quick access. You'll want to use clear labels with names and storage dates, especially for similar-looking dried herbs.
Install organizers like the YouCopia SpiceStack or SpiceStor Rack in a cool, dark cabinet away from heat sources.
If you're short on space, dedicate a kitchen shelf to frequently used herbs while storing others in lower roll-out drawers.
Glass containers work best – try Mason jars, repurposed baby food jars, or metal tins with screw-top lids.
Don't forget to mark containers that have backup supplies stored elsewhere, and always verify lids are tightly sealed after each use.
Signs of Proper Storage
Properly stored dried herbs show distinct signs that let you know they're well-preserved.
You'll want to guarantee your herbs maintain their quality by checking for key indicators of proper storage conditions.
- Your herbs should be completely dry and crispy, with leaves that crumble easily and stems that snap cleanly when bent.
- The storage containers must be airtight, vapor-proof, and preferably opaque to protect against light exposure.
- You'll find your herbs in a cool, dark place away from heat sources, windowsills, and areas with high humidity.
- The herbs retain their distinct aroma and flavor, showing no signs of moisture, mold, or degradation.
Keep your herbs in ceramic jars or darkened glass containers, and don't forget to label them with names and dates.
When storing in refrigerators or freezers, use heavy-duty aluminum foil to prevent odor transfer.
Extending Your Herbs' Shelf Life
To maximize the longevity of your dried herbs, you'll need to protect them from their primary enemies: air, moisture, heat, and light.
Store your herbs in airtight glass containers to prevent oxidation and keep moisture out. Place these containers in a cool, dark pantry or cabinet away from direct sunlight and heat sources.
For even longer preservation, keep your herbs whole rather than crushed, as this helps retain their essential oils and flavors. You'll get better results by crumbling them just before use.
Consider freezer storage for herbs like basil and chives, but be careful to avoid condensation when removing them. Don't forget to label your containers with the herb type and storage date.
Remember that while most dried herbs last
Frequently Asked Questions
Can I Mix Different Dried Herbs in the Same Storage Container?
You can mix dried herbs, but you'll want to combine ones with similar flavor intensities. Label your mixtures carefully, and remember that stronger herbs like thyme can overwhelm milder ones during storage.
How Do Silica Gel Packets Affect the Taste of Stored Herbs?
You won't notice any change in your herbs' taste when using silica gel packets. They're odorless and tasteless, working only to absorb moisture. Your herbs will maintain their natural flavors and therapeutic properties.
Should I Crush Dried Herbs Before or After Long-Term Storage?
You'll get the best results by keeping herbs whole during storage and crushing them just before use. That way, you'll preserve their essential oils, flavors, and aromas for a longer time.
Can I Reuse Containers That Previously Stored Different Herbs?
Yes, you can reuse containers for different herbs, but you'll need to clean them thoroughly and make certain they're completely dry. Glass or stainless steel containers work best since they don't retain odors like plastic.
Does Vacuum Sealing Affect the Intensity of Herb Flavors Over Time?
Vacuum sealing actually helps preserve your herbs' flavor intensity by protecting them from oxygen exposure. You'll find that vacuum-sealed herbs maintain their robust taste longer than those stored in regular containers.
In Summary
Store your oven-dried herbs properly, and you'll enjoy their flavors for months to come. Keep them in airtight containers away from heat, light, and moisture. You'll know you're doing it right when your herbs remain fragrant and vibrant. Don't forget to label everything with dates and check periodically for quality. With these storage methods, you're set to maintain your herb collection's freshness and potency.


Leave a Reply